MERCEDES-BENZ SLK ROADSTER 2012 Owners Manual
Manufacturer: MERCEDES-BENZ, Model Year: 2012, Model line: SLK ROADSTER, Model: MERCEDES-BENZ SLK ROADSTER 2012Pages: 321, PDF Size: 6.9 MB
Page 121 of 321
ant does no
tcontain chlorofluorocarbons,
and therefore does not damage the ozone
layer.
Activating/deactivating X
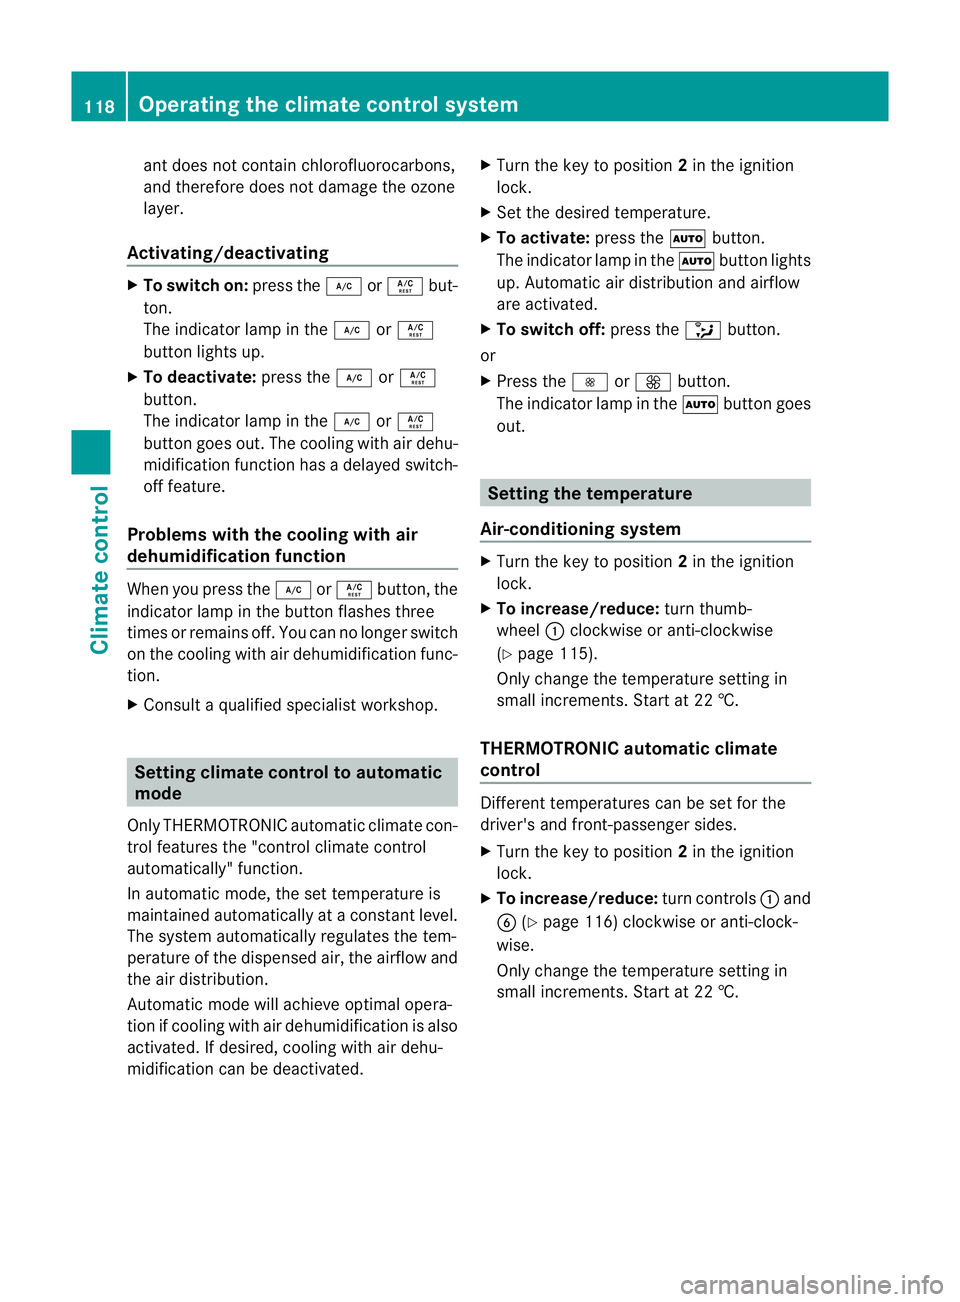
To switch on: press the¿orÁ but-
ton.
The indicator lamp in the ¿orÁ
button lights up.
X To deactivate: press the¿orÁ
button.
The indicator lamp in the ¿orÁ
button goes out. The cooling with air dehu-
midification function has a delayed switch-
off feature.
Problems with the cooling with air
dehumidification function When you press the
¿orÁ button, the
indicator lamp in the button flashes three
times or remains off. You can no longer switch
on the cooling with air dehumidification func-
tion.
X Consult a qualified specialist workshop. Setting climate control to automatic
mode
Only THERMOTRONIC automatic climate con-
trol features the "control climate control
automatically" function.
In automatic mode, the set temperature is
maintained automatically at a constant level.
The system automatically regulates the tem-
perature of the dispensed air, the airflow and
the air distribution.
Automatic mode will achieve optimal opera-
tion if cooling with air dehumidification is also
activated. If desired, cooling with air dehu-
midification can be deactivated. X
Turn the key to position 2in the ignition
lock.
X Set the desired temperature.
X To activate: press theÃbutton.
The indicator lamp in the Ãbutton lights
up. Automatic air distribution and airflow
are activated.
X To switch off: press the_button.
or
X Press the IorK button.
The indicator lamp in the Ãbutton goes
out. Setting the temperature
Air-conditioning system X
Turn the key to position 2in the ignition
lock.
X To increase/reduce: turn thumb-
wheel :clockwise or anti-clockwise
(Y page 115).
Only change the temperature setting in
small increments. Start at 22 †.
THERMOTRONIC automatic climate
control Different temperatures can be set for the
driver's and front-passenger sides.
X Turn the key to position 2in the ignition
lock.
X To increase/reduce: turn controls:and
B (Ypage 116) clockwise or anti-clock-
wise.
Only change the temperature setting in
small increments. Start at 22 †. 118
Operating the climate control systemClimate control
Page 122 of 321
Setting the air distribution
Air distribution settings Air-conditioning system
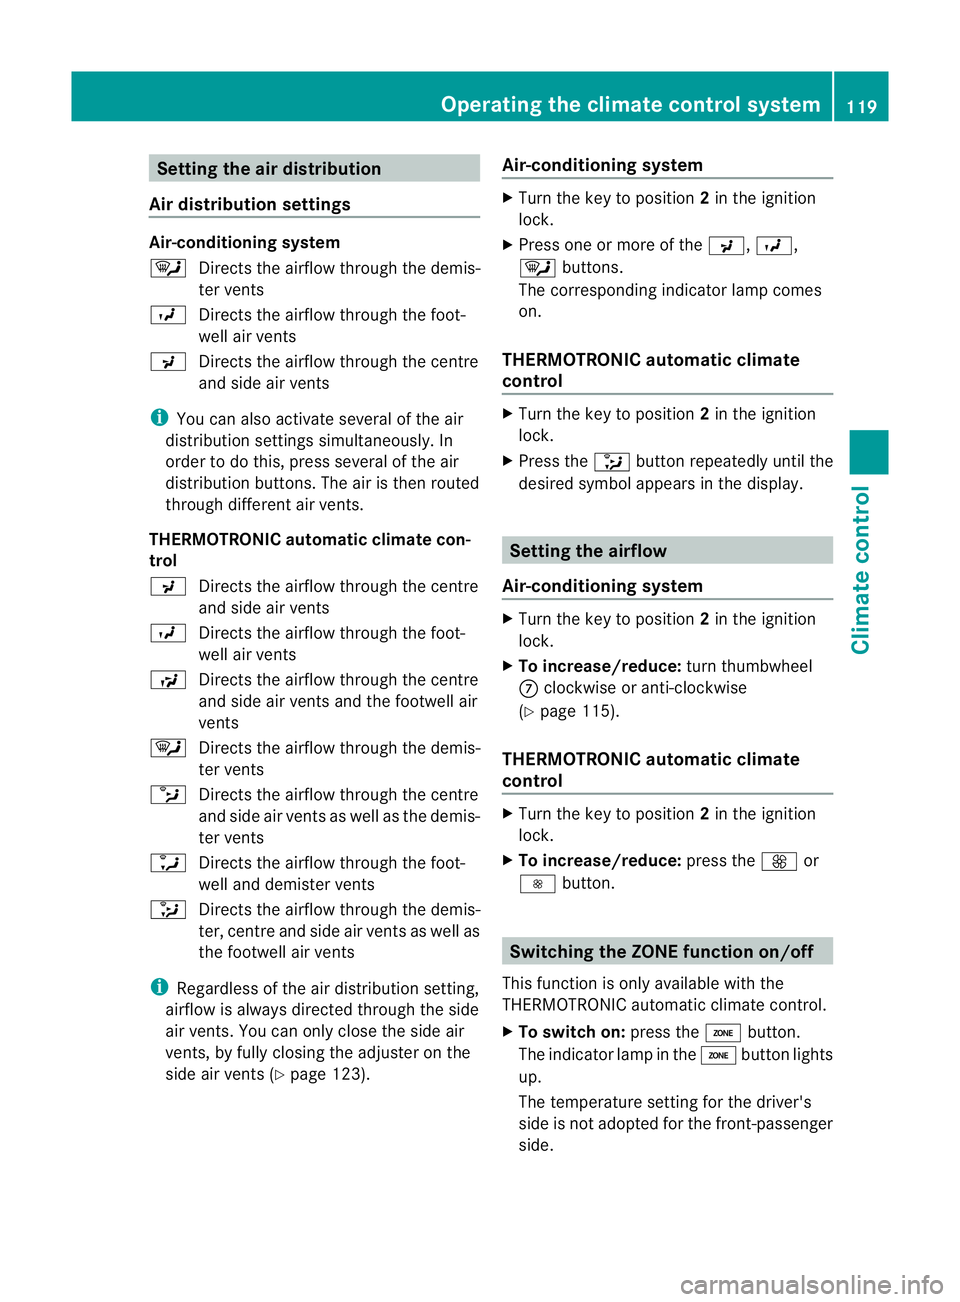
¯
Directs the airflow through the demis-
ter vents
O Directs the airflow through the foot-
well air vents
P Directs the airflow through the centre
and side air vents
i You can also activate several of the air
distribution settings simultaneously .In
order to do this, press several of the air
distribution buttons. The air is then routed
through different air vents.
THERMOTRONIC automatic climate con-
trol
P Directs the airflow through the centre
and side air vents
O Directs the airflow through the foot-
well air vents
S Directs the airflow through the centre
and side air vents and the footwell air
vents
¯ Directs the airflow through the demis-
ter vents
b Directs the airflow through the centre
and side air vents as well as the demis-
ter vents
a Directs the airflow through the foot-
well and demister vents
_ Directs the airflow through the demis-
ter, centre and side air vents as well as
the footwell air vents
i Regardless of the air distribution setting,
airflow is always directed through the side
air vents. You can only close the side air
vents, by fully closing the adjuster on the
side air vents (Y page 123). Air-conditioning system X
Turn the key to position 2in the ignition
lock.
X Press one or more of the P,O,
¯ buttons.
The corresponding indicator lamp comes
on.
THERMOTRONIC automatic climate
control X
Turn the key to position 2in the ignition
lock.
X Press the _button repeatedly until the
desired symbol appears in the display. Setting the airflow
Air-conditioning system X
Turn the key to position 2in the ignition
lock.
X To increase/reduce: turn thumbwheel
C clockwise or anti-clockwise
(Y page 115).
THERMOTRONIC automatic climate
control X
Turn the key to position 2in the ignition
lock.
X To increase/reduce: press theKor
I button. Switching the ZONE function on/off
This function is only available with the
THERMOTRONIC automatic climate control.
X To switch on: press theábutton.
The indicator lamp in the ábutton lights
up.
The temperature setting for the driver's
side is not adopted for the front-passenger
side. Operating the climate control system
119Climate control Z
Page 123 of 321
When the buttons or controls for tempera-
ture, airflow or air distribution are activated,
the temperature setting for the driver's side
is not adopted for the other climate control
zones.
X To switch off: press theábutton.
The indicato rlamp in the ábuttongoes
out.
The temperature setting for the driver's
side is adopted for the front-passenger
side. Defrosting the windscreen
You can use this function to defrost the wind-
screen or to demist the inside of the wind-
screen and the side windows.
i You should only select the demisting
function until the windscreen is clear again.
X Turn the key to position 2in the ignition
lock.
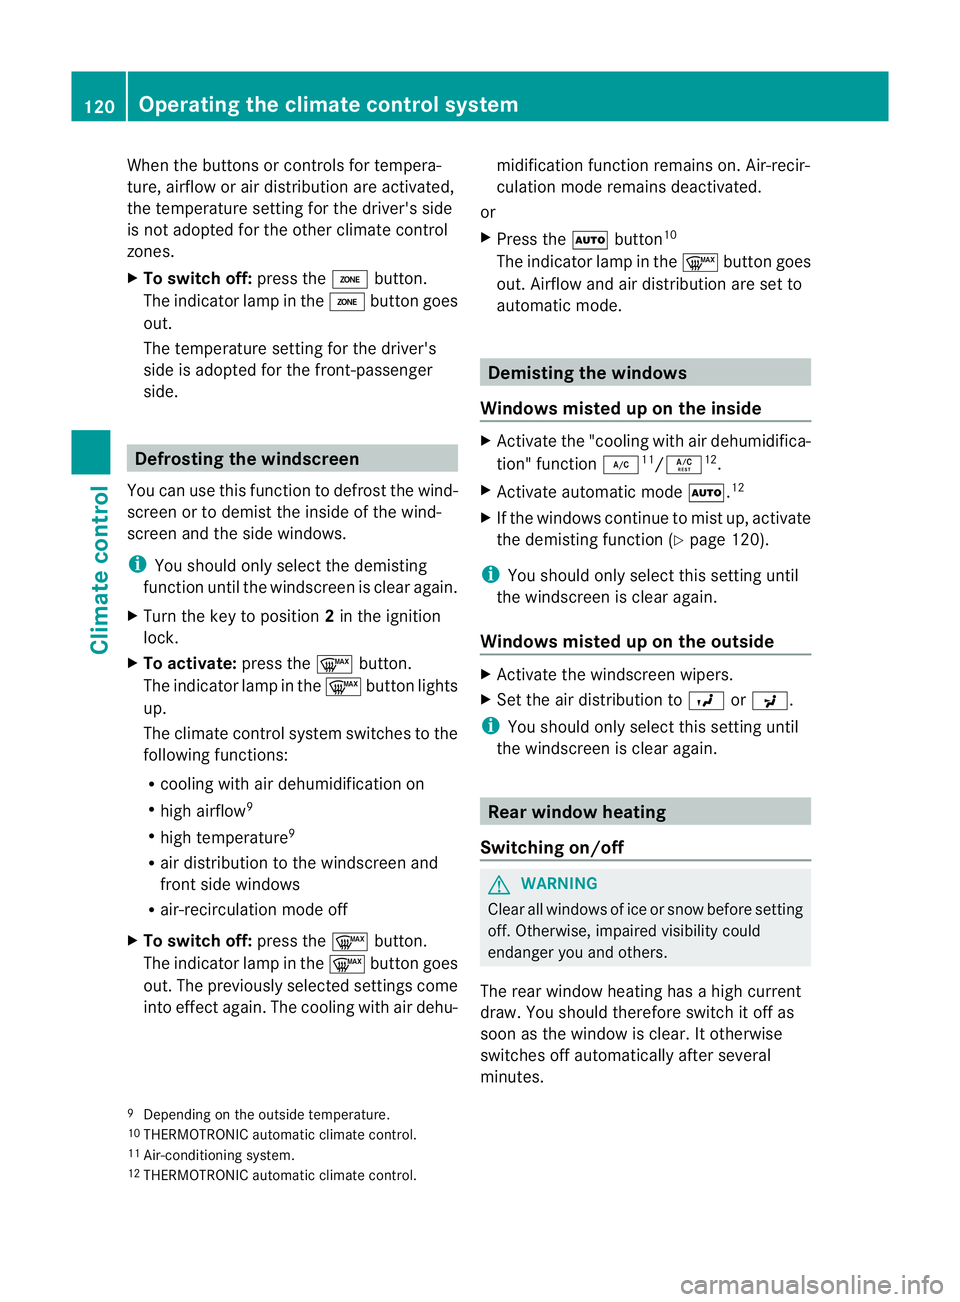
X To activate: press the¬button.
The indicator lamp in the ¬button lights
up.
The climate control system switches to the
following functions:
R cooling with air dehumidification on
R high airflow 9
R high temperature 9
R air distribution to the windscreen and
front side windows
R air-recirculation mode off
X To switch off: press the¬button.
The indicator lamp in the ¬button goes
out. The previously selected settings come
into effect again. The cooling with air dehu- midification function remains on. Air-recir-
culation mode remains deactivated.
or
X Press the Ãbutton 10
The indicator lamp in the ¬button goes
out. Airflow and air distribution are set to
automatic mode. Demisting the windows
Windows misted up on the inside X
Activate the "cooling with air dehumidifica-
tion" function ¿11
/Á 12
.
X Activate automatic mode Ã.12
X If the windows continue to mist up, activate
the demisting function (Y page 120).
i You should only select this setting until
the windscreen is clear again.
Windows misted up on the outside X
Activate the windscreen wipers.
X Set the air distribution to OorP.
i You should only select this setting until
the windscreen is clear again. Rear window heating
Switching on/off G
WARNING
Clear all windows of ice or snow before setting
off. Otherwise, impaired visibility could
endanger you and others.
The rear window heating has ahigh current
draw. You should therefore switch it off as
soon as the window is clear .Itotherwise
switches off automatically after several
minutes.
9 Depending on the outside temperature.
10 THERMOTRONIC automatic climate control.
11 Air-conditioning system.
12 THERMOTRONIC automatic climate control. 120
Operating the climate control systemClimate control
Page 124 of 321
If the battery voltage is too low, the rear win-
dow heating may switch off.
X Turn the key to position 2in the ignition
lock.
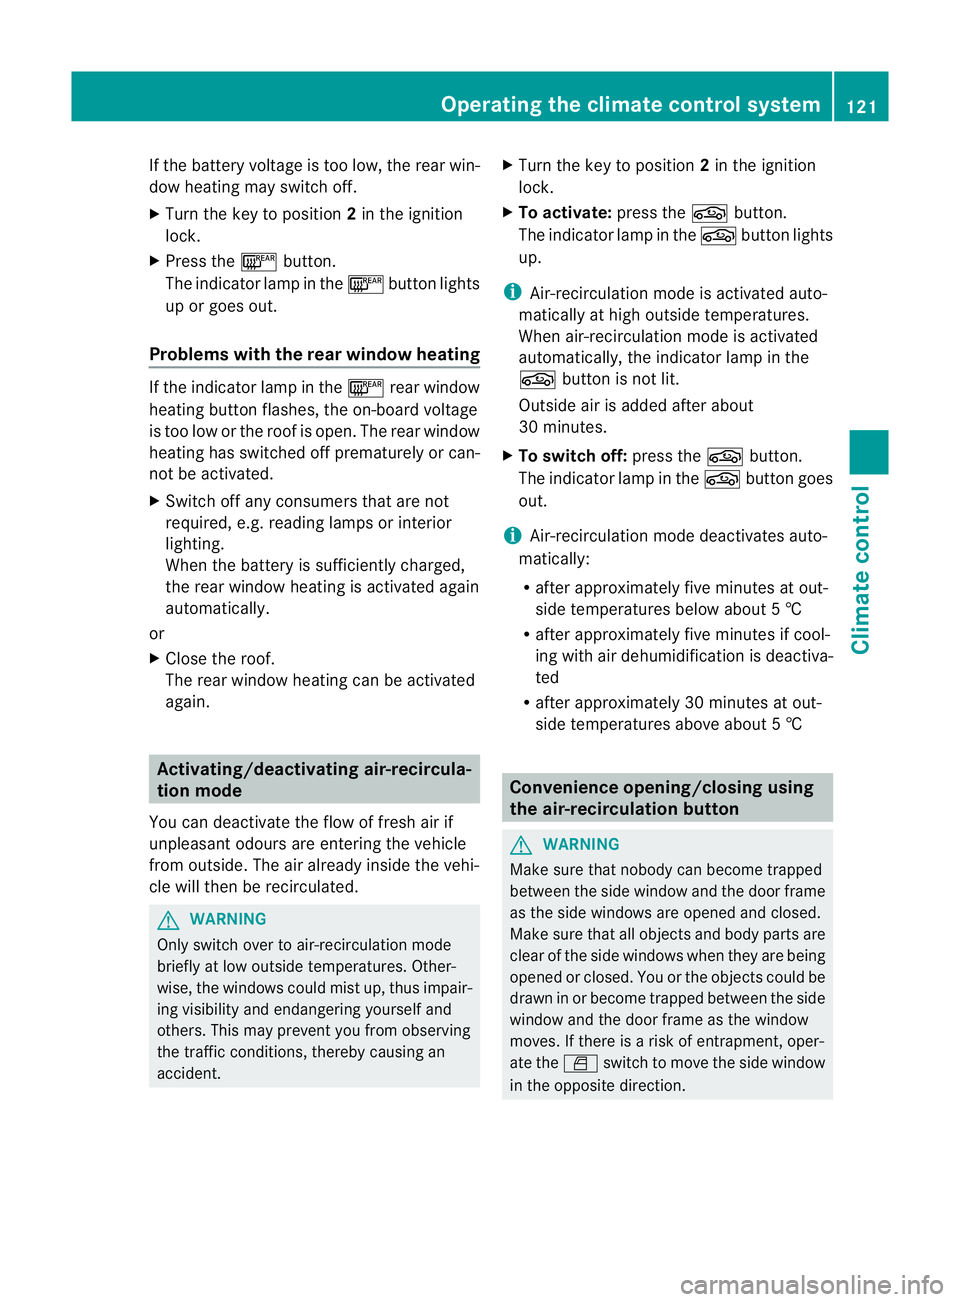
X Press the ¤button.
The indicator lamp in the ¤button lights
up or goes out.
Problems with the rear window heating If the indicator lamp in the
¤rear window
heating button flashes, the on-board voltage
is too low or the roof is open. The rear window
heating has switched off prematurely or can-
not be activated.
X Switch off any consumers that are not
required, e.g. reading lamps or interior
lighting.
When the battery is sufficiently charged,
the rear window heating is activated again
automatically.
or
X Close the roof.
The rear window heating can be activated
again. Activating/deactivating air-recircula-
tion mode
You can deactivate the flow of fresh air if
unpleasant odours are entering the vehicle
from outside. The air already inside the vehi-
cle will then be recirculated. G
WARNING
Only switch over to air-recirculationm ode
briefly at low outside temperatures. Other-
wise, the windows could mist up, thus impair-
ing visibility and endangering yourself and
others. This may prevent you from observing
the traffic conditions, thereby causing an
accident. X
Turn the key to position 2in the ignition
lock.
X To activate: press thegbutton.
The indicator lamp in the gbutton lights
up.
i Air-recirculation mode is activated auto-
matically at high outside temperatures.
When air-recirculation mode is activated
automatically, the indicator lamp in the
g button is not lit.
Outside air is added after about
30 minutes.
X To switch off: press thegbutton.
The indicator lamp in the gbutton goes
out.
i Air-recirculation mode deactivates auto-
matically:
R after approximately five minutes at out-
side temperatures below about 5†
R after approximately five minutes if cool-
ing with air dehumidification is deactiva-
ted
R after approximately 30 minutes at out-
side temperatures above about 5† Convenience opening/closing using
the air-recirculation button
G
WARNING
Make sure that nobody can become trapped
between the side window and the door frame
as the side windows are opened and closed.
Make sure that all object sand body parts are
clear of the side windows when they are being
opened or closed .You or the objects could be
drawn in or become trapped between the side
window and the door frame as the window
moves. If there is arisk of entrapment, oper-
ate the Wswitch to move the side window
in the opposite direction. Operating the climate control system
121Climate control Z
Page 125 of 321
X
Convenience closing feature: press and
hold the gbutton until the side win-
dows are closed.
The indicator lamp in the gbutton lights
up. Air-recirculation mode is activated.
X Convenience opening feature: press and
hold the gbutton until the side win-
dows are opened. The side windows move
back to their original positions.
The indicator lamp in the gbutton goes
out .Air-recirculation mode is deactivated.
i If you open the side windows manually
after closing them with the convenience
closing feature, they will remain in this posi-
tion when opened using the convenience
opening feature. Activating/deactivating the residual
heat function
It is possible to make use of the residual heat
of the engine to continue heating the station-
ary vehicle for up to 30 minutes after the
engine has been switched off .The heating
time depends on the temperature that has
been set.
Depending on the equipment level, the con-
trol panel has either the Ìbutton or the
Á button.
i The blower will run at a low speed regard-
less of the airflow setting.
i If you activate the residual heat function
at high temperatures, only the ventilation
will be activated. The blower runs at
medium speed.
X Turn the key to position 0in the ignition
lock or remove it.
X To switch on: press theÌorÁ but-
ton.
The indicator lamp in the ÌorÁ
button lights up. X
To deactivate: press theÌorÁ
button.
The indicator lamp in the ÌorÁ
button goes out.
i Residual heat is deactivated automati-
cally:
R after about 30 minutes
R when the ignition is switched on
R if the battery voltage drops
R if the coolant temperature is too low Adjusting the air vents
Important safety notes
G
WARNING
Very hot or very cold air can flow from the air
vents.T his could cause burns or frostbite to
bare skin in the immediate vicinity of the
vents.K eep bare skin away from these air
outlets. If necessary, direct the airflow away
to a different area of the vehicle interior.
In order to ensure the direct flow of fresh air
through the air vents into the vehicle interior,
please observe the following notes:
R keep the air inlet grille on the bonnet and
in the engine compartment on the front-
passenger side free of blockages, such as
ice, snow or leaves.
R never cover the vents or ventilation grilles
in the vehicle interior.
i You can move the adjuster sfor the air
vents vertically or horizontally, to set the
direction of the airflow.
i Optimal climate control function is ach-
ieved by opening the air vents fully and set-
ting the adjusters to the middle position. 122
Adjusting the air ventsClimate control
Page 126 of 321
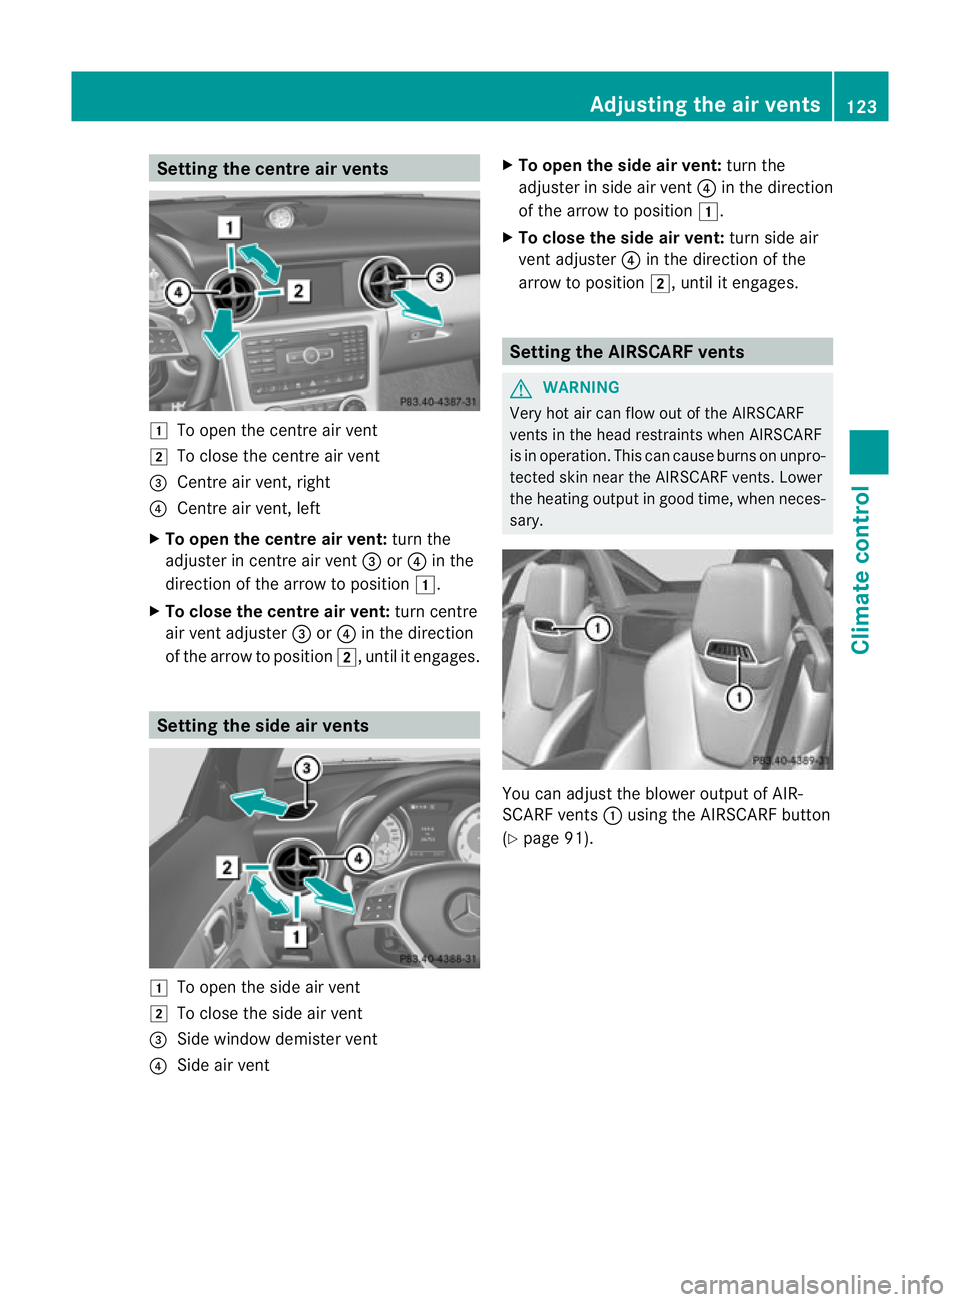
Setting the centre air vents
1
To open the centre air vent
2 To close the centre air vent
= Centre air vent, right
? Centre air vent, left
X To open the centre air vent: turn the
adjuster in centre air vent =or? in the
direction of the arrow to position 1.
X To close the centre air vent: turn centre
air vent adjuster =or? in the direction
of the arrow to position 2, until it engages.Setting the side air vents
1
To open the side air vent
2 To close the side air vent
= Side window demister vent
? Side air vent X
To open the side air vent: turn the
adjuster in side air vent ?in the direction
of the arrow to position 1.
X To close the side air vent: turn side air
vent adjuster ?in the direction of the
arrow to position 2, until it engages. Setting the AIRSCARF vents
G
WARNING
Very hot air can flow out of the AIRSCARF
vents in the head restraints when AIRSCARF
is in operation. This can cause burns on unpro-
tected skin near the AIRSCARF vents. Lower
the heating output in good time, when neces-
sary. You can adjust the blower output of AIR-
SCARF vents
:using the AIRSCARF button
(Y page 91). Adjusting the air vents
123Climate control Z
Page 127 of 321

124
Page 128 of 321
Useful information
............................126
Running-in notes ............................... 126
Driving ............................................... 126
Manual transmission ........................135
Automatic transmission ...................136
Refuelling ........................................... 142
Parking ............................................... 146
Driving tips ........................................ 148
Driving systems ................................ 151 125Driving and parking
Page 129 of 321
Useful information
i This Owner's Manual describes all models
and all standard and optional equipment
available to your vehicle at the time of pub-
lication of the Owner's Manual. Country-
specific deviations are possible. Please
note that your vehicle may not be equipped
with all features described. This also
applies to safety-relevan tsystems and
functions.
i Please read the information on qualified
specialist workshops (Y page 22).Running-in notes
Important safety notes
G
WARNING
New brake pads/linings only have optimal
braking performance after several hundred
kilometres .Until then, compensate for this by
applying greate rforce to the brake pedal. This
also applies when brake pads/linings or
brake discs have been changed. The first 1,500 km
If you treat the engine with sufficient care
from the very start,y ou will be rewarded with
excellent performance for the remainder of
the engine's life.
R Drive at varying vehicle speeds and engine
speeds for the first 1,500 km.
R Avoid overstraining the vehicle during this
period, e.g. driving at full throttle.
R Change gear in good time, before the rev
counter needle is Ôof the way to the red
area of the rev counter.
R Do not shift down a gear manually in order
to brake. Vehicles with automatic transmission:
R
Try to avoid depressing the accelerator
pedal beyond the point of resistance (kick-
down).
R The shift ranges 3,2or 1should only be
engaged when driving slowly, e.g. when
driving in mountainous terrain.
After 1,500 km, you may gradually bring the
vehicle up to full road and engine speeds.
Additional running-in notes for AMG vehicles:
R do not drive at speeds above 140 km/hf or
the first 1,500 km.
R only allow the engine to reach a maximum
engine speed of 4,500 rpm briefly.
i You should also observe these notes on
running in if the engine or parts of the drive
train on your vehicle have been replaced. AMG vehicles with rear axle locking
differential
Your vehicle is fitted with a self-locking dif-
ferential on the rear axle. Change the oil after
a running-in period of 3,000 km to improve
protection of the rear axle differential. This oil
change extends the service life of the differ-
ential. Have the oil change carried out at a
qualified specialist workshop. Driving
Important safety notes
G
WARNING
Do not place any objects in the driver's foot-
well. If you use a floormat or carpet in the
driver's footwell, make sure that it is correctly
secured and that there is sufficient clearance
for the pedals.
Do not place several floormats on top of one
another.
Loose objects or the floormats could other-
wise get caught between the pedals if you
accelerate or brake suddenly. You will then 126
DrivingDriving and parking
Page 130 of 321
not be able to brake, declutch or accelerate
as intended. This could lead to accidents and
injury. G
WARNING
Do not change down for additional engine
braking on a slippery roa dsurface. This could
cause the drive wheels to lose their grip and
the vehicle could skid. This could cause you
to lose control of your vehicle and cause an
accident.
! Warm up the engine quickly. Do no tuse
the engine's full performance until it has
reached operating temperature.
Only set the automatic transmission to the
respective drive positions when the vehicle
is stationary.
Where possible, avoid spinning the drive
wheels when pulling away on slippery
roads. Otherwise, you could damage the
drive train.
! AMG vehicles: at low engine oil temper-
atures (below +20 †), the maximum
engine speed is restricted in order to pro-
tect the engine. To protect the engine and
maintain smooth engine operation, avoid
driving at full throttle when the engine is
cold. Key positions
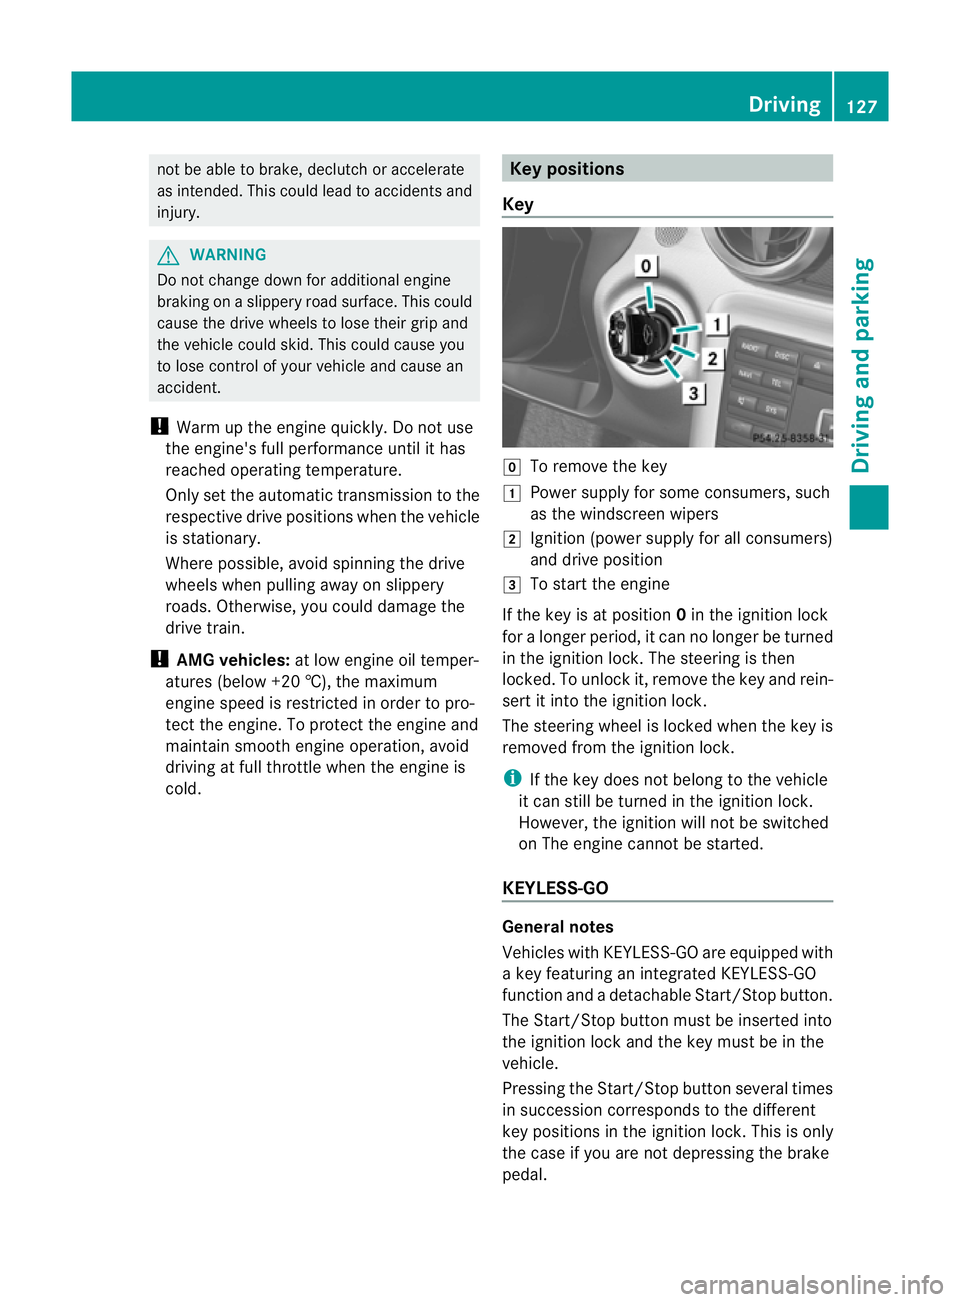
Key g
To remove the key
1 Power supply for some consumers, such
as the windscreen wipers
2 Ignition (power supply for all consumers)
and drive position
3 To start the engine
If the key is at position 0in the ignition lock
for a longer period, it can no longer be turned
in the ignition lock. The steering is then
locked. To unlock it, remove the key and rein-
sert it into the ignition lock.
The steering wheel is locked when the key is
removed from the ignition lock.
i If the key does not belong to the vehicle
it can still be turned in the ignition lock.
However, the ignition will not be switched
on The engine cannot be started.
KEYLESS-GO General notes
Vehicles with KEYLESS-GO are equipped with
a key featuring an integrated KEYLESS-GO
function and a detachable Start/Stop button.
The Start/Stop button must be inserted into
the ignition lock and the key must be in the
vehicle.
Pressing the Start/Stop button several times
in succession corresponds to the different
key positions in the ignition lock. This is only
the case if you are not depressing the brake
pedal. Driving
127Driving and parking Z