service indicator MERCEDES-BENZ SLK ROADSTER 2012 Owners Manual
[x] Cancel search | Manufacturer: MERCEDES-BENZ, Model Year: 2012, Model line: SLK ROADSTER, Model: MERCEDES-BENZ SLK ROADSTER 2012Pages: 321, PDF Size: 6.9 MB
Page 10 of 321
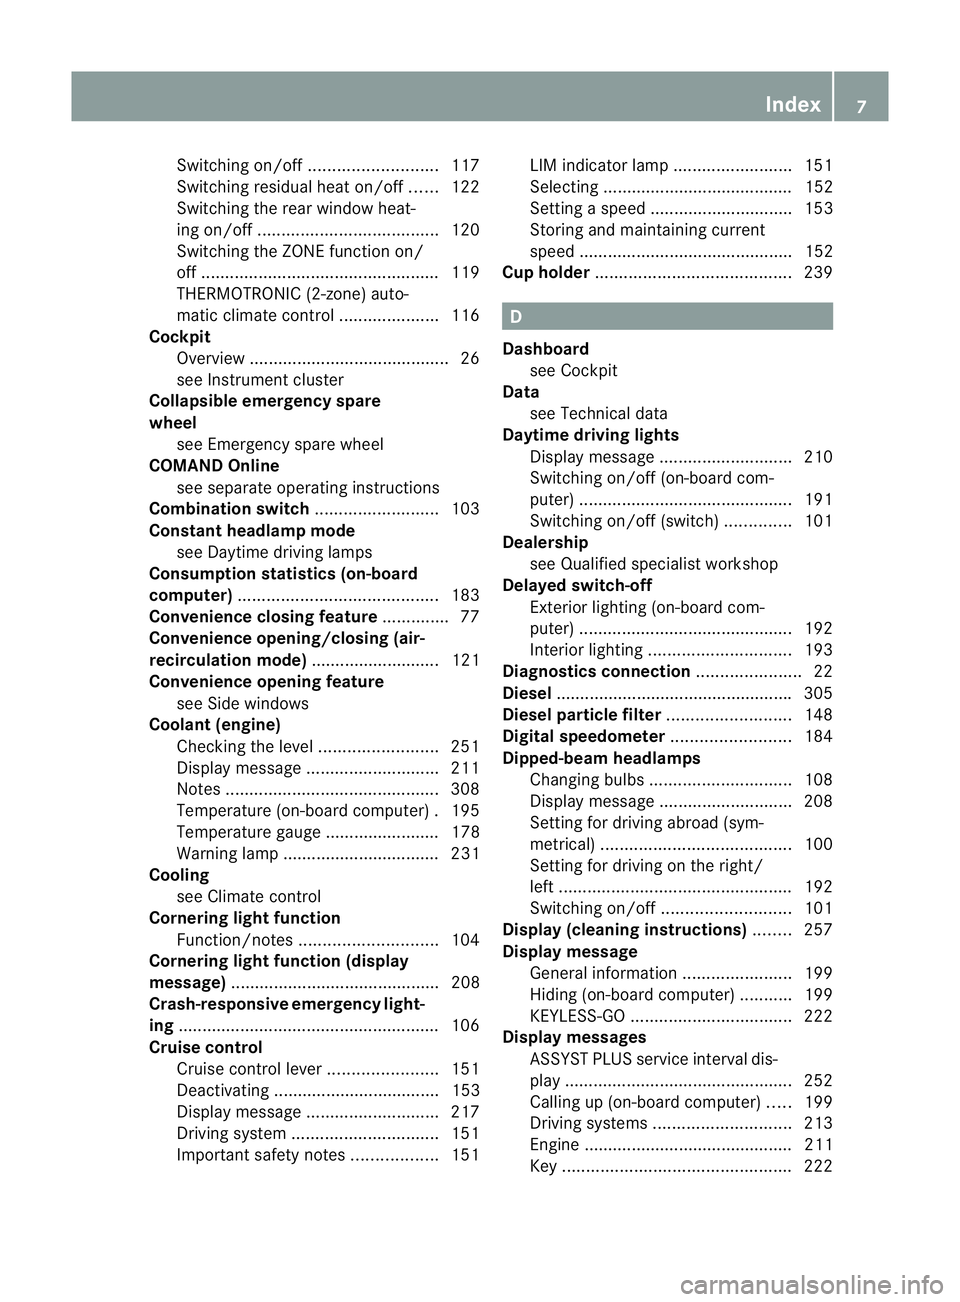
Switching on/of
f........................... 117
Switching residual hea ton/off ......122
Switching the rear window heat-
ing on/off ...................................... 120
Switching the ZONE function on/
off .................................................. 119
THERMOTRONIC (2-zone) auto-
matic climate control .....................116
Cockpit
Overview .......................................... 26
see Instrument cluster
Collapsible emergency spare
wheel
see Emergency spare wheel
COMAND Online
see separate operating instructions
Combination switch ..........................103
Constant headlamp mode see Daytime driving lamps
Consumption statistics (on-board
computer) .......................................... 183
Convenience closing feature ..............77
Convenience opening/closing (air-
recirculation mode) ........................... 121
Convenience opening feature see Side windows
Coolan t(engine)
Checkin gthe level ......................... 251
Display message ............................ 211
Notes ............................................. 308
Temperature (on-board computer) .195
Temperature gauge ........................ 178
Warning lamp ................................. 231
Cooling
see Climate control
Cornering light function
Function/notes ............................. 104
Cornering light function (display
message) ............................................ 208
Crash-responsive emergency light-
ing ....................................................... 106
Cruise control Cruise control leve r....................... 151
Deactivating ................................... 153
Display message ............................ 217
Driving system ............................... 151
Important safety notes ..................151LIM indicator lamp
.........................151
Selecting ........................................ 152
Setting aspeed .............................. 153
Storing and maintaining current
speed ............................................. 152
Cup holder ......................................... 239 D
Dashboard see Cockpit
Data
see Technical data
Daytime driving lights
Display message ............................ 210
Switching on/off (on-board com-
puter) ............................................. 191
Switching on/off (switch) ..............101
Dealership
see Qualified specialist workshop
Delaye dswitch-off
Exterio rlighting (on-board com-
puter )............................................. 192
Interior lighting .............................. 193
Diagnostics connection ......................22
Diesel ................................................. .305
Diesel particle filter ..........................148
Digital speedometer .........................184
Dipped-beam headlamps Changing bulbs .............................. 108
Display message ............................ 208
Setting for driving abroad (sym-
metrical) ........................................ 100
Setting for driving on the right/
left ................................................. 192
Switching on/off ........................... 101
Display (cleaning instructions) ........257
Display message General information .......................199
Hiding (on-board computer) ...........199
KEYLESS-GO .................................. 222
Display messages
ASSYST PLUS service interval dis-
play................................................ 252
Calling up (on-board computer) .....199
Driving systems ............................. 213
Engine ............................................ 211
Key ................................................ 222 Index
7
Page 21 of 321
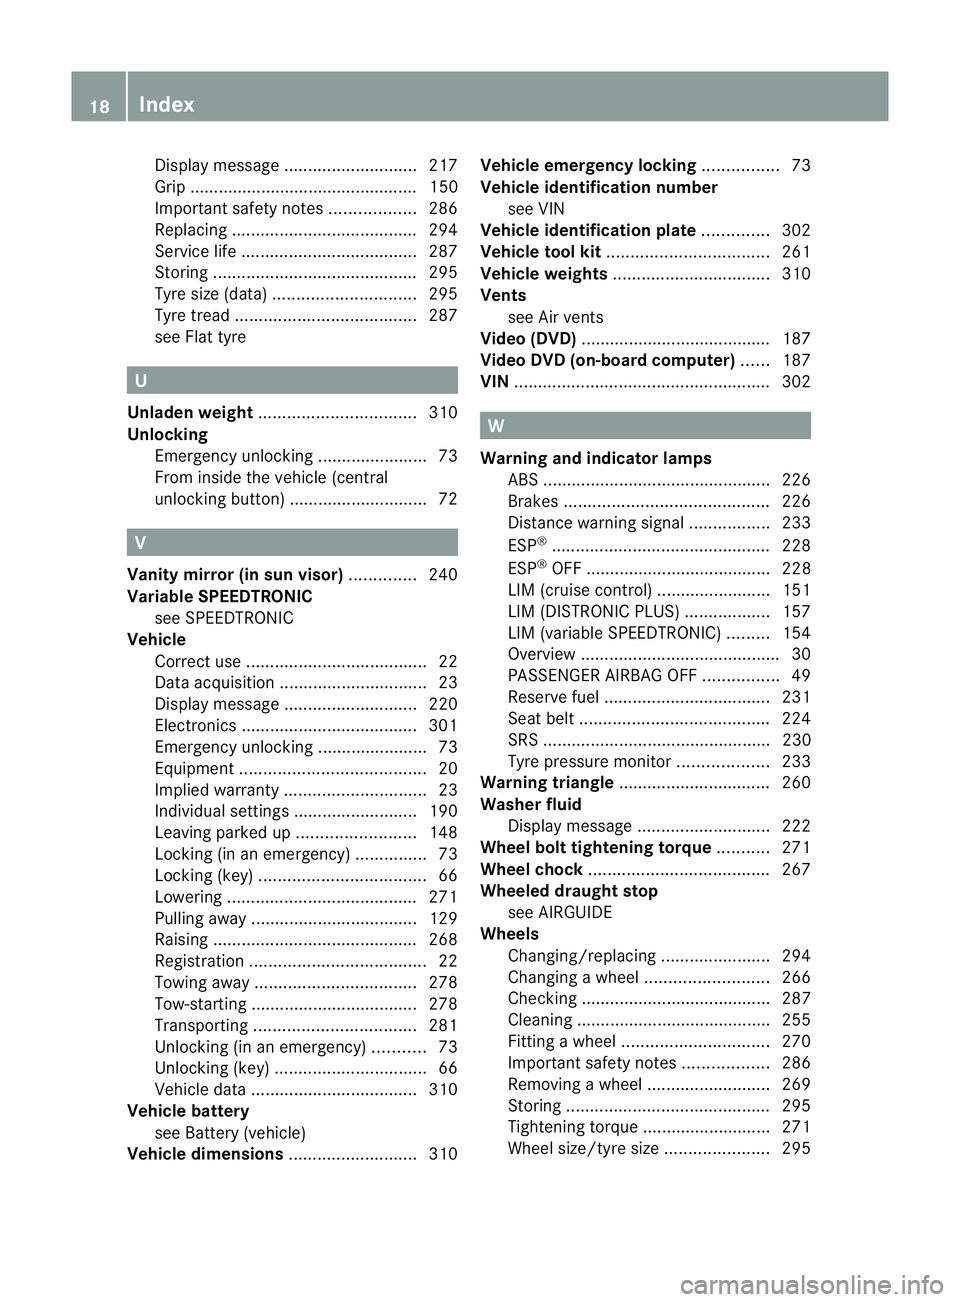
Display message
............................ 217
Grip ................................................ 150
Important safety notes ..................286
Replacing ....................................... 294
Service life ..................................... 287
Storing ........................................... 295
Tyr esize (data) .............................. 295
Tyr etread ...................................... 287
see Flat tyre U
Unladen weight ................................. 310
Unlocking Emergency unlocking .......................73
From inside the vehicle (central
unlocking button) ............................. 72V
Vanity mirror (in sun visor) ..............240
Variable SPEEDTRONIC see SPEEDTRONIC
Vehicle
Correct use ...................................... 22
Data acquisition ............................... 23
Display message ............................ 220
Electronics ..................................... 301
Emergency unlocking .......................73
Equipment ....................................... 20
Implied warranty .............................. 23
Individua lsettings .......................... 190
Leaving parked up .........................148
Locking (in an emergency) ...............73
Locking (key )................................... 66
Lowering ........................................ 271
Pulling away ................................... 129
Raising ........................................... 268
Registration ..................................... 22
Towing away .................................. 278
Tow-starting ................................... 278
Transporting .................................. 281
Unlocking (in an emergency) ...........73
Unlocking (key )................................ 66
Vehicle data ................................... 310
Vehicle battery
see Battery (vehicle)
Vehicle dimensions ...........................310Vehicle emergency locking
................73
Vehicle identification number see VIN
Vehicle identification plate ..............302
Vehicle tool kit .................................. 261
Vehicle weights ................................. 310
Vents see Air vents
Video (DVD) ........................................ 187
Video DVD (on-board computer) ......187
VIN ...................................................... 302 W
Warning and indicator lamps ABS ................................................ 226
Brakes ........................................... 226
Distance warning signa l................. 233
ESP ®
.............................................. 228
ESP ®
OFF ....................................... 228
LIM (cruise control) ........................ 151
LIM (DISTRONIC PLUS) ..................157
LIM (variable SPEEDTRONIC) .........154
Overview .......................................... 30
PASSENGER AIRBAG OFF ................49
Reserve fuel ................................... 231
Seat bel t........................................ 224
SRS ................................................ 230
Tyr ep ressure monitor ...................233
Warning triangle ................................ 260
Washer fluid Display message ............................ 222
Wheel bol ttightening torque ...........271
Wheel chock ...................................... 267
Wheeled draught stop see AIRGUIDE
Wheels
Changing/replacing .......................294
Changing awheel .......................... 266
Checking ........................................ 287
Cleaning ......................................... 255
Fitting awheel ............................... 270
Important safety notes ..................286
Removing awheel .......................... 269
Storing ........................................... 295
Tightening torque ........................... 271
Whee lsize/tyre size ...................... 29518
Index
Page 45 of 321
They are deployed:
R at the start of an accident with a high rate
of vehicle acceleration or deceleration in a
longitudinal direction
R if the system determines that airbag
deployment can offer additional protection
to that provided by the seat belt
R if the seat belt is fastened
R independently of other airbags in the vehi-
cle
If the vehicle overturns, the front airbags are
generally not deployed. The fronta irbags are
deployed if the system detects high vehicle
deceleration in a longitudinal direction.
Front-passenger airbag ;is only activated if
the system detects that the front-passenger
seat is occupied. The _PASSENGER AIR-
BAG ON indicator lamp lights up for
60 seconds when the ignition is switched on.
The a PASSENGER AIRBA GOFF indicator
lamp on the centre console is not lit
(Y page 49). This means that a child
restraint system withou tautomatic child seat
recognition has been fitted to the front-
passenger seat, or a child restraint system
with automatic child seat recognition has
been fitted incorrectly.
! Do not place heavy objects on the front-
passenger seat .The system may then
detect that the seat is occupied and if there
is an accident, the restraint systems on the
front-passenger side could be deployed.
Have restraint systems that have been trig-
gered replaced.
Sidebags G
WARNING
If you wish to use seat covers, Mercedes-Benz
recommends that, for safety reasons, you
only use seat covers that have been approved
for Mercedes-Ben zvehicles.
The seat covers must have a special tear seam
for sidebags. Otherwise, the sidebags cannot
deploy correctly and would fail to provide the intended protection in the event of an acci-
dent. Appropriate seat covers can be
obtained, for example, from a Mercedes-Benz
Service Centre.
When deployed, the sidebags offer additional
protection for the thorax of the vehicle occu-
pants on the side of the vehicle on which the
impact occurs .However, they do not protect
the:
R head
R neck
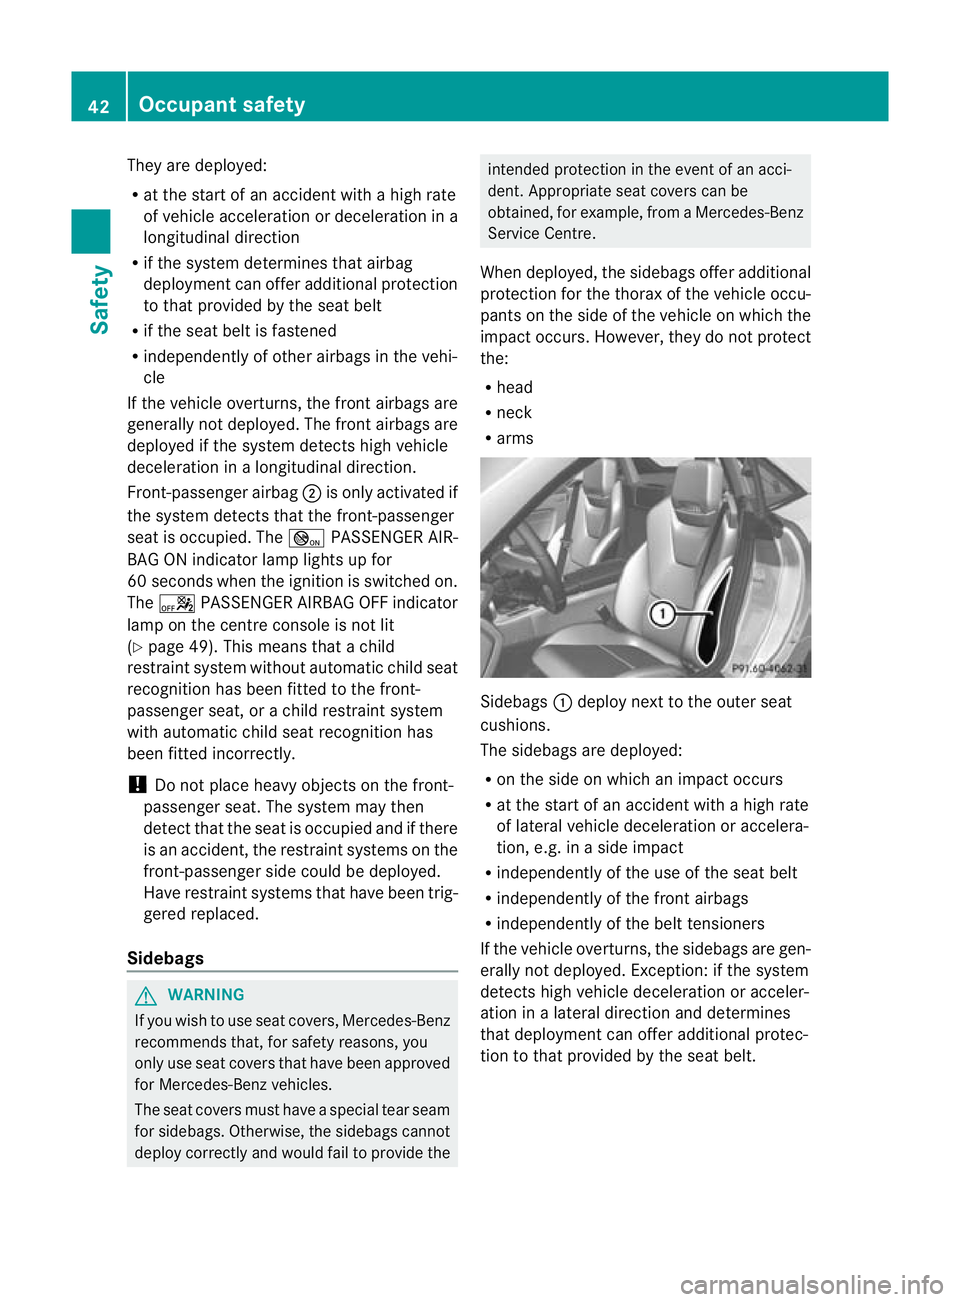
R arms Sidebags
:deploy next to the outer seat
cushions.
The sidebags are deployed:
R on the side on which an impact occurs
R at the start of an accident with a high rate
of lateral vehicle deceleration or accelera-
tion, e.g. in a side impact
R independently of the use of the seat belt
R independently of the front airbags
R independently of the belt tensioners
If the vehicle overturns, the sidebags are gen-
erally not deployed. Exception :ifthe system
detects high vehicle deceleration or acceler-
ation in a lateral direction and determines
that deployment can offer additional protec-
tion to that provided by the seat belt. 42
Occupant safetySafety
Page 52 of 321
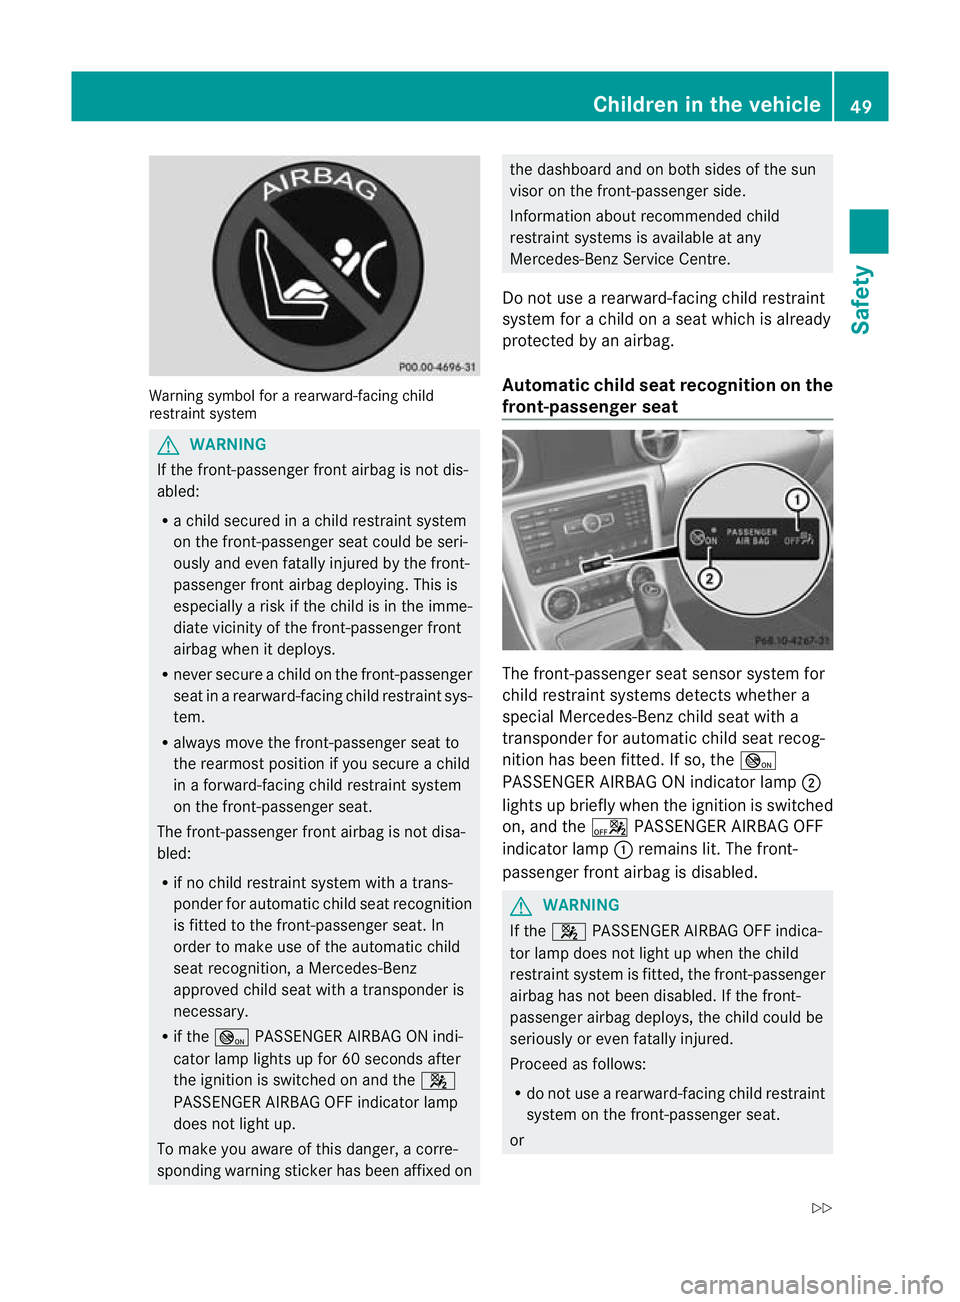
Warning symbol for a rearward-facing child
restraint system G
WARNING
If the front-passenger front airbag is not dis-
abled:
R a child secured in a child restraint system
on the front-passenger seat could be seri-
ously and even fatally injured by the front-
passenger fron tairbag deploying .This is
especially a risk if the child is in the imme-
diate vicinity of the front-passenger front
airbag when it deploys.
R never secure a child on the front-passenger
seat in a rearward-facing child restraint sys-
tem.
R always move the front-passenger seat to
the rearmost position if you secure a child
in a forward-facing child restraint system
on the front-passenger seat.
The front-passenger front airbag is not disa-
bled:
R if no child restraint system with a trans-
ponder for automatic child seat recognition
is fitted to the front-passenger seat. In
order to make use of the automatic child
seat recognition, a Mercedes-Benz
approved child seat with a transponder is
necessary.
R if the _ PASSENGER AIRBAG ON indi-
cator lamp lights up for 60 seconds after
the ignition is switched on and the 4
PASSENGER AIRBAG OFF indicator lamp
does not light up.
To make you aware of this danger, a corre-
sponding warning sticker has been affixed on the dashboard and on both sides of the sun
visor on the front-passenger side.
Information about recommended child
restraint systems is available at any
Mercedes-Benz Service Centre.
Do not use a rearward-facing child restraint
system for a child on aseat which is already
protected by an airbag.
Automatic child seat recognition on the
front-passenger seat The front-passenger seat sensor system for
child restraint systems detects whether a
special Mercedes-Benzc
hild seat with a
transponder for automatic child seat recog-
nition has been fitted. If so, the _
PASSENGER AIRBAG ON indicator lamp ;
lights up briefly when the ignition is switched
on, and the aPASSENGER AIRBAG OFF
indicator lamp :remains lit. The front-
passenger front airbag is disabled. G
WARNING
If the 4 PASSENGER AIRBAG OFF indica-
tor lamp does not light up when the child
restraint system is fitted, the front-passenger
airbag has not been disabled. If the front-
passenger airbag deploys, the child could be
seriously or even fatally injured.
Proceed as follows:
R do not use a rearward-facing child restraint
system on the front-passenger seat.
or Children in the vehicle
49Safety
Z
Page 151 of 321
During braking:
R
a warning tone sounds.
R the Release parking brake message
appears.
R the red !indicator lamp in the instru-
ment cluste rflashes.
When the vehicle has been braked to a stand-
still, the electric parking brake is engaged. Parking up the vehicle
If you leave the vehicle parked up for longer
than four weeks, the battery may be damaged
by exhaustive discharge.
X Disconnect the battery (Y page 274) or
connect it to a trickle charger.
i You can obtain information about trickle
chargers fro maqualified specialist work-
shop.
If you leave the vehicle parked up for longer
than six weeks, the vehicle may suffer dam-
age as a result of lack of use.
X Visit a qualified specialist workshop and
seek advice. Driving tips
General driving tips
Rolling with the engine switched off G
WARNING
Never switch the engine off while the vehicle
is in motion.
There is no power assistance for the steering
and the service brake when the engine is not
running.
You will require considerably more effor tto
steer and brake, and you could therefore lose
control of the vehicle and cause an accident. Short journey
! Vehicles with adiesel particle filter: if
the vehicle is mostly driven for short dis-
tances, it is possible that malfunctions may
occur during the automatic cleaning of the
diesel particle filter. This may lead to fuel
collecting in the engine oil and cause
engine failure. Therefore, if you frequently
drive short distances, you should take a 20
minute trip on a motorway or rural road at
least every 500km. Brakes
Important safety notes G
WARNING
Do not change down for additional engine
braking on a slippery road surface. This could
cause the drive wheels to lose their grip and
the vehicle could skid. G
WARNING
Make sure that other road users are not
endangered by your braking.
Downhill gradients On long and steep downhill gradients, espe-
cially if the vehicle is laden, you must shift to
a lower gear in good tim eor, on vehicles with
automatic transmission, select shift range 1,
2 or 3.
i This also applies if you have activated
cruise control, SPEEDTRONIC or DIS-
TRONIC PLUS.
This will use the braking effect of the engine,
so less braking will be required to maintain
the speed. This relieves the load on the brake
system and prevents the brakes from over-
heating and wearing too quickly. 148
Driving tipsDriving and parking
Page 246 of 321
Operating the mobile phone
You can operate the telephon
eusing the
6 and~ buttons on the multifunction
steering wheel. You can operate other mobile
phone functions via the on-board computer
(Y page 187).
When you remove the key from the ignition
lock, the mobile phone stays switched on.
However, you can no longer use the hands-
free system.
If you have an active call and would like to
take the key out of the ignition lock, first
remove the mobile phone from the bracket.
Otherwise, the call is ended.
i When using a bracket connected to the
mobile phone via Bluetooth ®
:ify ou wish to
continue a call in private mode, you will
need to perform the necessary steps on the
mobile phone. Information can be found in
the separate mobile phone operating
instructions. Garage door opener
Important safety notes The HomeLink
®
garage door opener integra-
ted in the rear-view mirror allows you to oper-
ate up to three different door and gate sys-
tems.
i The garage door opener is only available
for certain countries. Observe the legal
requirements for each individual country.
The HomeLink ®
garage door opener is
compatible with most European garage and
gate opener drives. More information on
HomeLink ®
and/or compatible products is
available from:
R any Mercedes-Benz Service Centre
R the HomeLink ®
hotline
(0) 08000 466 354 65 (free of charge) or
+49 (0) 6838 907 277 (charges apply)
R on the Internet at:
http://www.homelink.com Programming the integrated garage
door opener in the rear-view mirror Programming
G
WARNING
Only press the button on the integrated
garage door opener if there are no persons or
objects present within the sweep of the
garage door. Persons could otherwise be
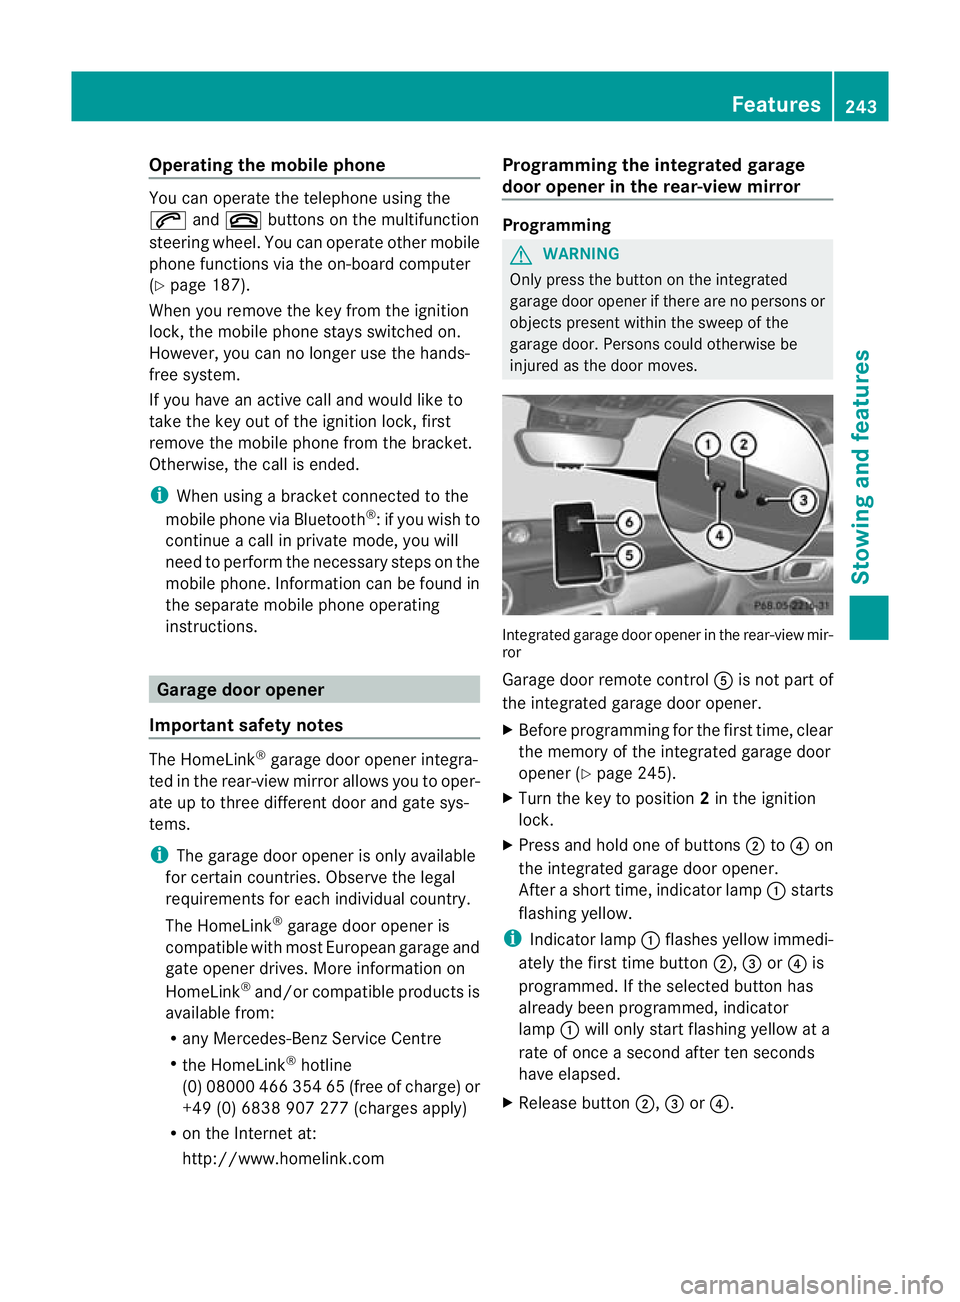
injured as the door moves. Integrated garage door opener in the rear-view mir-
ror
Garage door remote control
Ais not part of
the integrated garage door opener.
X Before programming for the first time, clear
the memory of the integrated garage door
opener (Y page 245).
X Turn the key to position 2in the ignition
lock.
X Press and hold one of buttons ;to? on
the integrated garage door opener.
After a short time, indicator lamp :starts
flashing yellow.
i Indicator lamp :flashes yellow immedi-
ately the first time button ;,=or? is
programmed. If the selected button has
already been programmed, indicator
lamp :will only start flashing yellow at a
rate of once a second after ten seconds
have elapsed.
X Release button ;,=or?. Features
243Stowing and features Z