heater MERCEDES-BENZ SPRINTER 2006 Service Manual
[x] Cancel search | Manufacturer: MERCEDES-BENZ, Model Year: 2006, Model line: SPRINTER, Model: MERCEDES-BENZ SPRINTER 2006Pages: 2305, PDF Size: 48.12 MB
Page 6 of 2305
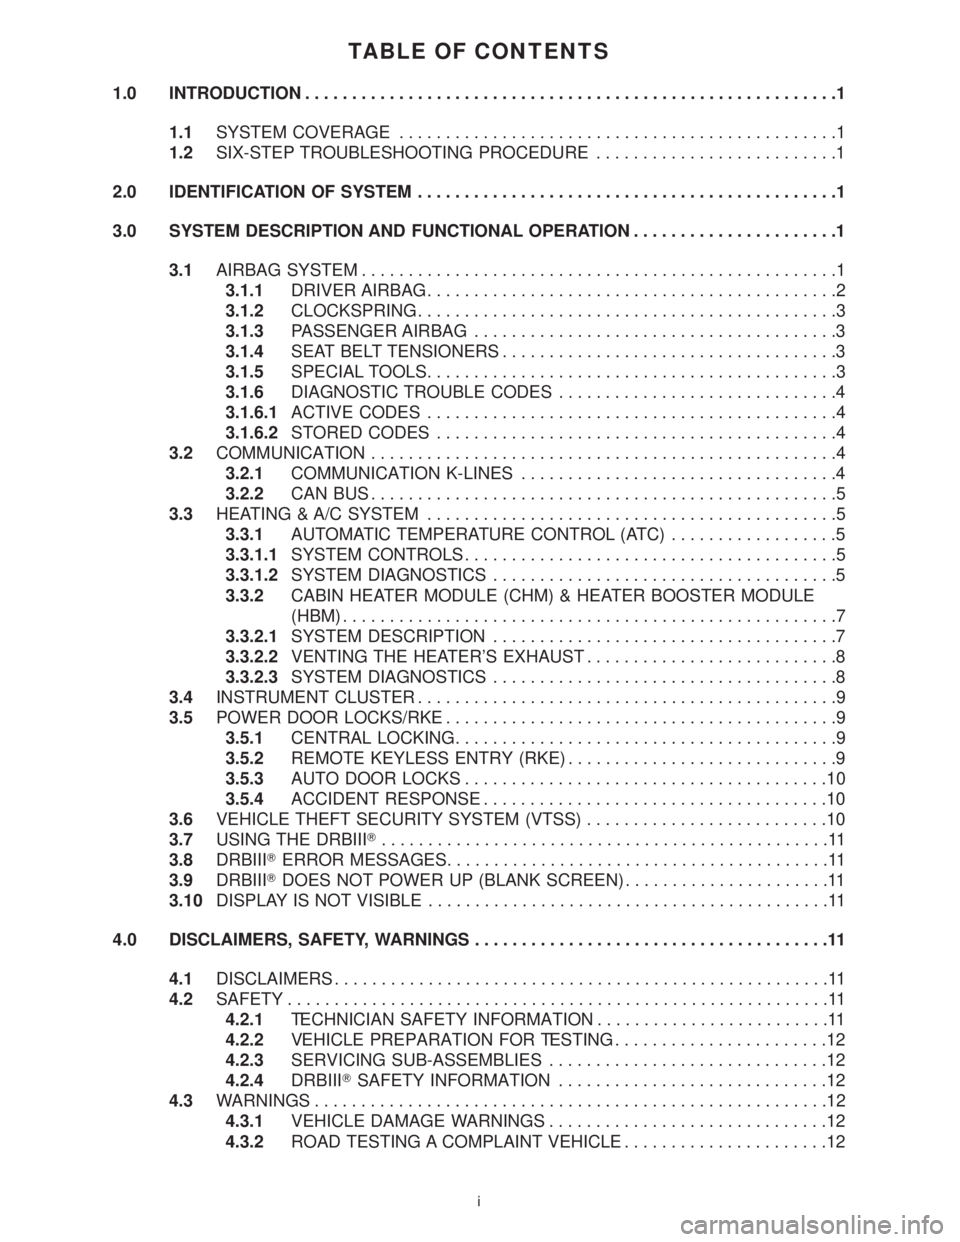
TABLE OF CONTENTS
1.0 INTRODUCTION.........................................................1
1.1SYSTEM COVERAGE...............................................1
1.2SIX-STEP TROUBLESHOOTING PROCEDURE..........................1
2.0 IDENTIFICATION OF SYSTEM.............................................1
3.0 SYSTEM DESCRIPTION AND FUNCTIONAL OPERATION......................1
3.1AIRBAG SYSTEM...................................................1
3.1.1DRIVER AIRBAG............................................2
3.1.2CLOCKSPRING.............................................3
3.1.3PASSENGER AIRBAG.......................................3
3.1.4SEAT BELT TENSIONERS....................................3
3.1.5SPECIAL TOOLS............................................3
3.1.6DIAGNOSTIC TROUBLE CODES..............................4
3.1.6.1ACTIVE CODES............................................4
3.1.6.2STORED CODES...........................................4
3.2COMMUNICATION..................................................4
3.2.1COMMUNICATION K-LINES..................................4
3.2.2CAN BUS..................................................5
3.3HEATING & A/C SYSTEM............................................5
3.3.1AUTOMATIC TEMPERATURE CONTROL (ATC)..................5
3.3.1.1SYSTEM CONTROLS........................................5
3.3.1.2SYSTEM DIAGNOSTICS.....................................5
3.3.2CABIN HEATER MODULE (CHM) & HEATER BOOSTER MODULE
(HBM).....................................................7
3.3.2.1SYSTEM DESCRIPTION.....................................7
3.3.2.2VENTING THE HEATER'S EXHAUST...........................8
3.3.2.3SYSTEM DIAGNOSTICS.....................................8
3.4INSTRUMENT CLUSTER.............................................9
3.5POWER DOOR LOCKS/RKE..........................................9
3.5.1CENTRAL LOCKING.........................................9
3.5.2REMOTE KEYLESS ENTRY (RKE).............................9
3.5.3AUTO DOOR LOCKS.......................................10
3.5.4ACCIDENT RESPONSE.....................................10
3.6VEHICLE THEFT SECURITY SYSTEM (VTSS)..........................10
3.7USING THE DRBIIIT................................................11
3.8DRBIIITERROR MESSAGES.........................................11
3.9DRBIIITDOES NOT POWER UP (BLANK SCREEN)......................11
3.10DISPLAY IS NOT VISIBLE...........................................11
4.0 DISCLAIMERS, SAFETY, WARNINGS......................................11
4.1DISCLAIMERS.....................................................11
4.2SAFETY..........................................................11
4.2.1TECHNICIAN SAFETY INFORMATION.........................11
4.2.2VEHICLE PREPARATION FOR TESTING.......................12
4.2.3SERVICING SUB-ASSEMBLIES..............................12
4.2.4DRBIIITSAFETY INFORMATION.............................12
4.3WARNINGS.......................................................12
4.3.1VEHICLE DAMAGE WARNINGS..............................12
4.3.2ROAD TESTING A COMPLAINT VEHICLE......................12
i
Page 7 of 2305
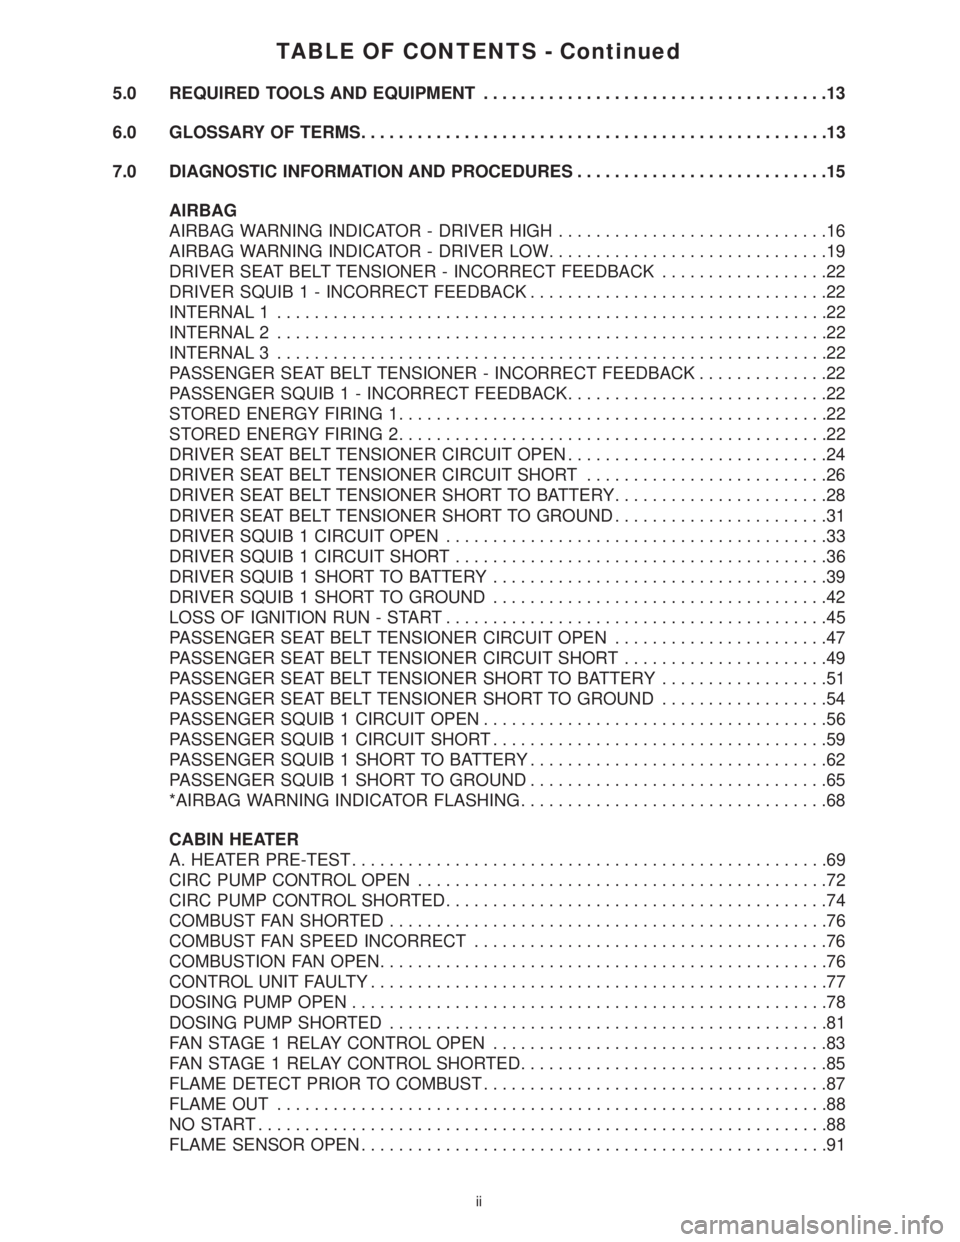
TABLE OF CONTENTS - Continued
5.0 REQUIRED TOOLS AND EQUIPMENT.....................................13
6.0 GLOSSARY OF TERMS..................................................13
7.0 DIAGNOSTIC INFORMATION AND PROCEDURES...........................15
AIRBAG
AIRBAG WARNING INDICATOR - DRIVER HIGH.............................16
AIRBAG WARNING INDICATOR - DRIVER LOW..............................19
DRIVER SEAT BELT TENSIONER - INCORRECT FEEDBACK..................22
DRIVER SQUIB 1 - INCORRECT FEEDBACK................................22
INTERNAL 1...........................................................22
INTERNAL 2...........................................................22
INTERNAL 3...........................................................22
PASSENGER SEAT BELT TENSIONER - INCORRECT FEEDBACK..............22
PASSENGER SQUIB 1 - INCORRECT FEEDBACK............................22
STORED ENERGY FIRING 1..............................................22
STORED ENERGY FIRING 2..............................................22
DRIVER SEAT BELT TENSIONER CIRCUIT OPEN............................24
DRIVER SEAT BELT TENSIONER CIRCUIT SHORT..........................26
DRIVER SEAT BELT TENSIONER SHORT TO BATTERY.......................28
DRIVER SEAT BELT TENSIONER SHORT TO GROUND.......................31
DRIVER SQUIB 1 CIRCUIT OPEN.........................................33
DRIVER SQUIB 1 CIRCUIT SHORT........................................36
DRIVER SQUIB 1 SHORT TO BATTERY....................................39
DRIVER SQUIB 1 SHORT TO GROUND....................................42
LOSS OF IGNITION RUN - START.........................................45
PASSENGER SEAT BELT TENSIONER CIRCUIT OPEN.......................47
PASSENGER SEAT BELT TENSIONER CIRCUIT SHORT......................49
PASSENGER SEAT BELT TENSIONER SHORT TO BATTERY..................51
PASSENGER SEAT BELT TENSIONER SHORT TO GROUND..................54
PASSENGER SQUIB 1 CIRCUIT OPEN.....................................56
PASSENGER SQUIB 1 CIRCUIT SHORT....................................59
PASSENGER SQUIB 1 SHORT TO BATTERY................................62
PASSENGER SQUIB 1 SHORT TO GROUND................................65
*AIRBAG WARNING INDICATOR FLASHING.................................68
CABIN HEATER
A. HEATER PRE-TEST...................................................69
CIRC PUMP CONTROL OPEN............................................72
CIRC PUMP CONTROL SHORTED.........................................74
COMBUST FAN SHORTED...............................................76
COMBUST FAN SPEED INCORRECT......................................76
COMBUSTION FAN OPEN................................................76
CONTROL UNIT FAULTY.................................................77
DOSING PUMP OPEN...................................................78
DOSING PUMP SHORTED...............................................81
FAN STAGE 1 RELAY CONTROL OPEN....................................83
FAN STAGE 1 RELAY CONTROL SHORTED.................................85
FLAME DETECT PRIOR TO COMBUST.....................................87
FLAME OUT...........................................................88
NO START.............................................................88
FLAME SENSOR OPEN..................................................91
ii
Page 8 of 2305
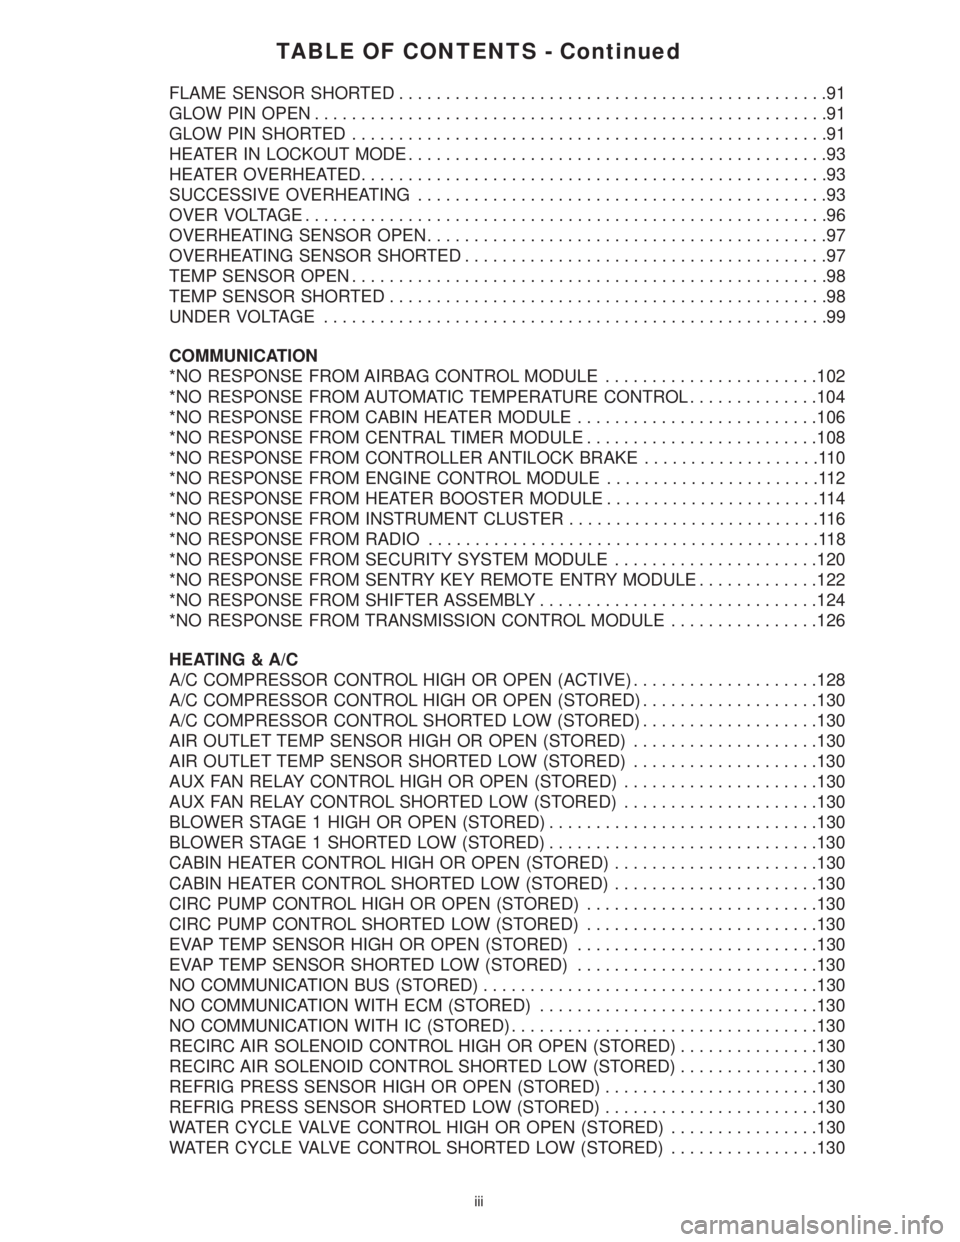
TABLE OF CONTENTS - Continued
FLAME SENSOR SHORTED..............................................91
GLOW PIN OPEN.......................................................91
GLOW PIN SHORTED...................................................91
HEATER IN LOCKOUT MODE.............................................93
HEATER OVERHEATED..................................................93
SUCCESSIVE OVERHEATING............................................93
OVER VOLTAGE........................................................96
OVERHEATING SENSOR OPEN...........................................97
OVERHEATING SENSOR SHORTED.......................................97
TEMP SENSOR OPEN...................................................98
TEMP SENSOR SHORTED...............................................98
UNDER VOLTAGE......................................................99
COMMUNICATION
*NO RESPONSE FROM AIRBAG CONTROL MODULE.......................102
*NO RESPONSE FROM AUTOMATIC TEMPERATURE CONTROL..............104
*NO RESPONSE FROM CABIN HEATER MODULE..........................106
*NO RESPONSE FROM CENTRAL TIMER MODULE.........................108
*NO RESPONSE FROM CONTROLLER ANTILOCK BRAKE...................110
*NO RESPONSE FROM ENGINE CONTROL MODULE.......................112
*NO RESPONSE FROM HEATER BOOSTER MODULE.......................114
*NO RESPONSE FROM INSTRUMENT CLUSTER...........................116
*NO RESPONSE FROM RADIO..........................................118
*NO RESPONSE FROM SECURITY SYSTEM MODULE......................120
*NO RESPONSE FROM SENTRY KEY REMOTE ENTRY MODULE.............122
*NO RESPONSE FROM SHIFTER ASSEMBLY..............................124
*NO RESPONSE FROM TRANSMISSION CONTROL MODULE................126
HEATING & A/C
A/C COMPRESSOR CONTROL HIGH OR OPEN (ACTIVE)....................128
A/C COMPRESSOR CONTROL HIGH OR OPEN (STORED)...................130
A/C COMPRESSOR CONTROL SHORTED LOW (STORED)...................130
AIR OUTLET TEMP SENSOR HIGH OR OPEN (STORED)....................130
AIR OUTLET TEMP SENSOR SHORTED LOW (STORED)....................130
AUX FAN RELAY CONTROL HIGH OR OPEN (STORED).....................130
AUX FAN RELAY CONTROL SHORTED LOW (STORED).....................130
BLOWER STAGE 1 HIGH OR OPEN (STORED).............................130
BLOWER STAGE 1 SHORTED LOW (STORED).............................130
CABIN HEATER CONTROL HIGH OR OPEN (STORED)......................130
CABIN HEATER CONTROL SHORTED LOW (STORED)......................130
CIRC PUMP CONTROL HIGH OR OPEN (STORED).........................130
CIRC PUMP CONTROL SHORTED LOW (STORED).........................130
EVAP TEMP SENSOR HIGH OR OPEN (STORED)..........................130
EVAP TEMP SENSOR SHORTED LOW (STORED)..........................130
NO COMMUNICATION BUS (STORED)....................................130
NO COMMUNICATION WITH ECM (STORED)..............................130
NO COMMUNICATION WITH IC (STORED).................................130
RECIRC AIR SOLENOID CONTROL HIGH OR OPEN (STORED)...............130
RECIRC AIR SOLENOID CONTROL SHORTED LOW (STORED)...............130
REFRIG PRESS SENSOR HIGH OR OPEN (STORED).......................130
REFRIG PRESS SENSOR SHORTED LOW (STORED).......................130
WATER CYCLE VALVE CONTROL HIGH OR OPEN (STORED)................130
WATER CYCLE VALVE CONTROL SHORTED LOW (STORED)................130
iii
Page 9 of 2305
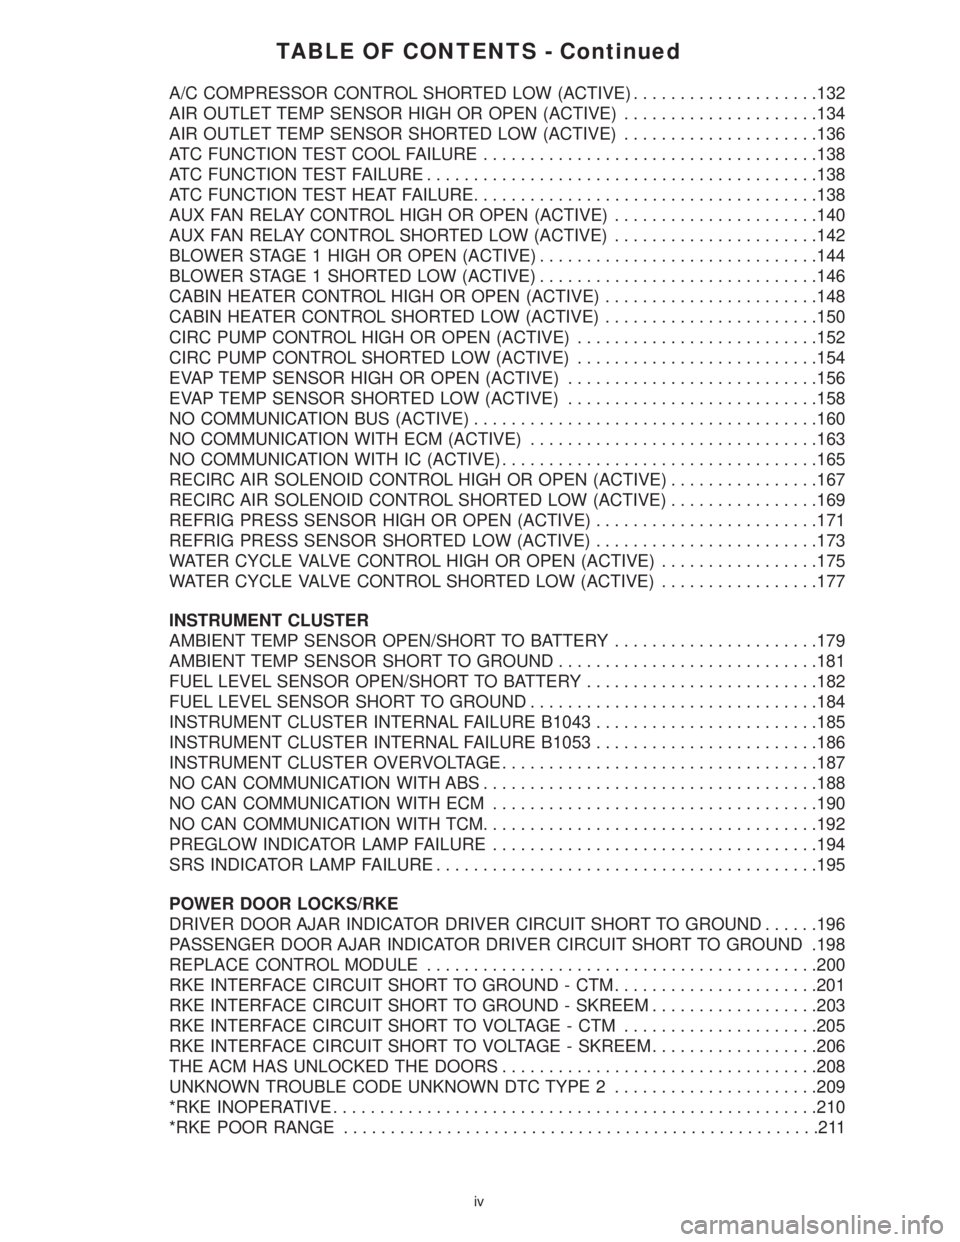
TABLE OF CONTENTS - Continued
A/C COMPRESSOR CONTROL SHORTED LOW (ACTIVE)....................132
AIR OUTLET TEMP SENSOR HIGH OR OPEN (ACTIVE).....................134
AIR OUTLET TEMP SENSOR SHORTED LOW (ACTIVE).....................136
ATC FUNCTION TEST COOL FAILURE....................................138
ATC FUNCTION TEST FAILURE..........................................138
ATC FUNCTION TEST HEAT FAILURE.....................................138
AUX FAN RELAY CONTROL HIGH OR OPEN (ACTIVE)......................140
AUX FAN RELAY CONTROL SHORTED LOW (ACTIVE)......................142
BLOWER STAGE 1 HIGH OR OPEN (ACTIVE)..............................144
BLOWER STAGE 1 SHORTED LOW (ACTIVE)..............................146
CABIN HEATER CONTROL HIGH OR OPEN (ACTIVE).......................148
CABIN HEATER CONTROL SHORTED LOW (ACTIVE).......................150
CIRC PUMP CONTROL HIGH OR OPEN (ACTIVE)..........................152
CIRC PUMP CONTROL SHORTED LOW (ACTIVE)..........................154
EVAP TEMP SENSOR HIGH OR OPEN (ACTIVE)...........................156
EVAP TEMP SENSOR SHORTED LOW (ACTIVE)...........................158
NO COMMUNICATION BUS (ACTIVE).....................................160
NO COMMUNICATION WITH ECM (ACTIVE)...............................163
NO COMMUNICATION WITH IC (ACTIVE)..................................165
RECIRC AIR SOLENOID CONTROL HIGH OR OPEN (ACTIVE)................167
RECIRC AIR SOLENOID CONTROL SHORTED LOW (ACTIVE)................169
REFRIG PRESS SENSOR HIGH OR OPEN (ACTIVE)........................171
REFRIG PRESS SENSOR SHORTED LOW (ACTIVE)........................173
WATER CYCLE VALVE CONTROL HIGH OR OPEN (ACTIVE).................175
WATER CYCLE VALVE CONTROL SHORTED LOW (ACTIVE).................177
INSTRUMENT CLUSTER
AMBIENT TEMP SENSOR OPEN/SHORT TO BATTERY......................179
AMBIENT TEMP SENSOR SHORT TO GROUND............................181
FUEL LEVEL SENSOR OPEN/SHORT TO BATTERY.........................182
FUEL LEVEL SENSOR SHORT TO GROUND...............................184
INSTRUMENT CLUSTER INTERNAL FAILURE B1043........................185
INSTRUMENT CLUSTER INTERNAL FAILURE B1053........................186
INSTRUMENT CLUSTER OVERVOLTAGE..................................187
NO CAN COMMUNICATION WITH ABS....................................188
NO CAN COMMUNICATION WITH ECM...................................190
NO CAN COMMUNICATION WITH TCM....................................192
PREGLOW INDICATOR LAMP FAILURE...................................194
SRS INDICATOR LAMP FAILURE.........................................195
POWER DOOR LOCKS/RKE
DRIVER DOOR AJAR INDICATOR DRIVER CIRCUIT SHORT TO GROUND......196
PASSENGER DOOR AJAR INDICATOR DRIVER CIRCUIT SHORT TO GROUND .198
REPLACE CONTROL MODULE..........................................200
RKE INTERFACE CIRCUIT SHORT TO GROUND - CTM......................201
RKE INTERFACE CIRCUIT SHORT TO GROUND - SKREEM..................203
RKE INTERFACE CIRCUIT SHORT TO VOLTAGE - CTM.....................205
RKE INTERFACE CIRCUIT SHORT TO VOLTAGE - SKREEM..................206
THE ACM HAS UNLOCKED THE DOORS..................................208
UNKNOWN TROUBLE CODE UNKNOWN DTC TYPE 2......................209
*RKE INOPERATIVE....................................................210
*RKE POOR RANGE...................................................211
iv
Page 10 of 2305
TABLE OF CONTENTS - Continued
VEHICLE THEFT/SECURITY
DRIVER CYLINDER LOCK SWITCH CIRCUIT SHORT TO GROUND............212
DRIVER CYLINDER UNLOCK SWITCH CIRCUIT SHORT TO GROUND.........214
FRONT DOOR JAMB SWITCH CIRCUIT SHORT TO GROUND................216
INTERNAL ERROR - SSM...............................................218
TOWING INCLINATION SENSOR BEYOND LIMITS..........................218
TOWING INCLINATION SENSOR VALUE IS INVALID.........................218
TOWING INCLINATION SENSOR VALUE IS MISSING........................218
INTRUSION SENSOR 1 CIRCUIT OPEN/SHORT TO GROUND................220
INTRUSION SENSOR 1 GROUND CIRCUIT OPEN..........................222
INTRUSION SENSOR 2 CIRCUIT OPEN/SHORT TO GROUND................223
INTRUSION SENSOR 2 GROUND CIRCUIT OPEN..........................225
INTRUSION SENSOR 3 CIRCUIT OPEN/SHORT TO GROUND................226
INTRUSION SENSOR 3 GROUND CIRCUIT OPEN..........................228
REAR OR SLIDING DOOR JAMB SWITCH CIRCUIT SHORT TO GROUND......229
RKE INTERFACE CIRCUIT FAILURE - SSM................................231
SECURITY SYSTEM INTERFACE FAILURE - SSM...........................233
SIREN CIRCUIT OPEN/SHORTED TO GROUND............................235
SIREN INTERNAL FAILURE.............................................237
SIREN SIGNAL CONTROL CIRCUIT SHORT TO GROUND....................238
WINDSHIELD WIPER & WASHER
CHECKING THE RAIN SENSOR/WIPER OPERATION........................239
VERIFICATION TESTS
VERIFICATION TESTS..................................................244
8.0 COMPONENT LOCATIONS..............................................249
8.1AIRBAG SYSTEM.................................................249
8.2AIRBAG CONTROL MODULE.......................................249
8.3DRIVER AIRBAG SQUIB...........................................249
8.4CLOCKSPRING..................................................250
8.5SEAT BELT TENSIONER...........................................250
8.6HEATING & A/C...................................................250
8.6.1AUTOMATIC TEMPERATURE CONTROL (ATC) SYSTEM
COMPONENTS...........................................250
8.6.2CABIN HEATER & HEATER BOOSTER SYSTEM COMPONENTS .251
8.6.3AUTO TEMP CONTROL, CABIN HEATER, & HEATER BOOSTER
FUSES & RELAYS........................................251
8.6.4EVAP TEMP SENSOR & AIR OUTLET TEMP SENSOR..........251
8.7INSTRUMENT CLUSTER...........................................252
8.7.1AMBIENT TEMPERATURE SENSOR.........................252
8.8POWER DOOR LOCKS/RKE........................................252
8.8.1CENTRAL TIMER MODULE.................................252
8.8.2SENTRY KEY REMOTE ENTRY MODULE.....................253
8.8.3DOOR LOCK MOTOR/AJAR SWITCH........................253
8.8.4CONTACT PLATES........................................253
8.8.5DOOR LOCK MOTOR/AJAR SWITCH CONNECTORS...........254
v
Page 11 of 2305
TABLE OF CONTENTS - Continued
8.9VEHICLE THEFT SECURITY SYSTEM................................254
8.9.1SECURITY SYSTEM MODULE..............................254
8.9.2INTRUSION SENSORS....................................254
8.9.3SWITCHES..............................................255
8.9.4SIREN..................................................255
9.0 CONNECTOR PINOUTS................................................257
A/C AUXILIARY FAN....................................................257
AIR OUTLET TEMPERATURE SENSOR...................................257
AIRBAG CONTROL MODULE - YELLOW...................................257
AIRBAG SQUIB-DRIVER - YELLOW.......................................258
AIRBAG SQUIB-PASSENGER - YELLOW..................................258
AMBIENT TEMPERATURE SENSOR......................................258
AUTOMATIC TEMPERATURE CONTROL MODULE C1 - BROWN..............259
AUTOMATIC TEMPERATURE CONTROL MODULE C2.......................259
AUXILIARY HEATER CONTROL..........................................259
BLOWER MOTOR RESISTOR BLOCK.....................................259
BLOWER MOTOR-FRONT - BLACK.......................................260
C205 - YELLOW (DASH SIDE)...........................................260
C205 - YELLOW (MAIN BODY SIDE)......................................260
CENTRAL TIMER MODULE C1 - PINK.....................................260
CENTRAL TIMER MODULE C2 - LT. GREEN...............................261
CIRCULATION PUMP (CABIN HEATER MODULE)...........................261
CIRCULATION PUMP (REST SYSTEM)....................................261
CIRCULATION PUMP DIODE............................................261
CLOCKSPRING C2 - YELLOW...........................................262
CONTROLLER ANTILOCK BRAKE........................................262
CYLINDER LOCK SWITCH-DRIVER.......................................263
DATA LINK CONNECTOR - BLACK........................................263
DOOR LOCK MOTOR/AJAR SWITCH ASSEMBLY-DRIVER C1.................263
DOOR LOCK MOTOR/AJAR SWITCH ASSEMBLY-DRIVER C2.................263
DOOR LOCK MOTOR/AJAR SWITCH ASSEMBLY-LEFT SLIDING C1...........263
DOOR LOCK MOTOR/AJAR SWITCH ASSEMBLY-LEFT SLIDING C2...........264
DOOR LOCK MOTOR/AJAR SWITCH ASSEMBLY-PASSENGER C1............264
DOOR LOCK MOTOR/AJAR SWITCH ASSEMBLY-PASSENGER C2............264
DOOR LOCK MOTOR/AJAR SWITCH ASSEMBLY-REAR C1...................264
DOOR LOCK MOTOR/AJAR SWITCH ASSEMBLY-REAR C2...................264
DOOR LOCK MOTOR/AJAR SWITCH ASSEMBLY-RIGHT SLIDING C1..........265
DOOR LOCK MOTOR/AJAR SWITCH ASSEMBLY-RIGHT SLIDING C2..........265
DOSING PUMP........................................................265
ENGINE CONTROL MODULE C1 (EXCEPT OBD) - BLACK...................265
ENGINE CONTROL MODULE C2 (EXCEPT OBD) - BLACK...................266
ENGINE CONTROL MODULE C2 (OBD)...................................267
ENGINE CONTROL MODULE C3 (EXCEPT OBD) - BLACK...................268
EVAPORATOR TEMPERATURE SENSOR..................................269
FUEL LEVEL SENSOR..................................................269
FUSES (FUSE BLOCK NO. 1)............................................271
FUSE BLOCK NO. 1 C1.................................................271
FUSE BLOCK NO. 1 C2.................................................271
FUSE BLOCK NO. 1 C3 - BLACK.........................................272
FUSE BLOCK NO. 1 C4 - BLACK.........................................272
FUSE BLOCK NO. 1 C5 - BLACK.........................................272
vi
Page 12 of 2305
TABLE OF CONTENTS - Continued
FUSES (FUSE BLOCK NO. 2)............................................274
FUSES (FUSE BLOCK NO. 3)............................................276
FUSES (FUSE/RELAY BLOCK)...........................................278
HOOD AJAR SWITCH - BLACK...........................................278
HORN (VTSS).........................................................278
IGNITION LOCK SWITCH - BLACK........................................278
INSTRUMENT CLUSTER C1.............................................279
INSTRUMENT CLUSTER C2 - WHITE.....................................279
INTRUSION SENSOR NO. 1 - BLACK.....................................279
INTRUSION SENSOR NO. 2 - BLACK.....................................279
INTRUSION SENSOR NO. 3 - BLACK.....................................280
MASTER DOOR LOCK SWITCH..........................................280
PANIC ALARM SWITCH - BLACK.........................................280
FUSES (PDC).........................................................281
RADIO C1 - BLACK....................................................282
RADIO C2............................................................282
RECIRCULATED AIR SOLENOID VALVE...................................282
REFRIGERANT PRESSURE SENSOR.....................................282
A/C AUXILIARY FAN RELAY (RELAY BLOCK)...............................284
CIRCULATION PUMP RELAY-CABIN HEATER MODULE (RELAY BLOCK).......284
D+ RELAY NO. 2 (RELAY BLOCK)........................................284
FAN STAGE 1 RELAY (RELAY BLOCK)....................................284
OPTIONAL EQUIPMENT RELAY (RELAY BLOCK)...........................284
REMOTE KEYLESS ENTRY ANTENNA....................................284
SEAT BELT SWITCH...................................................284
SEAT BELT TENSIONER-DRIVER - YELLOW...............................285
SEAT BELT TENSIONER-PASSENGER - YELLOW...........................285
SECURITY SYSTEM MODULE C1 - BROWN...............................285
SECURITY SYSTEM MODULE C2 - LT. GREEN.............................286
SENTRY KEY REMOTE ENTRY MODULE (SKREEM)........................286
SHIFTER ASSEMBLY - BLACK...........................................286
SIREN - BLACK.......................................................286
STEERING ANGLE SENSOR............................................287
TOWING/INTRUSION SENSOR ON/OFF SWITCH...........................287
TRANSMISSION CONTROL MODULE C1 - BLACK..........................287
TRANSMISSION CONTROL MODULE C2 - BLACK..........................288
WATER CYCLE VALVE..................................................288
WINDOW DEFOGGER-LEFT REAR.......................................288
WINDOW DEFOGGER-RIGHT REAR......................................288
10.0 SCHEMATIC DIAGRAMS................................................289
10.1AIRBAG SYSTEM.................................................289
10.2COMMUNICATION................................................290
10.2.1COMMUNICATION K-LINES................................290
10.2.2CAN BUS NETWORK......................................291
10.3HEATING & A/C...................................................292
10.3.1AUTOMATIC TEMPERATURE CONTROL (ATC)................292
10.3.2CABIN HEATER MODULE (CHM)............................293
10.3.3HEATER BOOSTER MODULE (HBM).........................294
10.4INSTRUMENT CLUSTER...........................................295
vii
Page 17 of 2305
loads are connected to cables and mounted in a
storage case. The cables can be directly connected to
some airbag system connectors. Jumpers are used
to convert the load tool cable connectors to the other
airbag system connectors. The adapters are con-
nected to the module harness connector to open
shorting clips and protect the connector terminal
during testing. When using the load tool follow all of
the safety procedures in the service information for
disconnecting airbag system components. Inspect
the wiring, connector and terminals for damage or
misalignment. Substitute the airbag load tool in
place of a Driver or Passenger Airbag, seat belt
tensioner, clockspring (use a jumper if needed).
Then follow all of the safety procedures in the
service information for connecting airbag system
components. Read the module active DTCs. If the
module reports NO ACTIVE DTCs the defective
components has been removed from the system and
should be replaced. If the DTC is still active, con-
tinue this process until all components in the circuit
have been tested. Then disconnect the module con-
nector and connect the matching adapter to the
module connector. With all airbags disconnected
and the adapter installed the squib wiring can be
tested for open and shorted conditions.
3.1.6 DIAGNOSTIC TROUBLE CODES
Airbag diagnostic trouble codes consist of active
and stored codes. If more than one code exists,
diagnostic priority should be given to the active
codes. Each diagnostic trouble code is diagnosed by
following a specific testing procedure. The diagnos-
tic test procedures contain step-by-step instructions
for determining the cause of the trouble codes. It is
not necessary to perform all of the tests in this book
to diagnose an individual code. Always begin by
reading the diagnostic trouble codes with the
DRBIIIt. This will direct you to the specific test(s)
that must be performed. In certain test procedures
within this manual, diagnostic trouble codes are
used as a diagnostic tool.
3.1.6.1 ACTIVE CODES
If the lamp remains on, there could be an active
DTC in the system. The code becomes active as soon
as the malfunction is detected or key-on, whichever
occurs first. An active trouble code indicates an
on-going malfunction. This means that the defect is
currently there every time the airbag control mod-
ule checks that circuit or component. Some DTCs,
Internal Module and squib DTCs, will keep the
indicator illuminated even if they are no longer
active. If the lamp is on and no active codes are
present, cycling the ignition switch off and then on
will refresh the lamp state. It is impossible to erase
an active code.
3.1.6.2 STORED CODES
Airbag codes are automatically stored in the
ACM's memory as soon as the malfunction is de-
tected. A stored code indicates there was an active
code present at some time. Stored diagnostic trou-
ble code will remain stored until erased by the DRB.
If a malfunction is not active while performing a
diagnostic test procedure, the active code diagnostic
test will not locate the source of the problem. In this
case, the stored code can indicate an area to inspect.
Maintain a safe distance from all airbags while
performing the following inspection. If no obvious
problems are found, erase stored codes, and with
the ignition on wiggle the wire harness and connec-
tors, rotate the steering wheel from stop to stop.
Recheck for codes periodically as you work through
the system. This procedure may uncover a malfunc-
tion that is difficult to locate.
3.2 COMMUNICATION
3.2.1 COMMUNICATION K-LINES
The K-Lines are a group of circuits that connect
each control module to the Data Link Connector
(DLC). Each control module is connected to the DLC
with a single K-Line. The DRBIIItuses the K-Line
to communicate with each control module. With the
use of the K-Lines the DRBIIItis able to read each
control modules DTCs, sensor displays, I/Os etc. If
DRBIIItcommunications with a particular control
module is lost, one of the possible causes could be a
fault in the module's K-Line.
NOTE: It is important to note the DRBIIIT
uses the K-Lines for diagnostic and
monitoring functions and is no way
connected to the CAN data bus network.
The following modules that use the K-line on this
vehicle are:
²Airbag Control Module (ACM)
²Automatic Temperature Control (ATC)
²Cabin Heater Module (CHM)
²Central Timer Module (CTM)
²Controller Antilock Brake (CAB)
²Engine Control Module (ECM)
²Heater Booster Module (HBM)
²Instrument Cluster (IC)
²Shifter Assembly (SA)
²Security System Module (SSM)
²Sentry Key Remote Entry Module (SKREEM)
²Transmission Control Module (TCM)
4
GENERAL INFORMATION
Page 18 of 2305
3.2.2 CAN BUS
The CAN bus (controller area network) is a data
bus system specifically design for inter module
communication on this vehicle. The CAN bus con-
sists of a special twisted two-core cable. Control
modules are connected to this9twisted pair9. The
CAN bus incorporates two terminating resistors.
One terminator is built into the Engine Control
Module (ECM) and the other is built into the Sentry
Key Remote Entry Module (SKREEM). Each resis-
tor has a value of 120 ohms. The resistor condition
can be confirmed by disconnecting the control mod-
ule and measuring the resistance value at the
appropriate control module pins. This measure-
ment should read 120 ohms. The two CAN circuits,
CAN C Bus (+) and CAN C Bus (-), are bridged by
these two terminating resistors when all control
modules are connected to the bus. These two resis-
tors are connected to the CAN bus network in
parallel. The measurement between the two
twisted CAN circuits, with both the ECM and
SKREEM connected, should measure a value of 60
ohms.
The CAN bus is bi-directional. This means that
each connected control module can send and receive
information. Transmission of data takes place re-
dundantly via both circuits. The data bus levels are
mirrored, meaning that if the binary level on one
circuit is 0, the other circuit transmits binary level
1 and vice versa. The two line concept is used for
two reasons: for fault identification and as a safety
concept.
If a voltage peak occurs on just one circuit, the
receivers can identify this as a fault and ignore the
voltage peak. If a short circuit or interruption
occurs on one of the two CAN circuits, a software-
hardware linked safety concept allows switching to
a single-line operation. The defective CAN circuit is
shut down. A specific data protocol controls how and
when the participants can send and receive.
NOTE: It is important to note the CAN Bus
circuits are used for inter-module
communication only, and is no way
connected to the K-Lines.
The following modules that use the CAN Bus on
this vehicle are:
²Automatic Temperature Control (ATC)
²Controller Antilock Brake (CAB)
²Engine Control Module (ECM)
²Instrument Cluster (IC)
²Sentry Key Remote Entry Module (SKREEM)
²Shifter Assembly (SA)
²Transmission Control Module (TCM)
3.3 HEATING & A/C SYSTEM
3.3.1 AUTOMATIC TEMPERATURE
CONTROL (ATC)
3.3.1.1 SYSTEM CONTROLS
The ATC Module:
²is fully addressable with the DRBIIIt.
IThe DRBIIItcommunicates with the ATC
Module through the Diagnostic Link Connector
(DLC) via a K-Line.
²communicates with other modules over the Con-
troller Area Network (CAN) C Bus.
²controls A/C clutch operation.
²controls EBL operation.
²controls water cycle valve operation.
IThe water cycle valve is a normally open valve,
meaning that it allows full engine coolant flow
through the heater core when no power is
delivered to the valve. The ATC controls the
valve with a pulse width signal. The lower the
percentage of the pulse width signal the more
the valve is open.
²controls Residual Heat Utilization (REST) func-
tion.
²controls blower motor operation, providing four
blower speeds (Low, M1, M2, & High).
²controls recirculation air solenoid valve.
²controls the mode door via cables.
²controls the main power supply to the Heater
Booster (if equipped).
²uses air inlet temperature sensor, air outlet tem-
perature sensor, and evaporator temperature
sensor input, as well as data from other modules
to maintain occupant comfort levels.
3.3.1.2 SYSTEM DIAGNOSTICS
Fault detection is through active and stored Diag-
nostic Trouble Codes (DTCs)
²DTCs are displayed by the DRBIIIt.
²Active DTCs are those which currently exist in
the system. The condition causing the fault must
be repaired in order to clear this type of DTC.
²Stored DTCs are those which occurred in the
system since the ATC Module received the last
9clear diagnostic info9message.
Testing Preparation & Diagnostics
Set the necessary system functions accordingly so
that all of the following prerequisites are met prior
to performing diagnostic tests on the ATC system:
5
GENERAL INFORMATION
Page 20 of 2305
Compres SO Accel (Compressor Shut Off - Due
To Acceleration)
The Engine Control Module transmits this data. A
status of9YES9indicates that the compressor shut
off because of an acceleration request. A status of
9NO9indicates that there is no acceleration request.
If shut off due to an acceleration request, the
compress will switch on again after 20 seconds. In
addition, the original acceleration request can no
longer exist for the ECM to acknowledge a subse-
quent request. In the event of a CAN Bus commu-
nication failure,9NO9is displayed as a substitute
value.
Compres SO W/E-Off (Compressor Shut Off -
Due to Emergency Off)
The Engine Control Module transmits this data. A
status of9YES9indicates that the compressor shut
off because of an emergency off request. A status of
9NO9indicates that there is no emergency off re-
quest. In the event of a CAN Bus communication
failure, the last stored value is displayed as a
substitute value.
Auxiliary Fan
The ATC Module transmits this data. A status of
9ON9indicates that the auxiliary fan is operational.
A status of9OFF9indicates that the auxiliary fan is
not operational. The Auxiliary Fan normally oper-
ates when refrigerant head pressure exceeds 290
PSI and coolant temperature exceeds 221ÉF. In the
event of a CAN Bus communication failure, 257ÉF is
displayed for coolant temperature (in Sensors) and
the Auxiliary Fan will run continuously.
Light PB CTRL Module
This input displays a status of9Bright9for positive
dimmer switch operation and9Dimmed9for nega-
tive dimmer switch operation. In the event of a CAN
Bus communication failure,9Bright9is displayed.
3.3.2 CABIN HEATER MODULE (CHM) &
HEATER BOOSTER MODULE (HBM)
3.3.2.1 SYSTEM DESCRIPTION
WARNING: NEVER OPERATE THE HEATER
IN AN ENCLOSED AREA THAT DOES NOT
HAVE EXHAUST VENTILATION FACILITIES.
ALWAYS VENT THE HEATER'S EXHAUST
WHEN OPERATING THE HEATER. REFER TO
(VENTING THE HEATER'S EXHAUST(
BELOW FOR PROPER EXHAUST VENTING
INSTRUCTIONS. FAILURE TO FOLLOW
THESE INSTRUCTIONS CAN RESULT IN
PERSONAL INJURY OR DEATH.
WARNING: ALLOW THE HEATER ASSEMBLY TO
COOL BEFORE PERFORMING A COMPONENT
INSPECTION/REPAIR/REPLACEMENT. FAILURE
TO FOLLOW THESE INSTRUCTIONS CAN
RESULT IN PERSONAL INJURY OR DEATH.
WARNING: ALWAYS DISCONNECT THE
VEHICLE'S BATTERY PRIOR TO
PERFORMING ANY TYPE OF WORK ON THE
HEATER ASSEMBLY. FAILURE TO FOLLOW
THESE INSTRUCTIONS CAN RESULT IN
PERSONAL INJURY OR DEATH.
WARNING: NEVER ATTEMPT TO REPAIR THE
HEATER ASSEMBLY OR ANY OF ITS
INTERNAL COMPONENTS. ALWAYS
PERFORM HEATER COMPONENT
REPLACEMENT IN ACCORDANCE WITH THE
SERVICE INFORMATION. FAILURE TO
FOLLOW THESE INSTRUCTIONS CAN
RESULT IN PERSONAL INJURY OR DEATH.
CAUTION: Always Perform The Heater
Pre-Test (In The Diagnostic Procedures) Prior
To Performing Any Other Test On The Heater
For The Test Result To Be Valid.
NOTE: Do not disconnect the vehicle's
battery or the heater's main power-supply
while the heater is in operation or in
run-down mode. Failure to follow these
instructions may result in excess emissions
from the heater.
NOTE: Failure to prime the Dosing Pump
after draining the fuel line will prevent heater
activation during the first attempt to start the
unit. This may also set a Diagnostic Trouble
Code (DTC) in the control unit's memory. Do
not perform the Dosing Pump Priming
Procedure if an attempt was made to start the
heater without priming the Dosing Pump
first. This will put excess fuel in the heater
module and cause smoke to emit from the
heater's exhaust pipe when heater activation
occurs.
NOTE: Waxed fuel can obstruct the fuel line
and reduce flow. Check for the appropriate
winter grade fuel and replace as necessary.
The Cabin Heater Assembly and Heater Booster
Assembly are supplemental type heaters designed
to pre-heat the engine's coolant in order to supply
the vehicle's occupants with heat prior to the engine
7
GENERAL INFORMATION