light Mercury Marauder 2003 s Owner's Guide
[x] Cancel search | Manufacturer: MERCURY, Model Year: 2003, Model line: Marauder, Model: Mercury Marauder 2003Pages: 232, PDF Size: 2.29 MB
Page 69 of 232
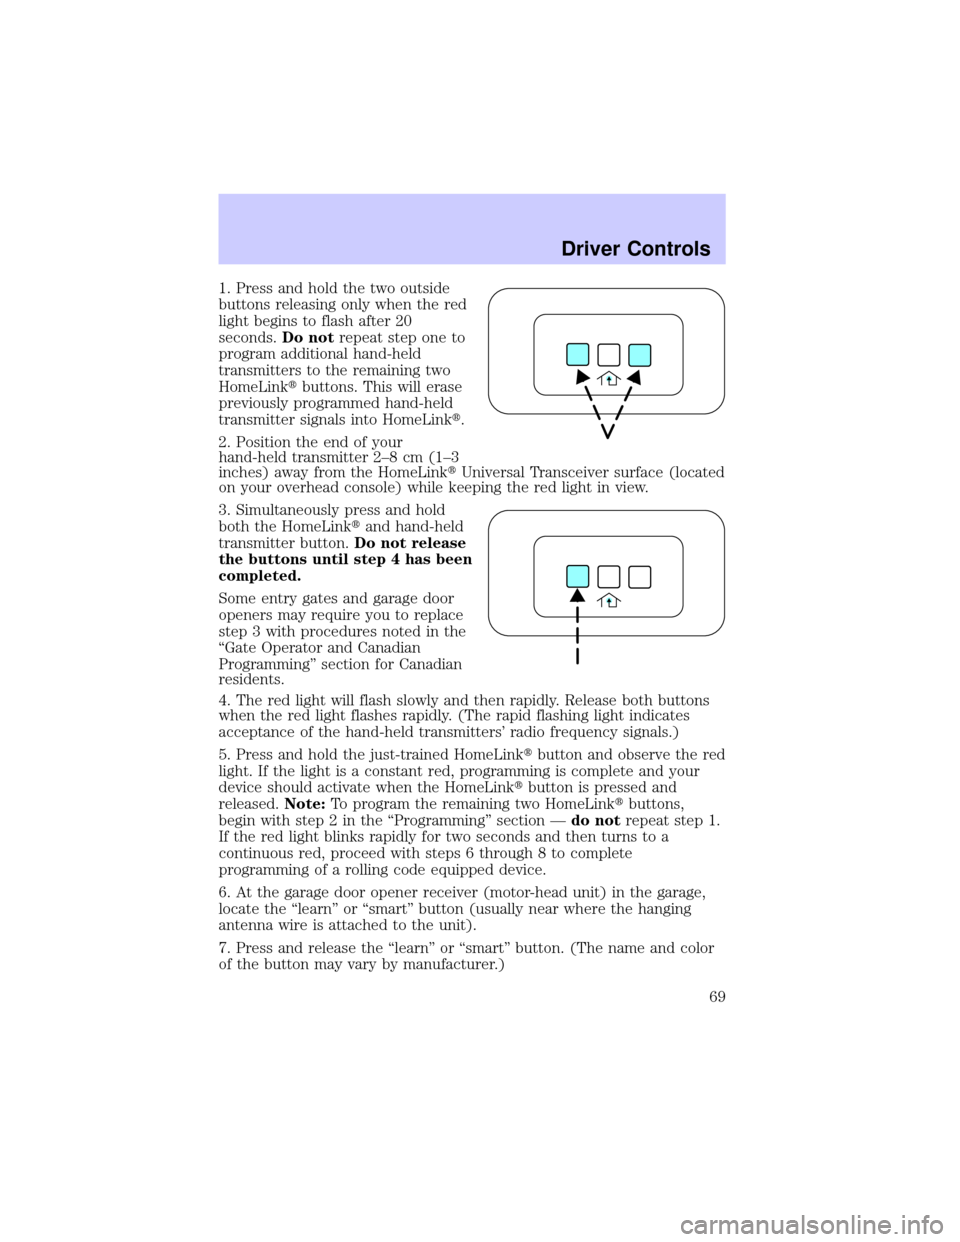
1. Press and hold the two outside
buttons releasing only when the red
light begins to flash after 20
seconds.Do notrepeat step one to
program additional hand-held
transmitters to the remaining two
HomeLinktbuttons. This will erase
previously programmed hand-held
transmitter signals into HomeLinkt.
2. Position the end of your
hand-held transmitter 2±8 cm (1±3
inches) away from the HomeLinktUniversal Transceiver surface (located
on your overhead console) while keeping the red light in view.
3. Simultaneously press and hold
both the HomeLinktand hand-held
transmitter button.Do not release
the buttons until step 4 has been
completed.
Some entry gates and garage door
openers may require you to replace
step 3 with procedures noted in the
ªGate Operator and Canadian
Programmingº section for Canadian
residents.
4. The red light will flash slowly and then rapidly. Release both buttons
when the red light flashes rapidly. (The rapid flashing light indicates
acceptance of the hand-held transmitters' radio frequency signals.)
5. Press and hold the just-trained HomeLinktbutton and observe the red
light. If the light is a constant red, programming is complete and your
device should activate when the HomeLinktbutton is pressed and
released.Note:To program the remaining two HomeLinktbuttons,
begin with step 2 in the ªProgrammingº section Ðdo notrepeat step 1.
If the red light blinks rapidly for two seconds and then turns to a
continuous red, proceed with steps 6 through 8 to complete
programming of a rolling code equipped device.
6. At the garage door opener receiver (motor-head unit) in the garage,
locate the ªlearnº or ªsmartº button (usually near where the hanging
antenna wire is attached to the unit).
7. Press and release the ªlearnº or ªsmartº button. (The name and color
of the button may vary by manufacturer.)
Driver Controls
69
Page 70 of 232
Note:There are 30 seconds in which to initiate step eight.
8. Return to the vehicle and firmly press, hold for two seconds and
release the HomeLinktbutton. Repeat the press/hold/release sequence
again, and, depending on the brand of the garage door opener (or other
rolling code equipped device), repeat this sequence a third time to
complete the programming.
HomeLinktshould now activate your rolling code equipped device. To
program additional HomeLinktbuttons begin with step 2 in the
ªProgrammingº section. For questions or comments, please contact
HomeLink atwww.homelink.comor1±800±355±3515.
Operating the HomeLinkTUniversal Transceiver
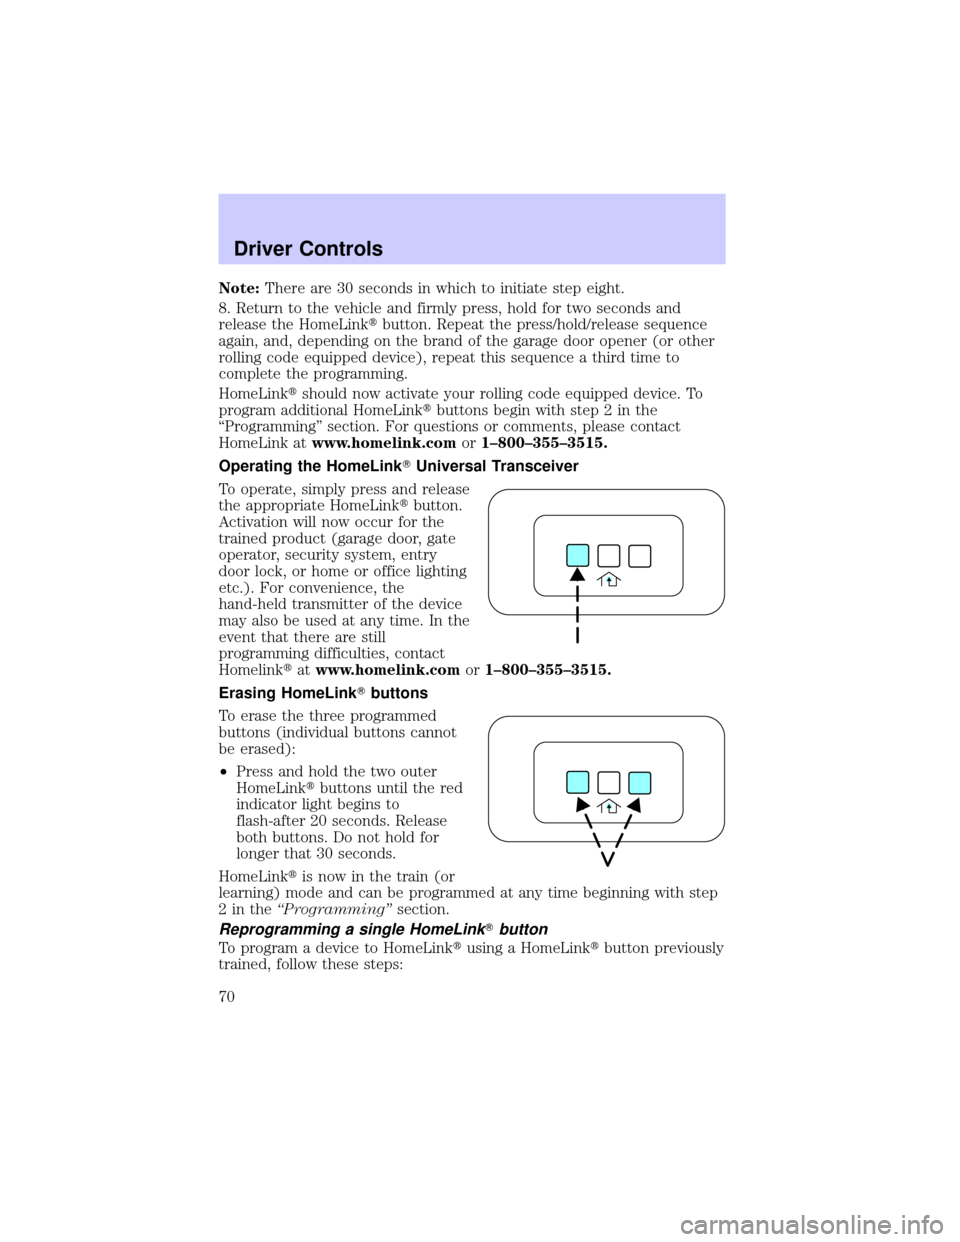
To operate, simply press and release
the appropriate HomeLinktbutton.
Activation will now occur for the
trained product (garage door, gate
operator, security system, entry
door lock, or home or office lighting
etc.). For convenience, the
hand-held transmitter of the device
may also be used at any time. In the
event that there are still
programming difficulties, contact
Homelinktatwww.homelink.comor1±800±355±3515.
Erasing HomeLinkTbuttons
To erase the three programmed
buttons (individual buttons cannot
be erased):
²Press and hold the two outer
HomeLinktbuttons until the red
indicator light begins to
flash-after 20 seconds. Release
both buttons. Do not hold for
longer that 30 seconds.
HomeLinktis now in the train (or
learning) mode and can be programmed at any time beginning with step
2intheªProgrammingºsection.
Reprogramming a single HomeLinkTbutton
To program a device to HomeLinktusing a HomeLinktbutton previously
trained, follow these steps:
Driver Controls
70
Page 71 of 232
1. Press and hold the desired HomeLinktbutton.Do NOTrelease the
button.
2. The red indicator light will begin to flash after 20 seconds. Without
releasing the HomeLinktbutton, follow step 2 in the ªProgrammingº
section.
For questions or comments, contact HomeLinktatwww.homelink.com
or1±800±355±3515.
Gate Operator & Canadian Programming
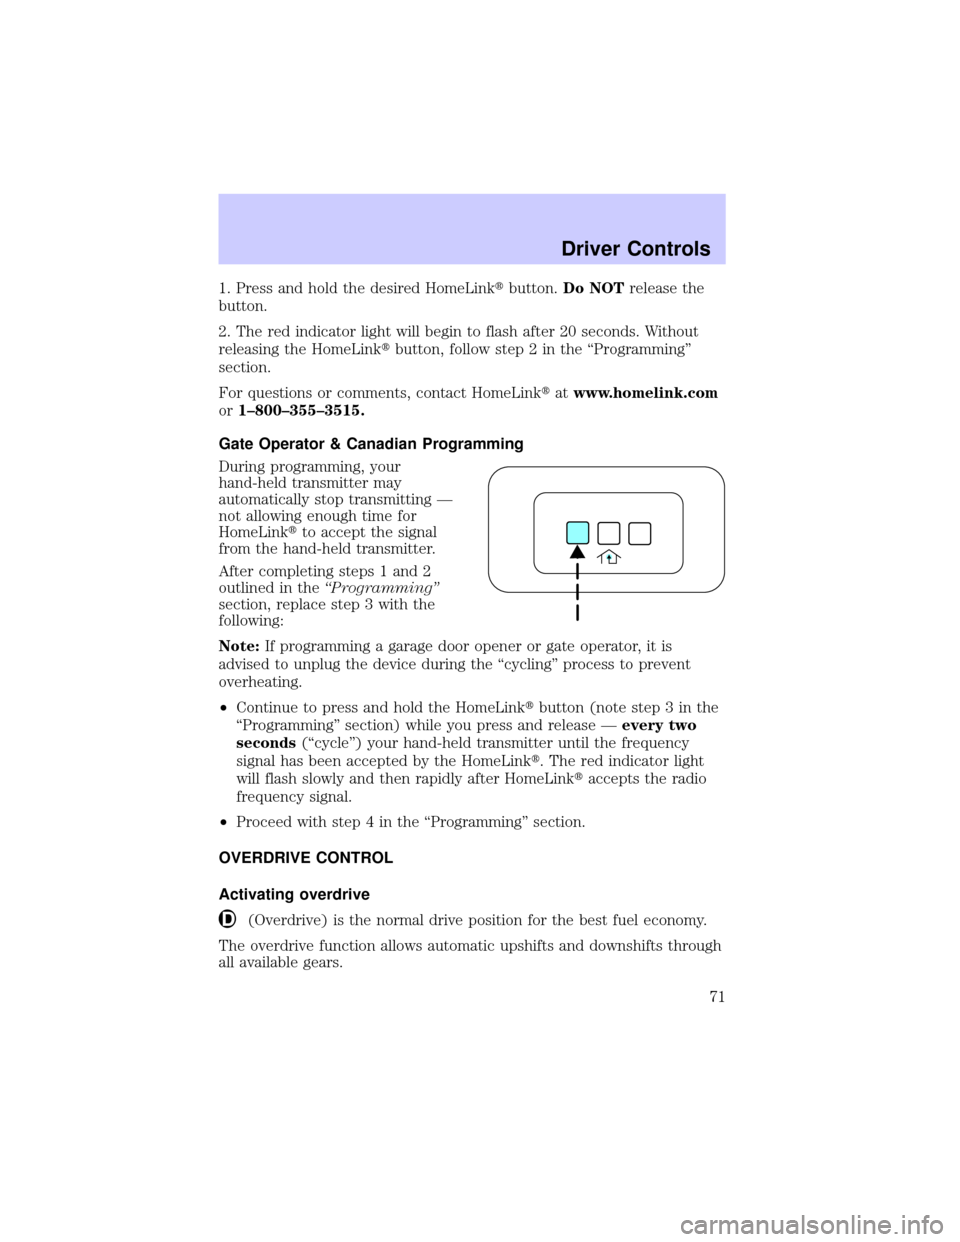
During programming, your
hand-held transmitter may
automatically stop transmitting Ð
not allowing enough time for
HomeLinktto accept the signal
from the hand-held transmitter.
After completing steps 1 and 2
outlined in theªProgrammingº
section, replace step 3 with the
following:
Note:If programming a garage door opener or gate operator, it is
advised to unplug the device during the ªcyclingº process to prevent
overheating.
²Continue to press and hold the HomeLinktbutton (note step 3 in the
ªProgrammingº section) while you press and release Ðevery two
seconds(ªcycleº) your hand-held transmitter until the frequency
signal has been accepted by the HomeLinkt. The red indicator light
will flash slowly and then rapidly after HomeLinktaccepts the radio
frequency signal.
²Proceed with step 4 in the ªProgrammingº section.
OVERDRIVE CONTROL
Activating overdrive
(Overdrive) is the normal drive position for the best fuel economy.
The overdrive function allows automatic upshifts and downshifts through
all available gears.
Driver Controls
71
Page 72 of 232
Deactivating overdrive
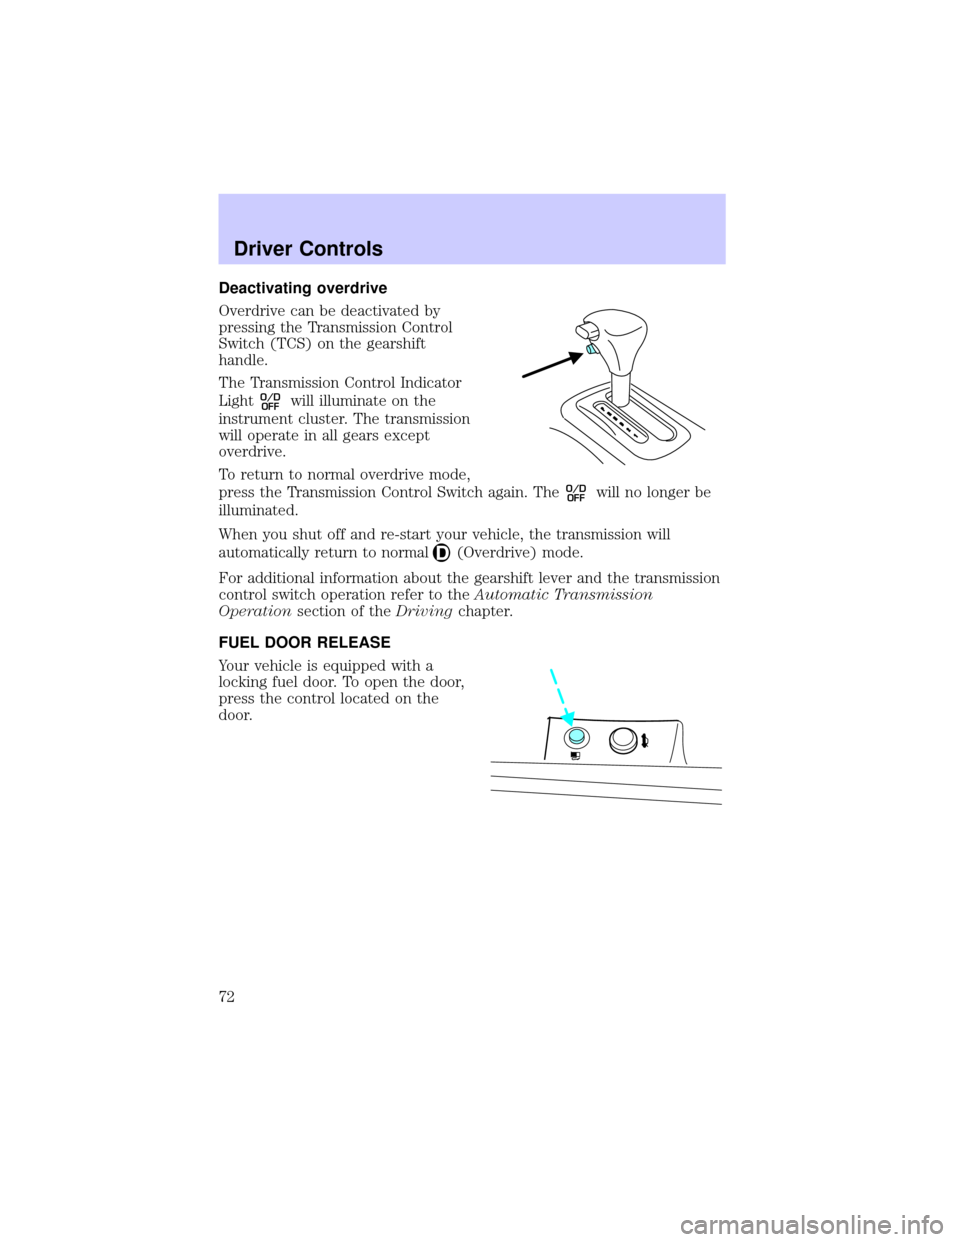
Overdrive can be deactivated by
pressing the Transmission Control
Switch (TCS) on the gearshift
handle.
The Transmission Control Indicator
Light
O/D
OFFwill illuminate on the
instrument cluster. The transmission
will operate in all gears except
overdrive.
To return to normal overdrive mode,
press the Transmission Control Switch again. The
O/D
OFFwill no longer be
illuminated.
When you shut off and re-start your vehicle, the transmission will
automatically return to normal
(Overdrive) mode.
For additional information about the gearshift lever and the transmission
control switch operation refer to theAutomatic Transmission
Operationsection of theDrivingchapter.
FUEL DOOR RELEASE
Your vehicle is equipped with a
locking fuel door. To open the door,
press the control located on the
door.
Driver Controls
72
Page 76 of 232
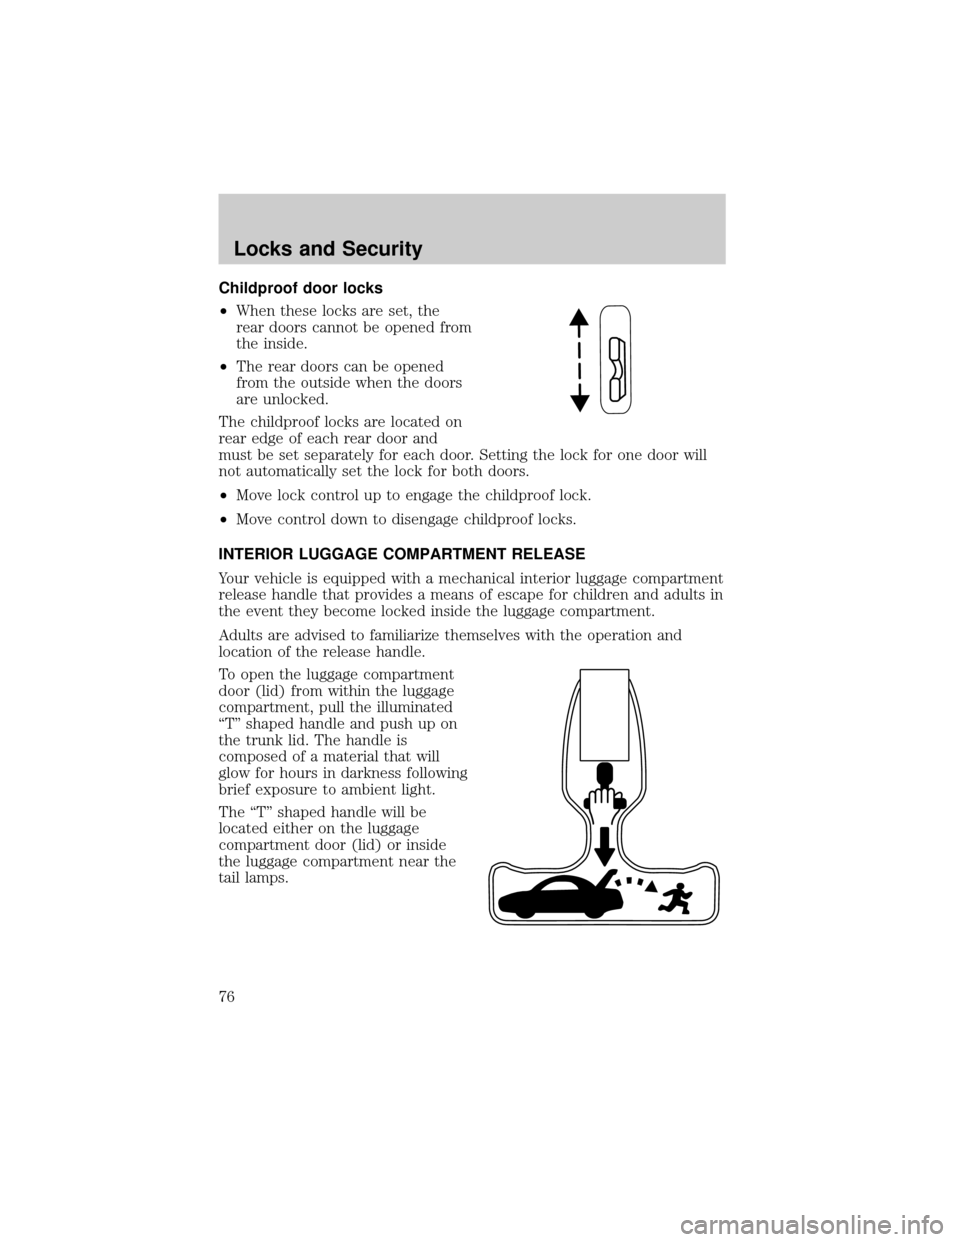
Childproof door locks
²When these locks are set, the
rear doors cannot be opened from
the inside.
²The rear doors can be opened
from the outside when the doors
are unlocked.
The childproof locks are located on
rear edge of each rear door and
must be set separately for each door. Setting the lock for one door will
not automatically set the lock for both doors.
²Move lock control up to engage the childproof lock.
²Move control down to disengage childproof locks.
INTERIOR LUGGAGE COMPARTMENT RELEASE
Your vehicle is equipped with a mechanical interior luggage compartment
release handle that provides a means of escape for children and adults in
the event they become locked inside the luggage compartment.
Adults are advised to familiarize themselves with the operation and
location of the release handle.
To open the luggage compartment
door (lid) from within the luggage
compartment, pull the illuminated
ªTº shaped handle and push up on
the trunk lid. The handle is
composed of a material that will
glow for hours in darkness following
brief exposure to ambient light.
The ªTº shaped handle will be
located either on the luggage
compartment door (lid) or inside
the luggage compartment near the
tail lamps.
Locks and Security
76
Page 81 of 232

Illuminated entry
The interior lamps illuminate:
²when the remote entry system is used to unlock the door(s) or sound
the panic alarm, or
²when the driver door is unlocked using the key in the driver door key
cylinder.
The system automatically turns off after 25 seconds after the UNLOCK
button on the RUN or ACC position.
The inside lights will not turn off if:
²they have been turned on with the dimmer control, or
²any door is open.
The battery saver will shut off the interior lamps 10 minutes after the
ignition is turned off. Demand lighting will turn off after 30 minutes.
Autolock
This feature automatically locks all vehicle doors when:
²all doors are closed,
²the ignition is in the ON position,
²the brake pedal is depressed and
²you shift into any gear.
Relock
The autolock feature repeats when:
²the ignition is in the ON position,
²a door is open and then closed,
²the transmission is placed in Reverse or any Drive gear, and then
²the brake pedal is depressed and then released.
Deactivating/activating the autolock feature
Before following the procedure, make sure that the ignition is OFF and
all vehicle doors are closed.
Automatic door locks can be turned on/off with the keyless entry keypad
through the following procedure:
You must complete steps 1-5 within 30 seconds or the procedure will
have to be repeated. If the procedure needs to be repeated, you must
wait 30 seconds.
Locks and Security
81
Page 89 of 232
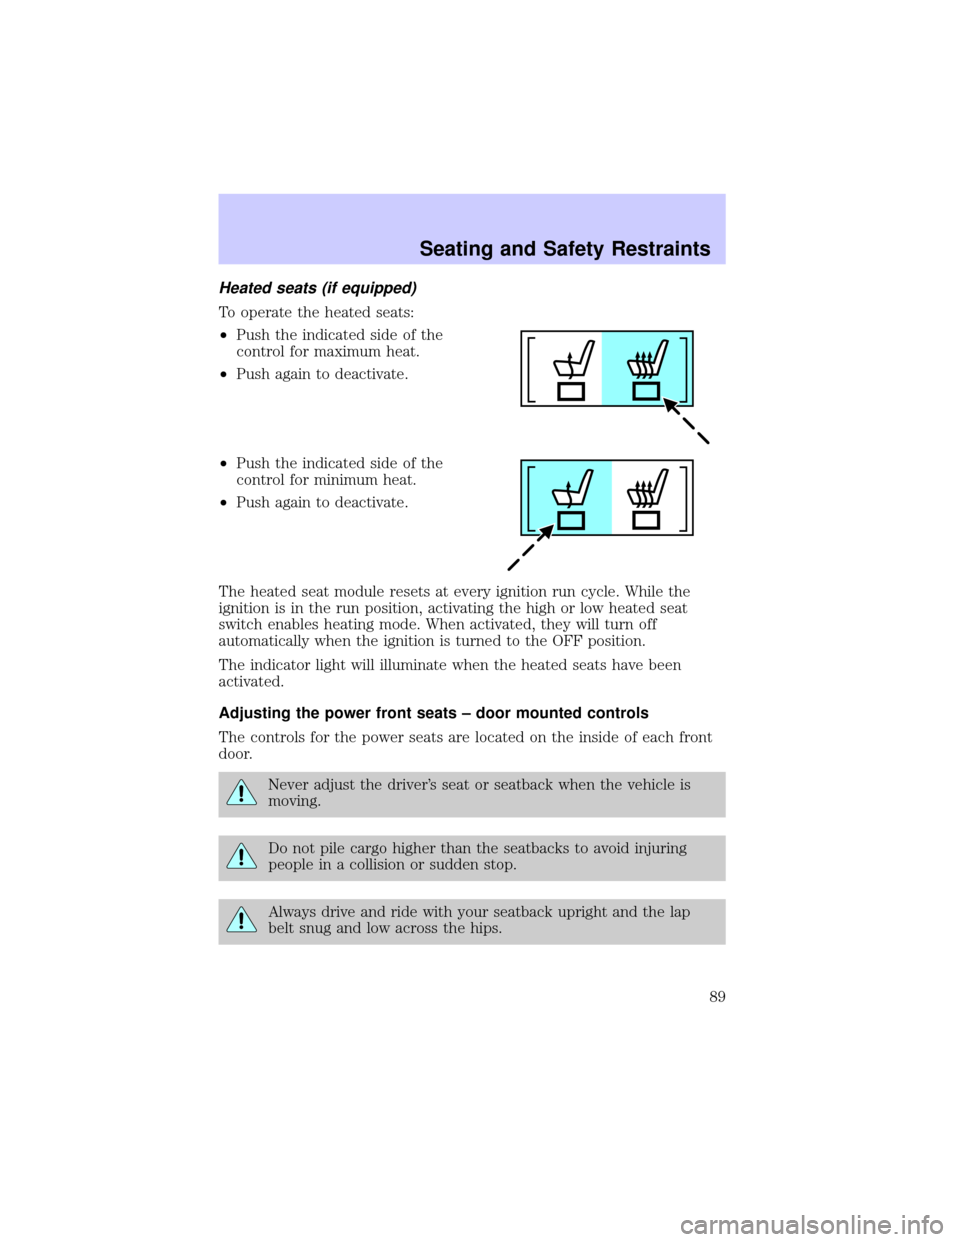
Heated seats (if equipped)
To operate the heated seats:
²Push the indicated side of the
control for maximum heat.
²Push again to deactivate.
²Push the indicated side of the
control for minimum heat.
²Push again to deactivate.
The heated seat module resets at every ignition run cycle. While the
ignition is in the run position, activating the high or low heated seat
switch enables heating mode. When activated, they will turn off
automatically when the ignition is turned to the OFF position.
The indicator light will illuminate when the heated seats have been
activated.
Adjusting the power front seats ± door mounted controls
The controls for the power seats are located on the inside of each front
door.
Never adjust the driver's seat or seatback when the vehicle is
moving.
Do not pile cargo higher than the seatbacks to avoid injuring
people in a collision or sudden stop.
Always drive and ride with your seatback upright and the lap
belt snug and low across the hips.
Seating and Safety Restraints
89
Page 91 of 232
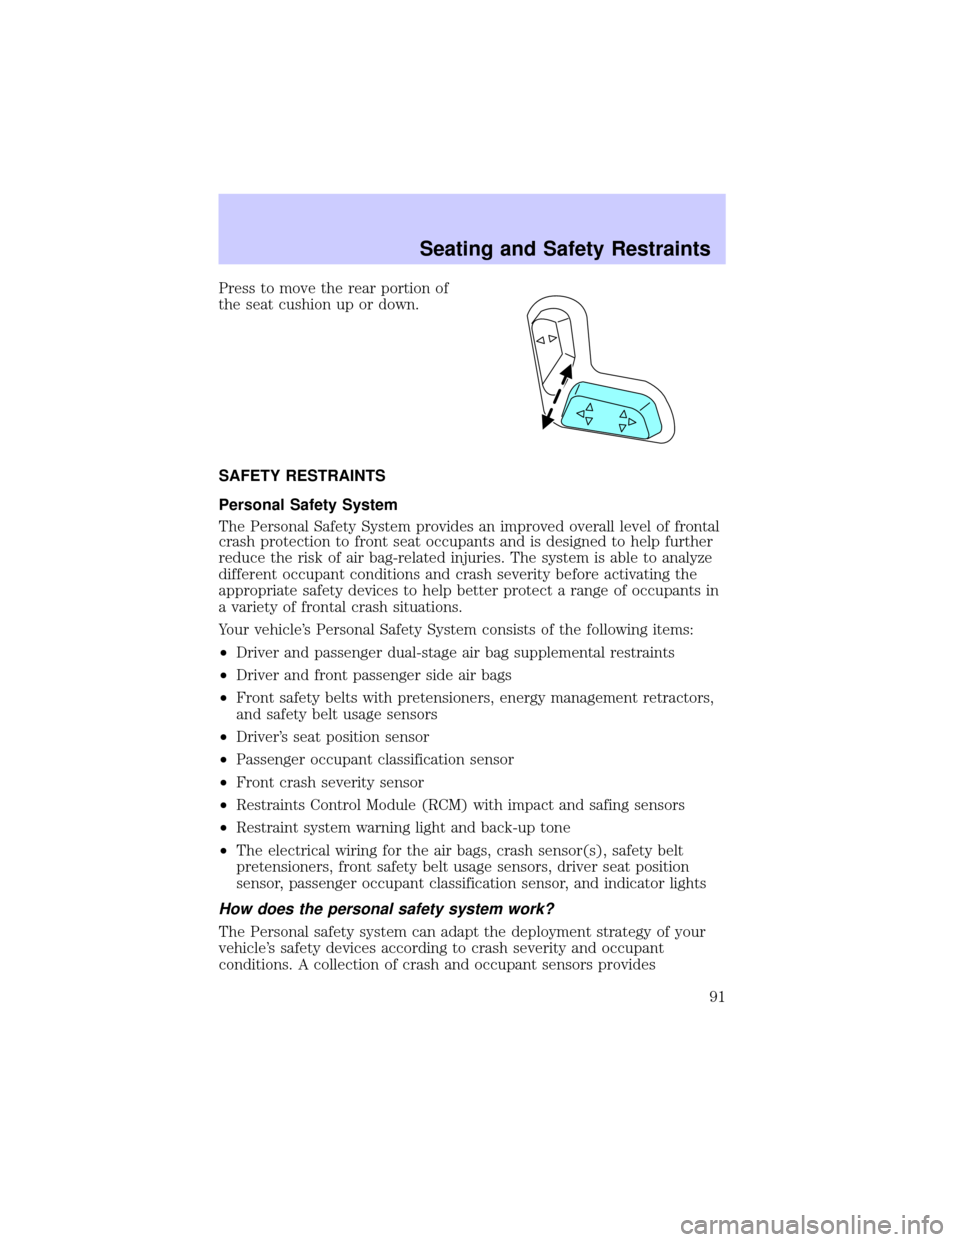
Press to move the rear portion of
the seat cushion up or down.
SAFETY RESTRAINTS
Personal Safety System
The Personal Safety System provides an improved overall level of frontal
crash protection to front seat occupants and is designed to help further
reduce the risk of air bag-related injuries. The system is able to analyze
different occupant conditions and crash severity before activating the
appropriate safety devices to help better protect a range of occupants in
a variety of frontal crash situations.
Your vehicle's Personal Safety System consists of the following items:
²Driver and passenger dual-stage air bag supplemental restraints
²Driver and front passenger side air bags
²Front safety belts with pretensioners, energy management retractors,
and safety belt usage sensors
²Driver's seat position sensor
²Passenger occupant classification sensor
²Front crash severity sensor
²Restraints Control Module (RCM) with impact and safing sensors
²Restraint system warning light and back-up tone
²The electrical wiring for the air bags, crash sensor(s), safety belt
pretensioners, front safety belt usage sensors, driver seat position
sensor, passenger occupant classification sensor, and indicator lights
How does the personal safety system work?
The Personal safety system can adapt the deployment strategy of your
vehicle's safety devices according to crash severity and occupant
conditions. A collection of crash and occupant sensors provides
Seating and Safety Restraints
91
Page 94 of 232
risk of force-related injuries to the occupant's chest by limiting the load
on the occupant. Refer toEnergy management featuresection in this
chapter.
Determining if the Personal safety system is operational
The Personal safety system uses a warning light in the instrument cluster
or a back-up tone to indicate the condition of the system. Refer to the
Warning lightsection in theInstrument clusterchapter. Routine
maintenance of the Personal safety system is not required.
The Restraints control module (RCM) monitors its own internal circuits
and the circuits for the air bag supplemental restraints, crash sensor(s),
safety belt pretensioners, front safety belt buckle sensors, driver seat
position sensor, and passenger occupant classification sensor. In addition,
the RCM also monitors the restraints warning light in the instrument
cluster. A difficulty with the system is indicated by one or more of the
following.
²The warning light will either flash or stay lit.
²The warning light will not illuminate immediately after ignition is
turned on.
²A series of five beeps will be heard. The tone pattern will repeat
periodically until the problem and warning light are repaired.
If any of these things happen, even intermittently, have the Personal
safety system serviced at your dealership or by a qualified technician
immediately. Unless serviced, the system may not function properly in
the event of a collision.
Safety restraints precautions
Always drive and ride with your seatback upright and the lap
belt snug and low across the hips.
To reduce the risk of injury, make sure children sit where they
can be properly restrained.
Never let a passenger hold a child on his or her lap while the
vehicle is moving. The passenger cannot protect the child from
injury in a collision.
Seating and Safety Restraints
94
Page 98 of 232
How to disengage the automatic locking mode
Ford Motor Company recommends that all passenger safety belt
assemblies and attaching hardware should be inspected by a
qualified technician after any collision to verify that the9automatic
locking retractor9feature for child seats is still working properly. Safety
belt assemblies should be inspected according to the procedures in the
Workshop Manual and replaced if either damage or improper operation
is noted. Failure to replace the belt and retractor assembly could
increase the risk of injury in a collision.
Unbuckle the combination lap/shoulder belt and allow it to retract
completely to disengage the automatic locking mode and activate the
vehicle sensitive (emergency) locking mode.
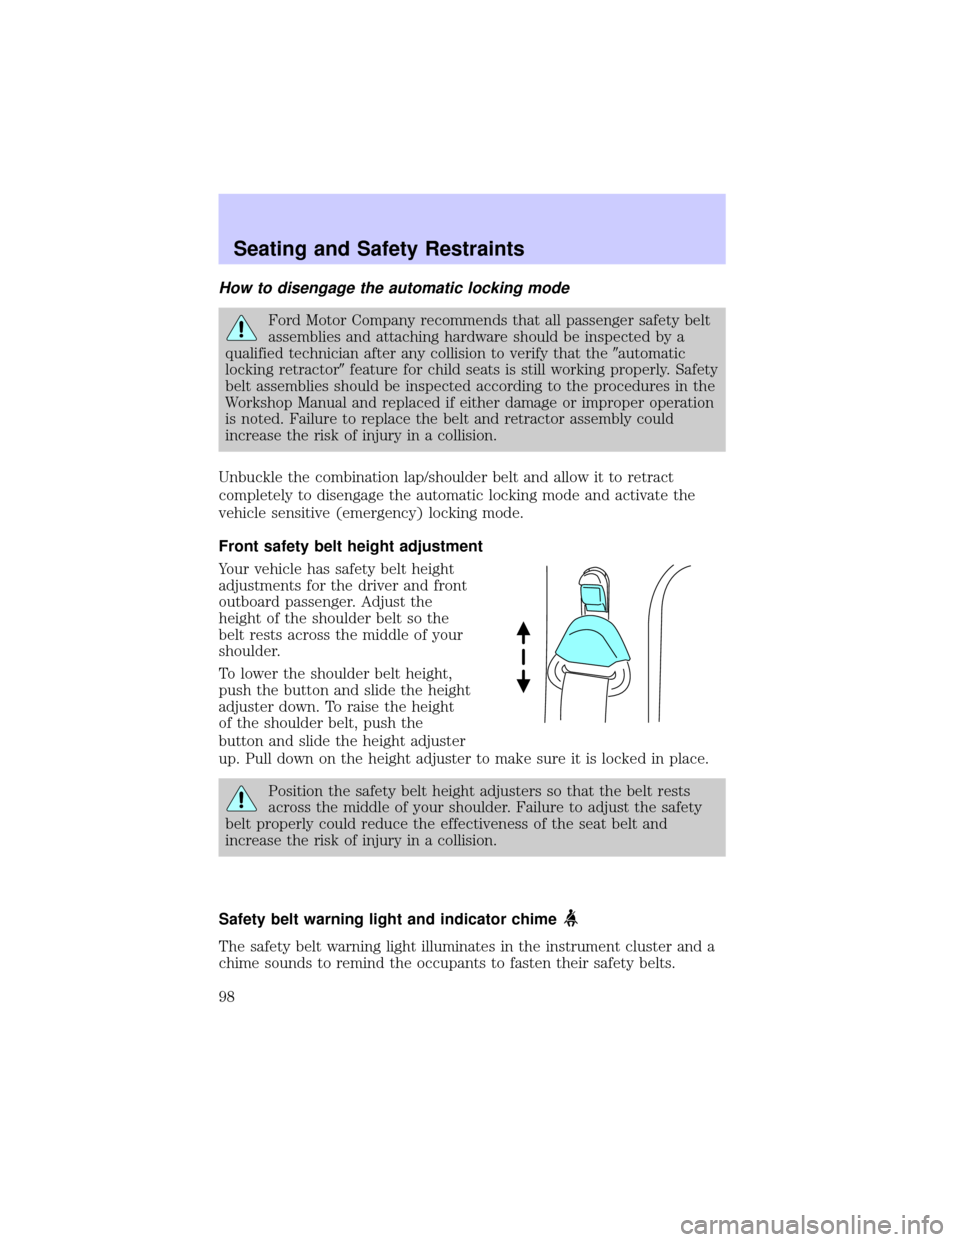
Front safety belt height adjustment
Your vehicle has safety belt height
adjustments for the driver and front
outboard passenger. Adjust the
height of the shoulder belt so the
belt rests across the middle of your
shoulder.
To lower the shoulder belt height,
push the button and slide the height
adjuster down. To raise the height
of the shoulder belt, push the
button and slide the height adjuster
up. Pull down on the height adjuster to make sure it is locked in place.
Position the safety belt height adjusters so that the belt rests
across the middle of your shoulder. Failure to adjust the safety
belt properly could reduce the effectiveness of the seat belt and
increase the risk of injury in a collision.
Safety belt warning light and indicator chime
The safety belt warning light illuminates in the instrument cluster and a
chime sounds to remind the occupants to fasten their safety belts.
Seating and Safety Restraints
98