driver seat adjustment Mercury Marauder 2003 Owner's Manuals
[x] Cancel search | Manufacturer: MERCURY, Model Year: 2003, Model line: Marauder, Model: Mercury Marauder 2003Pages: 232, PDF Size: 2.29 MB
Page 1 of 232

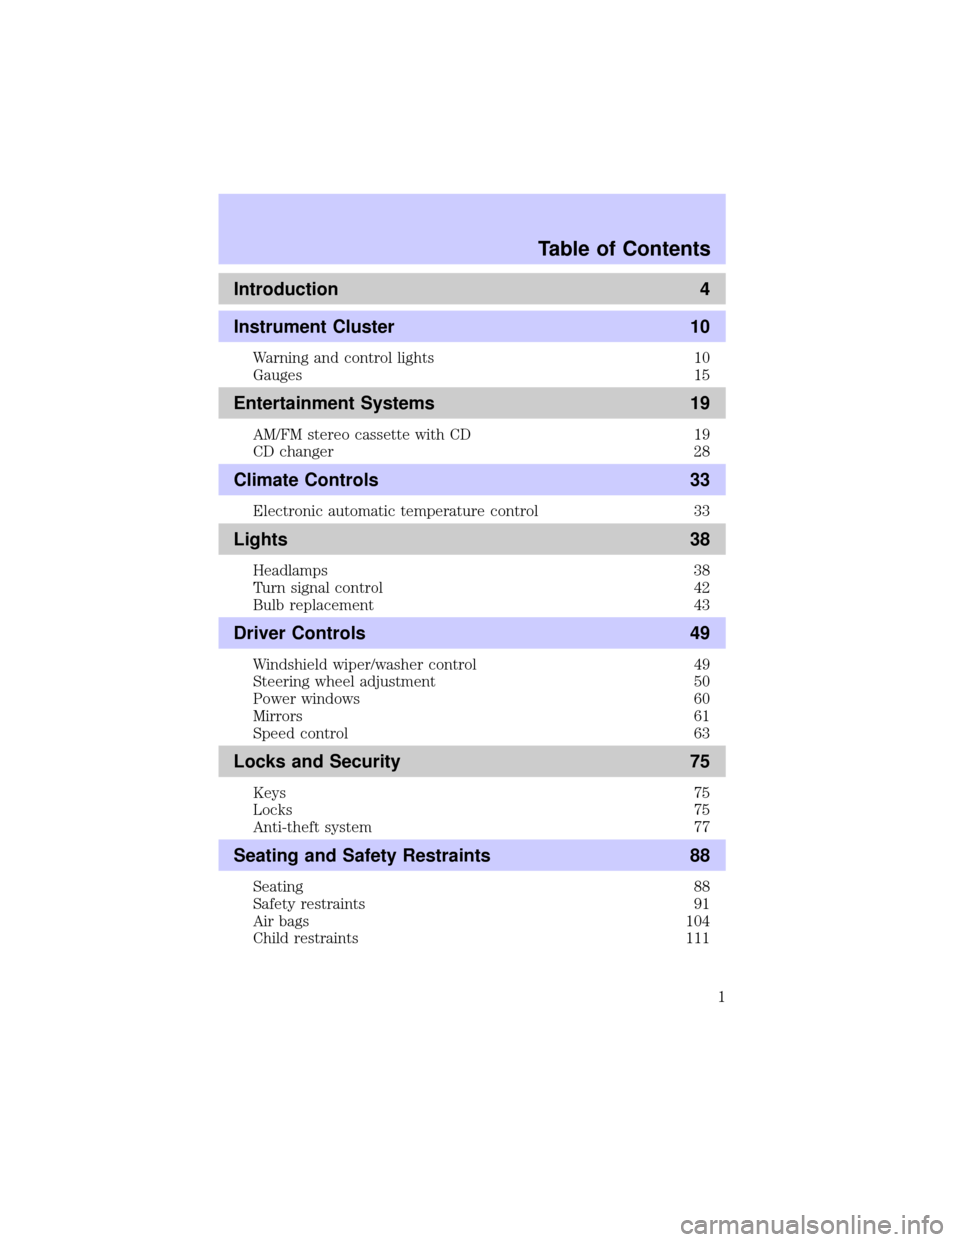
Introduction 4
Instrument Cluster 10
Warning and control lights 10
Gauges 15
Entertainment Systems 19
AM/FM stereo cassette with CD 19
CD changer 28
Climate Controls 33
Electronic automatic temperature control 33
Lights 38
Headlamps 38
Turn signal control 42
Bulb replacement 43
Driver Controls 49
Windshield wiper/washer control 49
Steering wheel adjustment 50
Power windows 60
Mirrors 61
Speed control 63
Locks and Security 75
Keys 75
Locks 75
Anti-theft system 77
Seating and Safety Restraints 88
Seating 88
Safety restraints 91
Air bags 104
Child restraints 111
Table of Contents
1
Page 96 of 232

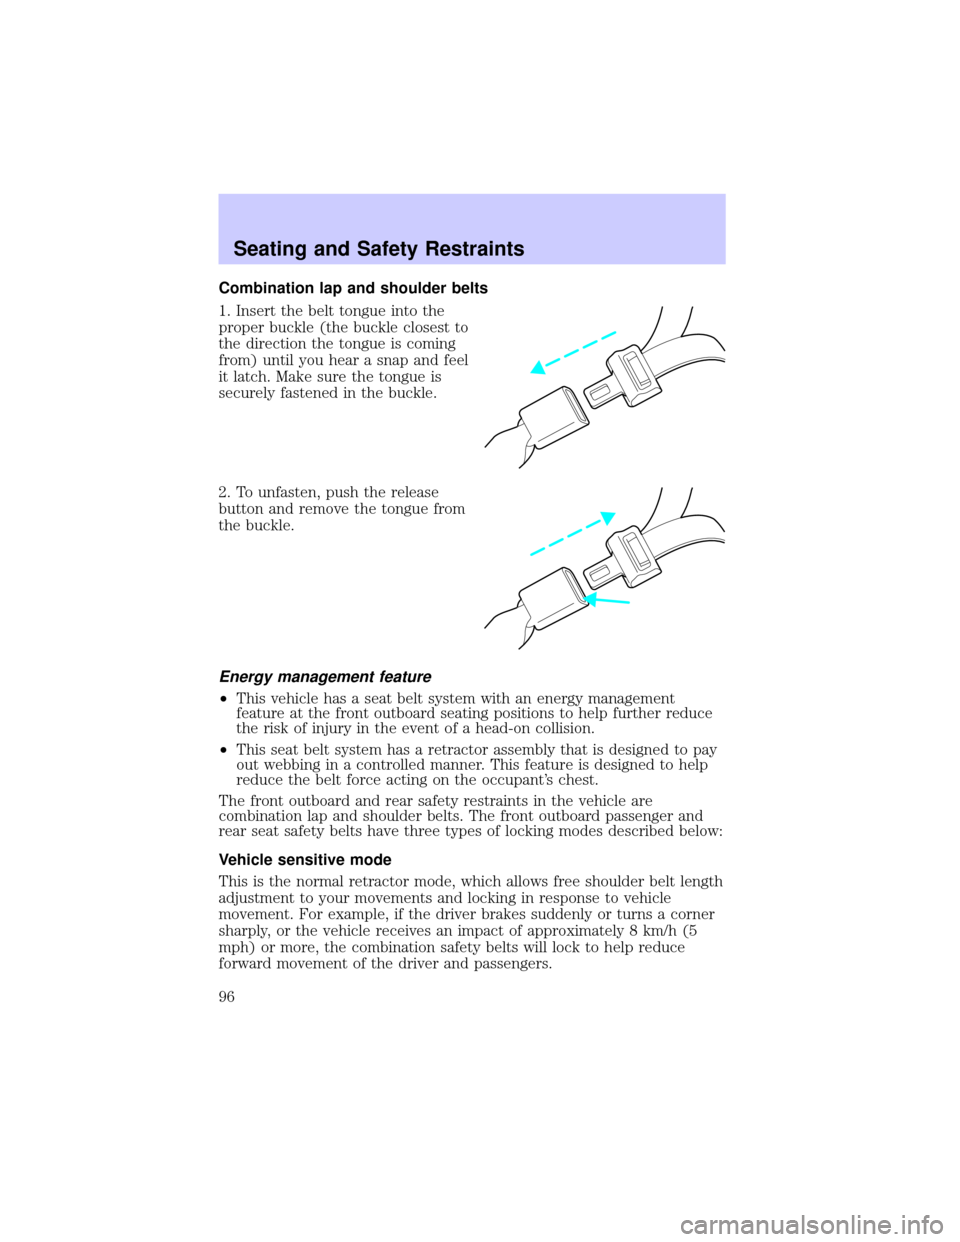
Combination lap and shoulder belts
1. Insert the belt tongue into the
proper buckle (the buckle closest to
the direction the tongue is coming
from) until you hear a snap and feel
it latch. Make sure the tongue is
securely fastened in the buckle.
2. To unfasten, push the release
button and remove the tongue from
the buckle.
Energy management feature
²This vehicle has a seat belt system with an energy management
feature at the front outboard seating positions to help further reduce
the risk of injury in the event of a head-on collision.
²This seat belt system has a retractor assembly that is designed to pay
out webbing in a controlled manner. This feature is designed to help
reduce the belt force acting on the occupant's chest.
The front outboard and rear safety restraints in the vehicle are
combination lap and shoulder belts. The front outboard passenger and
rear seat safety belts have three types of locking modes described below:
Vehicle sensitive mode
This is the normal retractor mode, which allows free shoulder belt length
adjustment to your movements and locking in response to vehicle
movement. For example, if the driver brakes suddenly or turns a corner
sharply, or the vehicle receives an impact of approximately 8 km/h (5
mph) or more, the combination safety belts will lock to help reduce
forward movement of the driver and passengers.
Seating and Safety Restraints
96
Page 98 of 232

How to disengage the automatic locking mode
Ford Motor Company recommends that all passenger safety belt
assemblies and attaching hardware should be inspected by a
qualified technician after any collision to verify that the9automatic
locking retractor9feature for child seats is still working properly. Safety
belt assemblies should be inspected according to the procedures in the
Workshop Manual and replaced if either damage or improper operation
is noted. Failure to replace the belt and retractor assembly could
increase the risk of injury in a collision.
Unbuckle the combination lap/shoulder belt and allow it to retract
completely to disengage the automatic locking mode and activate the
vehicle sensitive (emergency) locking mode.
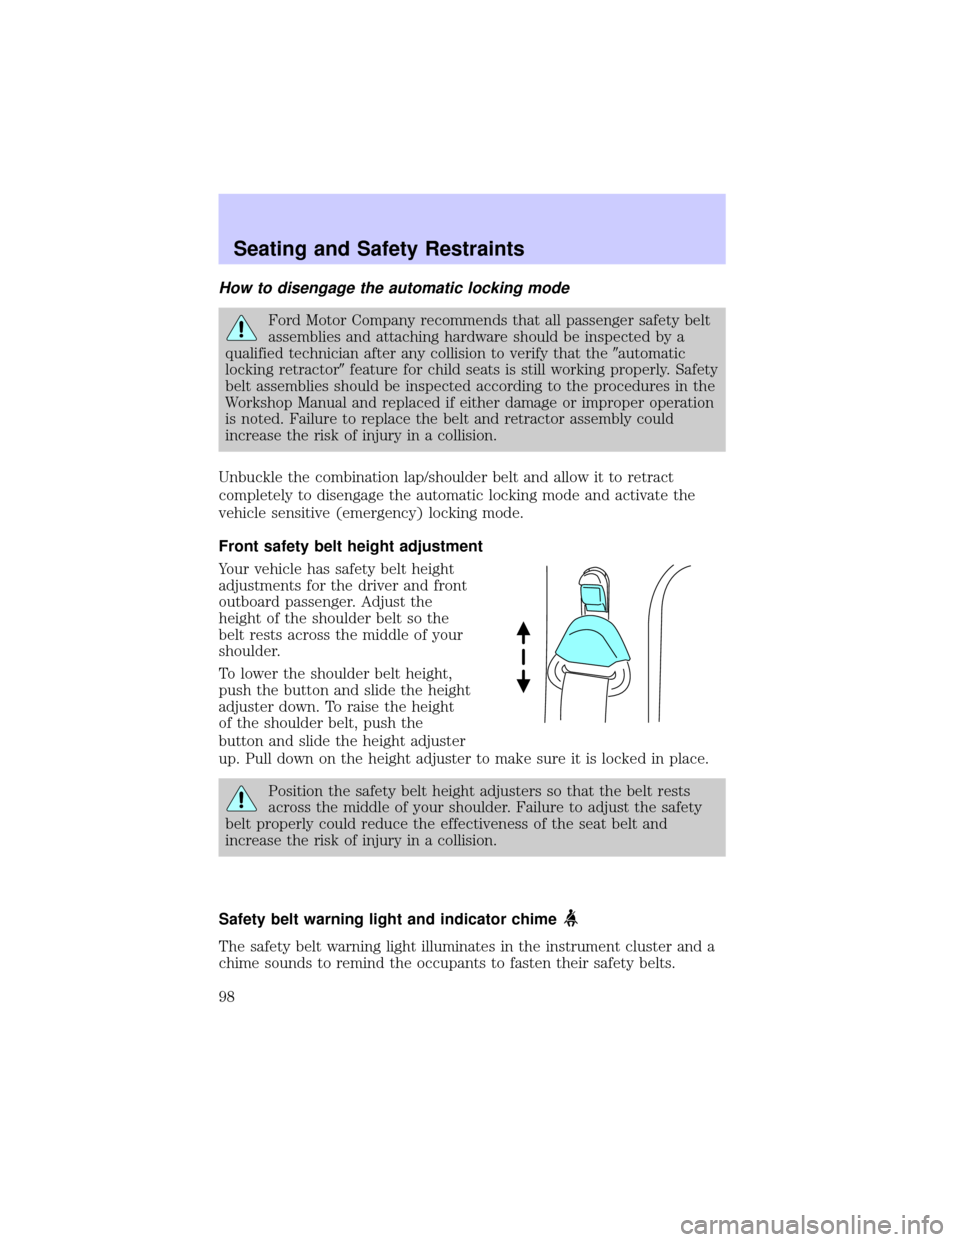
Front safety belt height adjustment
Your vehicle has safety belt height
adjustments for the driver and front
outboard passenger. Adjust the
height of the shoulder belt so the
belt rests across the middle of your
shoulder.
To lower the shoulder belt height,
push the button and slide the height
adjuster down. To raise the height
of the shoulder belt, push the
button and slide the height adjuster
up. Pull down on the height adjuster to make sure it is locked in place.
Position the safety belt height adjusters so that the belt rests
across the middle of your shoulder. Failure to adjust the safety
belt properly could reduce the effectiveness of the seat belt and
increase the risk of injury in a collision.
Safety belt warning light and indicator chime
The safety belt warning light illuminates in the instrument cluster and a
chime sounds to remind the occupants to fasten their safety belts.
Seating and Safety Restraints
98