ECU Mercury Mercury Cougar 2002 Owner's Manual
[x] Cancel search | Manufacturer: MERCURY, Model Year: 2002, Model line: Mercury Cougar, Model: Mercury Mercury Cougar 2002Pages: 216, PDF Size: 4.04 MB
Page 2 of 216

Locks and Security 70
Keys 70
Locks 70
Anti-theft system 71
Seating and Safety Restraints 79
Seating 79
Safety restraints 83
Air bags 94
Child restraints 102
Driving 112
Starting 112
Brakes 116
Traction control/AdvanceTrac 119
Transmission operation 120
Vehicle loading 129
Trailer towing 130
Roadside Emergencies 134
Getting roadside assistance 134
Hazard flasher switch 135
Fuel pump shut-off switch 135
Fuses and relays 136
Changing tires 142
Jump starting 145
Wrecker towing 151
Table of Contents
2
Page 10 of 216

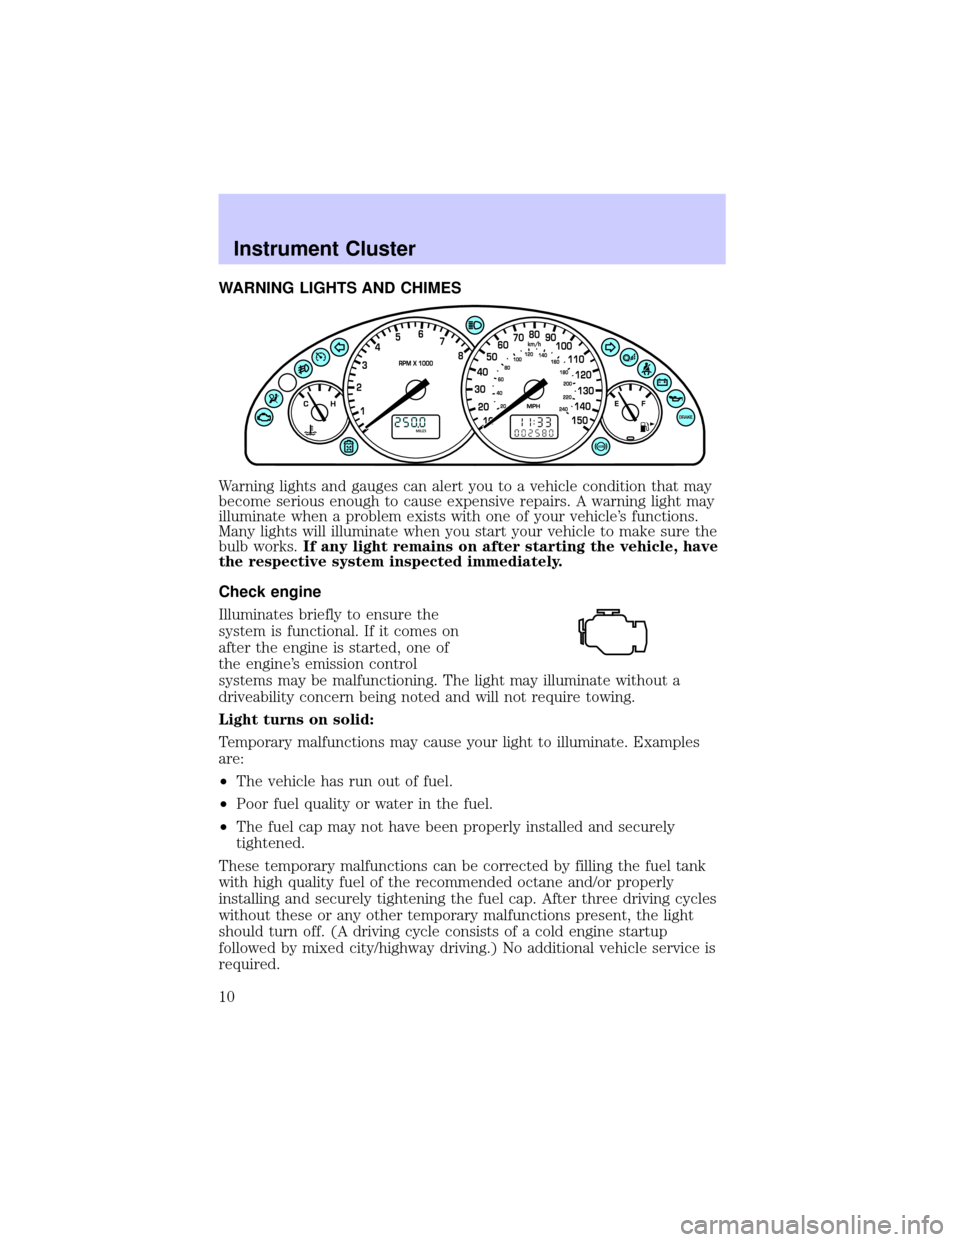
WARNING LIGHTS AND CHIMES
Warning lights and gauges can alert you to a vehicle condition that may
become serious enough to cause expensive repairs. A warning light may
illuminate when a problem exists with one of your vehicle's functions.
Many lights will illuminate when you start your vehicle to make sure the
bulb works.If any light remains on after starting the vehicle, have
the respective system inspected immediately.
Check engine
Illuminates briefly to ensure the
system is functional. If it comes on
after the engine is started, one of
the engine's emission control
systems may be malfunctioning. The light may illuminate without a
driveability concern being noted and will not require towing.
Light turns on solid:
Temporary malfunctions may cause your light to illuminate. Examples
are:
²The vehicle has run out of fuel.
²Poor fuel quality or water in the fuel.
²The fuel cap may not have been properly installed and securely
tightened.
These temporary malfunctions can be corrected by filling the fuel tank
with high quality fuel of the recommended octane and/or properly
installing and securely tightening the fuel cap. After three driving cycles
without these or any other temporary malfunctions present, the light
should turn off. (A driving cycle consists of a cold engine startup
followed by mixed city/highway driving.) No additional vehicle service is
required.
Instrument Cluster
10
Page 19 of 216

PREMIUM AM/FM STEREO/CD SYSTEM
Anti-theft protection panel
To deter would-be thieves, Ford audio units have a removable front panel
without which the unit will not work.
Avoid touching the contacts on the back of the panel and do not use
excessive force to refit it.
Slide the security release button to
the left and remove the front panel.
To reposition the panel, insert the
right-hand edge first, then the
left-hand side, until the retaining
latch is engaged.
Replacement panels
Your Ford dealer will require the following if you need to order a
replacement panel:
1. Your name and address.
2. The vehicle identification number (visible on a plate mounted on the
instrument panel.) Refer toIdentifying your Vehicle.
MENU
SCAN
CDAM/FMFADE/BALVOL ON/OFFBASS/TREB
CLK
123456
SEEK
Entertainment Systems
19
Page 53 of 216

2. Connect the electrical connector to the bulb.
3. Install the protective cover and secure it with the wire clips.
4. Turn the headlamps on and make sure they work properly. if the
headlamp was correctly aligned before you changed the bulb, you need
to align it again.
Replacing front parking lamp/turn signal bulbs
1. Remove the headlamp assembly
cover.
2. Turn the bulb holder counter
clockwise.
3. Remove the bulb socket by
pulling it straight out from the lamp
assembly.
4. Pull the bulb straight out of the
socket and press in the new bulb.
5. Install the bulb socket into the
lamp assembly by turning clockwise.
Replacing side marker lamps
1. Push the complete light assembly
to the front and pull it out.
2. Remove the socket from the
assembly by turning it counter
clockwise.
3. Pull the bulb straight out and
replace it.
4. Install the bulb socket into the
assembly by turning it clockwise.
Replacing brake/turn signal/tail/backup lamps
The brake, turn signal, tail and backup lamps bulbs are located in the
same portion of the tail lamp assembly. Follow the same steps to replace
either bulb.
Lights
53
Page 54 of 216

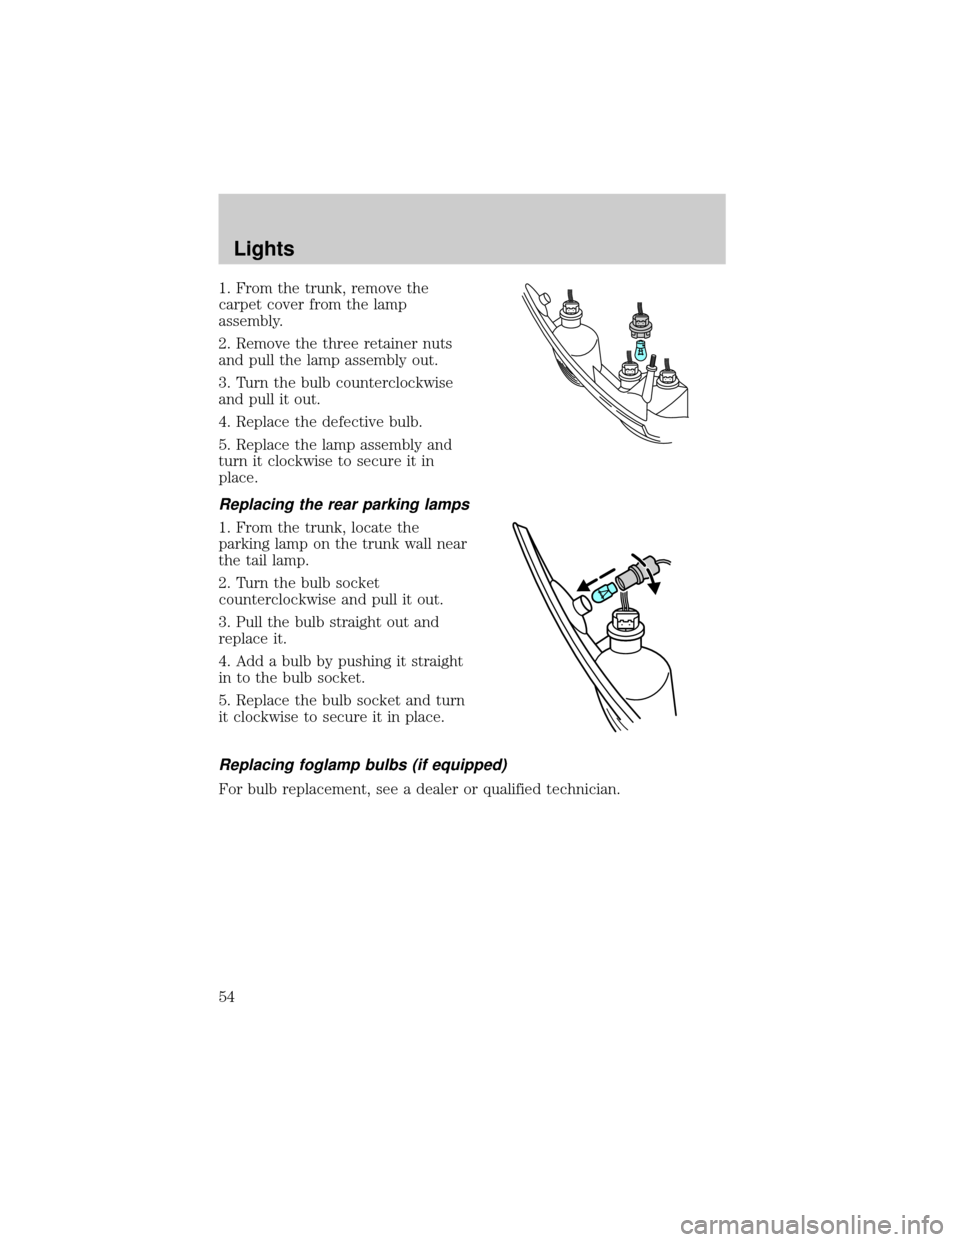
1. From the trunk, remove the
carpet cover from the lamp
assembly.
2. Remove the three retainer nuts
and pull the lamp assembly out.
3. Turn the bulb counterclockwise
and pull it out.
4. Replace the defective bulb.
5. Replace the lamp assembly and
turn it clockwise to secure it in
place.
Replacing the rear parking lamps
1. From the trunk, locate the
parking lamp on the trunk wall near
the tail lamp.
2. Turn the bulb socket
counterclockwise and pull it out.
3. Pull the bulb straight out and
replace it.
4. Add a bulb by pushing it straight
in to the bulb socket.
5. Replace the bulb socket and turn
it clockwise to secure it in place.
Replacing foglamp bulbs (if equipped)
For bulb replacement, see a dealer or qualified technician.
Lights
54
Page 55 of 216

Replacing high-mount brake
lamp bulbs
1. Remove the push pins and cover
from the liftgate. (To remove the
push pins, press the two tabs of the
push pin insert inward and pull the
insert out.)
2. Turn the bulb socket
counterclockwise.
3. Pull the bulb straight out of the
socket and push in the new bulb.
To install the lamp assembly:
1. Install the bulb into the lamp assembly and turn it clockwise
2. Replace the cover and the push pins.
Replacing the luggage compartment lamp
1. Remove the light assembly from
the underside of the liftgate.
2. Turn the spherical bulb (with
slight pressure) counterclockwise to
remove.
3. To replace the bulb, insert bulb
and turn it clockwise to secure in
place.
Lights
55
Page 59 of 216

TILT STEERING WHEEL
Pull the locking lever on the
steering column cover up to adjust
the steering column position. Secure
the wheel by releasing the locking
lever.
Never adjust the steering
wheel when the vehicle is
moving.
HORN
Press the pad in the middle of the
steering wheel.
Driver Controls
59
Page 69 of 216

To install the cover:
Insert the cover horizontally, align it
and push in as far as the stop.
Attach the lifting straps to the
liftgate.
Do not place any objects on
the cargo area cover. They
may obstruct your vision or strike
occupants of the vehicle in the
case of a sudden stop or collision.
The cover may cause injury in a sudden stop or accident if it is
not securely installed.
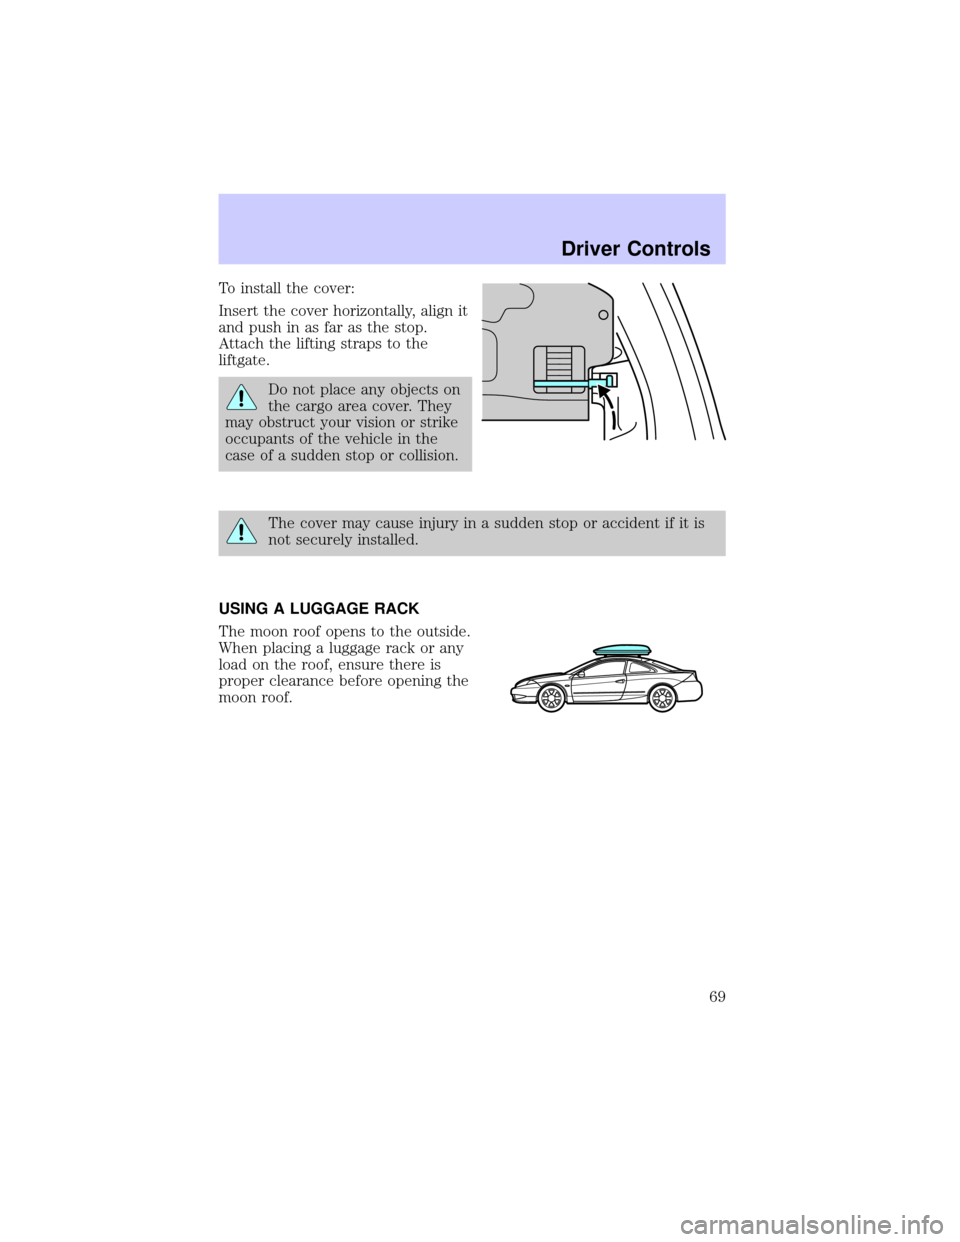
USING A LUGGAGE RACK
The moon roof opens to the outside.
When placing a luggage rack or any
load on the roof, ensure there is
proper clearance before opening the
moon roof.
Driver Controls
69
Page 70 of 216

KEYS
The key operates all locks on your vehicle. In case of loss, replacement
keys are available from your dealer.
You should always carry a second key with you in a safe place in case
you require it in an emergency.
Refer toSecuriLockyPassive Anti-Theft Systemfor more information.
POWER DOOR LOCKS
Press control to unlock all doors.
Press control to lock all doors.
INTERIOR LUGGAGE COMPARTMENT RELEASE
Your vehicle is equipped with a mechanical interior luggage compartment
release handle that provides a means of escape for children and adults in
the event they become locked inside the luggage compartment.
Adults are advised to familiarize themselves with the operation and
location of the release handle.
Locks and Security
70
Page 71 of 216

To open the luggage compartment
door (lid) from within the luggage
compartment, pull the illuminated
ªTº shaped handle and push up on
the trunk lid. The handle is
composed of a material that will
glow for hours in darkness following
brief exposure to ambient light.
The ªTº shaped handle will be
located either on the luggage
compartment door (lid) or inside
the luggage compartment near the
tail lamps.
Keep vehicle doors and
luggage compartment
locked and keep keys and remote
transmitters out of a child's reach.
Unsupervised children could lock
themselves in an open trunk and
risk injury. Children should be
taught not to play in vehicles.
On hot days, the temperature in the trunk or vehicle interior can
rise very quickly. Exposure of people or animals to these high
temperatures for even a short time can cause death or serious
heat-related injuries, including brain damage. Small children are
particularly at risk.
REMOTE ENTRY SYSTEM (IF EQUIPPED)
This device complies with part 15 of the FCC rules and with RS-210 of
Industry Canada. Operation is subject to the following two conditions:
(1) This device may not cause harmful interference, and (2) This device
must accept any interference received, including interference that may
cause undesired operation.
Locks and Security
71