fuel Mercury Mercury Cougar 2002 Owner's Manual
[x] Cancel search | Manufacturer: MERCURY, Model Year: 2002, Model line: Mercury Cougar, Model: Mercury Mercury Cougar 2002Pages: 216, PDF Size: 4.04 MB
Page 2 of 216
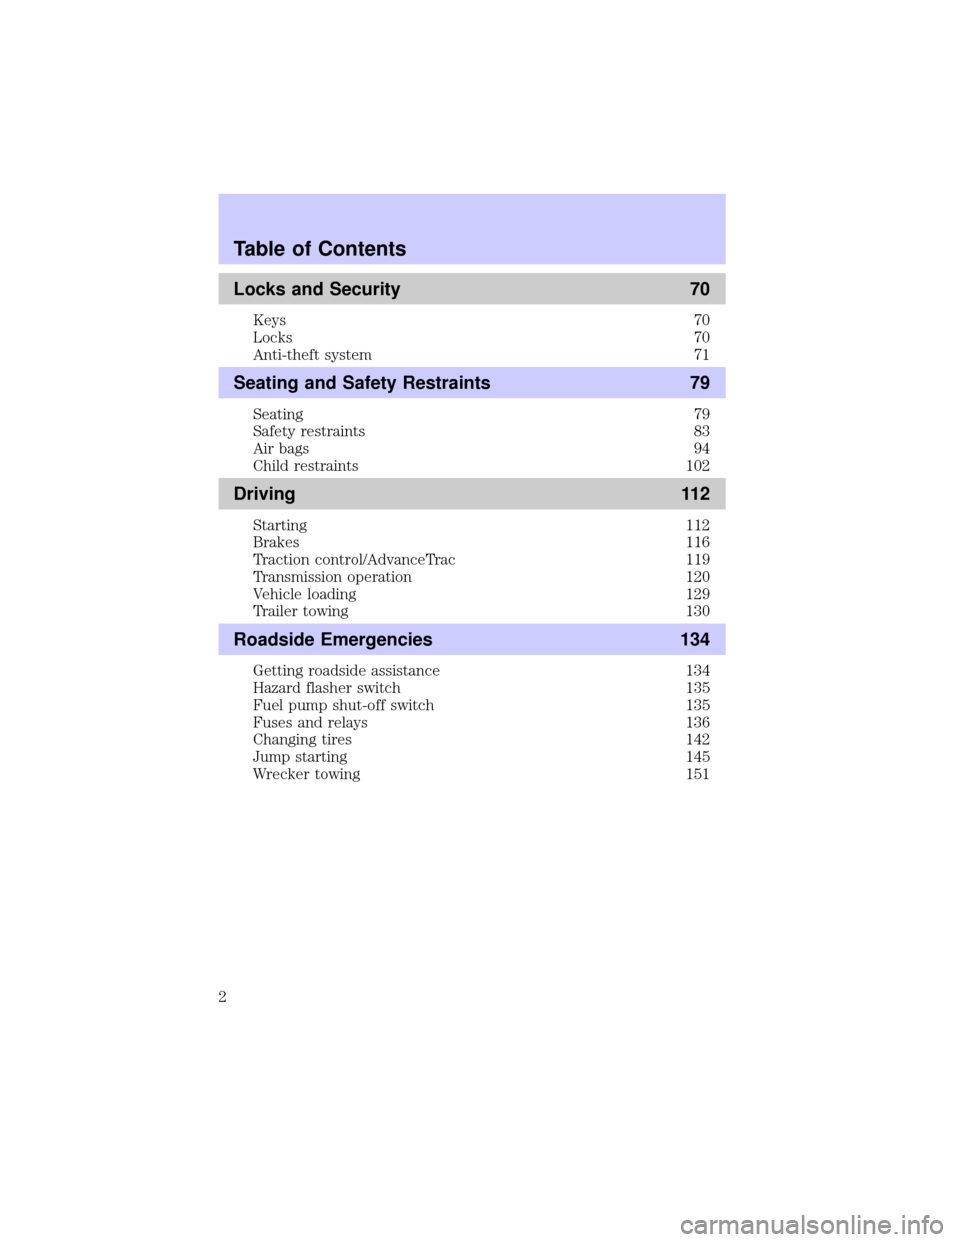
Locks and Security 70
Keys 70
Locks 70
Anti-theft system 71
Seating and Safety Restraints 79
Seating 79
Safety restraints 83
Air bags 94
Child restraints 102
Driving 112
Starting 112
Brakes 116
Traction control/AdvanceTrac 119
Transmission operation 120
Vehicle loading 129
Trailer towing 130
Roadside Emergencies 134
Getting roadside assistance 134
Hazard flasher switch 135
Fuel pump shut-off switch 135
Fuses and relays 136
Changing tires 142
Jump starting 145
Wrecker towing 151
Table of Contents
2
Page 3 of 216
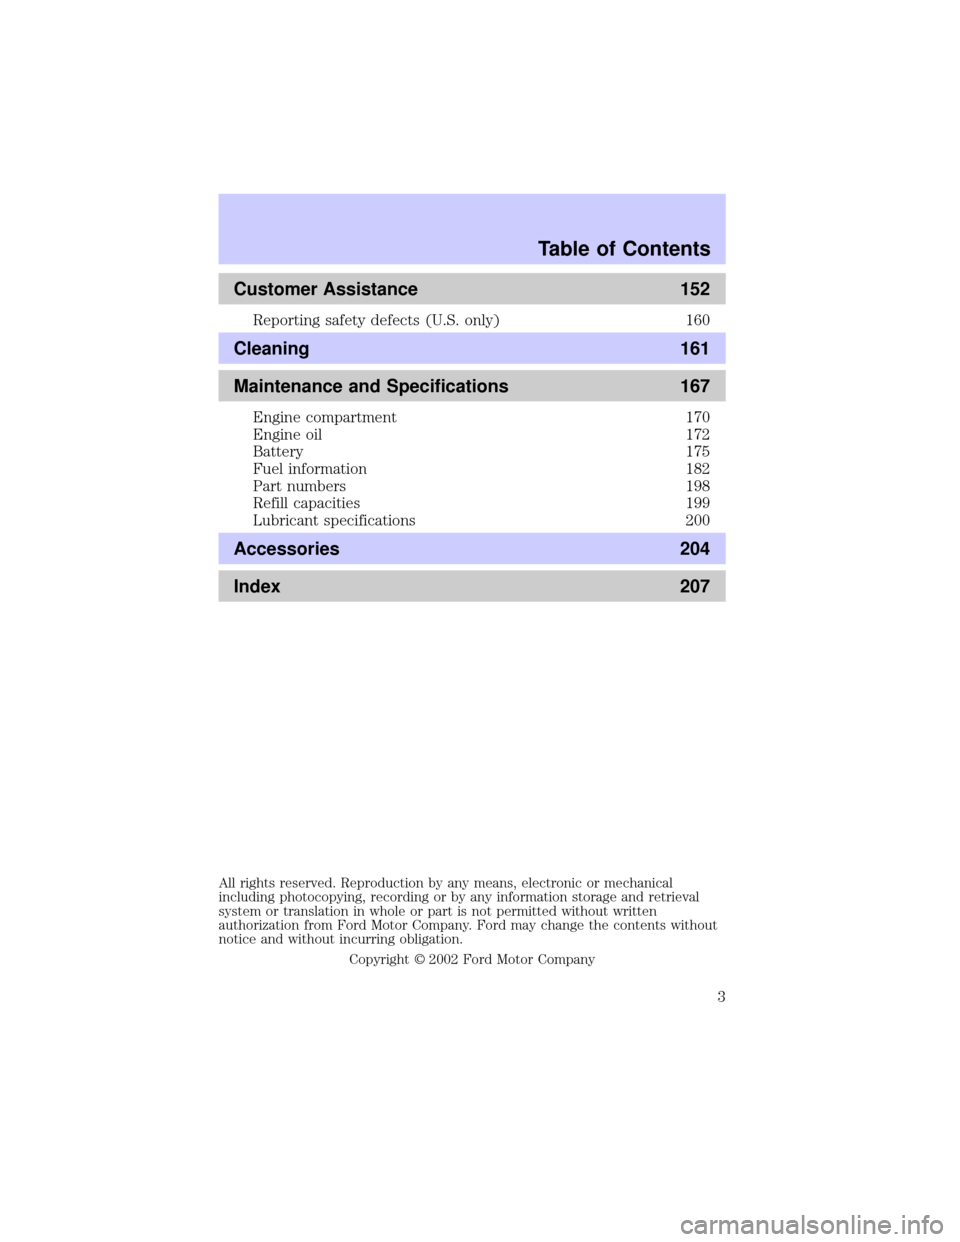
Customer Assistance 152
Reporting safety defects (U.S. only) 160
Cleaning 161
Maintenance and Specifications 167
Engine compartment 170
Engine oil 172
Battery 175
Fuel information 182
Part numbers 198
Refill capacities 199
Lubricant specifications 200
Accessories 204
Index 207
All rights reserved. Reproduction by any means, electronic or mechanical
including photocopying, recording or by any information storage and retrieval
system or translation in whole or part is not permitted without written
authorization from Ford Motor Company. Ford may change the contents without
notice and without incurring obligation.
Copyright 2002 Ford Motor Company
Table of Contents
3
Page 5 of 216
Fuel pump shut-off switchIn the event of an accident the
safety switch will automatically cut off the fuel supply to the
engine. The switch can also be activated through sudden vibration (e.g.
collision when parking). To reset the switch, refer to theFuel pump
shut-off switchin theRoadside emergencieschapter.
SAFETY AND ENVIRONMENT PROTECTION
Warning symbols in this guide
How can you reduce the risk of personal injury and prevent possible
damage to others, your vehicle and its equipment? In this guide, answers
to such questions are contained in comments highlighted by the warning
triangle symbol. These comments should be read and observed.
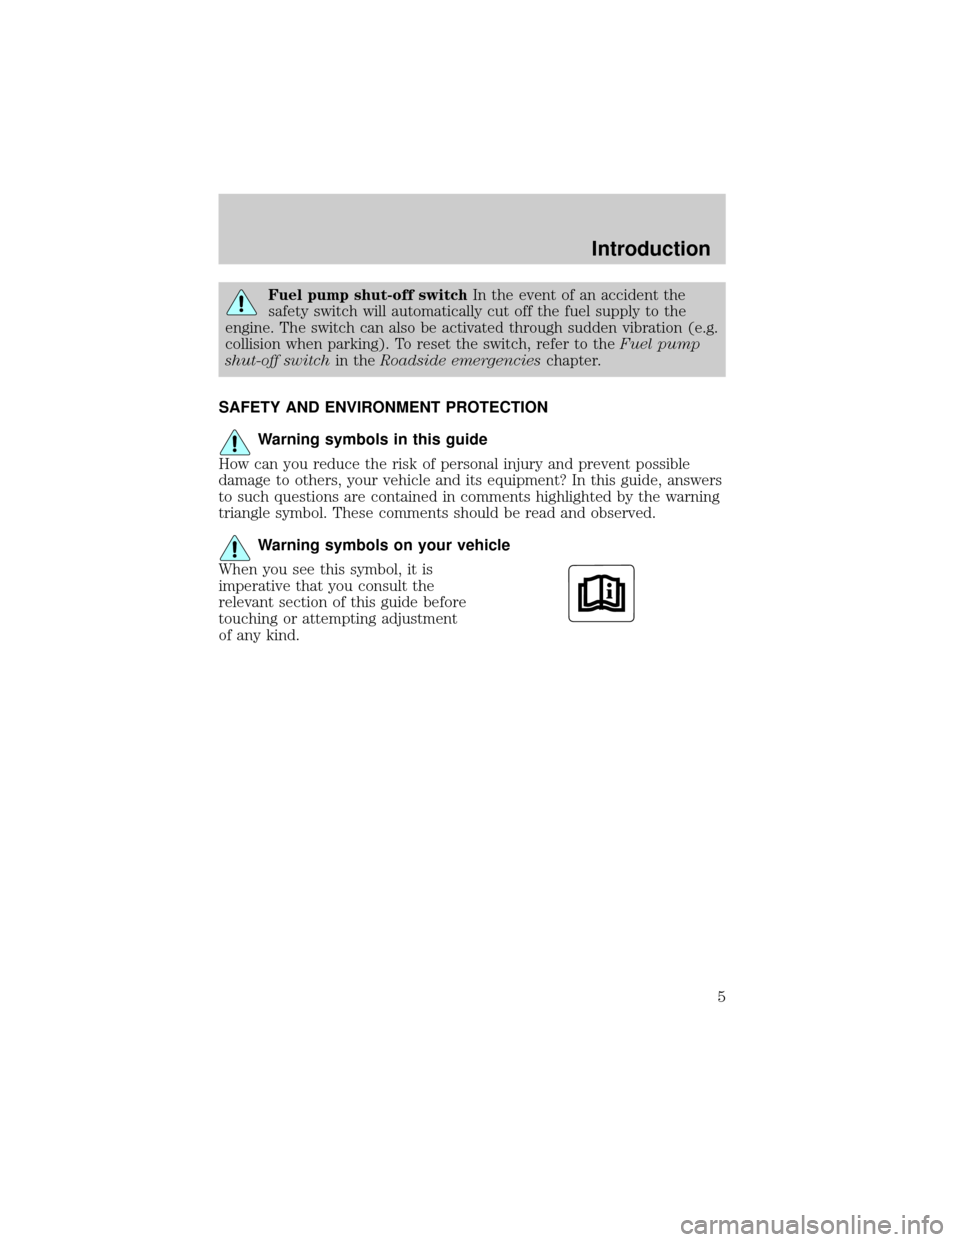
Warning symbols on your vehicle
When you see this symbol, it is
imperative that you consult the
relevant section of this guide before
touching or attempting adjustment
of any kind.
Introduction
5
Page 8 of 216
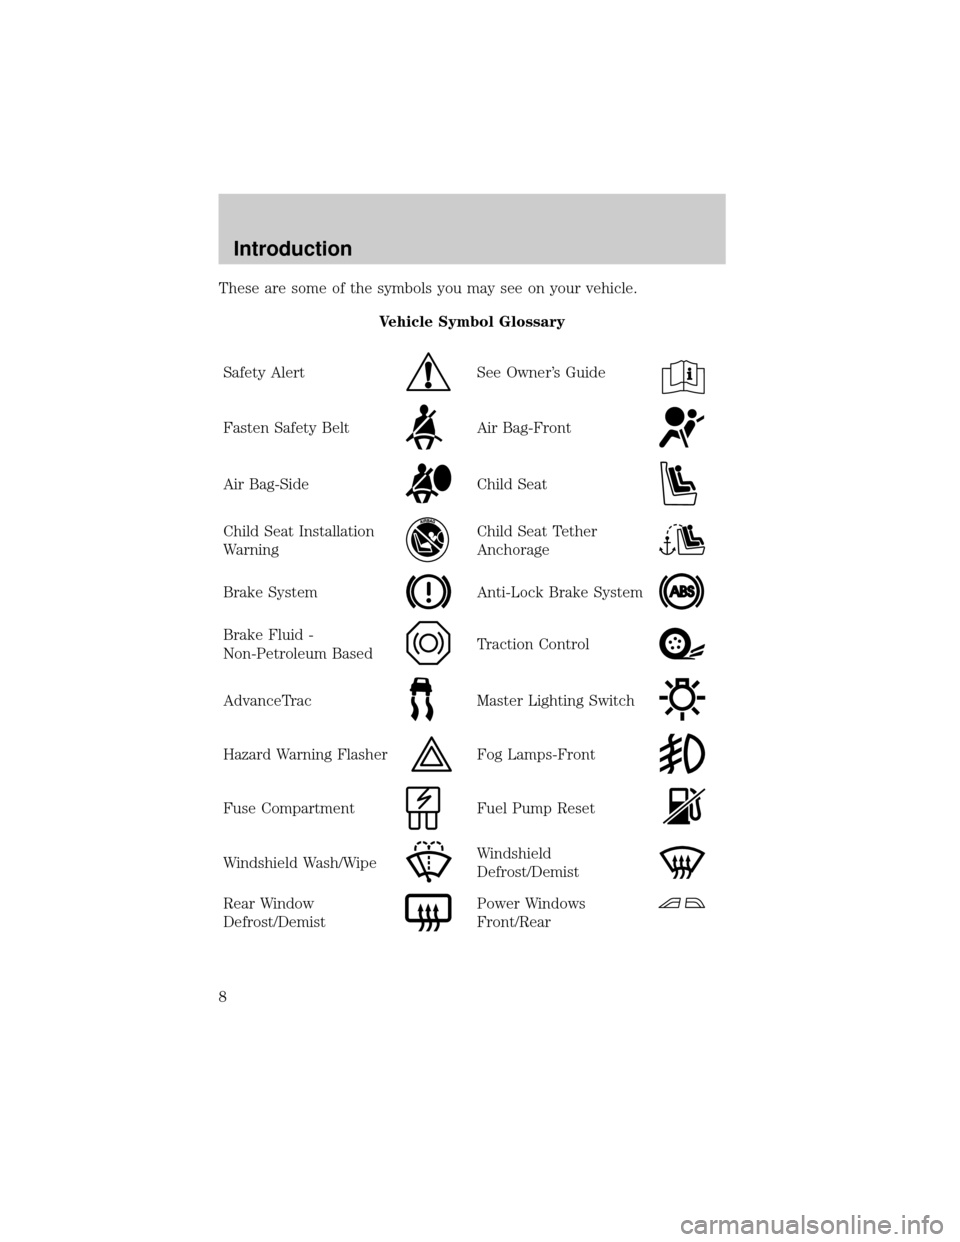
These are some of the symbols you may see on your vehicle.
Vehicle Symbol Glossary
Safety Alert
See Owner's Guide
Fasten Safety BeltAir Bag-Front
Air Bag-SideChild Seat
Child Seat Installation
WarningChild Seat Tether
Anchorage
Brake SystemAnti-Lock Brake System
Brake Fluid -
Non-Petroleum BasedTraction Control
AdvanceTracMaster Lighting Switch
Hazard Warning FlasherFog Lamps-Front
Fuse CompartmentFuel Pump Reset
Windshield Wash/WipeWindshield
Defrost/Demist
Rear Window
Defrost/DemistPower Windows
Front/Rear
Introduction
8
Page 9 of 216
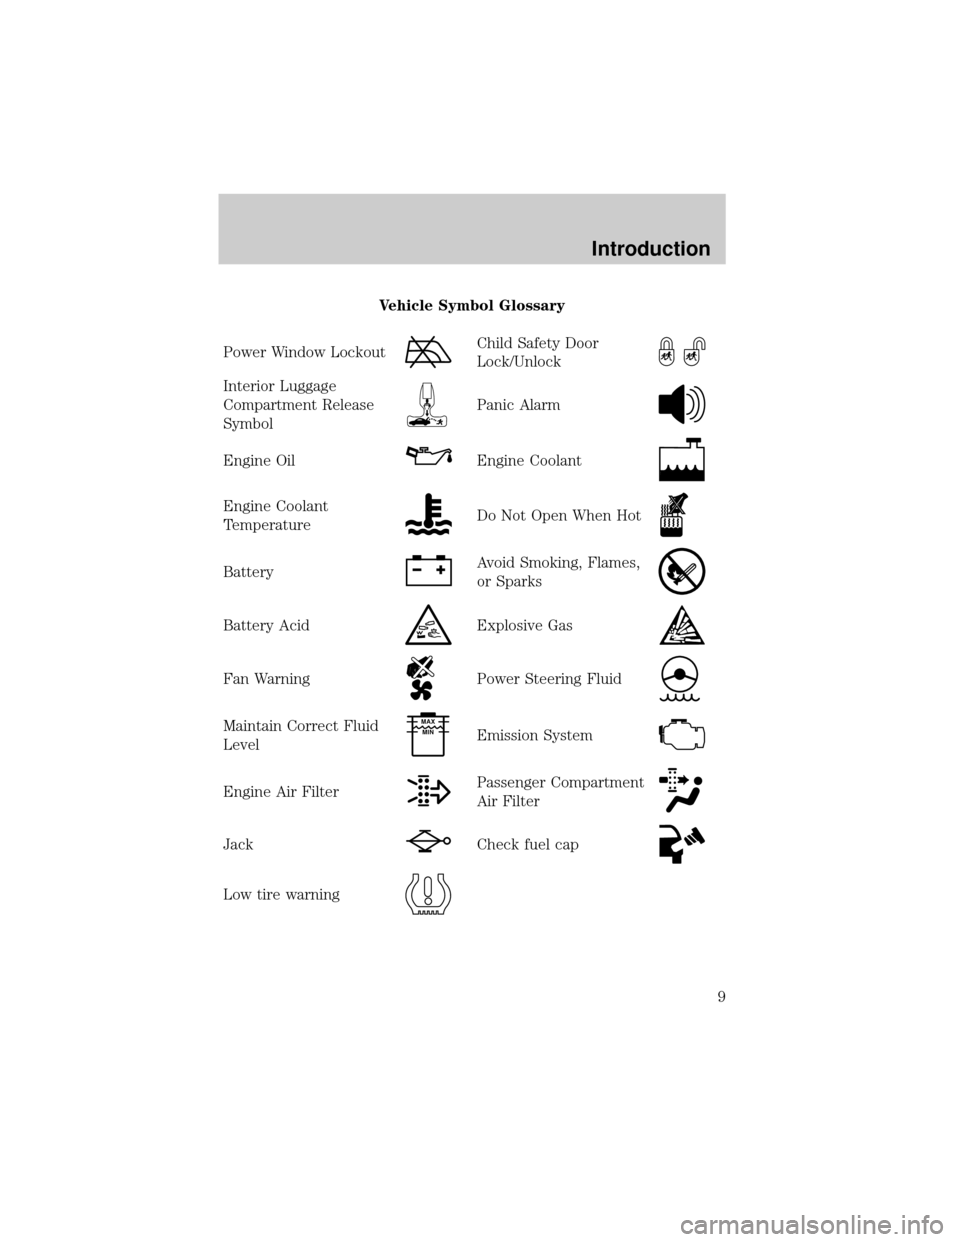
Vehicle Symbol Glossary
Power Window Lockout
Child Safety Door
Lock/Unlock
Interior Luggage
Compartment Release
Symbol
Panic Alarm
Engine OilEngine Coolant
Engine Coolant
TemperatureDo Not Open When Hot
BatteryAvoid Smoking, Flames,
or Sparks
Battery AcidExplosive Gas
Fan WarningPower Steering Fluid
Maintain Correct Fluid
LevelMAX
MIN
Emission System
Engine Air FilterPassenger Compartment
Air Filter
JackCheck fuel cap
Low tire warning
Introduction
9
Page 10 of 216
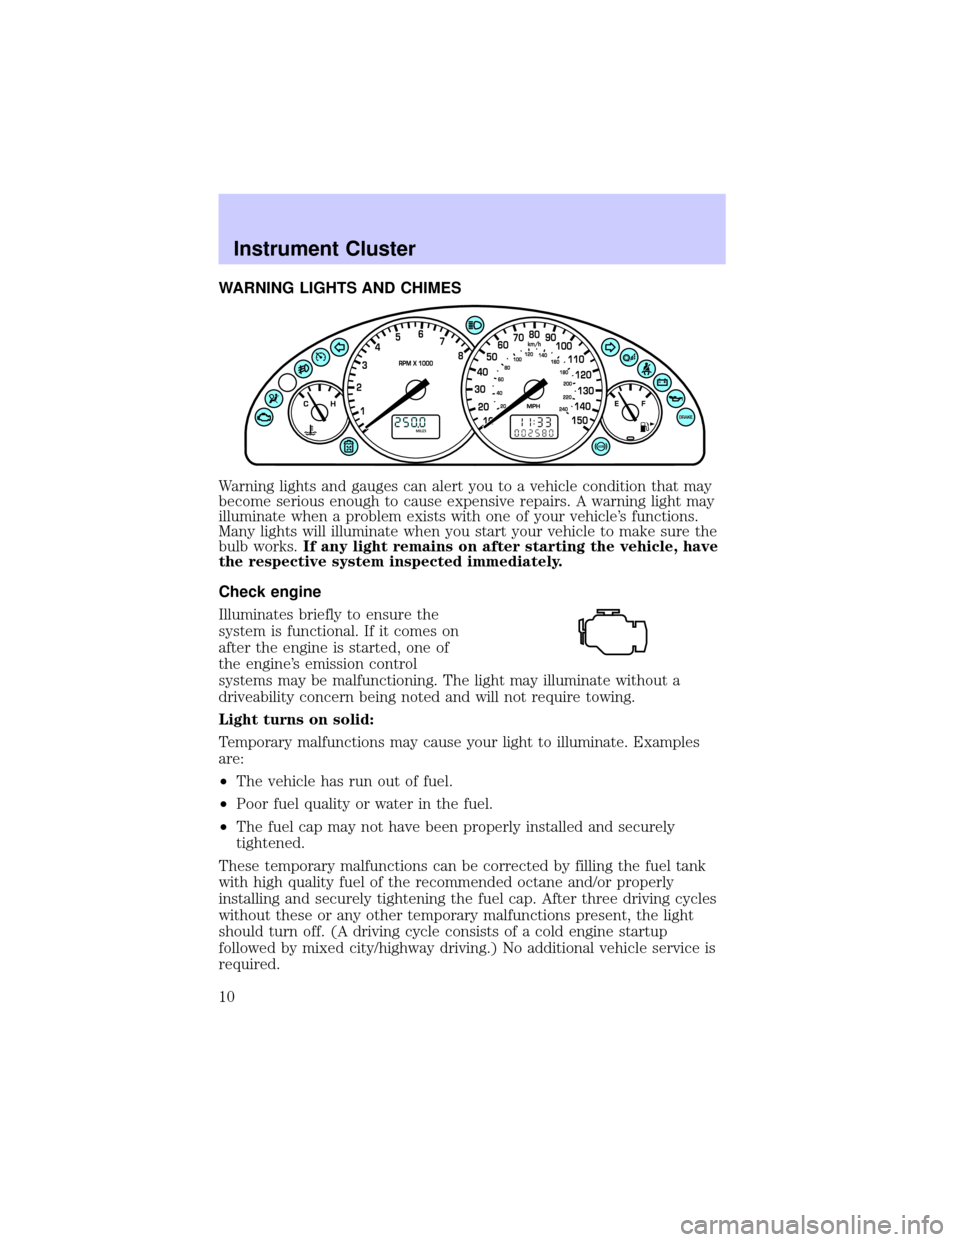
WARNING LIGHTS AND CHIMES
Warning lights and gauges can alert you to a vehicle condition that may
become serious enough to cause expensive repairs. A warning light may
illuminate when a problem exists with one of your vehicle's functions.
Many lights will illuminate when you start your vehicle to make sure the
bulb works.If any light remains on after starting the vehicle, have
the respective system inspected immediately.
Check engine
Illuminates briefly to ensure the
system is functional. If it comes on
after the engine is started, one of
the engine's emission control
systems may be malfunctioning. The light may illuminate without a
driveability concern being noted and will not require towing.
Light turns on solid:
Temporary malfunctions may cause your light to illuminate. Examples
are:
²The vehicle has run out of fuel.
²Poor fuel quality or water in the fuel.
²The fuel cap may not have been properly installed and securely
tightened.
These temporary malfunctions can be corrected by filling the fuel tank
with high quality fuel of the recommended octane and/or properly
installing and securely tightening the fuel cap. After three driving cycles
without these or any other temporary malfunctions present, the light
should turn off. (A driving cycle consists of a cold engine startup
followed by mixed city/highway driving.) No additional vehicle service is
required.
Instrument Cluster
10
Page 11 of 216

If the light remains on, have your vehicle serviced at the first available
opportunity.
Light is blinking:
Engine misfire is occurring which could damage your catalytic converter.
You should drive in a moderate fashion (avoid heavy acceleration and
deceleration) and have your vehicle serviced at the first available
opportunity.
Under engine misfire conditions, excessive exhaust temperatures
could damage the catalytic converter, the fuel system, interior
floor coverings or other vehicle components, possibly causing a
fire.
Brake system warning
To confirm the brake system
warning light is functional, it will
momentarily illuminate when the
ignition is turned to the ON position (alternatively for some vehicles
when the ignition is moved from the ON position to START position, the
light will momentarily illuminate prior to reaching the START position).
It also illuminates if the parking brake is engaged. If the brake system
warning light does not illuminate as described, seek service immediately.
Illumination after the parking brake is released indicates low brake fluid
level or a brake system malfunction and the brake system should be
serviced immediately by a qualified technician. Refer toBrakesin the
Drivingchapter for more information.
Anti-lock brake system (ABS)
To confirm the anti-lock brake
system (ABS) warning light is
functional it will momentarily
illuminate when the ignition is
turned to the ON position
(alternatively for some vehicles when the ignition is moved from the ON
position to the START position, the light will momentarily illuminate just
prior to reaching the START position). If the light remains on, continues
to flash or fails to illuminate, have the ABS serviced immediately. If the
ABS light remains on, it means the anti-lock brake system has
malfunctioned and is disabled, however, the normal brake system will
still function unless the brake warning light also remains illuminated and
parking brake is off. Refer toBrakesin theDrivingchapter for more
information.
ABS
Instrument Cluster
11
Page 13 of 216

Traction ControlYactive
Illuminates when the Traction
Controlysystem is active. It will be
lit for a minimum of four seconds or
for the duration of the Traction
Controlyevent.
For more information, refer to theDrivingchapter.
Low fuel
Illuminates when the fuel level in
the fuel tank is at, or near, empty
(refer toFuel gaugein this chapter
for more information). When
refueling, after the light comes on,
the amount of fuel that is added will
be less than the advertised capacity
since there is fuel still in the tank.
O/D off (if equipped)
Illuminates when the overdrive
function has been turned OFF using
the Transmission Control Switch
(TCS) on end of gearshift. If the
light does not come on or the light
flashes steadily, have your vehicle serviced as soon as possible, as
damage to the transmission could occur.
Speed control (if equipped)
Illuminates when the speed control
is activated.
Turn signal
Illuminates when the turn signals or
the hazard lights are turned on. If
the lights stay on continuously or
flash faster, check for a burned-out bulb.
Instrument Cluster
13
Page 17 of 216

Fuel gauge
Displays approximately how much
fuel is in the fuel tank. The fuel
gauge may vary slightly when the
vehicle is in motion or on a grade.
When refueling the vehicle from an
empty indication, the amount of fuel
that can be added will be less than
the advertised capacity due to the
reserve fuel.
Speedometer
Indicates the current vehicle speed.
Odometer
Registers the total kilometers
(miles) of the vehicle.
Instrument Cluster
17
Page 58 of 216

WINDSHIELD WIPER BLADES
Check the wiper blades for wear at least twice a year or when they seem
less effective. Substances such as tree sap and some hot wax treatments
used by commercial car washes reduce the effectiveness of wiper blades.
CHECKING WIPER BLADES
Check the wiper blades on your
vehicle for roughness by running the
tip of your fingers over the edge of
the blade.
Traces of grease, silicone and fuel
also prevent wiper blades from
functioning properly. Clean the
blades regularly using a damp cloth
or sponge soaked with diluted
windscreen or car wash detergent.
Change the wiper blades on your vehicle at least once a year.
CHANGING THE WIPER BLADES
To replace the wiper blades:
1. Pull the wiper arm away from the
windshield and lock into the service
position.
2. Turn the blade at an angle from
the wiper arm. Push the lock pin
manually to release the blade and
pull the wiper blade down toward
the windshield to remove it from the
arm.
3. Attach the new wiper to the
wiper arm and press it into place
until a click is heard.
Driver Controls
58