service Mercury Mountaineer 1997 s User Guide
[x] Cancel search | Manufacturer: MERCURY, Model Year: 1997, Model line: Mountaineer, Model: Mercury Mountaineer 1997Pages: 197, PDF Size: 2.08 MB
Page 115 of 197

Servicing while towing
If you tow a trailer for long
distances, your vehicle will require
more frequent service intervals.
Refer to theService Guidefor
more information.
Trailer towing
²Practice turning, stopping and
backing in an area before
starting on a trip to get the feel
of the vehicle/trailer
combination. When turning,
drive slightly beyond the normal
turning point so the trailer
wheels will clear curbs and
other obstacles.
²Allow more room for stopping
with a trailer attached.
²The trailer tongue weight should
be 10-15% of the loaded trailer
weight for a Class I or II rear
bumper hitch.
²After you have travelled about
80 km (50 miles), thoroughly
check your hitch, electrical
connections and trailer wheel
lug nuts.
²When stopped in traffic for long
periods of time in hot weather,
place the gearshift in P (Park)
to increase idle speed. This aids
engine cooling and air
conditioner efficiency.
²Vehicles with trailers should not
be parked on a grade. If you
must park on a grade, place
wheel chocks under the trailer's
wheels.
Driving
115
Page 118 of 197

HAZARD SWITCH
Use the hazard flashers to warn
traffic of vehicle problems.
Press button down to activate
hazard flashers.
Press button again to deactivate
hazard flashers.
FUEL PUMP SHUTOFF SWITCH
The fuel pump shutoff switch stops
the fuel pump when the vehicle
has been involved in a collision or
major jolt. If the vehicle does not
start, it is possible that the fuel
pump shutoff switch needs to be
reset.
If you see or smell fuel, do
not reset the switch or try
to start your vehicle. Have all the
passengers get out of the vehicle
and call the local fire department
or a towing service.
0P RND21
UNLEADED
FUEL ONLY
RPM x 100012345
6H
C
F
E
RSM
SET
ACC
COAST OFF ON
SRS
- +H
H
L L020
1030405060
70
80
90
110
120000000oooo
km/h100
20406080100
120
140
160
180
Roadside emergencies
118
Page 133 of 197

vegetable oil. Call a doctor
immediately.
To avoid damage or injury,
follow these directions in
the order they are given. If in
doubt, call for road service.
Before jump starting a vehicle:
²Make sure the booster battery
vehicle has a 12-volt starting
system (a 24-volt power supply
will cause vehicle damage).
²Park the vehicles close to each
other, but do not allow the
vehicles to touch each other.
²Check to make sure neither
battery is disconnected.
²Remove any excessive corrosion
from the battery terminals.
²Turn on the heater fan in each
vehicle to prevent damage from
voltage surges.
To jump start the vehicle, connect
the jumper cables in the following
order:
1. Disabled battery positive
terminal.
2. Booster battery positive
terminal.
3. Booster battery negative
terminal.
4. Disabled vehicle engine.
+ –
4
2
3
1
+ –
Roadside emergencies
133
Page 136 of 197

SERVICE RECOMMENDATIONS
Whenever possible, Ford has
designed parts that do not require
servicing. However, when servicing
is required, Ford's goal is to make
servicing your vehicle as easy as
possible. To help you:
²We highlight do-it-yourself items
in the engine compartment for
easy location.
²Often, parts (such as the
headlamp bulbs) may be
replaced without tools.
²We provide you with aService
Guidethat makes tracking
routine service of your vehicle
easy.
If your vehicle requires
professional servicing, your
dealership can provide the
necessary parts and service. Check
theWarranty Guideto find out
which parts and services are
covered. Use only recommended
fuels, lubricants, fluids, and service
parts conforming to Ford
specifications. Motorcraft parts are
designed and built to provide the
best performance in your vehicle.
Precautions for servicing your
vehicle
Be particularly careful when
inspecting or servicing your
vehicle. Here are some general
precautions for your safety:
²Do not work on a hot engine.
The engine cooling fan may
Maintenance and care
136
Page 140 of 197
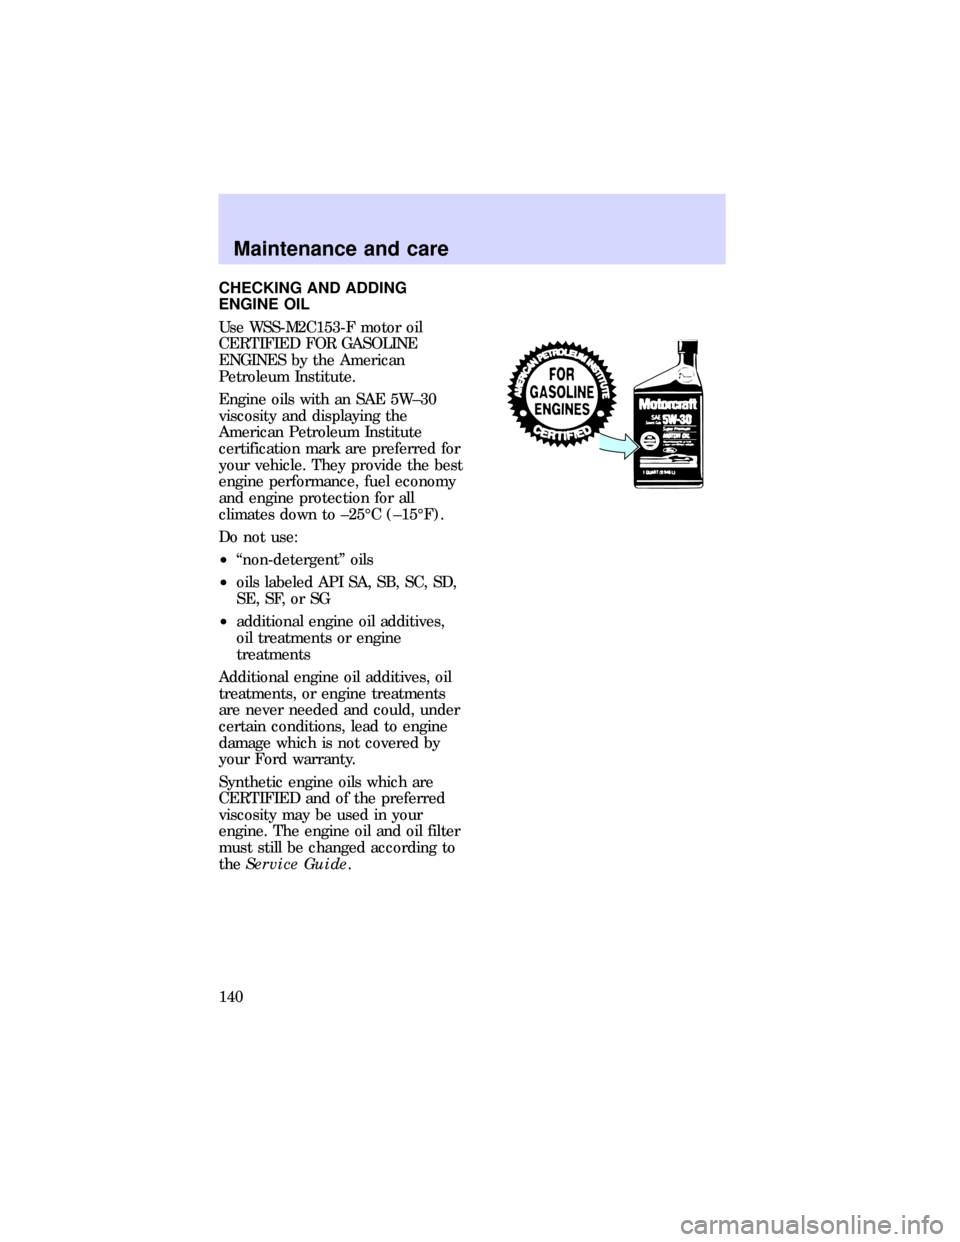
CHECKING AND ADDING
ENGINE OIL
Use WSS-M2C153-F motor oil
CERTIFIED FOR GASOLINE
ENGINES by the American
Petroleum Institute.
Engine oils with an SAE 5W±30
viscosity and displaying the
American Petroleum Institute
certification mark are preferred for
your vehicle. They provide the best
engine performance, fuel economy
and engine protection for all
climates down to ±25ÉC (±15ÉF).
Do not use:
²ªnon-detergentº oils
²oils labeled API SA, SB, SC, SD,
SE, SF, or SG
²additional engine oil additives,
oil treatments or engine
treatments
Additional engine oil additives, oil
treatments, or engine treatments
are never needed and could, under
certain conditions, lead to engine
damage which is not covered by
your Ford warranty.
Synthetic engine oils which are
CERTIFIED and of the preferred
viscosity may be used in your
engine. The engine oil and oil filter
must still be changed according to
theService Guide.
Maintenance and care
140
Page 141 of 197

Checking the engine oil
Check the engine oil every time
you fuel your vehicle.
Check the engine oil level more
frequently if the vehicle is carrying
a heavy load, towing a trailer,
idling for extended periods (like
police, taxi, or shuttle service
vehicles), or driven at high speeds
for extended periods of time.
To check engine oil:
1. Once the engine is warm, turn
the engine off. Make sure the
vehicle is parked on level ground.
2. Depress the parking brake.
Place the gearshift in P (Park).
3. Open the hood. Protect yourself
from engine heat.
4. Remove the engine oil dipstick
and wipe clean. Reinsert the
dipstick fully, then remove it again.
The oil level should be between
the MIN and MAX lines. If the oil
level lies between the MIN and
MAX lines, there is no need to
add.
5. If the oil level is below the MIN
line, add engine oil as necessary
and recheck the oil level. If the oil
level is above the letter ``M'' in
``MAX,'' engine damage and/or high
oil consumption may occur and
some oil must be removed from
the engine.
MAX MIN
Maintenance and care
141
Page 147 of 197

1. Before you remove the coolant
recovery cap, turn the engine off
and let it cool. Even when the
engine is cool, be careful when
removing the recovery cap. Wrap a
thick cloth around the cap for safe
removal.
2. When the engine is cool, lift the
cap.
3. Step back while pressure
releases.
4. When you are sure that all the
pressure has been released,
remove the recovery cap.
5. Stand away from the reservoir
opening; hot steam may blow out
or hot engine coolant may even
splash out.
6. Add engine coolant until the
level is between the MAX and MIN
lines on the engine coolant
recovery reservoir.
Follow the recommended service
interval for changing engine
coolant as outlined in theService
Guide. For coolant recovery
reservoir capacity, refer to
Lubricant specificationsin the
Capacities and specifications
chapter.
RADIATOR
COOLANT
ONLY
MAX
MIN
Maintenance and care
147
Page 149 of 197
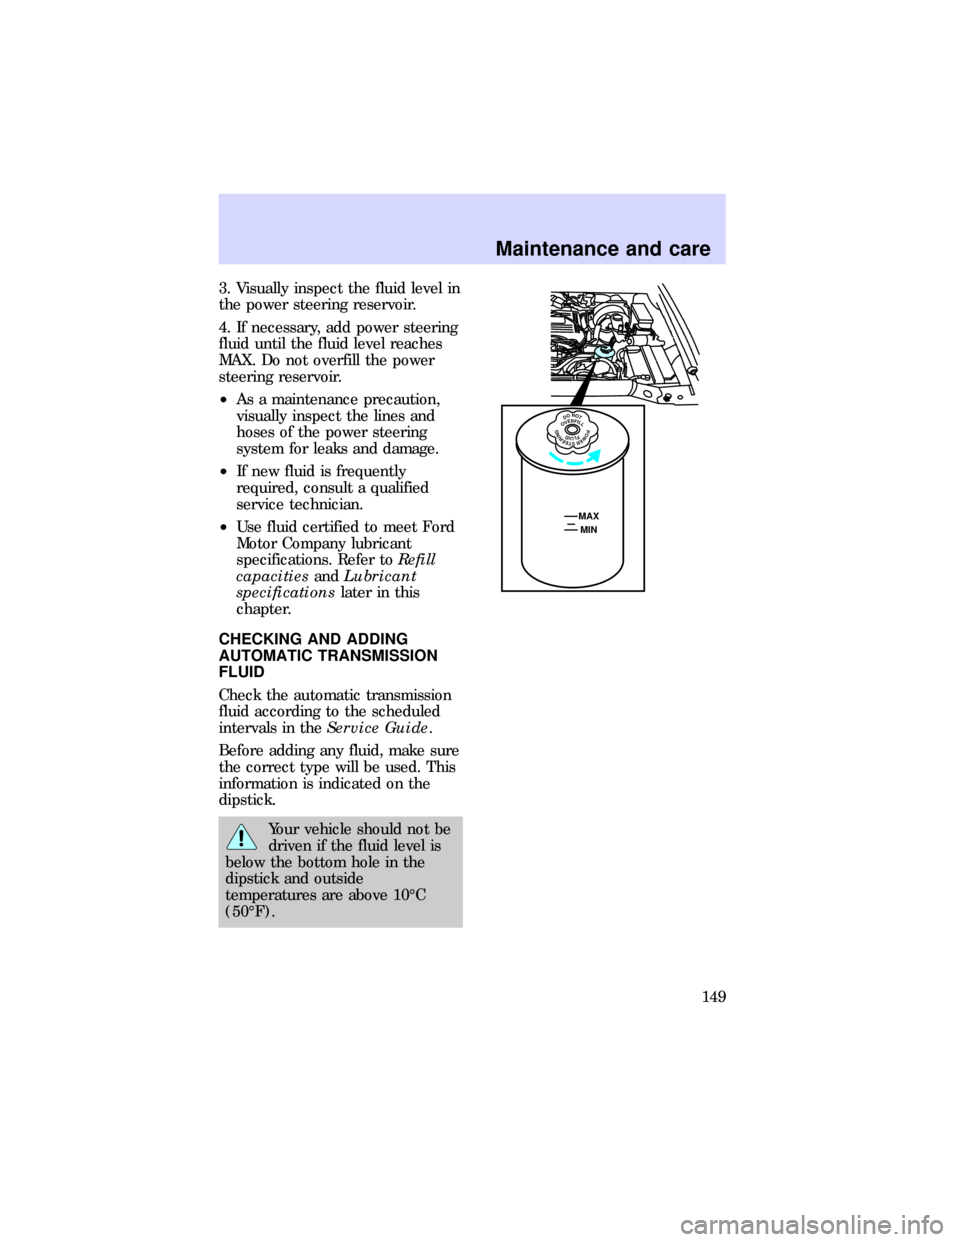
3. Visually inspect the fluid level in
the power steering reservoir.
4. If necessary, add power steering
fluid until the fluid level reaches
MAX. Do not overfill the power
steering reservoir.
²As a maintenance precaution,
visually inspect the lines and
hoses of the power steering
system for leaks and damage.
²If new fluid is frequently
required, consult a qualified
service technician.
²Use fluid certified to meet Ford
Motor Company lubricant
specifications. Refer toRefill
capacitiesandLubricant
specificationslater in this
chapter.
CHECKING AND ADDING
AUTOMATIC TRANSMISSION
FLUID
Check the automatic transmission
fluid according to the scheduled
intervals in theService Guide.
Before adding any fluid, make sure
the correct type will be used. This
information is indicated on the
dipstick.
Your vehicle should not be
driven if the fluid level is
below the bottom hole in the
dipstick and outside
temperatures are above 10ÉC
(50ÉF).
DONOTOVERFILLPOWERSTEERINGFLUID
MAX
MIN
Maintenance and care
149
Page 157 of 197

To make reaching the wiper blades
easy, simply turn the ignition to
the ON position and turn the
wipers on. Wait for them to reach
a vertical position and turn the
ignition to LOCK. Do not move the
wipers manually across the
windshield as this may cause
damage to the wipers.
Inspect the wiper arm pivots on a
regular basis to ensure that the
wiper arms move freely. Lubricate
the pivot points as necessary.
Replacing wiper blades
If the wiper blades do not work
properly after cleaning,
replacement of the blade assembly
or the blade element may be
necessary.
There are two different length
wiper blades on your vehicle. The
windshield wiper blades are 45 cm
(17.75 in) long and the liftgate
wiper is 34.9 cm (13 3/4 in) long.
Make sure you install the correct
size wiper blade in the correct
location.
To replace windshield wiper
blades:
1. Pull the wiper arm away from
the windshield and lock it into the
service position.
2. Turn the blade at an angle from
the wiper arm. Depress lock tab
and push wiper mounting arm
away from wiper blade assembly.
3. Attach the new wiper blade by
pulling wiper mounting arm down
Maintenance and care
157
Page 159 of 197

grades exactly as the government
has written it.
Treadwear
The treadwear grade is a
comparative rating based on the
wear rate of the tire when tested
under controlled conditions on a
specified government test course.
For example, a tire graded 150
would wear 1
1¤2times as well on
the government course as a tire
graded 100. The relative
performance of tires depends upon
the actual conditions of their use,
however, and may depart
significantly from the norm due to
variations in driving habits, service
practices, and differences in road
characteristics and climate.
Traction A B C
The temperature grades, from
highest to lowest, are A, B and C.
These grades represent the tire's
ability to stop on wet pavement as
measured under controlled
conditions on specified government
test surfaces of asphalt and
concrete. A tire marked C may
have poor traction performance.
The traction grade
assigned to this tire is
based on braking (straight
ahead) traction tests and does
not include cornering (turning)
traction.
Maintenance and care
159