Mercury Mountaineer 1999 Owner's Manuals
Manufacturer: MERCURY, Model Year: 1999, Model line: Mountaineer, Model: Mercury Mountaineer 1999Pages: 248, PDF Size: 1.74 MB
Page 111 of 248

If autolock/relock has been changed, the horn will chirp to confirm
procedure is complete.
Keyless entry system (if equipped)
With the keyless entry keypad, you
can:
²lock or unlock the vehicle doors
without using the key
²activate/deactivate the autolock feature
See alsoRemote entry systemin this chapter for more information.
Your vehicle has a factory-set 5±digit code that operates the keyless
entry system. You can also program your own 5±digit personal entry
code.
The factory-set code is located:
²on the owner's wallet card in the glove compartment
²taped to the computer module
When pressing the controls on the keyless entry keypad, press the
middle of the controls to ensure a good activation.
Programming your own personal entry code
1. Enter the factory-set code (keypad will illuminate when pressed).
2. Press the 1/2 control within five
seconds of step 1.
3. Enter your personal 5 digit code.
Enter each digit within five seconds
of the previous one.
Do not set a code that includes five of the same number or presents
them in sequential order. Thieves can easily figure out these types of
codes.
Your personal code does not replace the permanent code that the
dealership gave you. You can use either code to unlock your vehicle. If a
second personal code is entered, the module will erase the first personal
code in favor of the new code.
123
45678
90
123
45678
90
Controls and features
111
Page 112 of 248

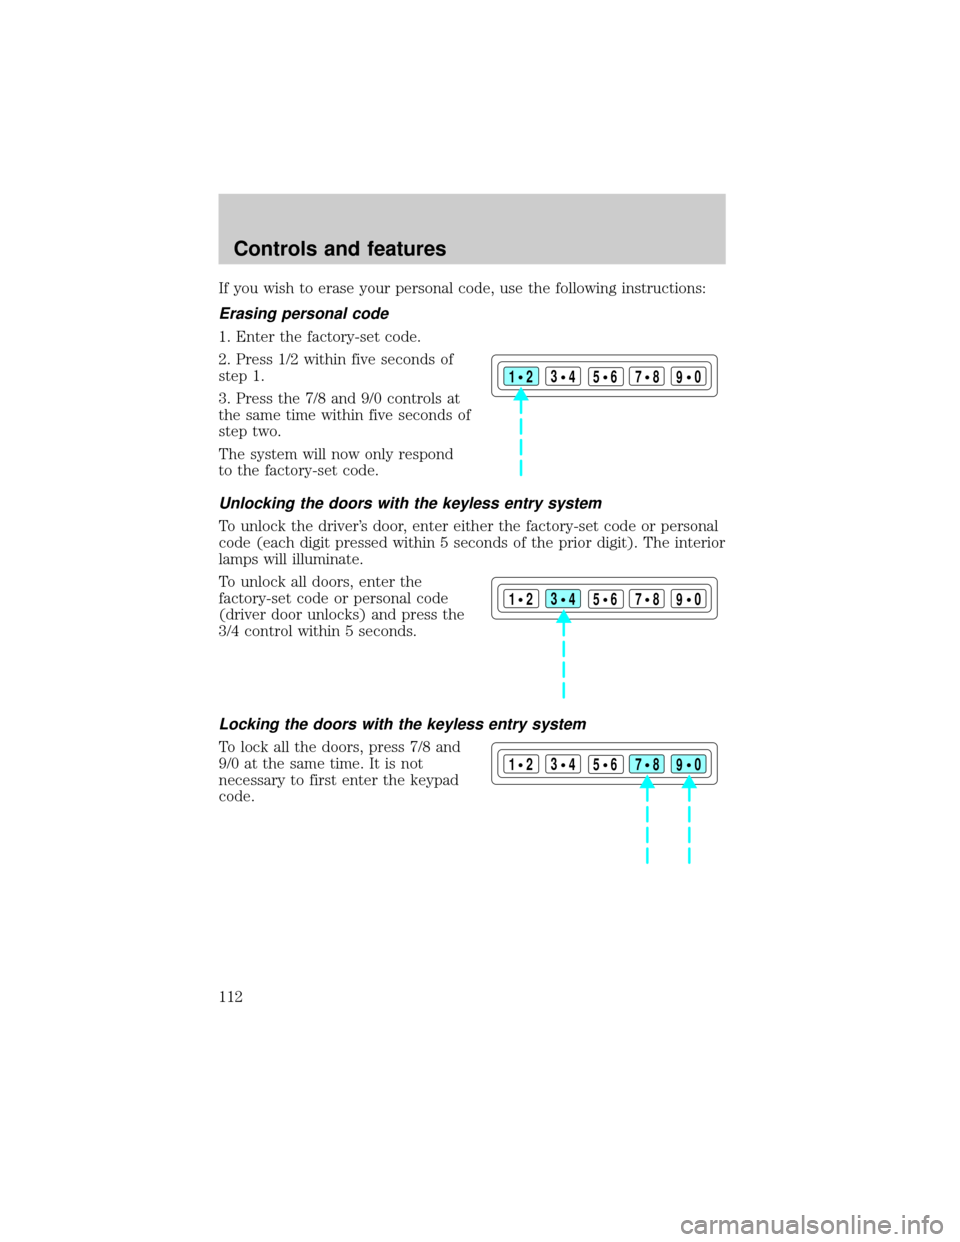
If you wish to erase your personal code, use the following instructions:
Erasing personal code
1. Enter the factory-set code.
2. Press 1/2 within five seconds of
step 1.
3. Press the 7/8 and 9/0 controls at
the same time within five seconds of
step two.
The system will now only respond
to the factory-set code.
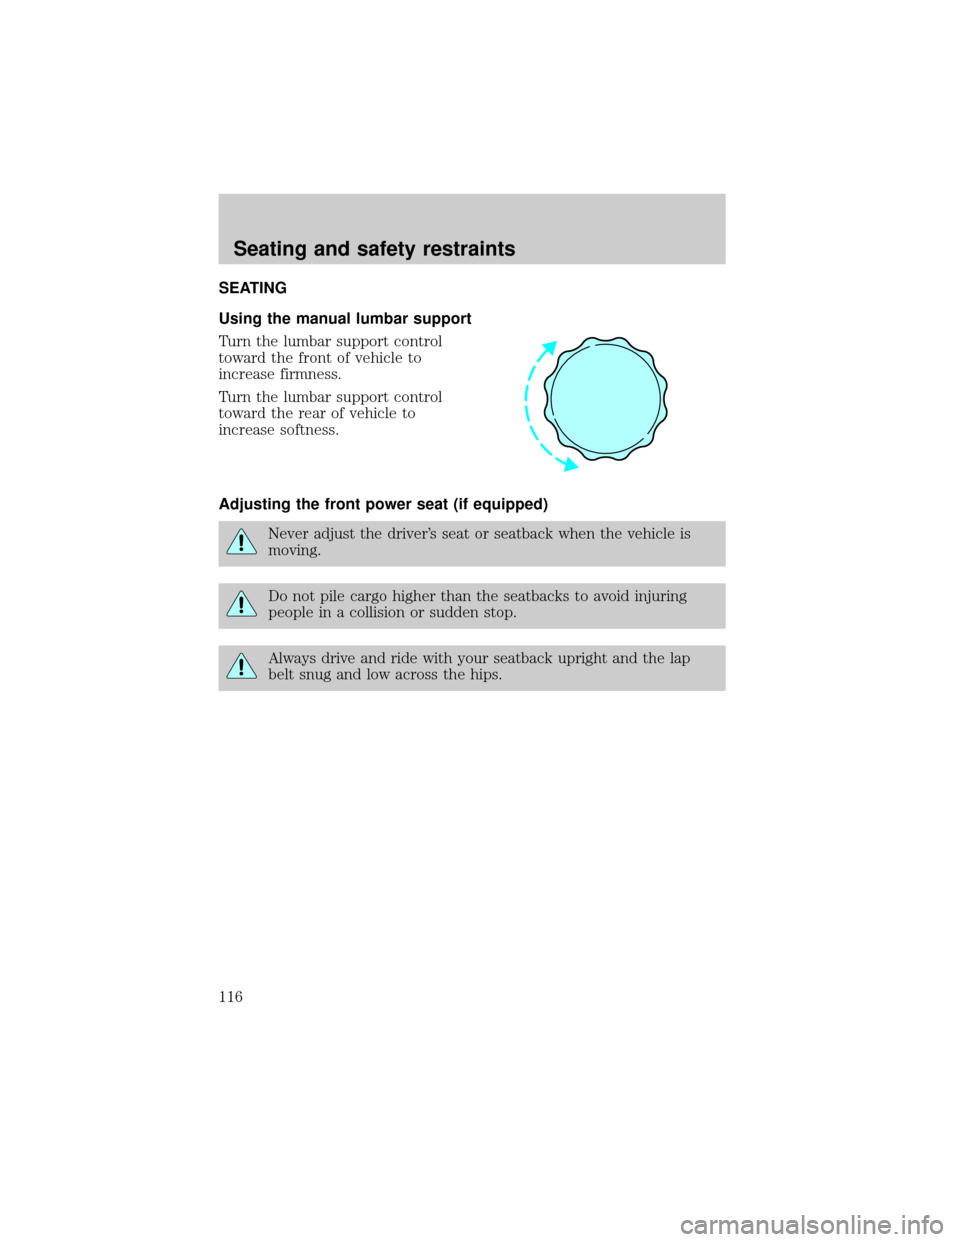
Unlocking the doors with the keyless entry system
To unlock the driver's door, enter either the factory-set code or personal
code (each digit pressed within 5 seconds of the prior digit). The interior
lamps will illuminate.
To unlock all doors, enter the
factory-set code or personal code
(driver door unlocks) and press the
3/4 control within 5 seconds.
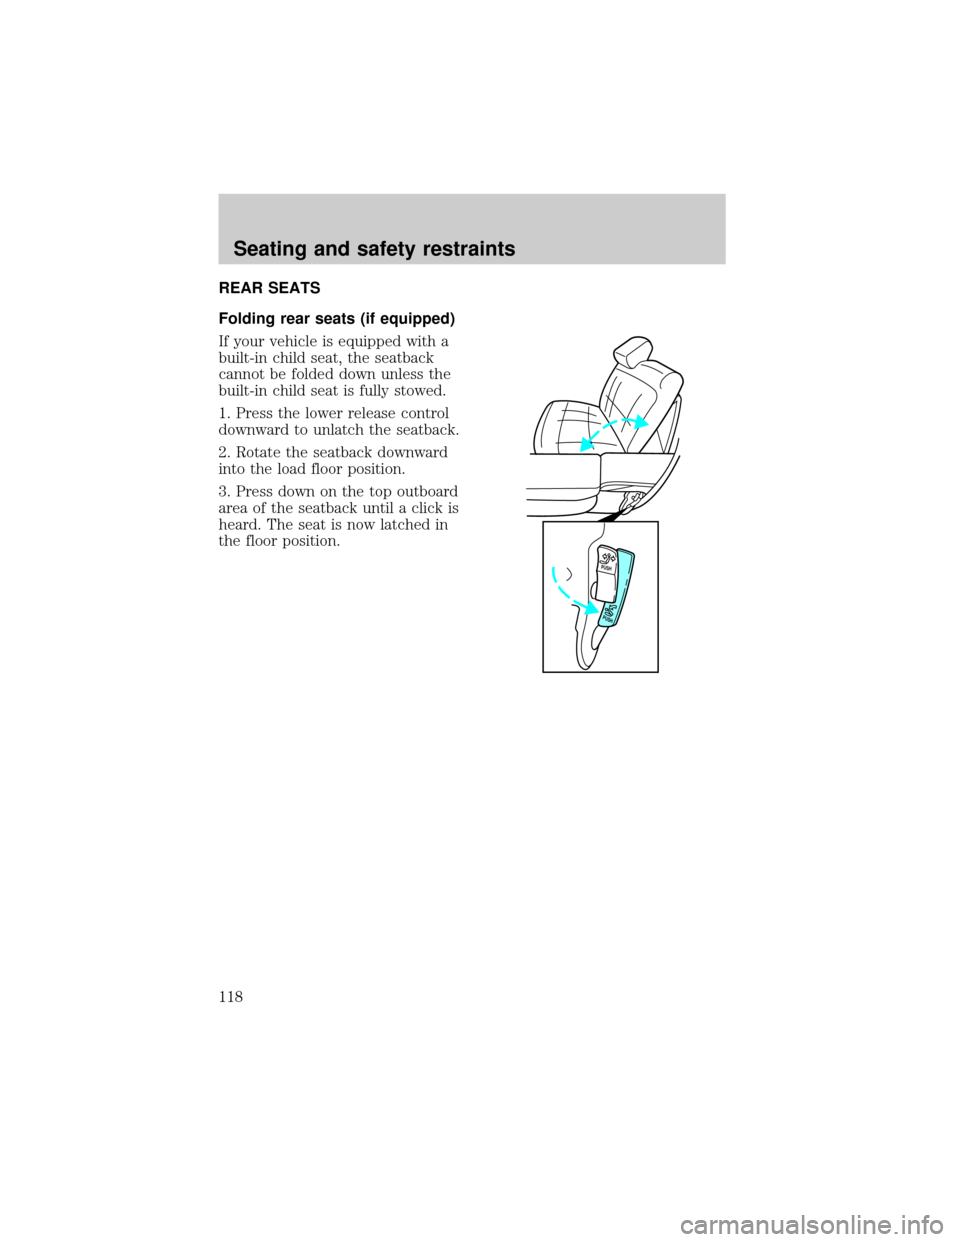
Locking the doors with the keyless entry system
To lock all the doors, press 7/8 and
9/0 at the same time. It is not
necessary to first enter the keypad
code.
123
45678
90
123
45678
90
123
45678
90
Controls and features
112
Page 113 of 248

SECURILOCKYPASSIVE ANTI-THEFT SYSTEM
The SecuriLockypassive anti-theft system provides an advanced level of
vehicle theft protection. Your vehicle's engine can only be started with
the two special SecuriLockyelectronically coded keys provided with
your vehicle. Each time you start your vehicle, the SecuriLockykey is
read by the SecuriLockypassive anti-theft system. If the SecuriLocky
key identification code matches the code stored in the SecuriLocky
anti-theft system, the vehicle's engine is allowed to start. If the
SecuriLockykey identification code does not match the code stored in
the system or if a SecuriLockykey is not detected (vehicle theft
situation), the vehicle's engine will not operate.
The SecuriLockypassive anti-theft system is not compatible with
aftermarket remote start systems. Use of these systems may result in
vehicle starting problems and a loss of security protection. Large metallic
objects or devices such as the Mobil Speedpassyon the same key ring
as your SecuriLockykey may cause vehicle starting problems. These
objects and devices cannot damage the SecuriLockykey, but can cause
a momentary problem if they are too close to the key when starting the
engine. If a problem occurs. turn ignition off and restart the engine with
all other objects on the key ring held away from the SecuriLocky
ignition key.
Spare SecuriLockykeys can be purchased from your dealership and
programmed to your SecuriLockypassive anti-theft system. Refer to
Programming spare SecuriLockykeysfor more information.
If one or both of your SecuriLockykeys are lost or stolen and you want
to ensure the lost or stolen key will not operate your vehicle, bring your
vehicle and all available SecuriLockykeys to your dealership for
reinitialization.
Controls and features
113
Page 114 of 248

Theft indicator
The theft indicator on the instrument cluster will operate as follows:
²When the ignition is OFF, the theft indicator will flash briefly every 2
seconds to indicate the SecuriLockysystem is protecting your
vehicle.
²When the ignition is turned to RUN or START, the theft indicator will
light for 3 seconds and then go out. If the theft indicator stays on for
an extended period of time or flashes rapidly, have the system
serviced by your dealership or a qualified technician.
Programming spare SecuriLockYkeys
Spare SecuriLockykeys can be purchased from your dealership and
programmed to your SecuriLockypassive anti-theft system (up to a
total of 8 keys). Your dealership can program your new SecuriLocky
key(s) to your vehicle or you can do it yourself using the following
simple procedure. To program a new SecuriLockykey yourself, you will
need two previously programmed SecuriLockykeys (keys that already
operate your vehicle's engine). If two previously programmed
SecuriLockykeys are not available (one or both of your original keys
were lost or stolen), you must bring your vehicle to your dealership to
have the spare SecuriLockykey(s) programmed.
Controls and features
114
Page 115 of 248

Procedure to program spare SecuriLockYkeys to your vehicle
New SecuriLockykeys must have the correct mechanical key cut for
your vehicle.
Conventional (non-SecuriLocky) keyscannotbe programmed to your
vehicle.
You will need to have two previously programmed SecuriLockykeys and
the new unprogrammed SecuriLockykey readily accessible for the
procedure. Please read and understand the entire procedure before you
begin.
1. Insert the first previously programmed SecuriLockykey into the
ignition and turn the ignition from OFF to RUN (maintain ignition in
RUN for at least one second).
2. Turn ignition to OFF and remove the first SecuriLockykey from the
ignition.
3. Within five seconds of turning the ignition to OFF, insert the second
previously programmed SecuriLockykey into the ignition and turn the
ignition from OFF to RUN (maintain ignition in RUN for at least one
second but no more than 5 seconds).
4. Turn the ignition to OFF and remove the second SecuriLockykey
from the ignition.
5. Within 10 seconds of turning the ignition to OFF, insert the
unprogrammed SecuriLockykey (new key) into the ignition and turn
the ignition from OFF to RUN (maintain ignition in RUN for at least one
second). This step will program your new SecuriLockykey.
6. To program additional SecuriLockykey(s), repeat this procedure from
step 1.
If the programming procedure was successful, the new SecuriLocky
key(s) will start the vehicle's engine. The theft indicator (located on the
instrument cluster) will light for three seconds and then go out.
If the programming procedure was not successful, the new SecuriLocky
key(s) will not operate the vehicle's engine. The theft indicator will flash
on and off. Wait at least one minute and then repeat the procedure from
step 1. If failure repeats, bring your vehicle to your dealership to have
the spare SecuriLockykey(s) programmed.
Controls and features
115
Page 116 of 248

SEATING
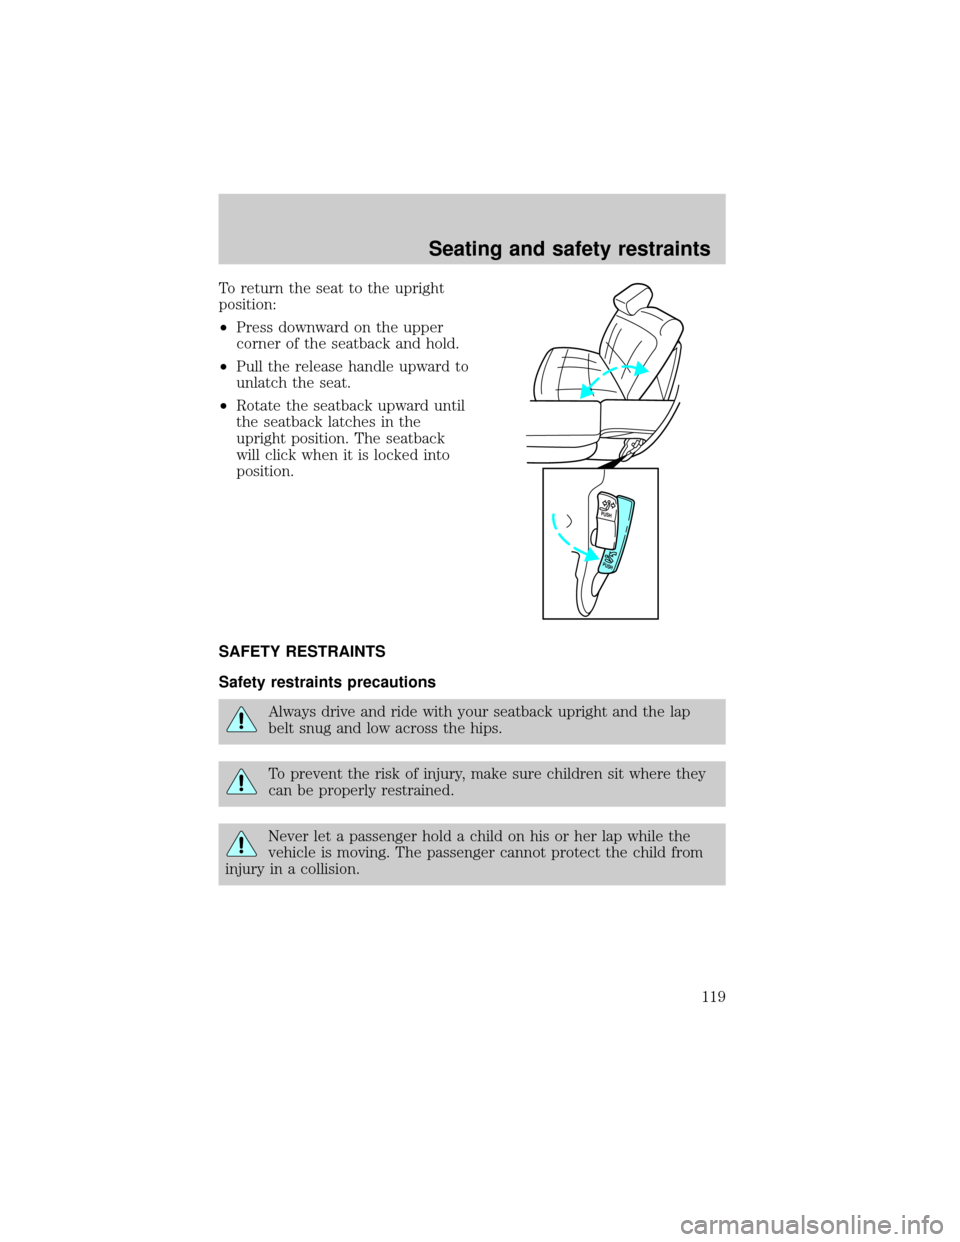
Using the manual lumbar support
Turn the lumbar support control
toward the front of vehicle to
increase firmness.
Turn the lumbar support control
toward the rear of vehicle to
increase softness.
Adjusting the front power seat (if equipped)
Never adjust the driver's seat or seatback when the vehicle is
moving.
Do not pile cargo higher than the seatbacks to avoid injuring
people in a collision or sudden stop.
Always drive and ride with your seatback upright and the lap
belt snug and low across the hips.
Seating and safety restraints
116
Page 117 of 248

Press to raise or lower the front
portion of the seat cushion.
Press to raise or lower the rear
portion of the seat cushion.
Press the control to move the seat
forward, backward, up or down.
Seating and safety restraints
117
Page 118 of 248

REAR SEATS
Folding rear seats (if equipped)
If your vehicle is equipped with a
built-in child seat, the seatback
cannot be folded down unless the
built-in child seat is fully stowed.
1. Press the lower release control
downward to unlatch the seatback.
2. Rotate the seatback downward
into the load floor position.
3. Press down on the top outboard
area of the seatback until a click is
heard. The seat is now latched in
the floor position.
PUSH
PUSH
Seating and safety restraints
118
Page 119 of 248

To return the seat to the upright
position:
²Press downward on the upper
corner of the seatback and hold.
²Pull the release handle upward to
unlatch the seat.
²Rotate the seatback upward until
the seatback latches in the
upright position. The seatback
will click when it is locked into
position.
SAFETY RESTRAINTS
Safety restraints precautions
Always drive and ride with your seatback upright and the lap
belt snug and low across the hips.
To prevent the risk of injury, make sure children sit where they
can be properly restrained.
Never let a passenger hold a child on his or her lap while the
vehicle is moving. The passenger cannot protect the child from
injury in a collision.
PUSH
PUSH
Seating and safety restraints
119
Page 120 of 248

All occupants of the vehicle, including the driver, should always
properly wear their safety belts, even when an air bag SRS is
provided.
It is extremely dangerous to ride in a cargo area, inside or
outside of a vehicle. In a collision, people riding in these areas
are more likely to be seriously injured or killed. Do not allow people to
ride in any area of your vehicle that is not equipped with seats and
safety belts. Be sure everyone in your vehicle is in a seat and using a
safety belt properly.
Each seating position in your vehicle has a specific safety belt
assembly which is made up of one buckle and one tongue that
are designed to be used as a pair. 1) Use the shoulder belt on the
outside shoulder only. Never wear the shoulder belt under the arm. 2)
Never swing the safety belt around your neck over the inside shoulder.
3) Never use a single belt for more than one person.
Combination lap and shoulder belts
1. Insert the belt tongue into the
proper buckle (the buckle closest to
the direction the tongue is coming
from) until you hear a snap and feel
it latch. Make sure the tongue is
securely fastened in the buckle.
Seating and safety restraints
120