audio Mercury Mountaineer 2002 s User Guide
[x] Cancel search | Manufacturer: MERCURY, Model Year: 2002, Model line: Mountaineer, Model: Mercury Mountaineer 2002Pages: 312, PDF Size: 3.02 MB
Page 70 of 312
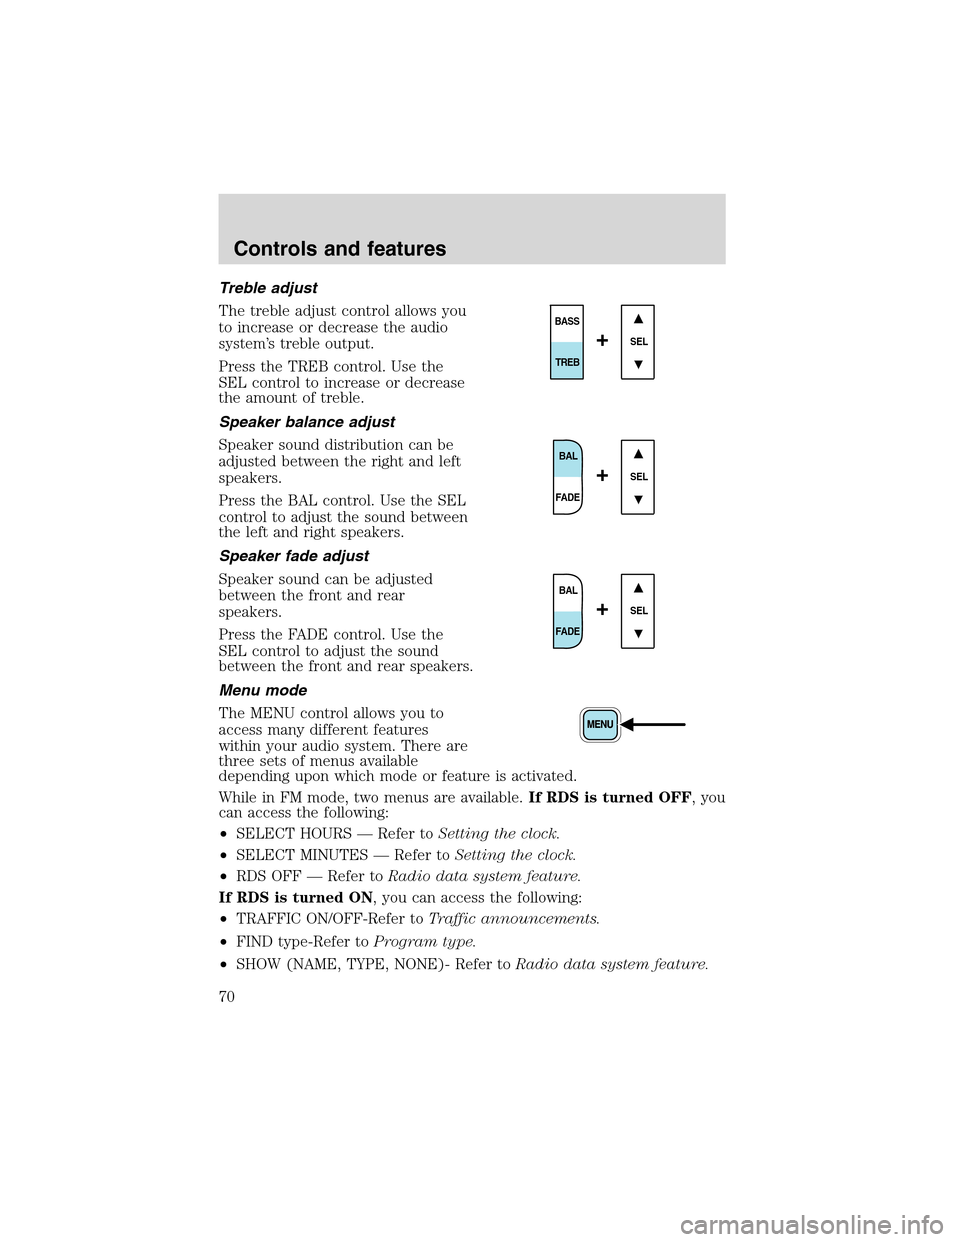
Treble adjust
The treble adjust control allows you
to increase or decrease the audio
system’s treble output.
Press the TREB control. Use the
SEL control to increase or decrease
the amount of treble.
Speaker balance adjust
Speaker sound distribution can be
adjusted between the right and left
speakers.
Press the BAL control. Use the SEL
control to adjust the sound between
the left and right speakers.
Speaker fade adjust
Speaker sound can be adjusted
between the front and rear
speakers.
Press the FADE control. Use the
SEL control to adjust the sound
between the front and rear speakers.
Menu mode
The MENU control allows you to
access many different features
within your audio system. There are
three sets of menus available
depending upon which mode or feature is activated.
While in FM mode, two menus are available.If RDS is turned OFF, you
can access the following:
•SELECT HOURS—Refer toSetting the clock.
•SELECT MINUTES—Refer toSetting the clock.
•RDS OFF—Refer toRadio data system feature.
If RDS is turned ON, you can access the following:
•TRAFFIC ON/OFF-Refer toTraffic announcements.
•FIND type-Refer toProgram type.
•SHOW (NAME, TYPE, NONE)- Refer toRadio data system feature.
SEL
BASS
TREB
+
BAL
FADE
SEL+
BAL
FADE
SEL+
Controls and features
70
Page 71 of 312
•RDS ON—Refer toRadio data system feature.
•SELECT HOURS—Refer toSetting the clock.
•SELECT MINUTES—Refer toSetting the clock.
When in CD mode, you can access: SELECT HOURS, SELECT MINUTES
or COMP ON/OFF.
SELECT HOURS, SELECT MINUTES—Allows you to adjust the hours
and minutes. Refer toSetting the clock.
TRAFFIC ON/OFF—Traffic announcements can be programmed as local
or distant. Refer toTraffic announcements.
RDS ON/OFF—This feature allows your audio system to receive text
information from RDS-equipped FM radio stations. Refer toRadio Data
System feature.
FIND type—Allows you to select your desired FM program type and
search for that selection.
SHOW—Allows you to select from NAME (displays the name of the
radio station), TYPE (displays the RDS program type: rock, jazz, etc.), or
NONE (deactivates the RDS display).
Traffic announcements
This feature allows you to hear
traffic announcements. When in this
mode, traffic announcements will
interrupt radio and CD play.
When in FM mode and RDS is
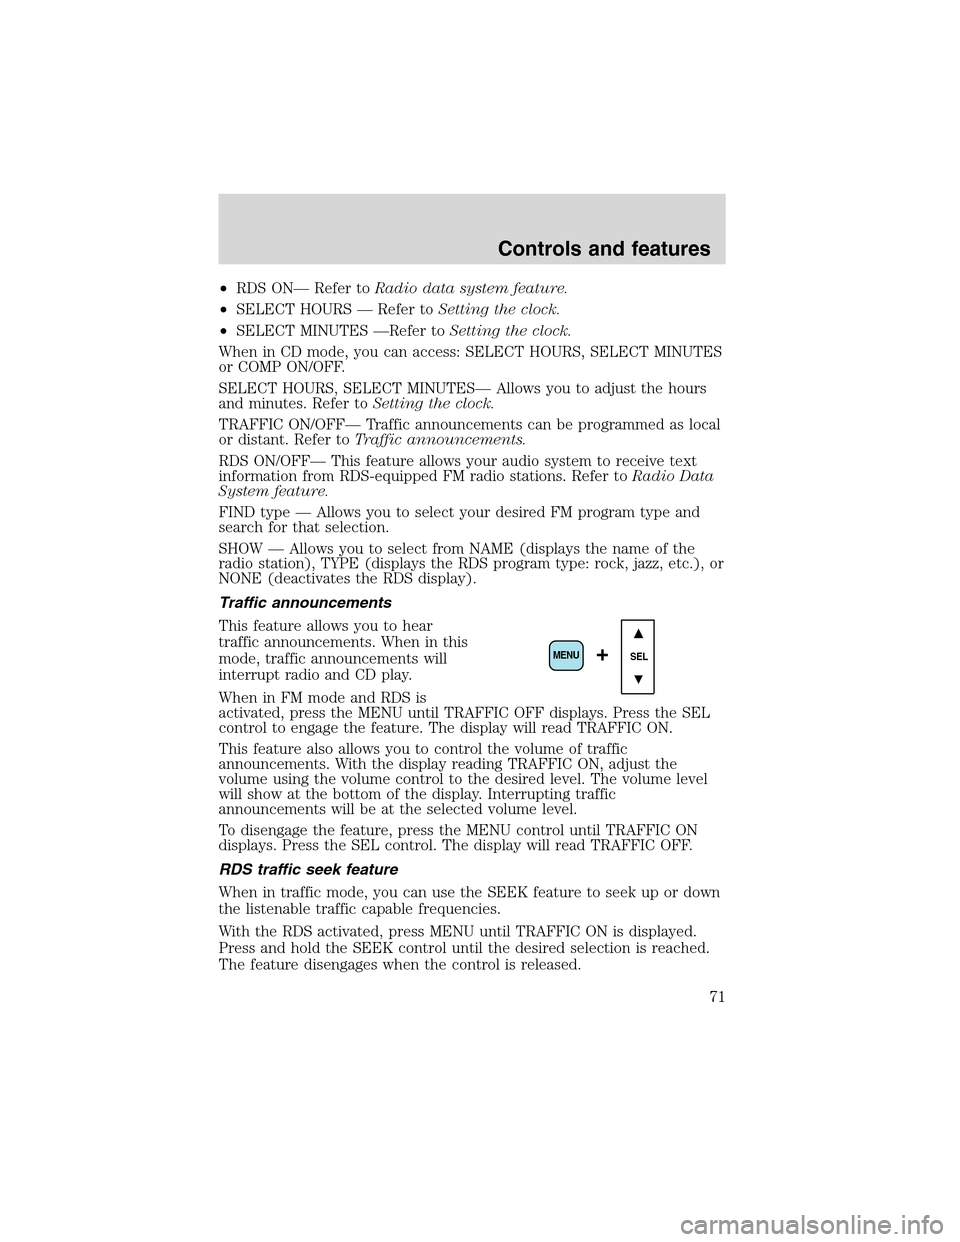
activated, press the MENU until TRAFFIC OFF displays. Press the SEL
control to engage the feature. The display will read TRAFFIC ON.
This feature also allows you to control the volume of traffic
announcements. With the display reading TRAFFIC ON, adjust the
volume using the volume control to the desired level. The volume level
will show at the bottom of the display. Interrupting traffic
announcements will be at the selected volume level.
To disengage the feature, press the MENU control until TRAFFIC ON
displays. Press the SEL control. The display will read TRAFFIC OFF.
RDS traffic seek feature
When in traffic mode, you can use the SEEK feature to seek up or down
the listenable traffic capable frequencies.
With the RDS activated, press MENU until TRAFFIC ON is displayed.
Press and hold the SEEK control until the desired selection is reached.
The feature disengages when the control is released.
SEL+MENU
Controls and features
71
Page 72 of 312
RDS traffic scan feature
When in traffic mode, you can use the SCAN feature to scan up the
frequency band for listenable traffic capable frequencies.
With the RDS activated, press the MENU control until TRAFFIC ON is
displayed. Press the SCAN control. SCAN TRAFFIC will display. The
audio system will scan to all traffic capable frequencies. If no valid
stations are found after one pass, the scan function is cancelled and NOT
FOUND displays.
Traffic announcements are not available in most U.S. markets.
Radio data system (RDS) feature
This feature allows your audio
system to receive text information
from RDS-equipped FM radio
stations.
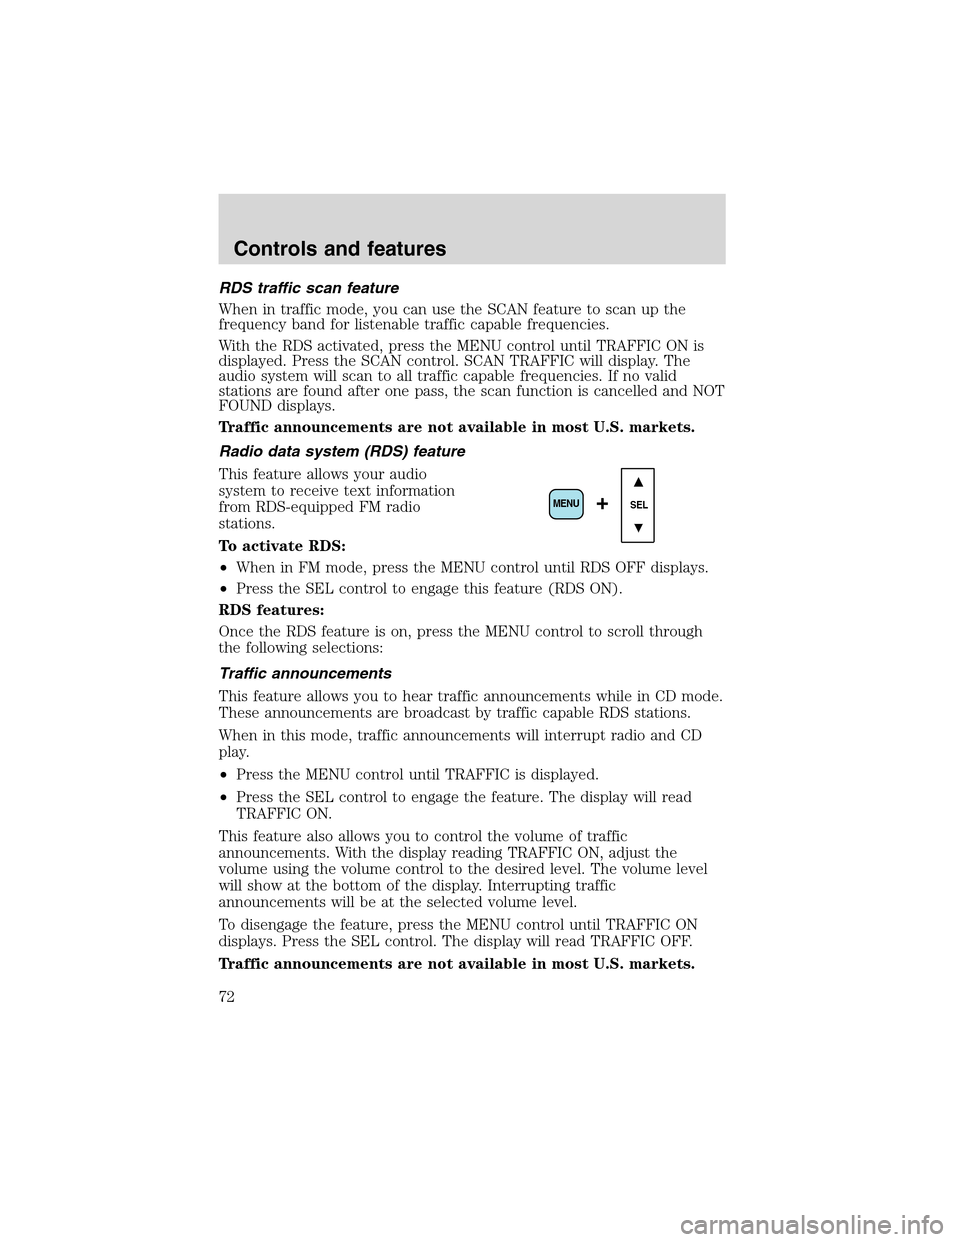
To activate RDS:
•When in FM mode, press the MENU control until RDS OFF displays.
•Press the SEL control to engage this feature (RDS ON).
RDS features:
Once the RDS feature is on, press the MENU control to scroll through
the following selections:
Traffic announcements
This feature allows you to hear traffic announcements while in CD mode.
These announcements are broadcast by traffic capable RDS stations.
When in this mode, traffic announcements will interrupt radio and CD
play.
•Press the MENU control until TRAFFIC is displayed.
•Press the SEL control to engage the feature. The display will read
TRAFFIC ON.
This feature also allows you to control the volume of traffic
announcements. With the display reading TRAFFIC ON, adjust the
volume using the volume control to the desired level. The volume level
will show at the bottom of the display. Interrupting traffic
announcements will be at the selected volume level.
To disengage the feature, press the MENU control until TRAFFIC ON
displays. Press the SEL control. The display will read TRAFFIC OFF.
Traffic announcements are not available in most U.S. markets.
SEL+MENU
Controls and features
72
Page 74 of 312
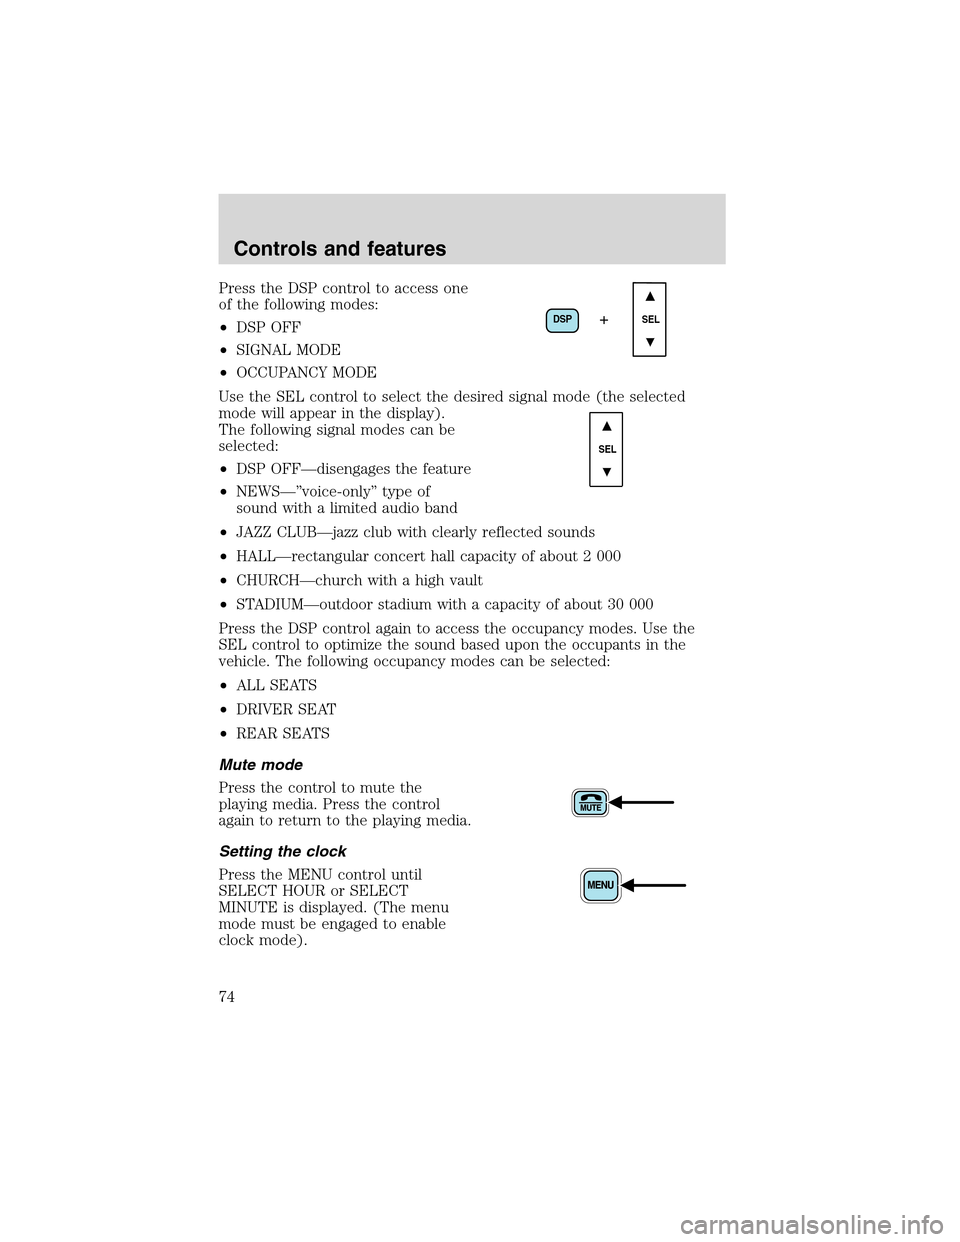
Press the DSP control to access one
of the following modes:
•DSP OFF
•SIGNAL MODE
•OCCUPANCY MODE
Use the SEL control to select the desired signal mode (the selected
mode will appear in the display).
The following signal modes can be
selected:
•DSP OFF—disengages the feature
•NEWS—”voice-only”type of
sound with a limited audio band
•JAZZ CLUB—jazz club with clearly reflected sounds
•HALL—rectangular concert hall capacity of about 2 000
•CHURCH—church with a high vault
•STADIUM—outdoor stadium with a capacity of about 30 000
Press the DSP control again to access the occupancy modes. Use the
SEL control to optimize the sound based upon the occupants in the
vehicle. The following occupancy modes can be selected:
•ALL SEATS
•DRIVER SEAT
•REAR SEATS
Mute mode
Press the control to mute the
playing media. Press the control
again to return to the playing media.
Setting the clock
Press the MENU control until
SELECT HOUR or SELECT
MINUTE is displayed. (The menu
mode must be engaged to enable
clock mode).
DSP
SEL+
SEL
Controls and features
74
Page 76 of 312
CDunitsare designed to play commercially pressed 12 cm (4.75
in) audio compact discs only. Due to technical incompatibility,
certain recordable and re-recordable compact discs may not
function correctly when used in Ford CD players. Irregular
shaped CDs, CDs with a scratch protection film attached, and CDs
with homemade paper (adhesive) labels should not be inserted
into the CD player. The label may peel and cause the CD to
become jammed. It is recommended that homemade CDs be
identified with permanent felt tip marker rather than adhesive
labels. Ball point pens may damage CDs. Please contact your
dealer for further information.
Cleaning cassette player (if equipped)
Clean the tape player head with a cassette cleaning cartridge after 10 to
12 hours of play in order to maintain the best sound and operation.
Cassette and cassette player care
•Use only cassettes that are 90 minutes long or less.
•Do not expose tapes to direct sunlight, high humidity, extreme heat or
extreme cold. Allow tapes that may have been exposed to extreme
temperatures to reach a moderate temperature before playing.
•Tighten very loose tapes by inserting a finger or pencil into the hole
and turning the hub.
•Remove loose labels before inserting tapes.
•Do not leave tapes in the cassette player for a long time when not
being played.
Radio frequency information
The Federal Communications Commission (FCC) and the Canadian Radio
and Telecommunications Commission(CRTC) establish the frequencies
AM and FM stations may use for their broadcasts. Allowable frequencies
are:
AM 530, 540–1600, 1610 kHz
FM 87.7, 87.9–107.7, 107.9 MHz
Not all frequencies are used in a given area.
Controls and features
76
Page 77 of 312
Radio reception factors
Three factors can affect radio reception:
•Distance/strength.The further an FM signal travels, the weaker it is.
The listenable range of the average FM station is approximately 40 km
(24 miles). This range can be affected by“signal modulation.”Signal
modulation is a process radio stations use to increase their
strength/volume relative to other stations.
•Terrain.Hills, mountains and tall buildings between your vehicle’s
antenna and the radio station signal can cause FM reception problems.
Static can be caused on AM stations by power lines, electric fences,
traffic lights and thunderstorms. Moving away from an interfering
structure (out of its“shadow”) returns your reception to normal.
•Station overload.Weak signals are sometimes captured by stronger
signals when you pass a broadcast tower. A stronger signal may
temporarily overtake a weaker signal and play while the weak station
frequency is displayed.
The audio system automatically switches to single channel reception if it
will improve the reception of a station normally received in stereo.
Audio system warranties and service
Refer to theWarranty Guidefor audio system warranty information.
If service is necessary, see your dealer or a qualified technician.
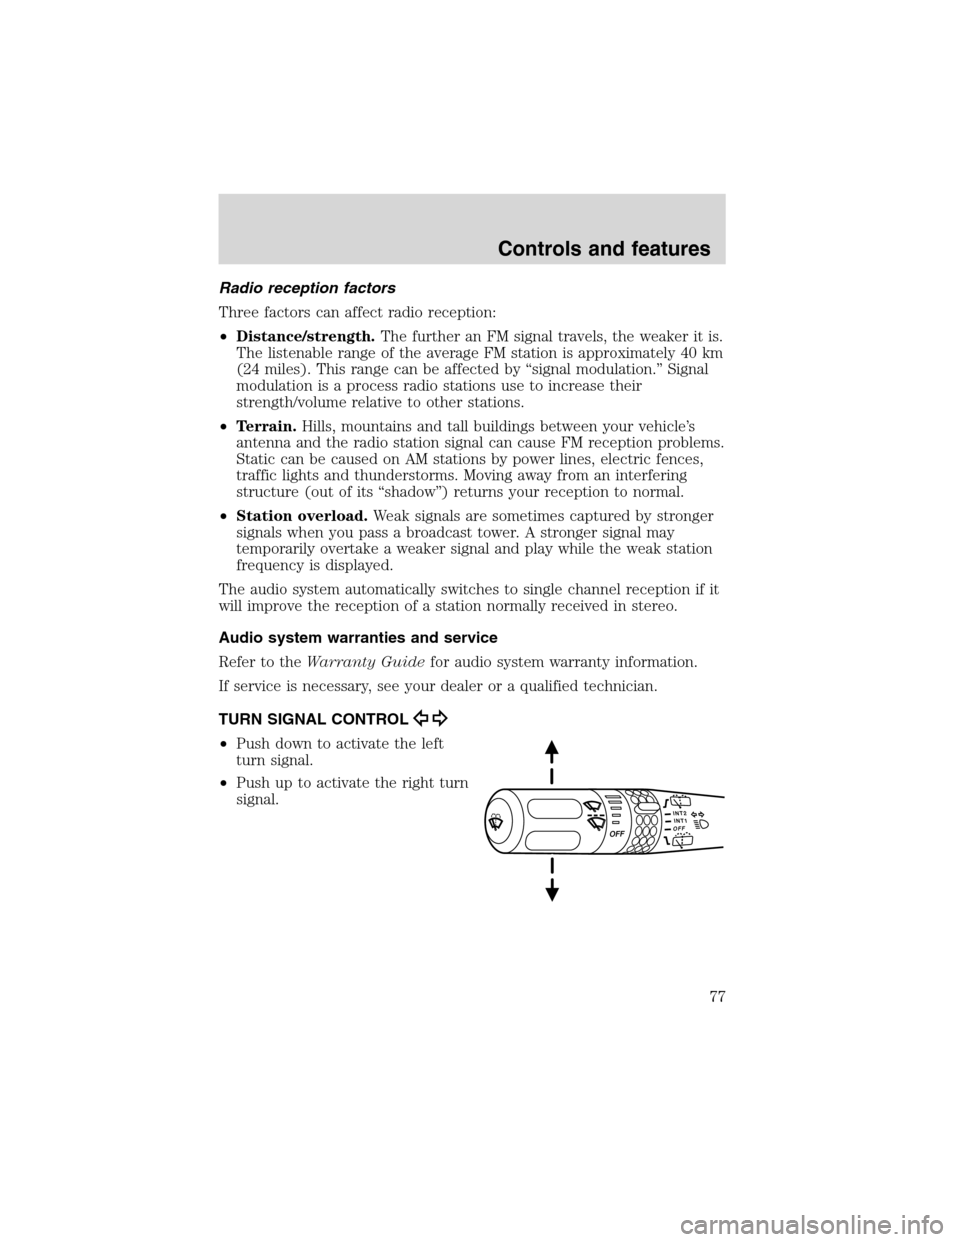
TURN SIGNAL CONTROL
•Push down to activate the left
turn signal.
•Push up to activate the right turn
signal.
Controls and features
77
Page 84 of 312
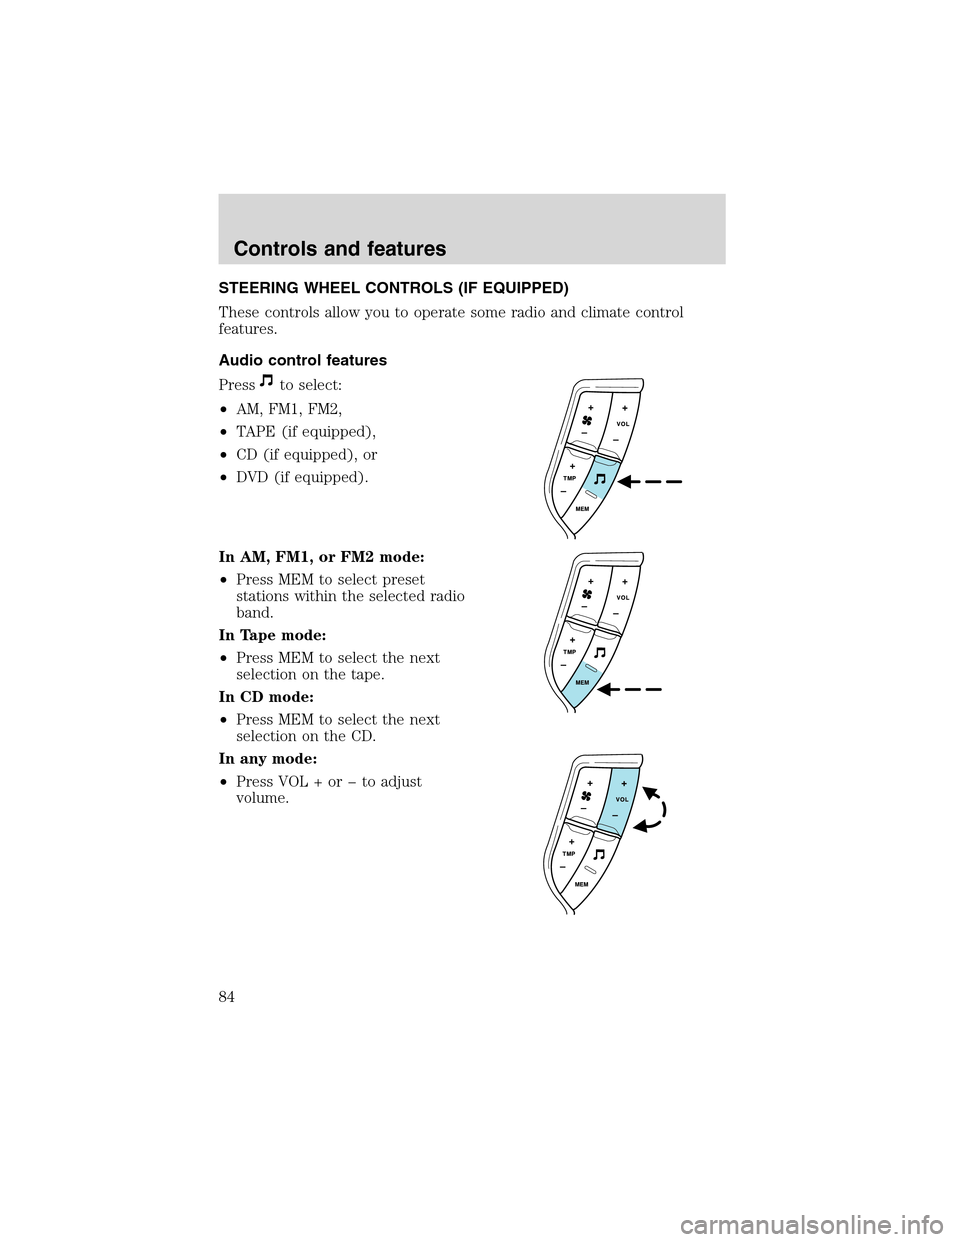
STEERINGWHEEL CONTROLS (IF EQUIPPED)
These controls allow you to operate some radio and climate control
features.
Audio control features
Press
to select:
•AM, FM1, FM2,
•TAPE (if equipped),
•CD (if equipped), or
•DVD (if equipped).
In AM, FM1, or FM2 mode:
•Press MEM to select preset
stations within the selected radio
band.
In Tape mode:
•Press MEM to select the next
selection on the tape.
In CD mode:
•Press MEM to select the next
selection on the CD.
In any mode:
•Press VOL + or�to adjust
volume.
Controls and features
84
Page 94 of 312

Onetouchdown
•Press AUTO completely down and
release quickly. The driver’s
window will open fully.
One touch down can be deactivated
during operation by pushing down
on the top part of the driver power
window control.
Window lock
The window lock feature allows only
the driver to operate the power
windows.
To lock out all the window controls
except for the driver’s press the left
side of the control. Press the right
side to restore the window controls.
Accessory delay
With accessory delay, the window switches and audio system may be
used for up to ten minutes after the ignition switch is turned to the OFF
position or until any door is opened.
MANUAL DOOR LOCKS
The manual door lock knob is located above the inside door release
handle for all four doors.
•Push the knob forward to lock the door.
•Pull back on the knob to unlock the door.
AUTO
Controls and features
94
Page 304 of 312
A
ABS(see Brakes) .....................174
Accessory delay ..........................94
Air bag supplemental restraint
system ........................149–150, 154
and child safety seats ............152
description ......................150, 154
disposal ....................................157
driver air bag ..................152, 155
indicator light ...........10, 154, 157
operation .........................152, 155
passenger air bag ...........152, 155
Air cleaner filter .......................282
Air conditioning ..........................36
automatic temperature
control system ..........................40
auxiliary heater and air
conditioner ................................49
rear seat controls .....................51
All Wheel Drive (AWD),
driving off road .........................186
Ambulance packages ....................3
Antifreeze (see Engine
coolant) .....................................240
Anti-lock brake system
(see Brakes) ......................174–175
Anti-theft system ......................113
arming the system ..................114
disarming a triggered
system .....................................115
Audio system (see Radio) ...54, 63
Automatic transmission
driving an automatic
overdrive .................................183
fluid, adding ............................247
fluid, checking ........................247
fluid, refill capacities ..............282fluid, specification ..................287
Auxiliary power point .................98
Axle
lubricant specifications ..285, 287
refill capacities ........................282
B
Battery .......................................248
acid, treating emergencies .....248
charging system warning
light ............................................12
jumping a disabled battery ....222
maintenance-free ....................248
replacement, specifications ...282
servicing ..................................248
voltage gauge ............................16
BeltMinder .................................143
Brakes ........................................174
anti-lock ...........................174–175
anti-lock brake system (ABS)
warning light .....................11, 175
brake warning light ..................10
fluid, checking and adding ....239
fluid, refill capacities ..............282
fluid, specifications .........285, 287
lubricant specifications ..285, 287
parking ....................................176
pedals (see Power adjustable
foot pedals) ...............................33
shift interlock ..........................181
Break-in period .............................3
Bulbs ..........................................268
C
Capacities for refilling fluids ....282
Cargo cover ...............................100
CD-single premium .....................54
Certification Label ....................289
Index
304