set clock Mercury Mountaineer 2002 Owner's Manuals
[x] Cancel search | Manufacturer: MERCURY, Model Year: 2002, Model line: Mountaineer, Model: Mercury Mountaineer 2002Pages: 312, PDF Size: 3.02 MB
Page 61 of 312

Compression adjust
Compression adjust brings soft and
loud CD passages together for a
more consistent listening level.
Press the COMP control to activate
and deactivate compression adjust.
Shuffle feature
The shuffle feature operates in CD
mode and plays all tracks in random
order.
Press the SHUFFLE control to start
this feature. Random order play will continue until the SHUFFLE control
is pressed again.
Setting the clock
To set the hour, press and hold the
CLK control and press SEEK:
•
to decrease hours and
•
to increase hours.
To set the minute, press and hold
the CLK control and press TUNE:
COMP
5
SHUFFLE
6
AUTO
CLK
AUTO
CLK
Controls and features
61
Page 70 of 312

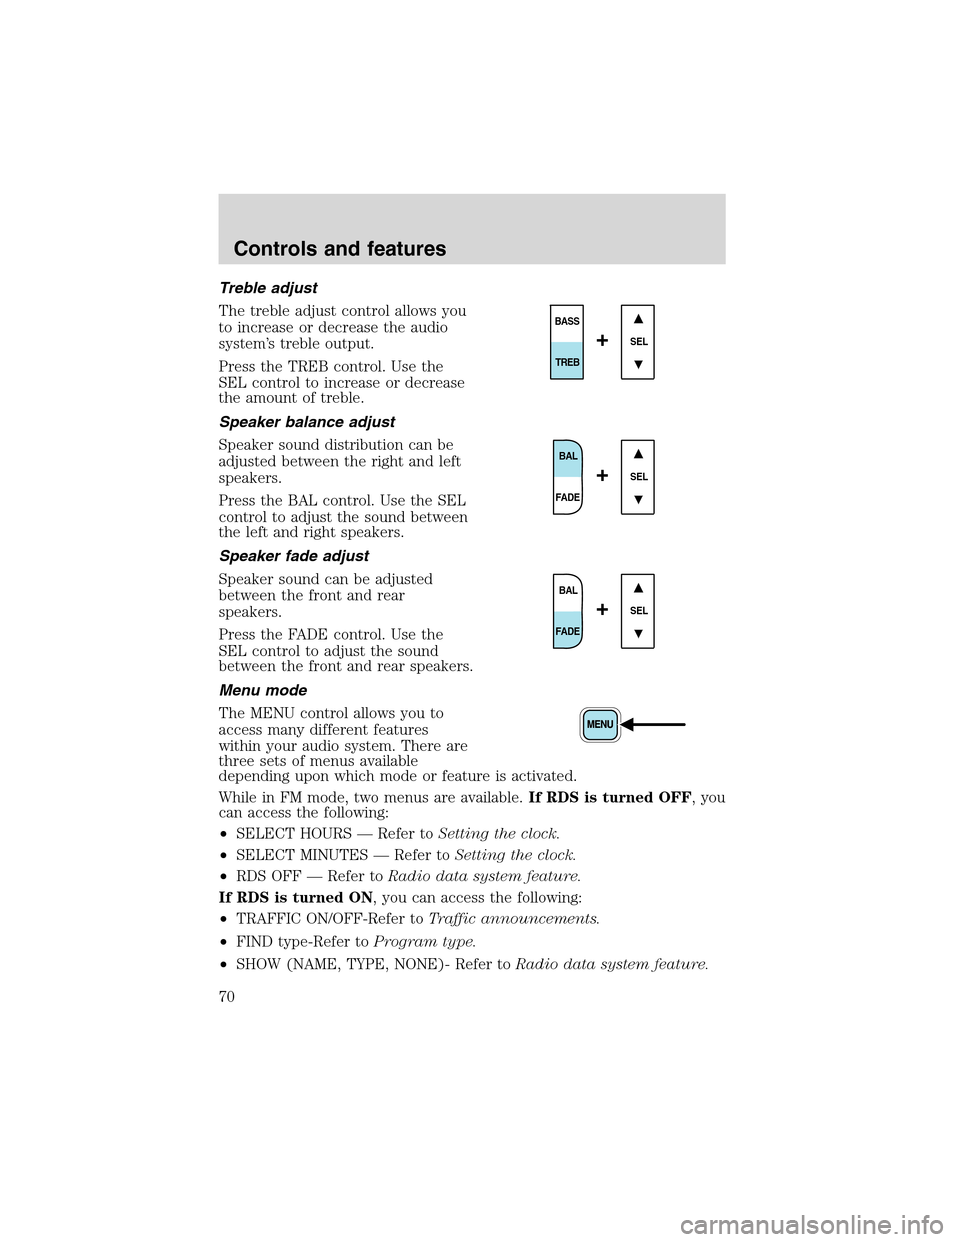
Treble adjust
The treble adjust control allows you
to increase or decrease the audio
system’s treble output.
Press the TREB control. Use the
SEL control to increase or decrease
the amount of treble.
Speaker balance adjust
Speaker sound distribution can be
adjusted between the right and left
speakers.
Press the BAL control. Use the SEL
control to adjust the sound between
the left and right speakers.
Speaker fade adjust
Speaker sound can be adjusted
between the front and rear
speakers.
Press the FADE control. Use the
SEL control to adjust the sound
between the front and rear speakers.
Menu mode
The MENU control allows you to
access many different features
within your audio system. There are
three sets of menus available
depending upon which mode or feature is activated.
While in FM mode, two menus are available.If RDS is turned OFF, you
can access the following:
•SELECT HOURS—Refer toSetting the clock.
•SELECT MINUTES—Refer toSetting the clock.
•RDS OFF—Refer toRadio data system feature.
If RDS is turned ON, you can access the following:
•TRAFFIC ON/OFF-Refer toTraffic announcements.
•FIND type-Refer toProgram type.
•SHOW (NAME, TYPE, NONE)- Refer toRadio data system feature.
SEL
BASS
TREB
+
BAL
FADE
SEL+
BAL
FADE
SEL+
Controls and features
70
Page 71 of 312

•RDS ON—Refer toRadio data system feature.
•SELECT HOURS—Refer toSetting the clock.
•SELECT MINUTES—Refer toSetting the clock.
When in CD mode, you can access: SELECT HOURS, SELECT MINUTES
or COMP ON/OFF.
SELECT HOURS, SELECT MINUTES—Allows you to adjust the hours
and minutes. Refer toSetting the clock.
TRAFFIC ON/OFF—Traffic announcements can be programmed as local
or distant. Refer toTraffic announcements.
RDS ON/OFF—This feature allows your audio system to receive text
information from RDS-equipped FM radio stations. Refer toRadio Data
System feature.
FIND type—Allows you to select your desired FM program type and
search for that selection.
SHOW—Allows you to select from NAME (displays the name of the
radio station), TYPE (displays the RDS program type: rock, jazz, etc.), or
NONE (deactivates the RDS display).
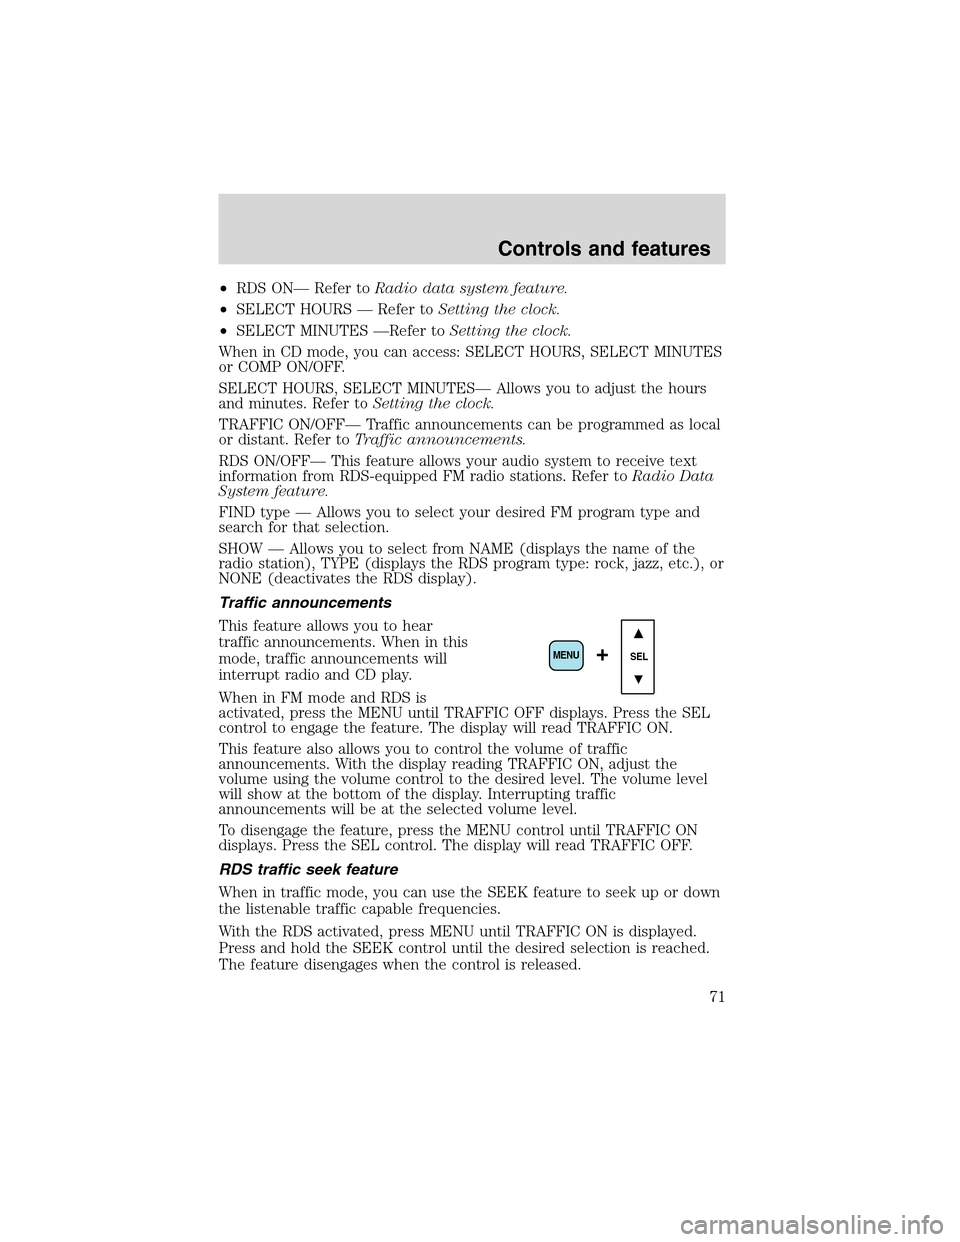
Traffic announcements
This feature allows you to hear
traffic announcements. When in this
mode, traffic announcements will
interrupt radio and CD play.
When in FM mode and RDS is
activated, press the MENU until TRAFFIC OFF displays. Press the SEL
control to engage the feature. The display will read TRAFFIC ON.
This feature also allows you to control the volume of traffic
announcements. With the display reading TRAFFIC ON, adjust the
volume using the volume control to the desired level. The volume level
will show at the bottom of the display. Interrupting traffic
announcements will be at the selected volume level.
To disengage the feature, press the MENU control until TRAFFIC ON
displays. Press the SEL control. The display will read TRAFFIC OFF.
RDS traffic seek feature
When in traffic mode, you can use the SEEK feature to seek up or down
the listenable traffic capable frequencies.
With the RDS activated, press MENU until TRAFFIC ON is displayed.
Press and hold the SEEK control until the desired selection is reached.
The feature disengages when the control is released.
SEL+MENU
Controls and features
71
Page 74 of 312

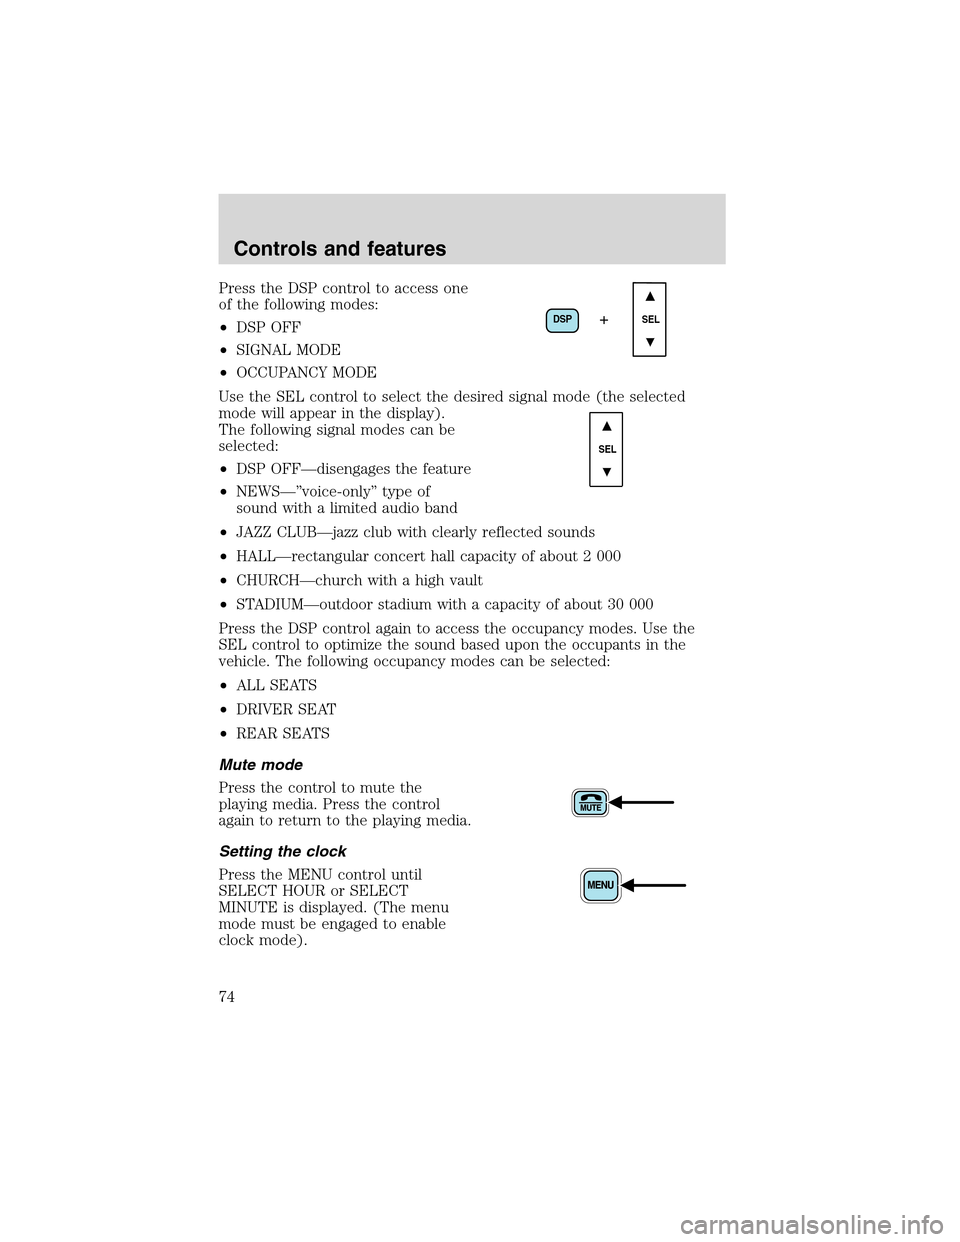
Press the DSP control to access one
of the following modes:
•DSP OFF
•SIGNAL MODE
•OCCUPANCY MODE
Use the SEL control to select the desired signal mode (the selected
mode will appear in the display).
The following signal modes can be
selected:
•DSP OFF—disengages the feature
•NEWS—”voice-only”type of
sound with a limited audio band
•JAZZ CLUB—jazz club with clearly reflected sounds
•HALL—rectangular concert hall capacity of about 2 000
•CHURCH—church with a high vault
•STADIUM—outdoor stadium with a capacity of about 30 000
Press the DSP control again to access the occupancy modes. Use the
SEL control to optimize the sound based upon the occupants in the
vehicle. The following occupancy modes can be selected:
•ALL SEATS
•DRIVER SEAT
•REAR SEATS
Mute mode
Press the control to mute the
playing media. Press the control
again to return to the playing media.
Setting the clock
Press the MENU control until
SELECT HOUR or SELECT
MINUTE is displayed. (The menu
mode must be engaged to enable
clock mode).
DSP
SEL+
SEL
Controls and features
74
Page 75 of 312

Use the SEL control to manually set
the time.
•Press
to increase
hours/minutes.
•Press
to decrease
hours/minutes.
Press the MENU control again to disengage the clock mode.
Troubleshooting the CD changer (if equipped)
The laser beam used in the compact disc player is harmful to the
eyes. Do not attempt to disassemble the case.
If sound skips:
•You may be traveling on a rough road, playing badly scratched discs or
the disc may be dirty. Skipping will not scratch the discs or damage
the player.
If your changer does not work, it may be that:
•A disc is already loaded where you want to insert a disc.
•The disc is inserted with the label surface downward.
•The disc is dusty or defective.
•The player’s internal temperature is above 60°C (140°F). Allow the
player to cool down before operating.
•A disc with format and dimensions not within industry standards is
inserted.
Cleaning compact discs
Inspect all discs for contamination before playing. If necessary, clean
discs only with an approved CD cleaner and wipe from the center out to
the edge. Do not use circular motion.
CD and CD changer care
•Handle discs by their edges only. Never touch the playing surface.
•Do not expose discs to direct sunlight or heat sources for extended
periods of time.
•Do not insert more than one disc into each slot of the CD changer
magazine.
SEL
Controls and features
75
Page 96 of 312

CHILDPROOFDOOR LOCKS
When these locks are set, the rear
doors cannot be opened from the
inside. The rear doors can be
opened from the outside when the
doors are unlocked.
The childproof locks are located on
rear edge of each rear door and
must be set separately for each
door. Setting the lock for one door
will not automatically set the lock
for both doors.
Move lock control up to engage the childproof lock. Move control down
to disengage childproof locks.
POWER SIDE VIEW MIRRORS
The ignition must be in the ACC or ON position to adjust the power side
view mirrors.
To adjust your mirrors:
1. Rotate the control clockwise to
adjust the right mirror and rotate
the control counterclockwise to
adjust the left mirror.
2. Move the control in the direction
you wish to tilt the mirror.
3. Return to the center position to lock mirrors in place.
Controls and features
96
Page 218 of 312

Removing the spare tire
Do not use an impact wrench on
the winch drive nut. This will
damage the spare tire winch.
1. Open the cover from the
carpeting on cargo floor to expose
the winch drive nut.
2. Insert the lug wrench on the
winch drive nut.
The wrench will stop moving and
forward resistance to turning will be
felt when properly engaged.
3. Turn the wrench
counterclockwise until tire is
lowered to the ground making sure
the other end of the wrench does
not scuff kick plate, the tire can be
slid rearward and the cable is
slightly slack.
4. Lift tire on one side and remove
the retainer from the spare tire.
Tire change procedure
To prevent the vehicle from moving when you change a tire, be
sure the parking brake is set, then block (in both directions) the
wheel that is diagonally opposite (other side and end of the vehicle) to
the tire being changed.
If the vehicle slips off the jack, you or someone else could be
seriously injured.
Roadside emergencies
218
Page 222 of 312

2. Slide the wheel under the vehicle
and install the retainer through the
wheel center.
3. Turn the lug wrench clockwise
until the tire is raised to its original
position underneath the vehicle. The
lug wrench will click when the tire
is raised to the stowed position. It
will not allow you to overtighten.
JUMP STARTING YOUR VEHICLE
The gases around the battery can explode if exposed to flames,
sparks, or lit cigarettes. An explosion could result in injury or
vehicle damage.
Batteries contain sulfuric acid which can burn skin, eyes and
clothing, if contacted.
Do not attempt to push-start your vehicle. Automatic
transmissions do not have push-start capability; also, the
catalytic converter may become damaged.
Preparing your vehicle
When the battery is disconnected or a new battery is installed, the
transmission must relearn its shift strategy. As a result, the transmission
may have firm and/or soft shifts. This operation is considered normal and
will not affect function or durability of the transmission. Over time, the
adaptive learning process will fully update transmission operation.
1.Use only a 12–volt supply to start your vehicle.
2. Do not disconnect the battery of the disabled vehicle as this could
damage the vehicle’s electrical system.
3. Park the booster vehicle close to the hood of the disabled vehicle
making sure the two vehiclesdo nottouch. Set the parking brake on
both vehicles and stay clear of the engine cooling fan and other moving
parts.
Roadside emergencies
222
Page 250 of 312

3. Run the engine until it reaches normal operating temperature.
4. Allow the engine to idle for at least one minute.
5. Turn the A/C on and allow the engine to idle for at least one minute.
6. Release the parking brake. With your foot on the brake pedal and with
the A/C on, put the vehicle in D (Drive) and allow the engine to idle for
at least one minute.
7. Drive the vehicle to complete the relearning process.
•The vehicle may need to be driven 16 km (10 miles) or more to
relearn the idle and fuel trim strategy.
•If you do not allow the engine to relearn its idle trim, the idle
quality of your vehicle may be adversely affected until the idle
trim is eventually relearned.
If the battery has been disconnected or a new battery has been installed,
the clock must be reset once the battery is reconnected.
•Always dispose of automotive
batteries in a responsible manner.
Follow your local authorized
standards for disposal. Call your
local authorized recycling center
to find out more about recycling
automotive batteries.
WINDSHIELD WIPER BLADES
Check the wiper blades for wear at least twice a year or when they seem
less effective. Substances such as tree sap and some hot wax treatments
used by commercial car washes reduce the effectiveness of wiper blades.
Checking the wiper blades
If the wiper blades do not wipe properly, clean both the windshield and
wiper blades using undiluted windshield wiper solution or a mild
detergent. Rinse thoroughly with clean water. To avoid damaging the
blades, do not use fuel, kerosene, paint thinner or other solvents.
LEAD
RETURN
RECYCLE
Maintenance and care
250
Page 305 of 312

Changing a tire .........................216
Child safety restraints ..............158
child safety belts ....................158
Child safety seats ......................161
attaching with tether straps ..166
in front seat ............................163
in rear seat ......................163, 165
Cleaning your vehicle ...............275
engine compartment ..............277
instrument panel ....................279
interior .....................................279
plastic parts ............................278
washing ....................................275
waxing .....................................276
wheels ......................................277
wiper blades ............................279
woodtone trim ........................279
Climate control (see Air
conditioning or Heating) ............36
Clock ......................................61, 74
Compass, electronic ....................17
calibration .................................19
set zone adjustment ...........18, 21
Console ........................................97
overhead ....................................85
rear ............................................98
Controls
power seat ...............................121
steering column ........................84
Coolant
checking and adding ..............240
refill capacities ................244, 282
specifications ..................285, 287
Cruise control (see Speed
control) ........................................78
Customer Assistance ................204
Ford accessories for your
vehicle .............................281, 298Ford Extended Service
Plan ..........................................291
Getting assistance outside
the U.S. and Canada ..............297
Getting roadside assistance ...204
Getting the service you
need .........................................291
Ordering additional owner’s
literature .................................301
The Dispute Settlement
Board .......................................294
Utilizing the
Mediation/Arbitration
Program ...................................297
D
Daytime running lamps
(see Lamps) ................................31
Defrost
rear window ..............................53
Dipstick
automatic transmission
fluid ..........................................247
engine oil .................................233
Doors
door ajar warning .....................12
lubricant specifications ..........285
Driveline universal joint and
slip yoke ....................................248
Driving under special
conditions ..........................187, 190
sand .........................................189
snow and ice ...........................191
through water .................189, 196
E
Electronic message center .........19
Index
305