Fuel gauge Mercury Mountaineer 2004 Owner's Manuals
[x] Cancel search | Manufacturer: MERCURY, Model Year: 2004, Model line: Mountaineer, Model: Mercury Mountaineer 2004Pages: 280, PDF Size: 5.38 MB
Page 12 of 280
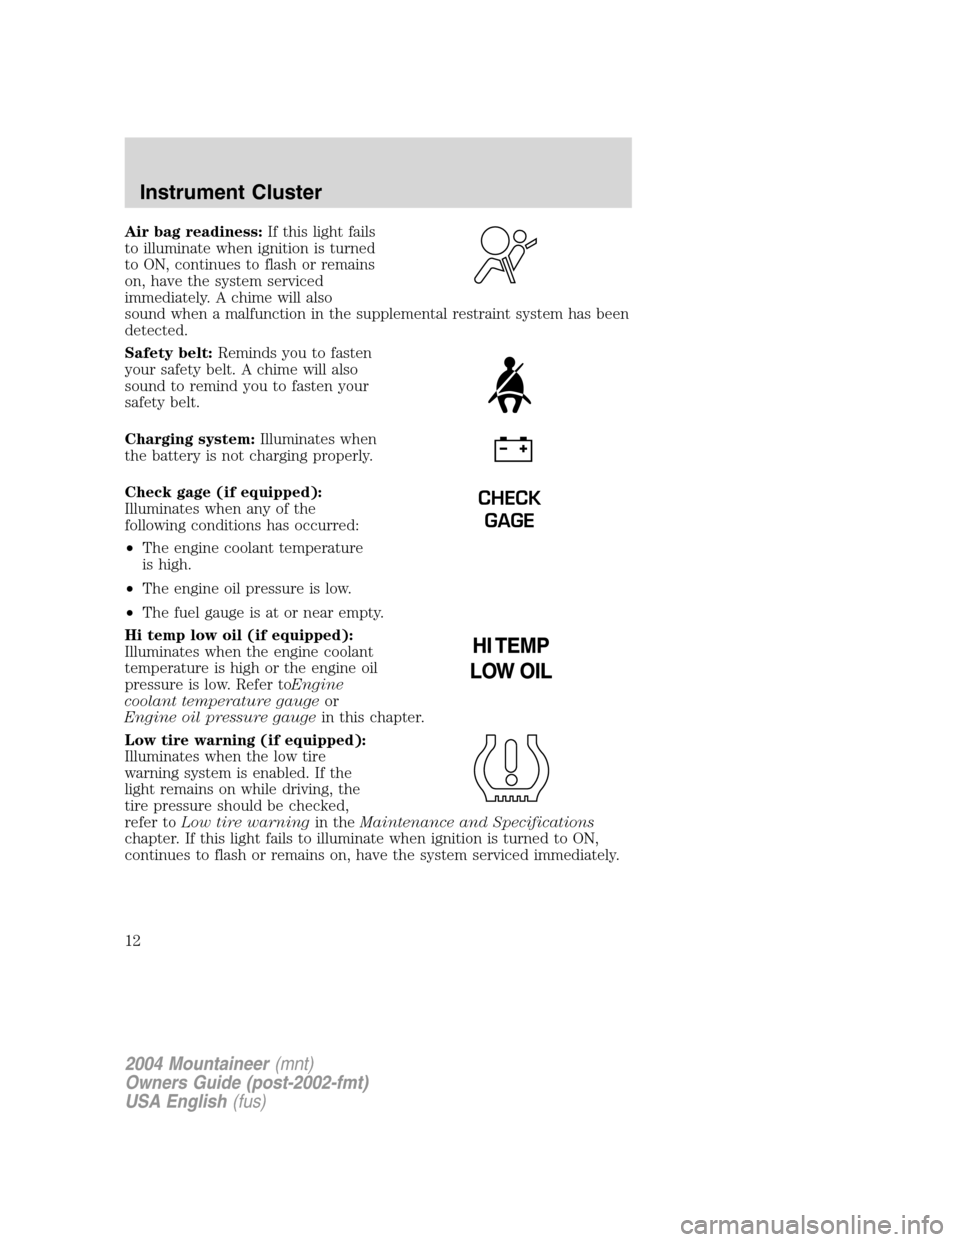
Air bag readiness:If this light fails
to illuminate when ignition is turned
to ON, continues to flash or remains
on, have the system serviced
immediately. A chime will also
sound when a malfunction in the supplemental restraint system has been
detected.
Safety belt:Reminds you to fasten
your safety belt. A chime will also
sound to remind you to fasten your
safety belt.
Charging system:Illuminates when
the battery is not charging properly.
Check gage (if equipped):
Illuminates when any of the
following conditions has occurred:
•The engine coolant temperature
is high.
•The engine oil pressure is low.
•The fuel gauge is at or near empty.
Hi temp low oil (if equipped):
Illuminates when the engine coolant
temperature is high or the engine oil
pressure is low. Refer toEngine
coolant temperature gaugeor
Engine oil pressure gaugein this chapter.
Low tire warning (if equipped):
Illuminates when the low tire
warning system is enabled. If the
light remains on while driving, the
tire pressure should be checked,
refer toLow tire warningin theMaintenance and Specifications
chapter. If this light fails to illuminate when ignition is turned to ON,
continues to flash or remains on, have the system serviced immediately.
CHECK
GAGE
2004 Mountaineer(mnt)
Owners Guide (post-2002-fmt)
USA English(fus)
Instrument Cluster
12
Page 17 of 280
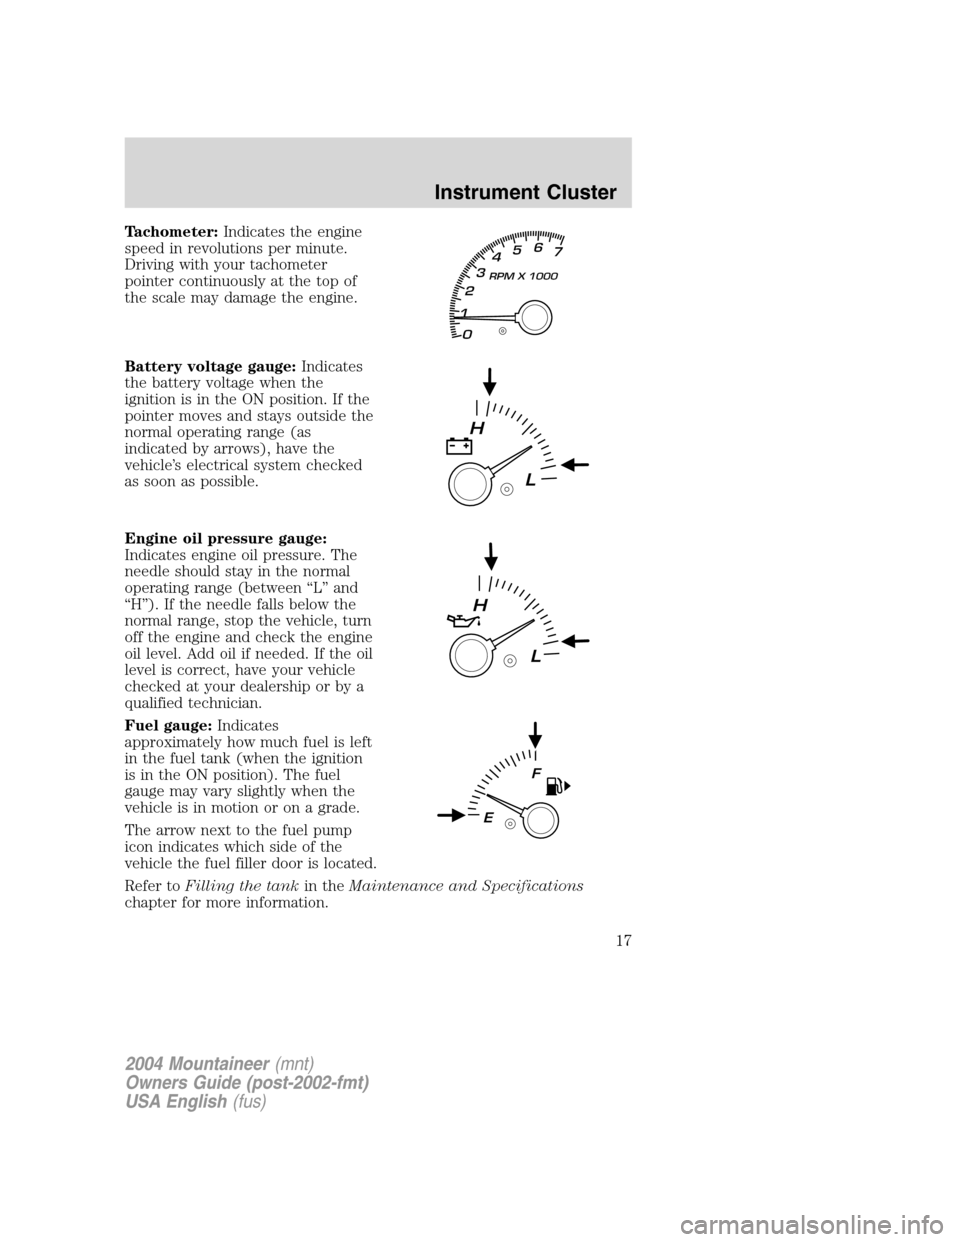
Tachometer:Indicates the engine
speed in revolutions per minute.
Driving with your tachometer
pointer continuously at the top of
the scale may damage the engine.
Battery voltage gauge:Indicates
the battery voltage when the
ignition is in the ON position. If the
pointer moves and stays outside the
normal operating range (as
indicated by arrows), have the
vehicle’s electrical system checked
as soon as possible.
Engine oil pressure gauge:
Indicates engine oil pressure. The
needle should stay in the normal
operating range (between “L” and
“H”). If the needle falls below the
normal range, stop the vehicle, turn
off the engine and check the engine
oil level. Add oil if needed. If the oil
level is correct, have your vehicle
checked at your dealership or by a
qualified technician.
Fuel gauge:Indicates
approximately how much fuel is left
in the fuel tank (when the ignition
is in the ON position). The fuel
gauge may vary slightly when the
vehicle is in motion or on a grade.
The arrow next to the fuel pump
icon indicates which side of the
vehicle the fuel filler door is located.
Refer toFilling the tankin theMaintenance and Specifications
chapter for more information.
2004 Mountaineer(mnt)
Owners Guide (post-2002-fmt)
USA English(fus)
Instrument Cluster
17
Page 63 of 280
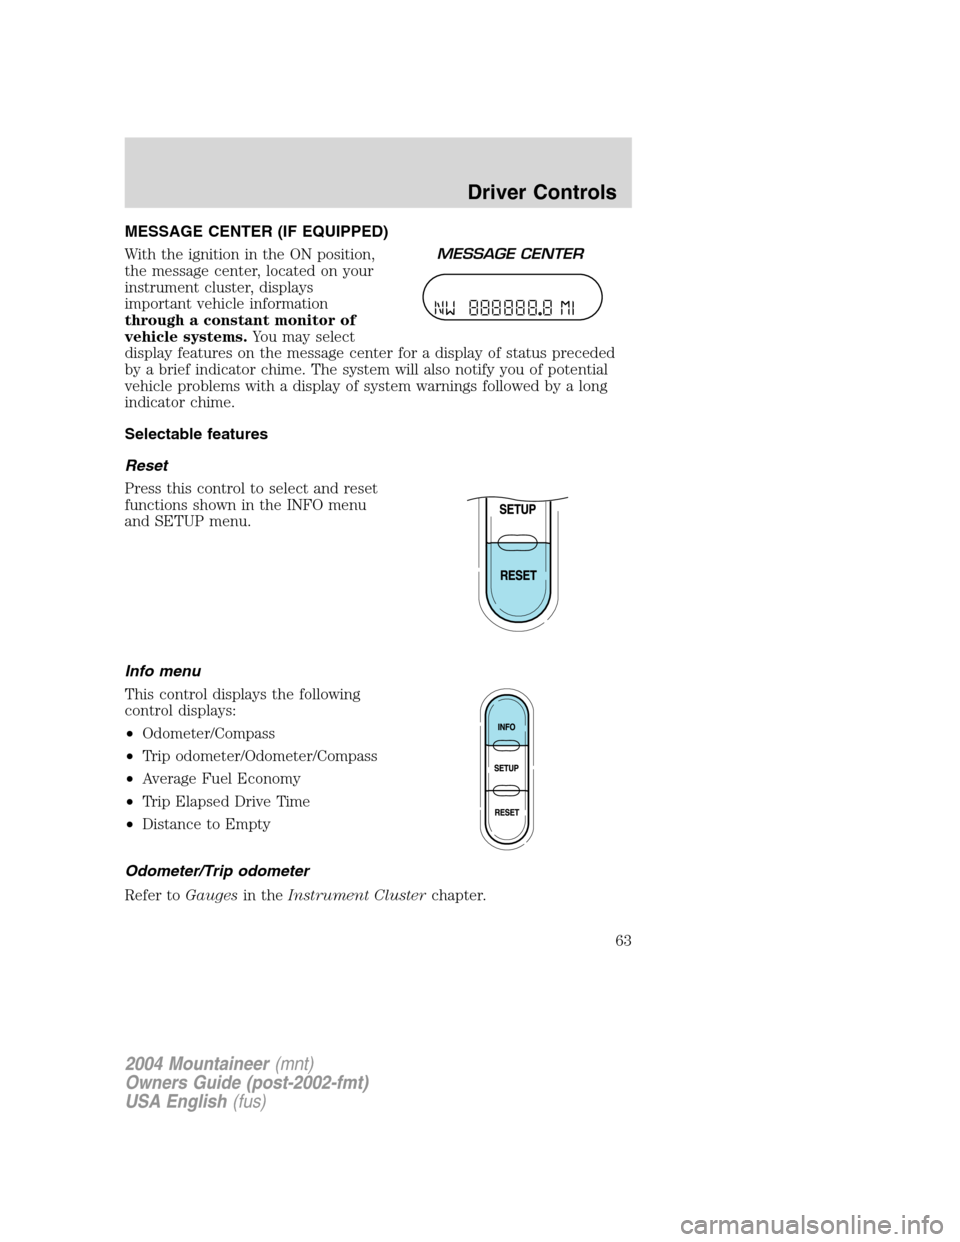
MESSAGE CENTER (IF EQUIPPED)
With the ignition in the ON position,
the message center, located on your
instrument cluster, displays
important vehicle information
through a constant monitor of
vehicle systems.You may select
display features on the message center for a display of status preceded
by a brief indicator chime. The system will also notify you of potential
vehicle problems with a display of system warnings followed by a long
indicator chime.
Selectable features
Reset
Press this control to select and reset
functions shown in the INFO menu
and SETUP menu.
Info menu
This control displays the following
control displays:
•Odometer/Compass
•Trip odometer/Odometer/Compass
•Average Fuel Economy
•Trip Elapsed Drive Time
•Distance to Empty
Odometer/Trip odometer
Refer toGaugesin theInstrument Clusterchapter.
2004 Mountaineer(mnt)
Owners Guide (post-2002-fmt)
USA English(fus)
Driver Controls
63
Page 238 of 280
possible. Fuel expense, frequency of fill-ups or fuel gauge readings are
NOT accurate as a measure of fuel economy. We do not recommend
taking fuel economy measurements during the first 1,600 km (1,000
miles) of driving (engine break-in period). You will get a more accurate
measurement after 3,000 km–5,000 km (2,000 miles-3,000 miles).
Filling the tank
The advertised fuel capacity of the fuel tank on your vehicle is equal to
the rated refill capacity of the fuel tank as listed in theRefill capacities
section of this chapter.
The advertised capacity is the amount of the indicated capacity and the
empty reserve combined. Indicated capacity is the difference in the
amount of fuel in a full tank and a tank when the fuel gauge indicates
empty. Empty reserve is the small amount of fuel remaining in the fuel
tank after the fuel gauge indicates empty.
The amount of usable fuel in the empty reserve varies and should
not be relied upon to increase driving range. When refueling your
vehicle after the fuel gauge indicates empty, you might not be
able to refuel the full amount of the advertised capacity of the
fuel tank due to the empty reserve still present in the tank.
For consistent results when filling the fuel tank:
•Turn the engine/ignition switch to the off position prior to refueling,
an error in the reading will result if the engine is left running.
•Use the same filling rate setting (low — medium — high) each time
the tank is filled.
•Allow no more than 2 automatic click-offs when filling.
•Always use fuel with the recommended octane rating.
•Use a known quality gasoline, preferably a national brand.
•Use the same side of the same pump and have the vehicle facing the
same direction each time you fill up.
•Have the vehicle loading and distribution the same every time.
Your results will be most accurate if your filling method is consistent.
Filling the tank for FFV equipped vehicles
Your vehicle will operate on both unleaded gasoline with an octane rating
of 87, or E-85 fuel, or any mixture of these two. For best results it is
recommended that you do not add less than 5 gallons of fuel when
refueling. Observing this precaution will avoid possible hard starting
and/or deterioration in drivability during warm up.
REVIEW COPY:
2004 Explorer(exp), Owners Guide (post-2002-fmt)(own2002),
Market:USA English(fus)
Maintenance and Specifications
238
Page 261 of 280

Changing tires with TPMS
It is recommended that you always
have your tires serviced by a dealer
or qualified technician.Each road
tire is equipped with a tire
pressure sensor mounted on the
wheel inside the tire connected
to the valve stem. The tire
pressure sensor must be
unbolted from the wheel prior to
tire removal. The sensor can be
removed by loosening the nut at the valve stem. Failure to
remove the sensor may damage it.The rubber grommet (washer)
between the wheel and the tire pressure sensor needs to be replaced
when any tire is changed to minimize air leaks.
The tire pressure should be checked periodically (at least monthly) using
a tire gauge, refer toTire inflation pressurein this chapter.
USING SNOW TIRES AND TRACTION DEVICES
Snow tires must be the same size and grade as the tires you
currently have on your vehicle.
The tires on your vehicle have all-weather treads to provide traction in
rain and snow. However, in some climates, using snow tires or traction
devices may be necessary. Ford offers tire cables as a Ford approved
accessory and recommends use of these or SAE class “S” tire cables. See
your dealer or qualified service technician for more information on tire
cables for your vehicle.
Follow these guidelines when using snow tires and traction devices:
•Cables or chains should only be used on the rear wheels.
•Install cables or chains securely, verifying that the cables or chains do
not touch any wiring, brake lines or fuel lines.
•Drive cautiously. If you hear the cables or chains rub or bang against
the vehicle, stop and retighten them. If this does not work, remove the
cables or chains to prevent vehicle damage.
•Avoid overloading your vehicle.
•Remove the cables or chains when they are no longer needed.
•Do not use cables or chains on dry roads.
REVIEW COPY:
2004 Explorer(exp), Owners Guide (post-2002-fmt)(own2002),
Market:USA English(fus)
Maintenance and Specifications
261
Page 276 of 280
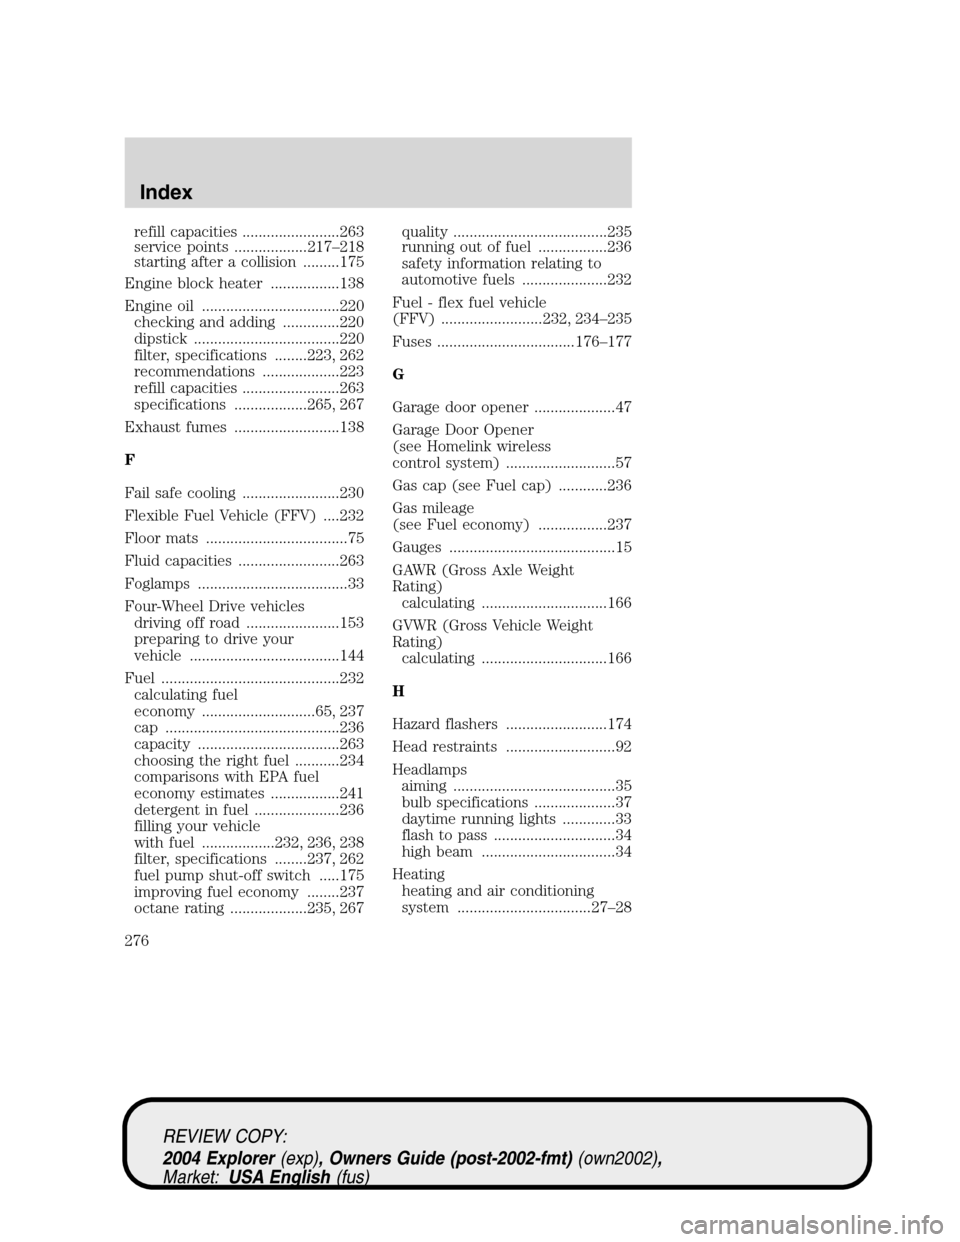
refill capacities ........................263
service points ..................217–218
starting after a collision .........175
Engine block heater .................138
Engine oil ..................................220
checking and adding ..............220
dipstick ....................................220
filter, specifications ........223, 262
recommendations ...................223
refill capacities ........................263
specifications ..................265, 267
Exhaust fumes ..........................138
F
Fail safe cooling ........................230
Flexible Fuel Vehicle (FFV) ....232
Floor mats ...................................75
Fluid capacities .........................263
Foglamps .....................................33
Four-Wheel Drive vehicles
driving off road .......................153
preparing to drive your
vehicle .....................................144
Fuel ............................................232
calculating fuel
economy ............................65, 237
cap ...........................................236
capacity ...................................263
choosing the right fuel ...........234
comparisons with EPA fuel
economy estimates .................241
detergent in fuel .....................236
filling your vehicle
with fuel ..................232, 236, 238
filter, specifications ........237, 262
fuel pump shut-off switch .....175
improving fuel economy ........237
octane rating ...................235, 267quality ......................................235
running out of fuel .................236
safety information relating to
automotive fuels .....................232
Fuel - flex fuel vehicle
(FFV) .........................232, 234–235
Fuses ..................................176–177
G
Garage door opener ....................47
Garage Door Opener
(see Homelink wireless
control system) ...........................57
Gas cap (see Fuel cap) ............236
Gas mileage
(see Fuel economy) .................237
Gauges .........................................15
GAWR (Gross Axle Weight
Rating)
calculating ...............................166
GVWR (Gross Vehicle Weight
Rating)
calculating ...............................166
H
Hazard flashers .........................174
Head restraints ...........................92
Headlamps
aiming ........................................35
bulb specifications ....................37
daytime running lights .............33
flash to pass ..............................34
high beam .................................34
Heating
heating and air conditioning
system .................................27–28
REVIEW COPY:
2004 Explorer(exp), Owners Guide (post-2002-fmt)(own2002),
Market:USA English(fus)
Index
276