latch Mercury Mountaineer 2004 Owner's Manuals
[x] Cancel search | Manufacturer: MERCURY, Model Year: 2004, Model line: Mountaineer, Model: Mercury Mountaineer 2004Pages: 280, PDF Size: 5.38 MB
Page 46 of 280
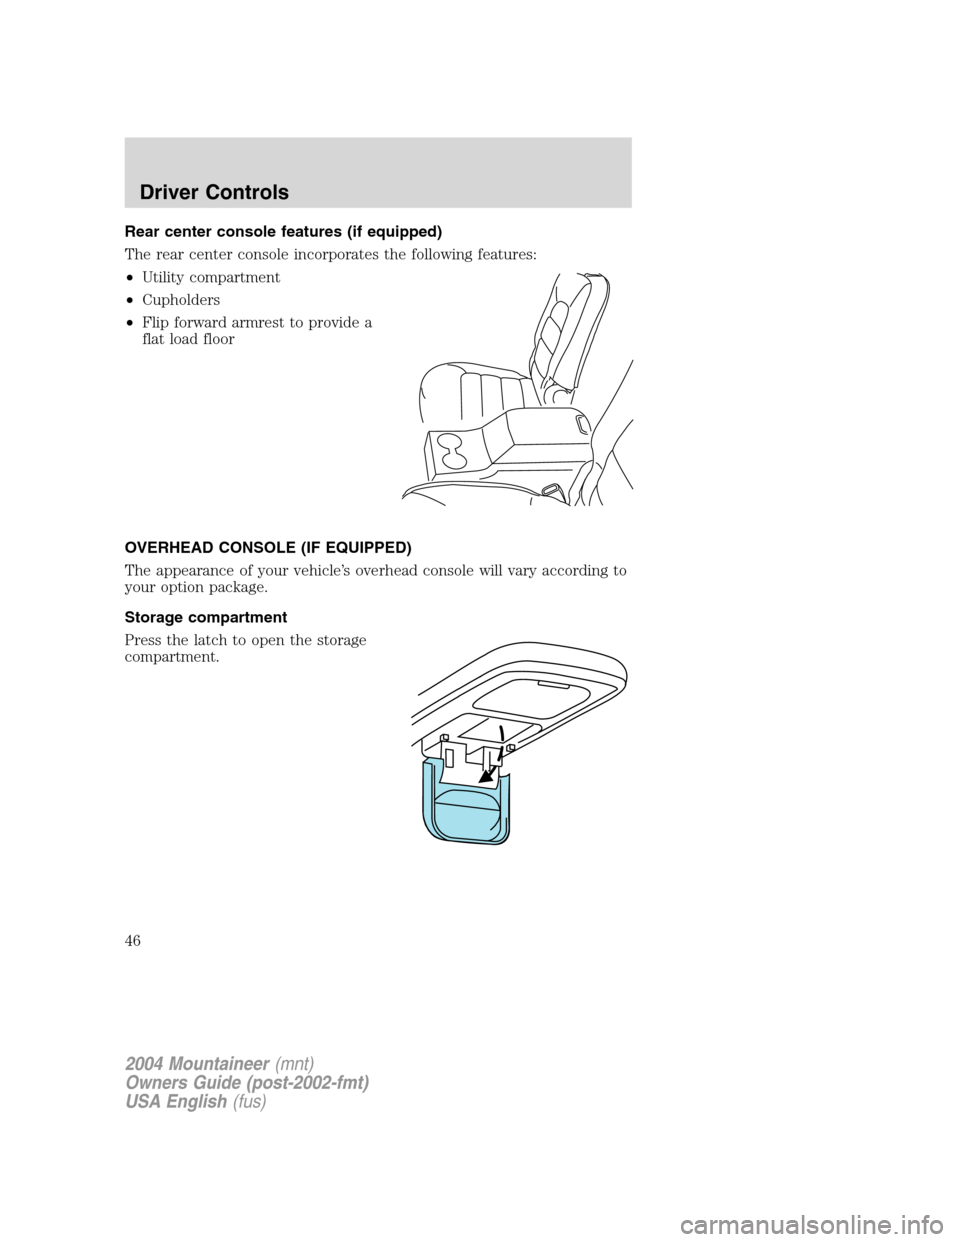
Rear center console features (if equipped)
The rear center console incorporates the following features:
•Utility compartment
•Cupholders
•Flip forward armrest to provide a
flat load floor
OVERHEAD CONSOLE (IF EQUIPPED)
The appearance of your vehicle’s overhead console will vary according to
your option package.
Storage compartment
Press the latch to open the storage
compartment.
2004 Mountaineer(mnt)
Owners Guide (post-2002-fmt)
USA English(fus)
Driver Controls
46
Page 82 of 280
2. Pressand release again within three seconds to confirm that all the
doors are closed and locked.Note:The doors will lock again, the horn
will chirp and the lamps flash once.
Opening the liftgate window
Press
to unlatch the liftgate window.
Sounding a panic alarm
Press
to activate the alarm. The horn will sound for a maximum of
30 seconds and the parklamps will flash for a maximum of 3 minutes.
Press again or turn the ignition to the 3 (ON) position to deactivate, or
wait for the alarm to timeout in 3 minutes.
Note:The panic alarm will only operate when the ignition is in the 1
(OFF/LOCK) or 2 (ACCESSORY) position.
Memory seats/adjustable pedals/easy entry-exit feature
(if equipped)
The remote entry system can also control the memory seat /adjustable
pedals/easy entry-exit feature.
Press
to automatically move the seat and adjustable pedals to the
desired memory position (the seat position corresponds to the
transmitter being used).
Activating the memory seat feature
To activate this feature:
1. Position the seat and adjustable pedals to the position desired.
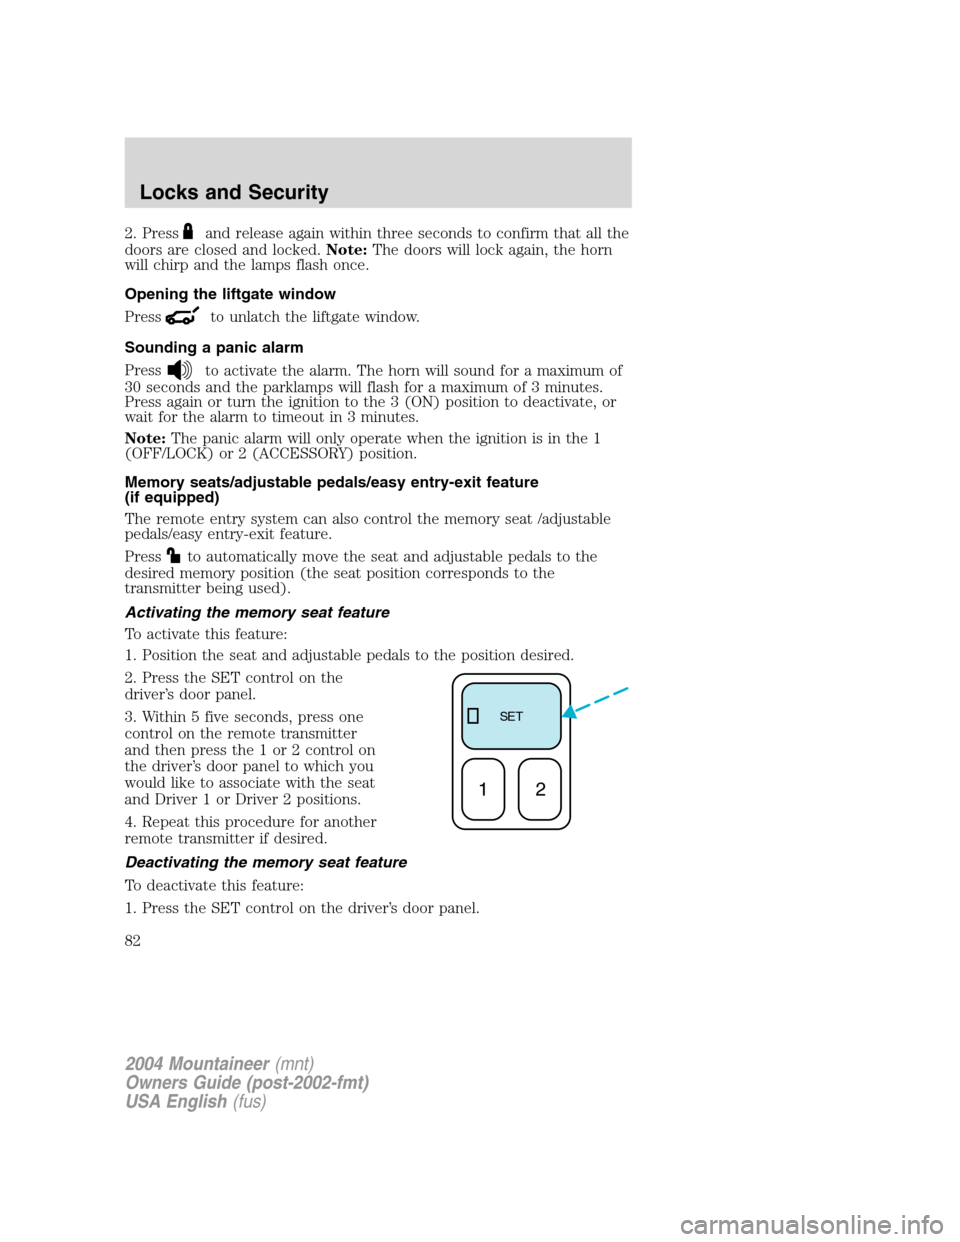
2. Press the SET control on the
driver’s door panel.
3. Within 5 five seconds, press one
control on the remote transmitter
and then press the 1 or 2 control on
the driver’s door panel to which you
would like to associate with the seat
and Driver 1 or Driver 2 positions.
4. Repeat this procedure for another
remote transmitter if desired.
Deactivating the memory seat feature
To deactivate this feature:
1. Press the SET control on the driver’s door panel.
SE T
12
2004 Mountaineer(mnt)
Owners Guide (post-2002-fmt)
USA English(fus)
Locks and Security
82
Page 97 of 280
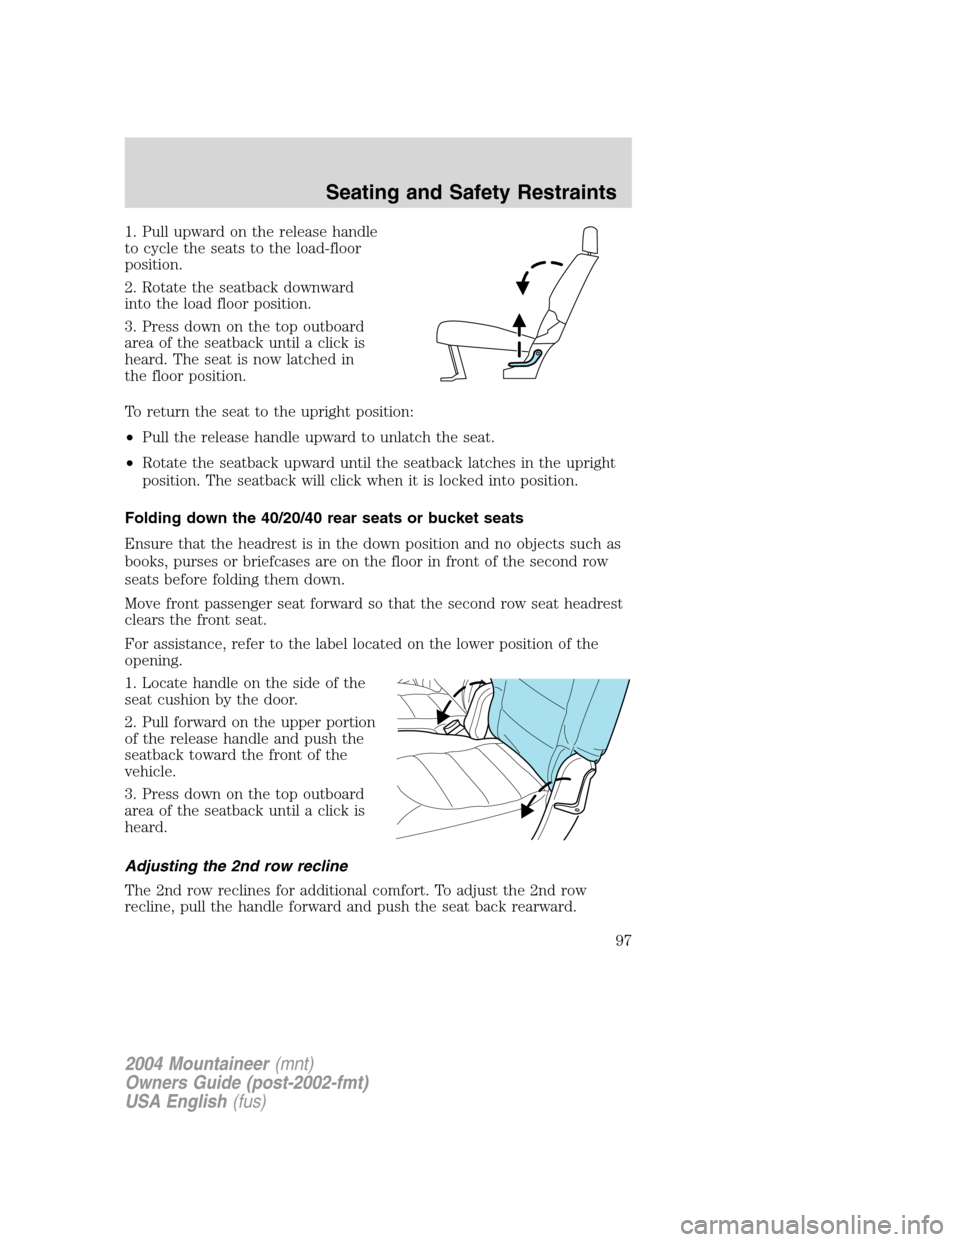
1. Pull upward on the release handle
to cycle the seats to the load-floor
position.
2. Rotate the seatback downward
into the load floor position.
3. Press down on the top outboard
area of the seatback until a click is
heard. The seat is now latched in
the floor position.
To return the seat to the upright position:
•Pull the release handle upward to unlatch the seat.
•Rotate the seatback upward until the seatback latches in the upright
position. The seatback will click when it is locked into position.
Folding down the 40/20/40 rear seats or bucket seats
Ensure that the headrest is in the down position and no objects such as
books, purses or briefcases are on the floor in front of the second row
seats before folding them down.
Move front passenger seat forward so that the second row seat headrest
clears the front seat.
For assistance, refer to the label located on the lower position of the
opening.
1. Locate handle on the side of the
seat cushion by the door.
2. Pull forward on the upper portion
of the release handle and push the
seatback toward the front of the
vehicle.
3. Press down on the top outboard
area of the seatback until a click is
heard.
Adjusting the 2nd row recline
The 2nd row reclines for additional comfort. To adjust the 2nd row
recline, pull the handle forward and push the seat back rearward.
2004 Mountaineer(mnt)
Owners Guide (post-2002-fmt)
USA English(fus)
Seating and Safety Restraints
97
Page 98 of 280
Reclining the seatback can cause an occupant to slide under the
seat’s safety belt, resulting in severe personal injuries in the
event of a collision.
Operating the 2nd row seat for E-Z Entry (if equipped)
The E-Z Entry seat allows for easier entry and exit to and from the 3rd
row seat.
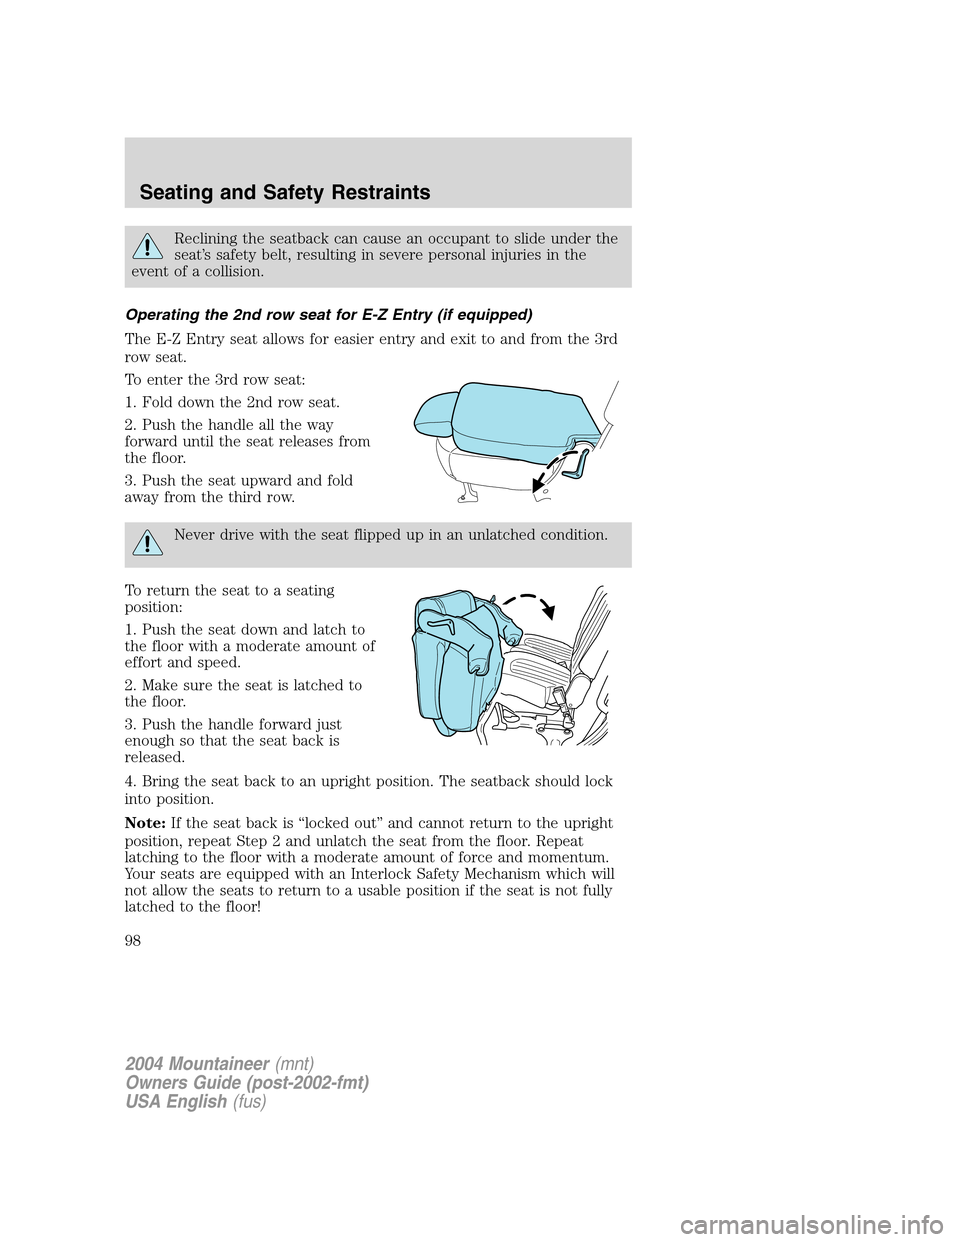
To enter the 3rd row seat:
1. Fold down the 2nd row seat.
2. Push the handle all the way
forward until the seat releases from
the floor.
3. Push the seat upward and fold
away from the third row.
Never drive with the seat flipped up in an unlatched condition.
To return the seat to a seating
position:
1. Push the seat down and latch to
the floor with a moderate amount of
effort and speed.
2. Make sure the seat is latched to
the floor.
3. Push the handle forward just
enough so that the seat back is
released.
4. Bring the seat back to an upright position. The seatback should lock
into position.
Note:If the seat back is “locked out” and cannot return to the upright
position, repeat Step 2 and unlatch the seat from the floor. Repeat
latching to the floor with a moderate amount of force and momentum.
Your seats are equipped with an Interlock Safety Mechanism which will
not allow the seats to return to a usable position if the seat is not fully
latched to the floor!
2004 Mountaineer(mnt)
Owners Guide (post-2002-fmt)
USA English(fus)
Seating and Safety Restraints
98
Page 99 of 280

To exit the 3rd row seat, pull the
red access control lever up releasing
the seat from the floor and rotate
the seat up towards the front seat.
Always latch the vehicle seat to the floor, whether the seat is
occupied or empty. If not latched, the seat may cause injury
during a sudden stop.
Folding the middle 2nd row seat (If equipped)
To fold the seatback down:
1. Locate the lever on the top left of
the seatback.
2. Pull the lever up and push the
seatback toward the front of the
vehicle.
3. Press down on the top outboard
area of the seatback until a click is
heard.
2004 Mountaineer(mnt)
Owners Guide (post-2002-fmt)
USA English(fus)
Seating and Safety Restraints
99
Page 101 of 280

To put seat in stowed position:
1. Pull the seat release lever located
on top of the seatback while
pushing the seatback down onto the
seat cushion.
2. The seatback will latch into place.
3. Push the closeout panel forward
over the space between the seats.
To put seat in upright position:
1. Pull back the slider panel on the
seatback to release the closeout
panel.
2004 Mountaineer(mnt)
Owners Guide (post-2002-fmt)
USA English(fus)
Seating and Safety Restraints
101
Page 102 of 280
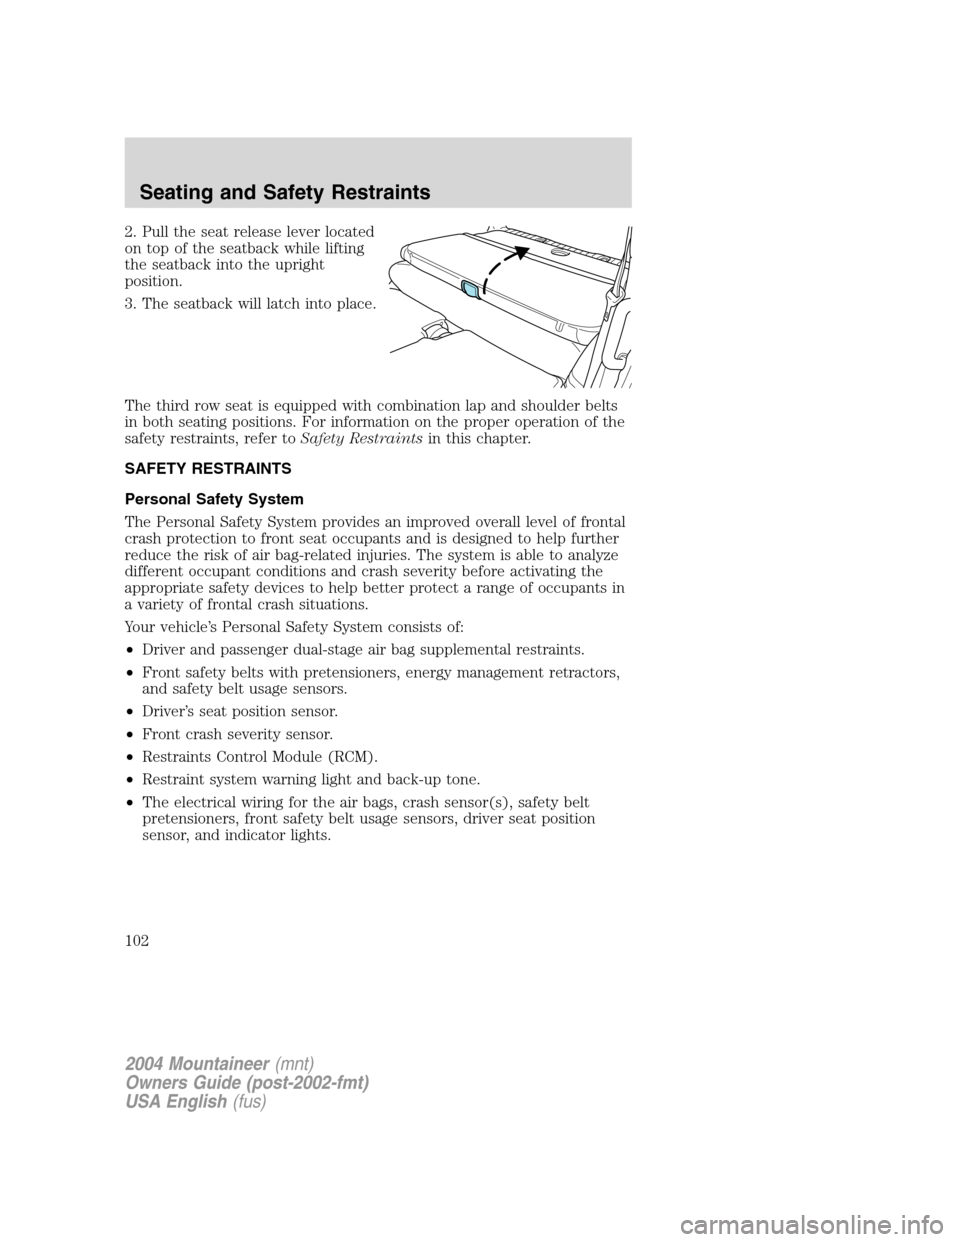
2. Pull the seat release lever located
on top of the seatback while lifting
the seatback into the upright
position.
3. The seatback will latch into place.
The third row seat is equipped with combination lap and shoulder belts
in both seating positions. For information on the proper operation of the
safety restraints, refer toSafety Restraintsin this chapter.
SAFETY RESTRAINTS
Personal Safety System
The Personal Safety System provides an improved overall level of frontal
crash protection to front seat occupants and is designed to help further
reduce the risk of air bag-related injuries. The system is able to analyze
different occupant conditions and crash severity before activating the
appropriate safety devices to help better protect a range of occupants in
a variety of frontal crash situations.
Your vehicle’s Personal Safety System consists of:
•Driver and passenger dual-stage air bag supplemental restraints.
•Front safety belts with pretensioners, energy management retractors,
and safety belt usage sensors.
•Driver’s seat position sensor.
•Front crash severity sensor.
•Restraints Control Module (RCM).
•Restraint system warning light and back-up tone.
•The electrical wiring for the air bags, crash sensor(s), safety belt
pretensioners, front safety belt usage sensors, driver seat position
sensor, and indicator lights.
2004 Mountaineer(mnt)
Owners Guide (post-2002-fmt)
USA English(fus)
Seating and Safety Restraints
102
Page 106 of 280
Safety belts and seats can become hot in a vehicle that has been
closed up in sunny weather; they could burn a small child. Check
seat covers and buckles before you place a child anywhere near them.
Energy Management Feature
•This vehicle has a safety belt system with an energy management
feature at the front seating positions to help further reduce the risk of
injury in the event of a head-on collision.
•This safety belt system has a retractor assembly that is designed to
extend the seat belt webbing in a controlled manner. This helps
reduce the belt force acting on the user’s chest.
BELT AND RETRACTOR ASSEMBLY MUST BE REPLACED if
the safety belt assembly automatic locking retractor feature or
any other safety belt function is not operating properly when checked
according to the procedures in Workshop Manual. Failure to replace
the Belt and Retractor assembly could increase the risk of injury in
collisions.
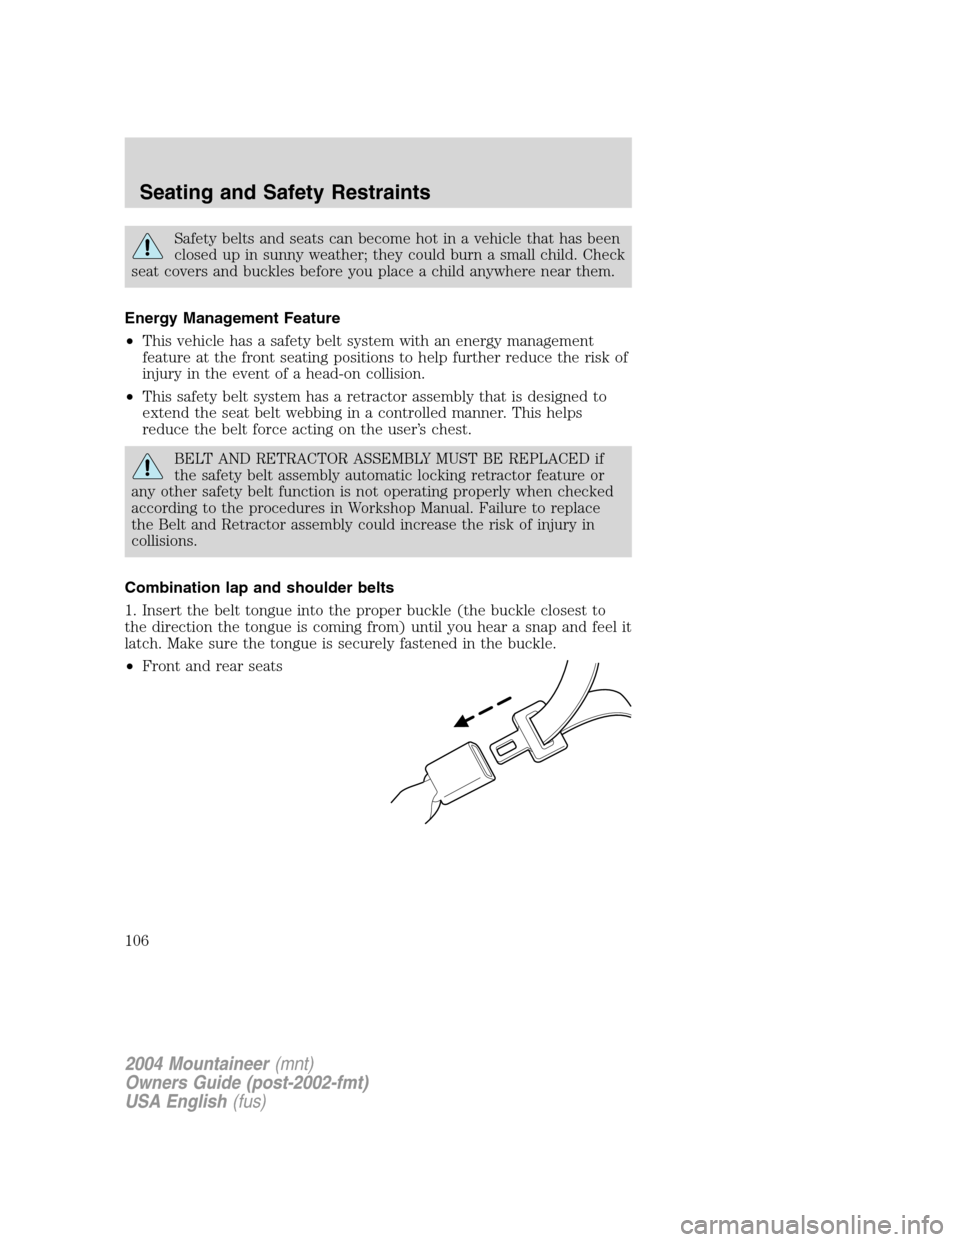
Combination lap and shoulder belts
1. Insert the belt tongue into the proper buckle (the buckle closest to
the direction the tongue is coming from) until you hear a snap and feel it
latch. Make sure the tongue is securely fastened in the buckle.
•Front and rear seats
2004 Mountaineer(mnt)
Owners Guide (post-2002-fmt)
USA English(fus)
Seating and Safety Restraints
106
Page 114 of 280
3. Buckle then unbuckle the safety belt three times, ending with the
safety belt unbuckled. This can be done before or during BeltMinder
warning activation.
4. Turn on the parklamps/headlamps, turn off the parklamps/headlamps.
5. Buckle then unbuckle the safety belt three times, ending with the
safety belt unbuckled.
•After step 5 the safety belt warning light will be turned on for three
seconds.
6. Within seven seconds of the safety belt warning light turning off,
buckle then unbuckle the safety belt.
•This will disable BeltMinder if it is currently enabled, or enable
BeltMinder if it is currently disabled.
7. Confirmation of disabling BeltMinder is provided by flashing the safety
belt warning light four times per second for three seconds.
8. Confirmation of enabling BeltMinder is provided by flashing the safety
belt warning light four times per second for three seconds, followed by
three seconds with the safety belt warning light off, then followed by
flashing the safety belt warning light four times per second for three
seconds again.
9. After receiving confirmation, the deactivation/activation procedure is
complete.
Safety belt maintenance
Inspect the safety belt systems periodically to make sure they work
properly and are not damaged. Inspect the safety belts to make sure
there are no nicks, tears or cuts. Replace if necessary. All safety belt
assemblies, including retractors, buckles, front seat belt buckle
assemblies, buckle support assemblies (slide bar-if equipped), shoulder
belt height adjusters (if equipped), shoulder belt guide on seatback (if
equipped), child safety seat LATCH and tether anchors, and attaching
hardware, should be inspected after a collision. Ford Motor Company
recommends that all safety belt assemblies in use in vehicles involved in
a collision be replaced. However, if the collision was minor and a
qualified technician finds that the belts do not show damage and
continue to operate properly, they do not need to be replaced. Safety
belt assemblies not in use during a collision should also be inspected and
replaced if either damage or improper operation is noted.
2004 Mountaineer(mnt)
Owners Guide (post-2002-fmt)
USA English(fus)
Seating and Safety Restraints
114
Page 126 of 280
Follow all instructions provided by the manufacturer of the
booster seat.
Never put the shoulder belt under a child’s arm or behind the
back because it eliminates the protection for the upper part of
the body and may increase the risk of injury or death in a collision.
Never use pillows, books, or towels to boost a child. They can
slide around and increase the likelihood of injury or death in a
collision.
SAFETY SEATS FOR CHILDREN
Child and infant or child safety seats
Use a safety seat that is recommended for the size and weight of the
child. Carefully follow all of the manufacturer’s instructions with the
safety seat you put in your vehicle. If you do not install and use the
safety seat properly, the child may be injured in a sudden stop or
collision.
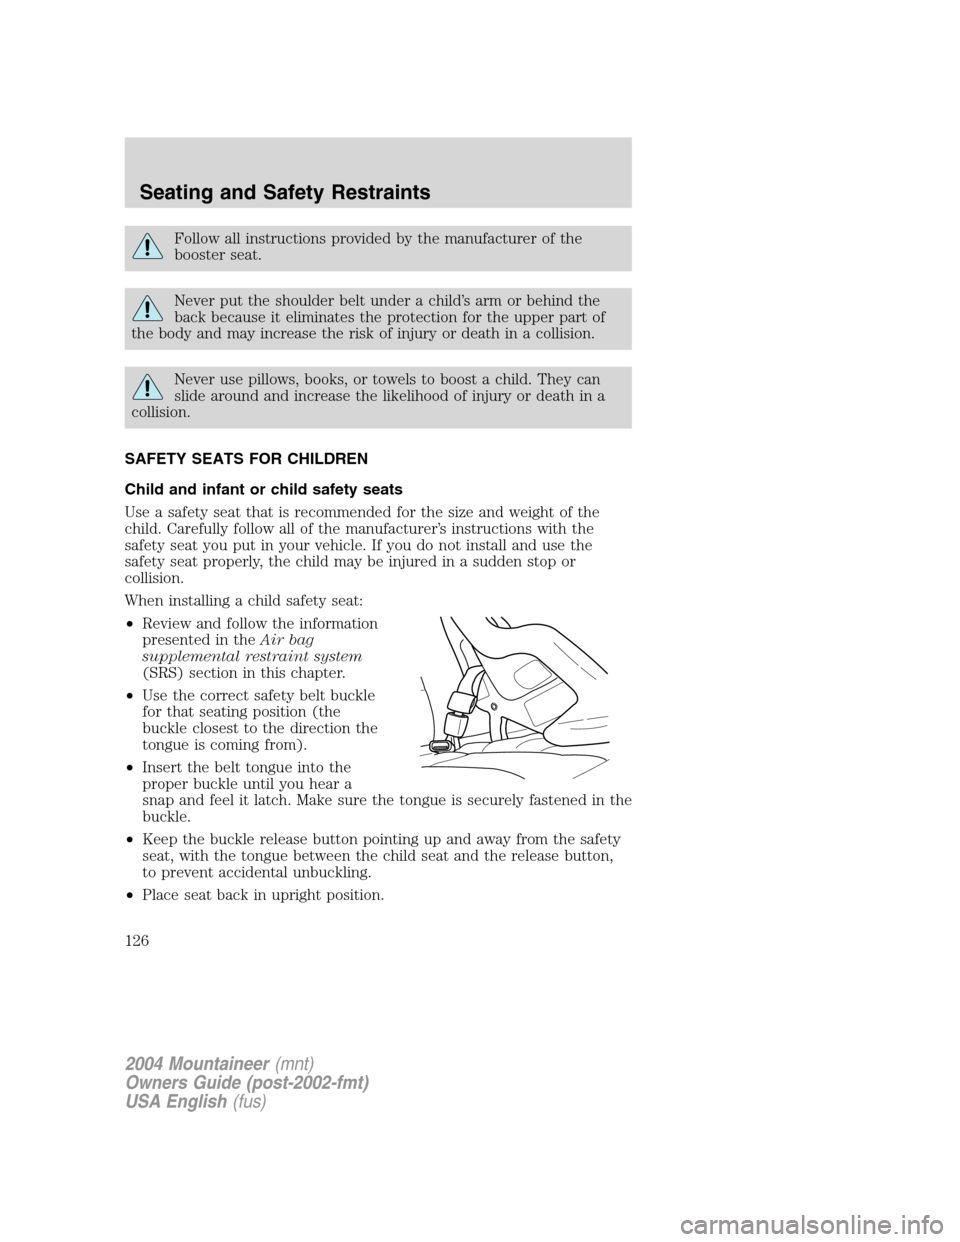
When installing a child safety seat:
•Review and follow the information
presented in theAir bag
supplemental restraint system
(SRS) section in this chapter.
•Use the correct safety belt buckle
for that seating position (the
buckle closest to the direction the
tongue is coming from).
•Insert the belt tongue into the
proper buckle until you hear a
snap and feel it latch. Make sure the tongue is securely fastened in the
buckle.
•Keep the buckle release button pointing up and away from the safety
seat, with the tongue between the child seat and the release button,
to prevent accidental unbuckling.
•Place seat back in upright position.
2004 Mountaineer(mnt)
Owners Guide (post-2002-fmt)
USA English(fus)
Seating and Safety Restraints
126