horn Mercury Sable 1997 Owner's Manuals
[x] Cancel search | Manufacturer: MERCURY, Model Year: 1997, Model line: Sable, Model: Mercury Sable 1997Pages: 167, PDF Size: 1.59 MB
Page 40 of 167

3. Within five more
seconds, press and
release 3/4.
4. Release 7/8.
To reactivate the system, repeat the system
deactivating instructions.
You can also deactivate or reactivate the autolock
feature by this method:
1. Make sure the anti-theft system is not armed or
triggered, ignition is off and all doors are closed.
2. Turn the ignition key from OFF to ON.
3. Press the door power unlock switch three times.
4. Turn the ignition key from ON to OFF.
5. Press the door power unlock switch three times.
6. Turn the ignition key back to ON within 30
seconds of step two.
7. The horn should chirp once. If not, wait 30
seconds and repeat steps one through six.
8. Press the door power unlock switch.
9. Press the door power lock switch.
10. The horn will chirp once if the autolock feature
was deactivated, twice (one short chirp followed by
a long chirp) if the autolock feature was activated.
11. Turn the ignition key to OFF.
12. The horn will chirp once to confirm you
activated or deactivated the autolock feature.
123
45678
90
dno_remote-entry
Controls and features
40
Page 42 of 167

Locking the doors
Press LOCK to lock all
doors and liftgate
(wagon).
To confirm all doors
are closed and locked,
press LOCK a second
time. The doors will
lock again, the horn
will chirp and the lamps will flash.
This process will arm your anti-theft system. For
more information on arming the anti-theft system,
refer toAnti-theft systemin this chapter.
Sounding the PANIC alarm
Press PANIC to
activate the alarm.
To deactivate the
alarm, press PANIC
again or turn the
ignition to ACC or ON.
This device complies
with part 15 of the
FCC rules. Operation is subject to the following two
conditions: (1) This device may not cause harmful
interference, and (2) This device must accept any
interference received, including interference that
may cause undesired operation.
Arming and disarming the alarm system
Your remote entry system will:
²automatically arm the factory installed anti-theft
system when the doors are locked.
²reset the triggered anti-theft alarm (when the
driver's door is unlocked or when PANIC is
pressed on a programmed remote entry
transmitter).
LOCKUN
LOCK
PANIC
TRUNK
LOCKUN
LOCK
PANIC
TRUNK
dno_persoanl-alarm
dno_remote-arm-disarm
com_remote_batteries.01
Controls and features
42
Page 44 of 167

²any door is open.
PERIMETER ANTI-THEFT SYSTEM (IF
EQUIPPED)
When armed, this system will protect your vehicle
from unauthorized entry. When unauthorized entry
occurs, the system will flash the headlamps, parking
lamps and the theft indicator lamp and will chirp the
horn.
Arming the system
The system is ready to arm whenever the ignition is
turned off. Any of the following actions will prearm
the alarm system:
²Pressing LOCK on
the remote
transmitter (doors
opened or closed).
²Pressing 7/8 and 9/0
on the keyless entry
pad at the same time
to lock the doors
(doors opened or closed).
²Opening a door and pressing the power door lock
button to lock the doors.
²Using the door key to lock the doors (doors
opened or closed).
If a door or the liftgate
(wagon) is open, the
system is prearmed
and is waiting for the
door to close or liftgate
to close. The THEFT indicator in the instrument
cluster will be lit continuously when the system is
prearmed.
LOCKUN
LOCK
PANIC
TRUNK
123
45678
90
THEFT
sab_perim-theft
dno_arming
Controls and features
44
Page 45 of 167

Once the doors and
liftgate (wagon) are
closed, the system will
arm in 30 seconds.
When the system is armed the THEFT indicator will
flash.
When you press the
LOCK button twice
within 5 seconds on
your remote entry
transmitter, the horn
will chirp once to let
you know that the
system is armed.
If the doors or liftgate (wagon) are not closed and
you press the remote entry transmitter twice to
confirm the doors are locked, the horn will chirp
twice to warn you that the system is not arming.
Disarming the system
You can disarm the system by any of the following
actions:
²Unlock the doors by
using your remote
entry transmitter.
²Unlock the doors by
using your keyless
entry pad.
²Unlock the doors or liftgate with a key. Turn the
key full travel (toward the front of the vehicle) to
make sure the alarm disarms.
²Turn ignition to ACC or ON.THEFT
LOCKUN
LOCK
PANIC
TRUNK
LOCKUN
LOCK
PANIC
TRUNK
123
45678
90
dno_disarming
Controls and features
45
Page 103 of 167

Fuse/Relay
LocationFuse Amp
RatingDescription
7 40A* Rear defroster
8 30A* Thermactor air
pump
9 40A* Engine cooling
fans
10 20A* Fuel pump
11 40A* Blower motor
12 - Not used
13 40A* Anti-lock brake
module
14 - Not used
15 15A** Daytime
running lamps
16 10A** Air bag
diagnostic
monitor
17 20A** Radio, amplifier,
CD changer
18 30A** Anti-lock brake
module
19 15A** Horn
20 15A** Park lamps
21 - Not used
22 30A** Headlamps
23 - Blower motor
24 - Intermittent
wiper control
25 - Wiper relay
26 30A** Alternator
27 - Not used
Roadside emergencies
103
Page 104 of 167

Fuse/Relay
LocationFuse Amp
RatingDescription
28 15A** Electronic
engine control
29 - Washer pump
relay
30 - Horn relay
31 - Autolamp
(headlamps)
32 - Starter relay
33 - Autolamp
(parking lamps)
*Maxi fuses. **Mini fuses
Always disconnect the battery before
servicing high current fuses.
Always replace the cover to the Power
Distribution Box before reconnecting the
battery or refilling fluid reservoirs.
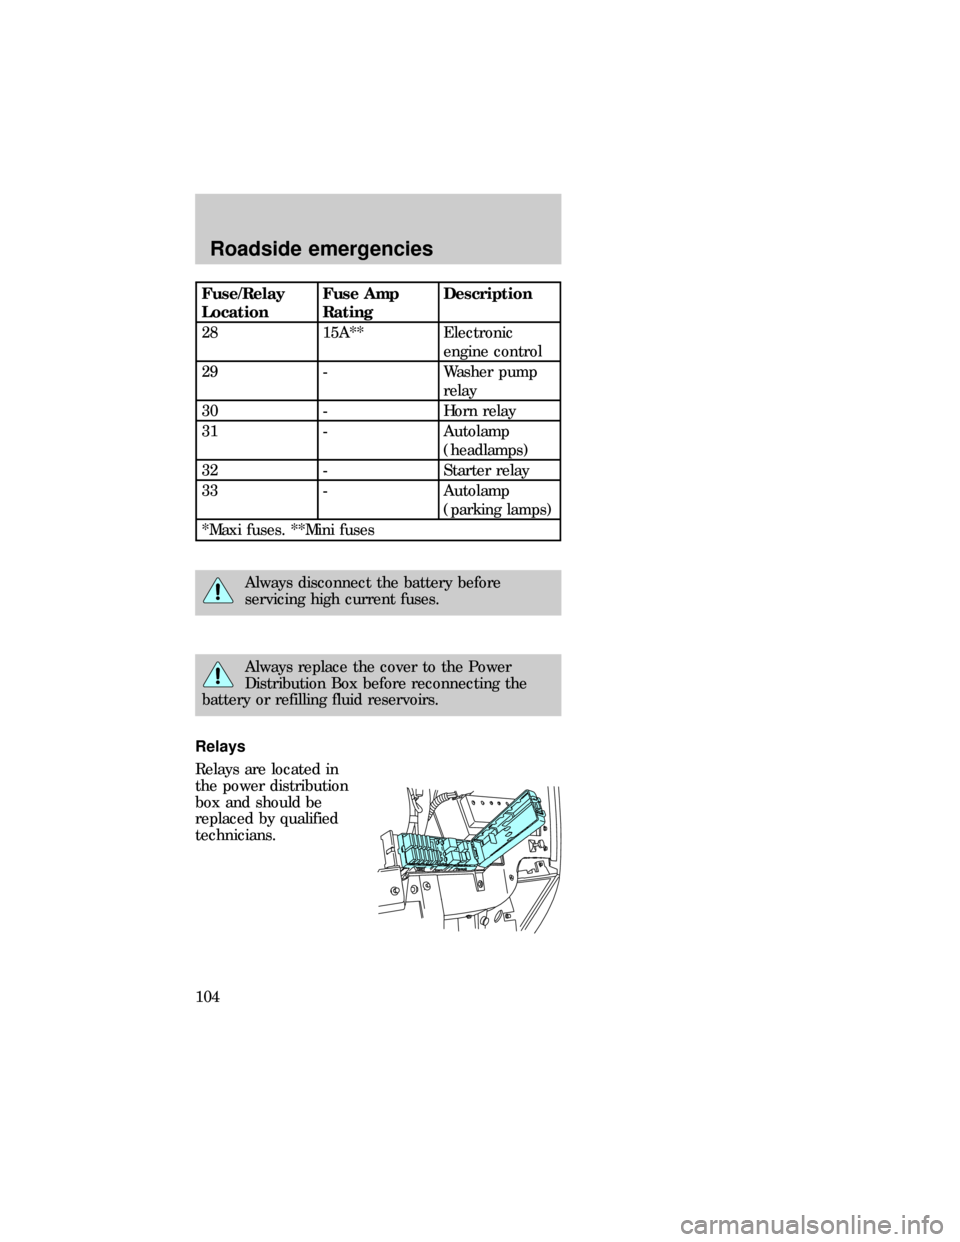
Relays
Relays are located in
the power distribution
box and should be
replaced by qualified
technicians.
dno_relay
dno_flat-tires
Roadside emergencies
104