auto Mercury Sable 2001 s User Guide
[x] Cancel search | Manufacturer: MERCURY, Model Year: 2001, Model line: Sable, Model: Mercury Sable 2001Pages: 240, PDF Size: 2.22 MB
Page 38 of 240
Seek function
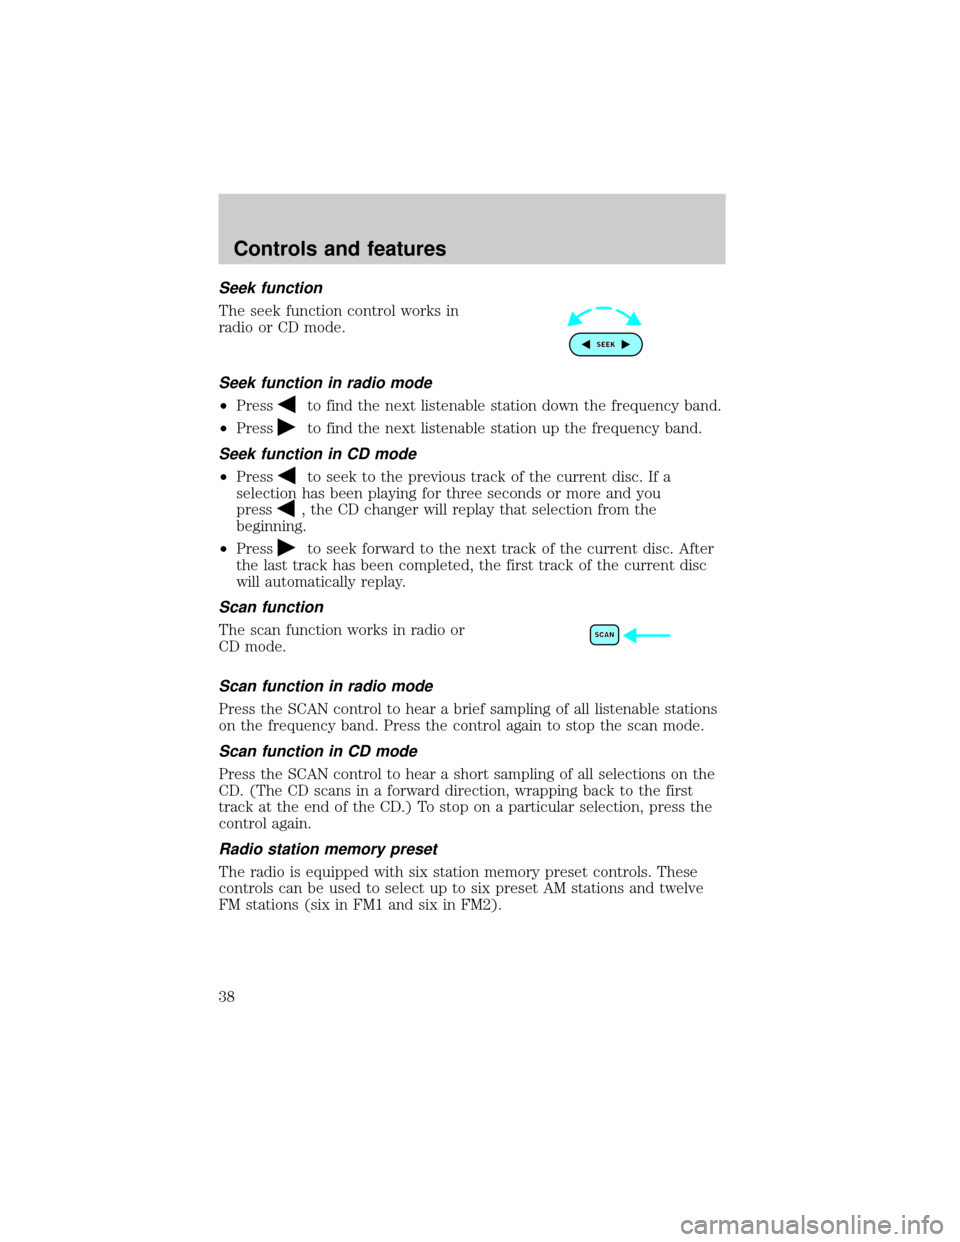
The seek function control works in
radio or CD mode.
Seek function in radio mode
²Pressto find the next listenable station down the frequency band.
²Press
to find the next listenable station up the frequency band.
Seek function in CD mode
²Pressto seek to the previous track of the current disc. If a
selection has been playing for three seconds or more and you
press
, the CD changer will replay that selection from the
beginning.
²Press
to seek forward to the next track of the current disc. After
the last track has been completed, the first track of the current disc
will automatically replay.
Scan function
The scan function works in radio or
CD mode.
Scan function in radio mode
Press the SCAN control to hear a brief sampling of all listenable stations
on the frequency band. Press the control again to stop the scan mode.
Scan function in CD mode
Press the SCAN control to hear a short sampling of all selections on the
CD. (The CD scans in a forward direction, wrapping back to the first
track at the end of the CD.) To stop on a particular selection, press the
control again.
Radio station memory preset
The radio is equipped with six station memory preset controls. These
controls can be used to select up to six preset AM stations and twelve
FM stations (six in FM1 and six in FM2).
Controls and features
38
Page 40 of 240
Speaker balance/fade adjust
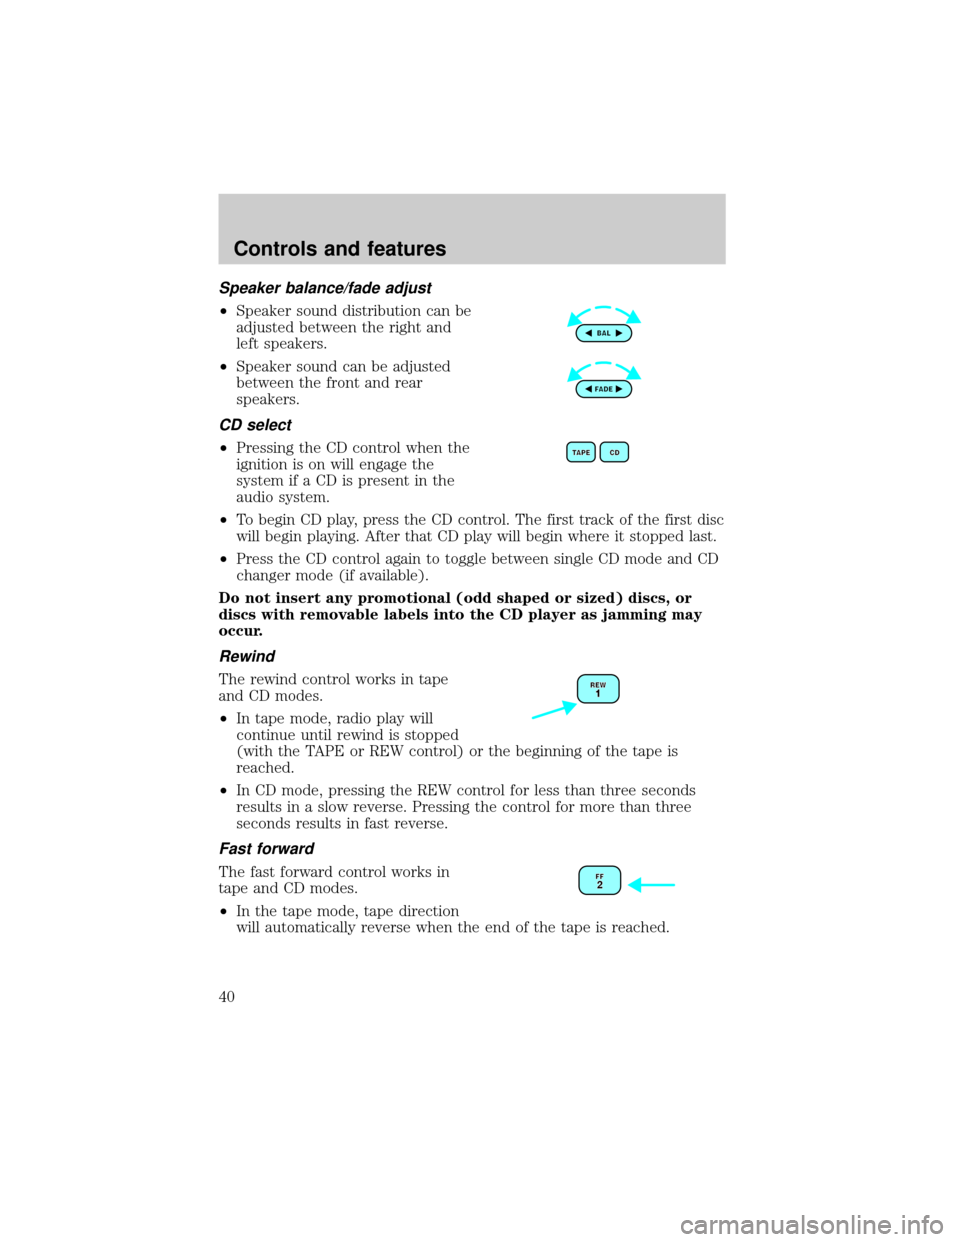
²Speaker sound distribution can be
adjusted between the right and
left speakers.
²Speaker sound can be adjusted
between the front and rear
speakers.
CD select
²Pressing the CD control when the
ignition is on will engage the
system if a CD is present in the
audio system.
²To begin CD play, press the CD control. The first track of the first disc
will begin playing. After that CD play will begin where it stopped last.
²Press the CD control again to toggle between single CD mode and CD
changer mode (if available).
Do not insert any promotional (odd shaped or sized) discs, or
discs with removable labels into the CD player as jamming may
occur.
Rewind
The rewind control works in tape
and CD modes.
²In tape mode, radio play will
continue until rewind is stopped
(with the TAPE or REW control) or the beginning of the tape is
reached.
²In CD mode, pressing the REW control for less than three seconds
results in a slow reverse. Pressing the control for more than three
seconds results in fast reverse.
Fast forward
The fast forward control works in
tape and CD modes.
²In the tape mode, tape direction
will automatically reverse when the end of the tape is reached.
Controls and features
40
Page 46 of 240
²Station overload.Weak signals are sometimes captured by stronger
signals when you pass a broadcast tower. A stronger signal may
temporarily overtake a weaker signal and play while the weak station
frequency is displayed.
The audio system automatically switches to single channel reception if it
will improve the reception of a station normally received in stereo.
Audio system warranties and service
Refer to the ªWarranty Guideº for audio system warranty information.
If service is necessary, see your dealer or a qualified technician.
POWER ADJUSTABLE FOOT PEDALS (IF EQUIPPED)
The accelerator and brake pedal
should only be adjusted when the
vehicle is stopped and the gearshift
lever is in the P(Park) position.
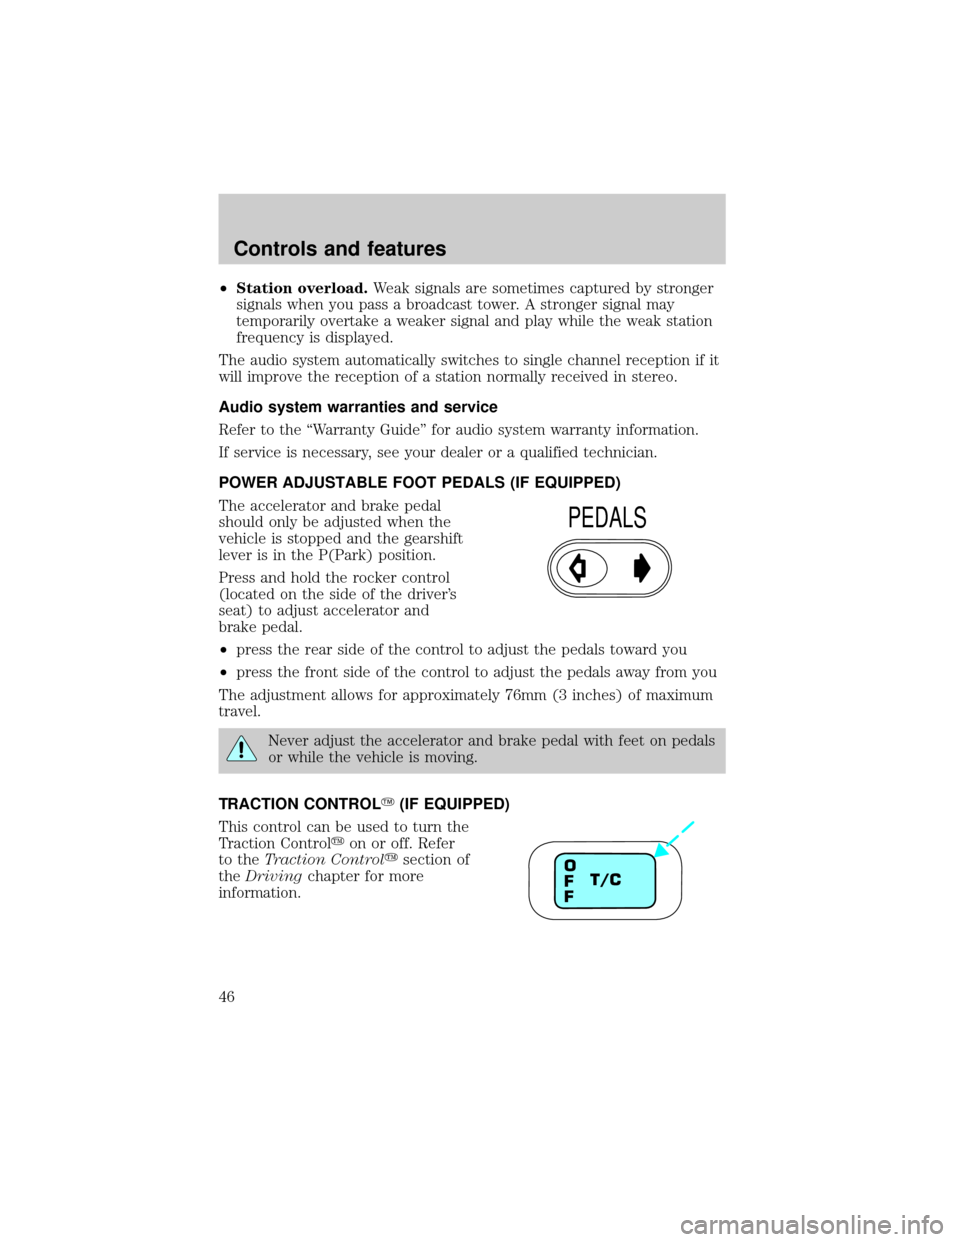
Press and hold the rocker control
(located on the side of the driver's
seat) to adjust accelerator and
brake pedal.
²press the rear side of the control to adjust the pedals toward you
²press the front side of the control to adjust the pedals away from you
The adjustment allows for approximately 76mm (3 inches) of maximum
travel.
Never adjust the accelerator and brake pedal with feet on pedals
or while the vehicle is moving.
TRACTION CONTROLY(IF EQUIPPED)
This control can be used to turn the
Traction Controlyon or off. Refer
to theTraction Controlysection of
theDrivingchapter for more
information.
PEDALS
T/C O
F
F
Controls and features
46
Page 47 of 240
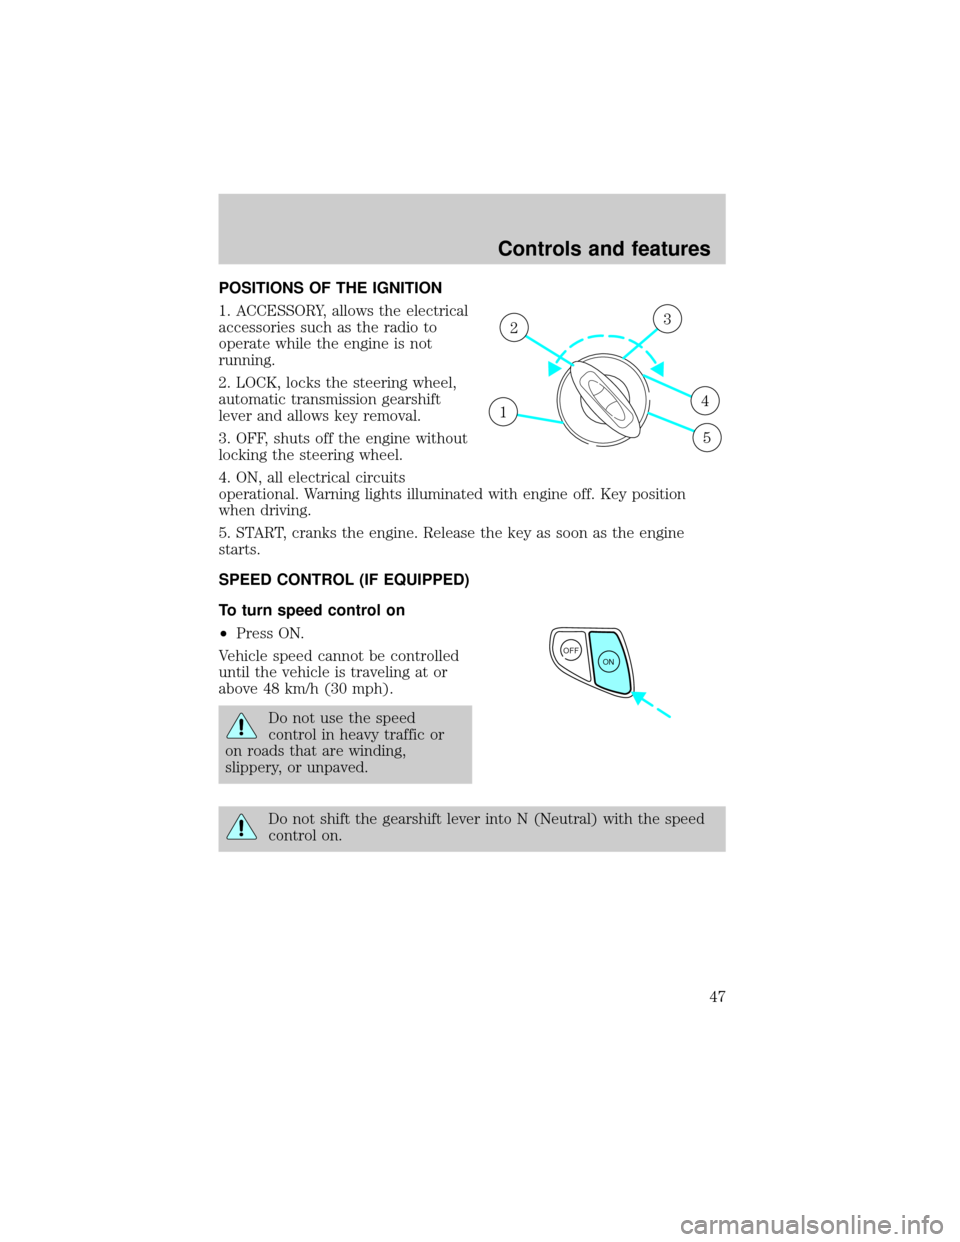
POSITIONS OF THE IGNITION
1. ACCESSORY, allows the electrical
accessories such as the radio to
operate while the engine is not
running.
2. LOCK, locks the steering wheel,
automatic transmission gearshift
lever and allows key removal.
3. OFF, shuts off the engine without
locking the steering wheel.
4. ON, all electrical circuits
operational. Warning lights illuminated with engine off. Key position
when driving.
5. START, cranks the engine. Release the key as soon as the engine
starts.
SPEED CONTROL (IF EQUIPPED)
To turn speed control on
²Press ON.
Vehicle speed cannot be controlled
until the vehicle is traveling at or
above 48 km/h (30 mph).
Do not use the speed
control in heavy traffic or
on roads that are winding,
slippery, or unpaved.
Do not shift the gearshift lever into N (Neutral) with the speed
control on.
1
23
4
5
OFF
ON
Controls and features
47
Page 50 of 240

To return to a previously set speed
²Press RES. For RES to operate,
the vehicle speed must be faster
than 48 km/h (30 mph).
Indicator light
This light comes on when either the
SET or RES controls are pressed. It
turns off when the speed control
OFF control is pressed, the brake is applied or the ignition is turned to
the OFF position.
TURN SIGNAL CONTROL
²Push down to activate the left
turn signal.
²Push up to activate the right turn
signal.
WINDSHIELD WIPER/WASHER CONTROLS
Rotate the windshield wiper control
to the desired interval, low or high
speed position.
The bars of varying length are for
intermittent wipers. When in this
position rotate the control upward
for fast intervals and downward for
slow intervals.
Push the control on the end of the
stalk to activate washer. Push and
hold for a longer wash cycle. The
washer will automatically shut off
after ten seconds of continuous use.
CRUISE
Controls and features
50
Page 55 of 240
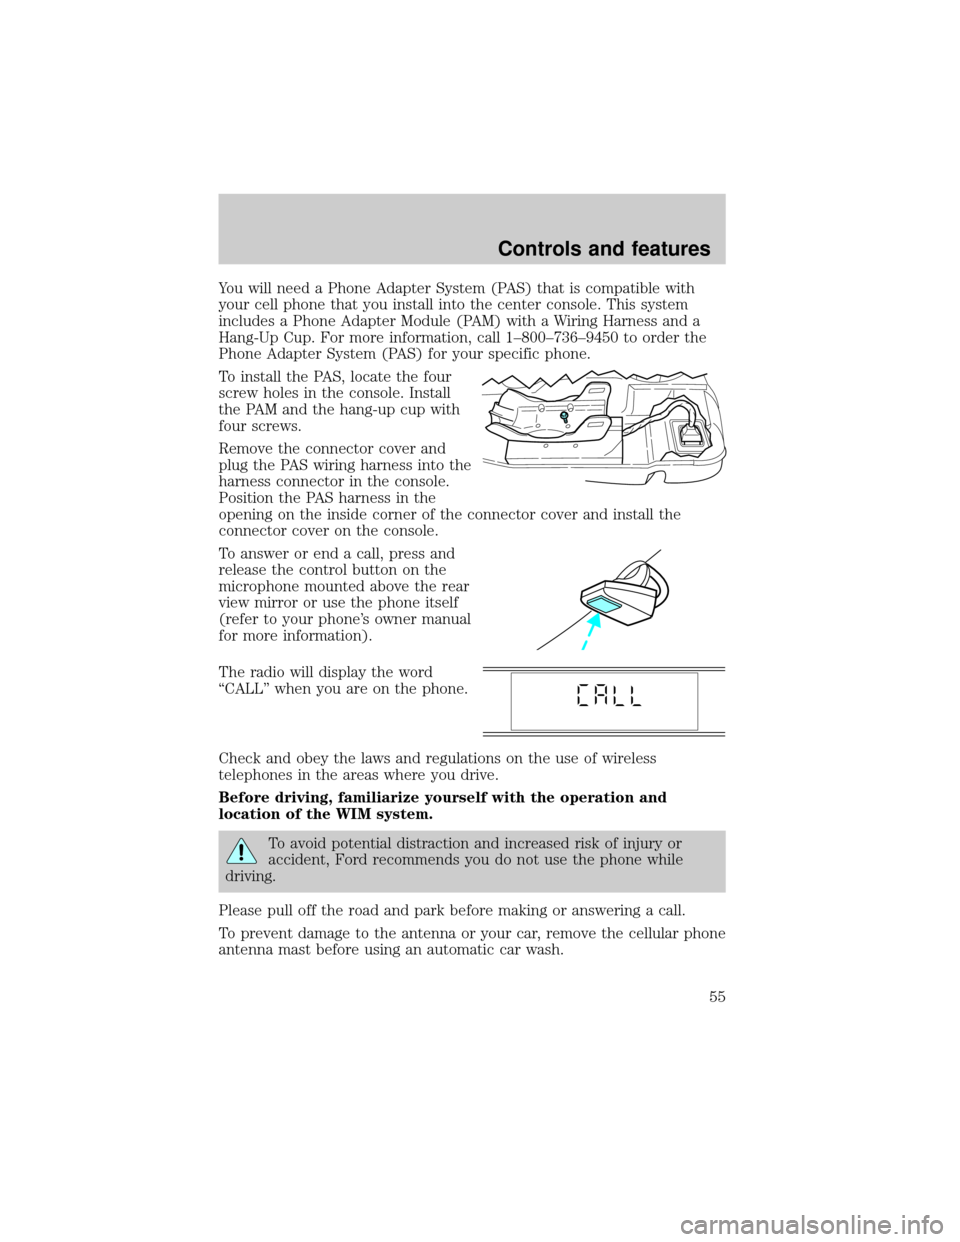
You will need a Phone Adapter System (PAS) that is compatible with
your cell phone that you install into the center console. This system
includes a Phone Adapter Module (PAM) with a Wiring Harness and a
Hang-Up Cup. For more information, call 1±800±736±9450 to order the
Phone Adapter System (PAS) for your specific phone.
To install the PAS, locate the four
screw holes in the console. Install
the PAM and the hang-up cup with
four screws.
Remove the connector cover and
plug the PAS wiring harness into the
harness connector in the console.
Position the PAS harness in the
opening on the inside corner of the connector cover and install the
connector cover on the console.
To answer or end a call, press and
release the control button on the
microphone mounted above the rear
view mirror or use the phone itself
(refer to your phone's owner manual
for more information).
The radio will display the word
ªCALLº when you are on the phone.
Check and obey the laws and regulations on the use of wireless
telephones in the areas where you drive.
Before driving, familiarize yourself with the operation and
location of the WIM system.
To avoid potential distraction and increased risk of injury or
accident, Ford recommends you do not use the phone while
driving.
Please pull off the road and park before making or answering a call.
To prevent damage to the antenna or your car, remove the cellular phone
antenna mast before using an automatic car wash.
Controls and features
55
Page 56 of 240
POWER WINDOWS
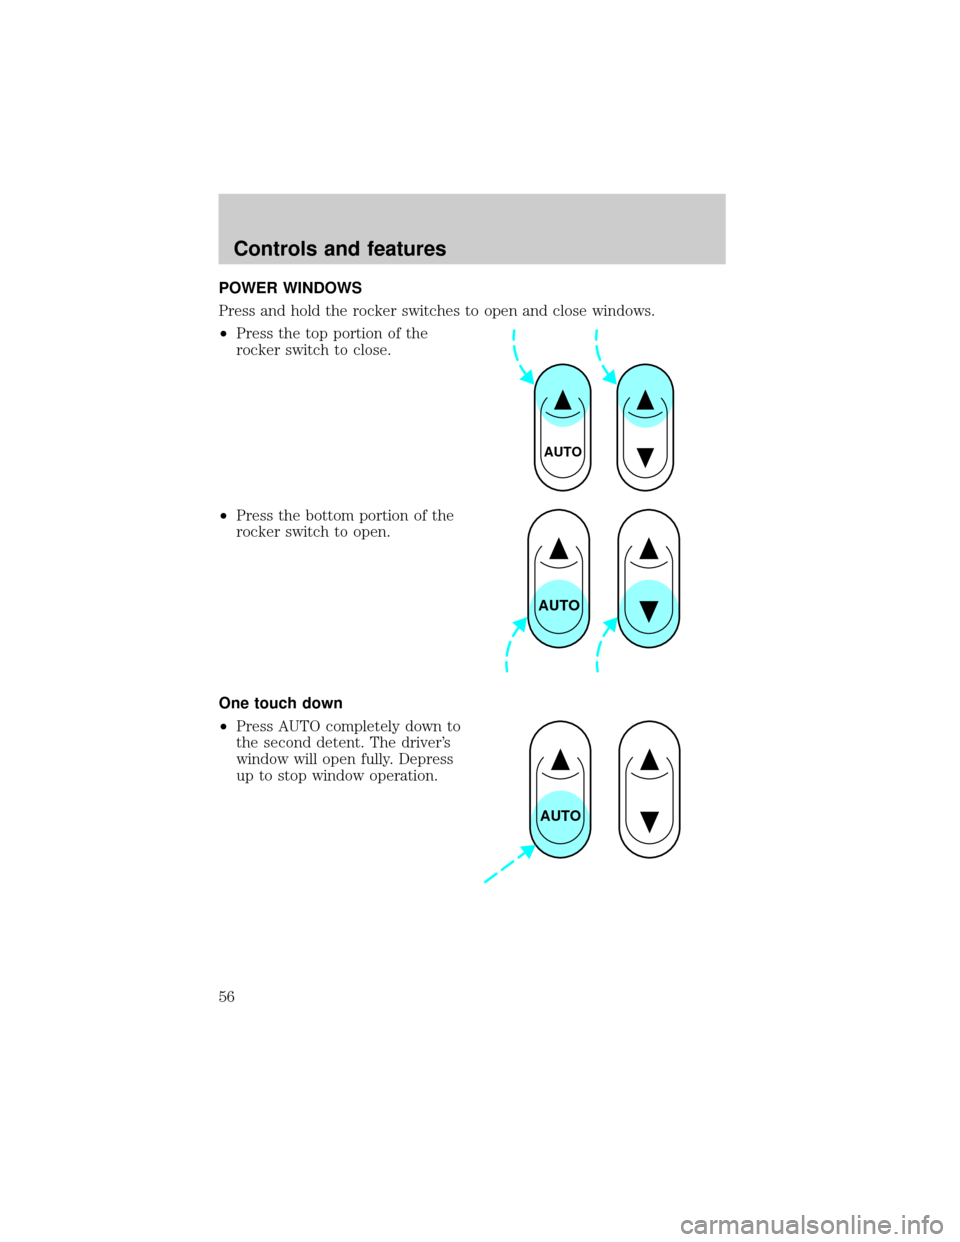
Press and hold the rocker switches to open and close windows.
²Press the top portion of the
rocker switch to close.
²Press the bottom portion of the
rocker switch to open.
One touch down
²Press AUTO completely down to
the second detent. The driver's
window will open fully. Depress
up to stop window operation.
AUTO
AUTO
AUTO
Controls and features
56
Page 57 of 240

Window lock
The window lock feature allows only
the driver to operate the power
windows.
To lock out all the window controls
except for the driver's press the left
side of the control. Press the right side to restore the window controls.
Accessory delay (if equipped)
With accessory delay, the window switches may be used for up to ten
minutes after the ignition switch is turned to the OFF position or until
any door is opened.
POWER DOOR LOCKS (IF EQUIPPED)
Press control to unlock or lock all
doors.
CHILDPROOF DOOR LOCKS
When these locks are set, the rear
doors cannot be opened from the
inside. The rear doors can be
opened from the outside when the
doors are unlocked.
The childproof locks are located on
rear edge of each rear door and
must be set separately for each
door. Setting the lock for one door
will not automatically set the lock
for both doors.
Move lock control up to engage the childproof lock. Move control down
to disengage childproof locks.
Controls and features
57
Page 58 of 240

POWER SIDE VIEW MIRRORS
To adjust your mirrors:
1. Select
to adjust the left
mirror or
to adjust the right
mirror.
2. Move the control in the direction
you wish to tilt the mirror.
3. Return to the center position to disable adjust function.
Heated outside mirrors (if equipped)
Both mirrors are heated
automatically to remove ice, mist
and fog when the rear window
defrost is activated.
Do not remove ice from the mirrors
with a scraper or attempt to
readjust the mirror glass if it is
frozen in place. These actions could
cause damage to the glass and
mirrors.
Controls and features
58
Page 65 of 240
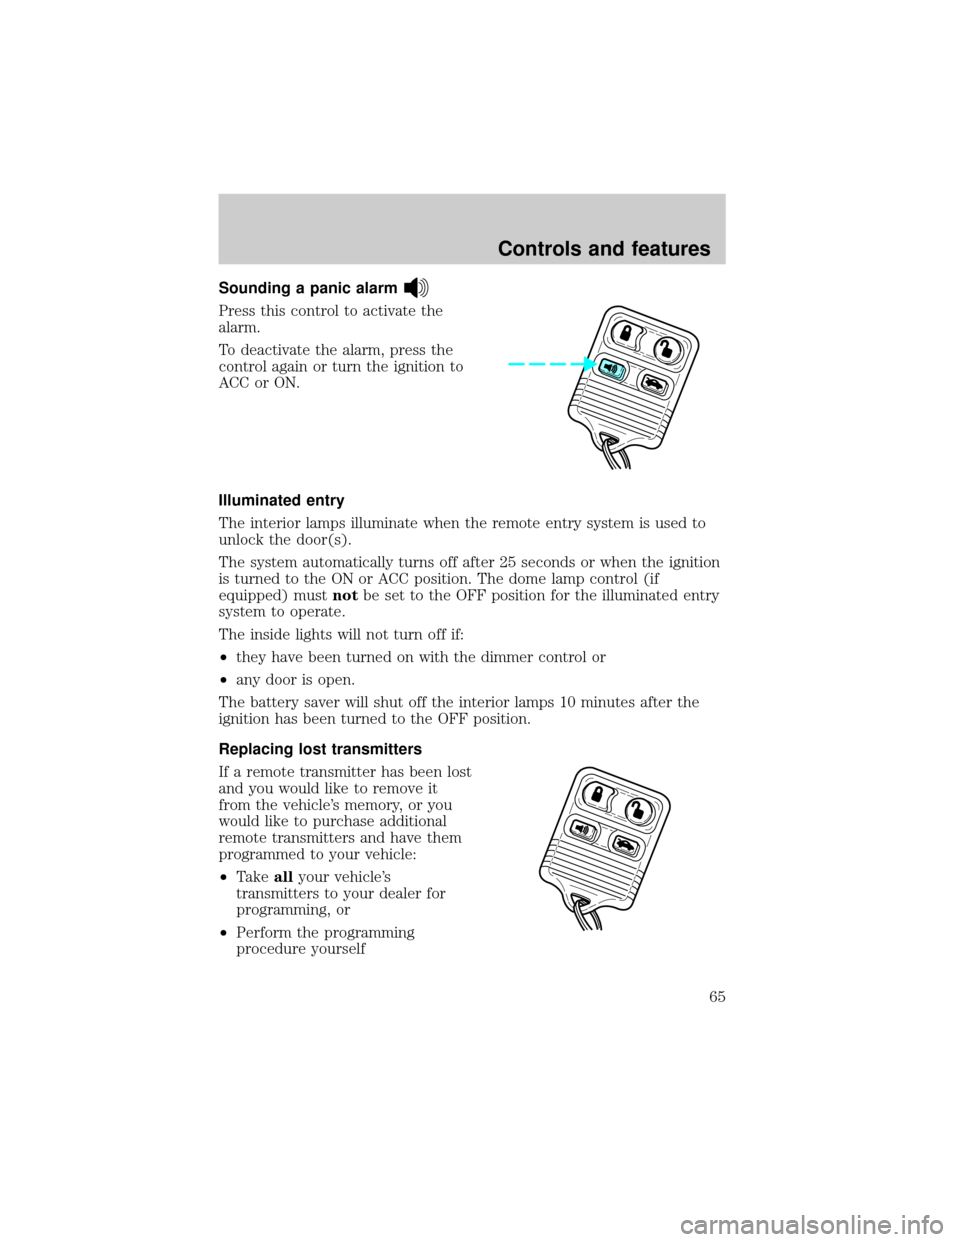
Sounding a panic alarm
Press this control to activate the
alarm.
To deactivate the alarm, press the
control again or turn the ignition to
ACC or ON.
Illuminated entry
The interior lamps illuminate when the remote entry system is used to
unlock the door(s).
The system automatically turns off after 25 seconds or when the ignition
is turned to the ON or ACC position. The dome lamp control (if
equipped) mustnotbe set to the OFF position for the illuminated entry
system to operate.
The inside lights will not turn off if:
²they have been turned on with the dimmer control or
²any door is open.
The battery saver will shut off the interior lamps 10 minutes after the
ignition has been turned to the OFF position.
Replacing lost transmitters
If a remote transmitter has been lost
and you would like to remove it
from the vehicle's memory, or you
would like to purchase additional
remote transmitters and have them
programmed to your vehicle:
²Takeallyour vehicle's
transmitters to your dealer for
programming, or
²Perform the programming
procedure yourself
Controls and features
65