maintenance Mercury Sable 2001 Owner's Manuals
[x] Cancel search | Manufacturer: MERCURY, Model Year: 2001, Model line: Sable, Model: Mercury Sable 2001Pages: 240, PDF Size: 2.22 MB
Page 1 of 240
Before driving
Introduction 2
Instrumentation 6
Controls and features 17
Seating and safety restraints 77
Starting and driving
Starting 113
Driving 118
Roadside emergencies 135
Servicing
Maintenance and care 153
Capacities and specifications 210
Customer assistance 217
Reporting safety defects 230
Index 231
All rights reserved. Reproduction by any means, electronic or mechanical including
photocopying, recording or by any information storage and retrieval system or translation
in whole or part is not permitted without written authorization from Ford Motor Company.
Ford may change the contents without notice and without incurring obligation.
Copyright 2000 Ford Motor Company
Contents
1
Page 8 of 240
WARNING LIGHTS AND CHIMES
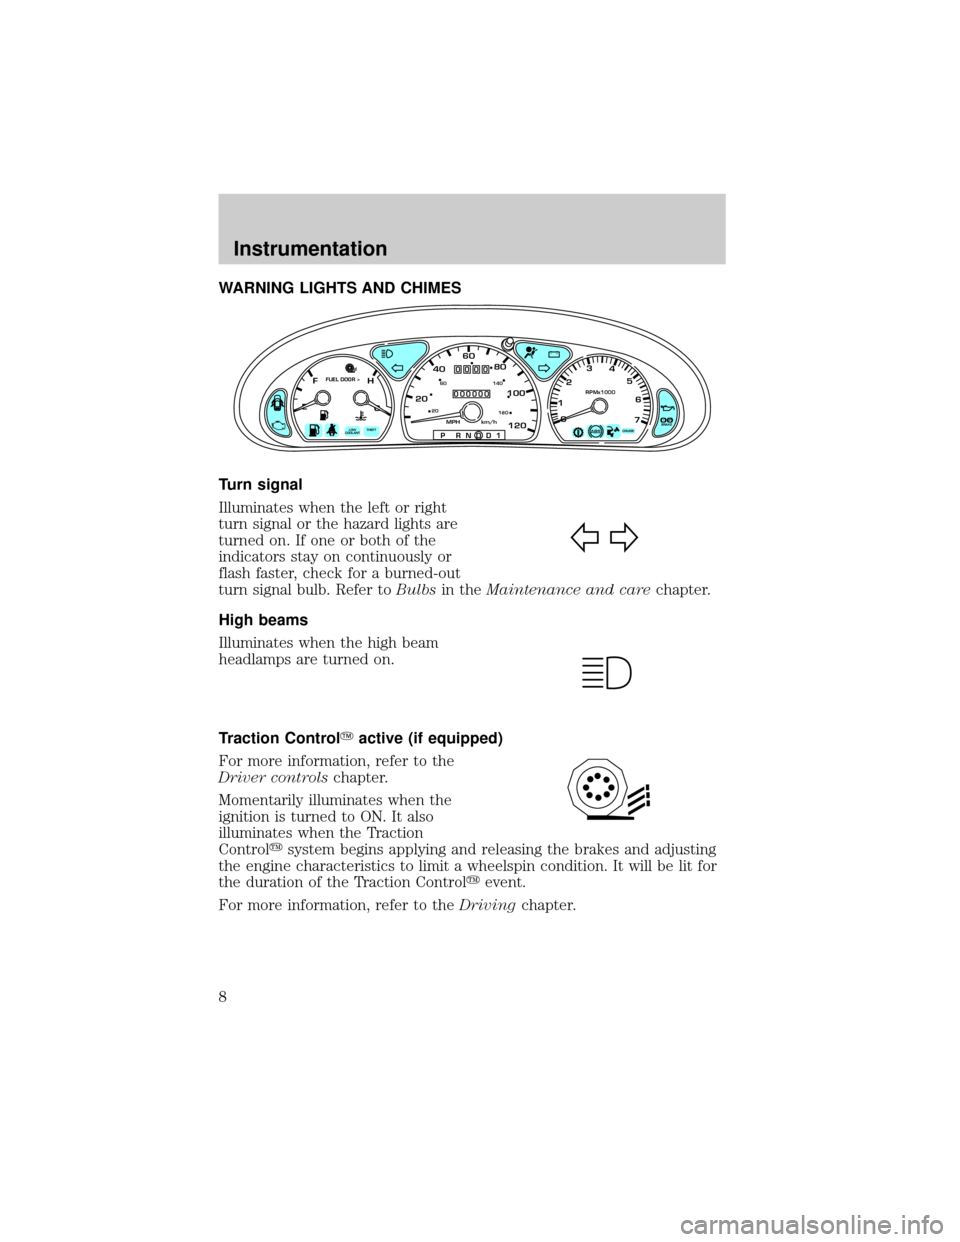
Turn signal
Illuminates when the left or right
turn signal or the hazard lights are
turned on. If one or both of the
indicators stay on continuously or
flash faster, check for a burned-out
turn signal bulb. Refer toBulbsin theMaintenance and carechapter.
High beams
Illuminates when the high beam
headlamps are turned on.
Traction ControlYactive (if equipped)
For more information, refer to the
Driver controlschapter.
Momentarily illuminates when the
ignition is turned to ON. It also
illuminates when the Traction
Controlysystem begins applying and releasing the brakes and adjusting
the engine characteristics to limit a wheelspin condition. It will be lit for
the duration of the Traction Controlyevent.
For more information, refer to theDrivingchapter.
P!
BRAKE
+ –
CRUISE
RPMx1000
ABS0 123
4
5
6
7
204060
80
100
1202060
140
180
P R N D D 1MPH km/h
000000
0000
EFC H
FUEL DOOR >
THEFT LOW
COOLANT
Instrumentation
8
Page 9 of 240
Safety belt
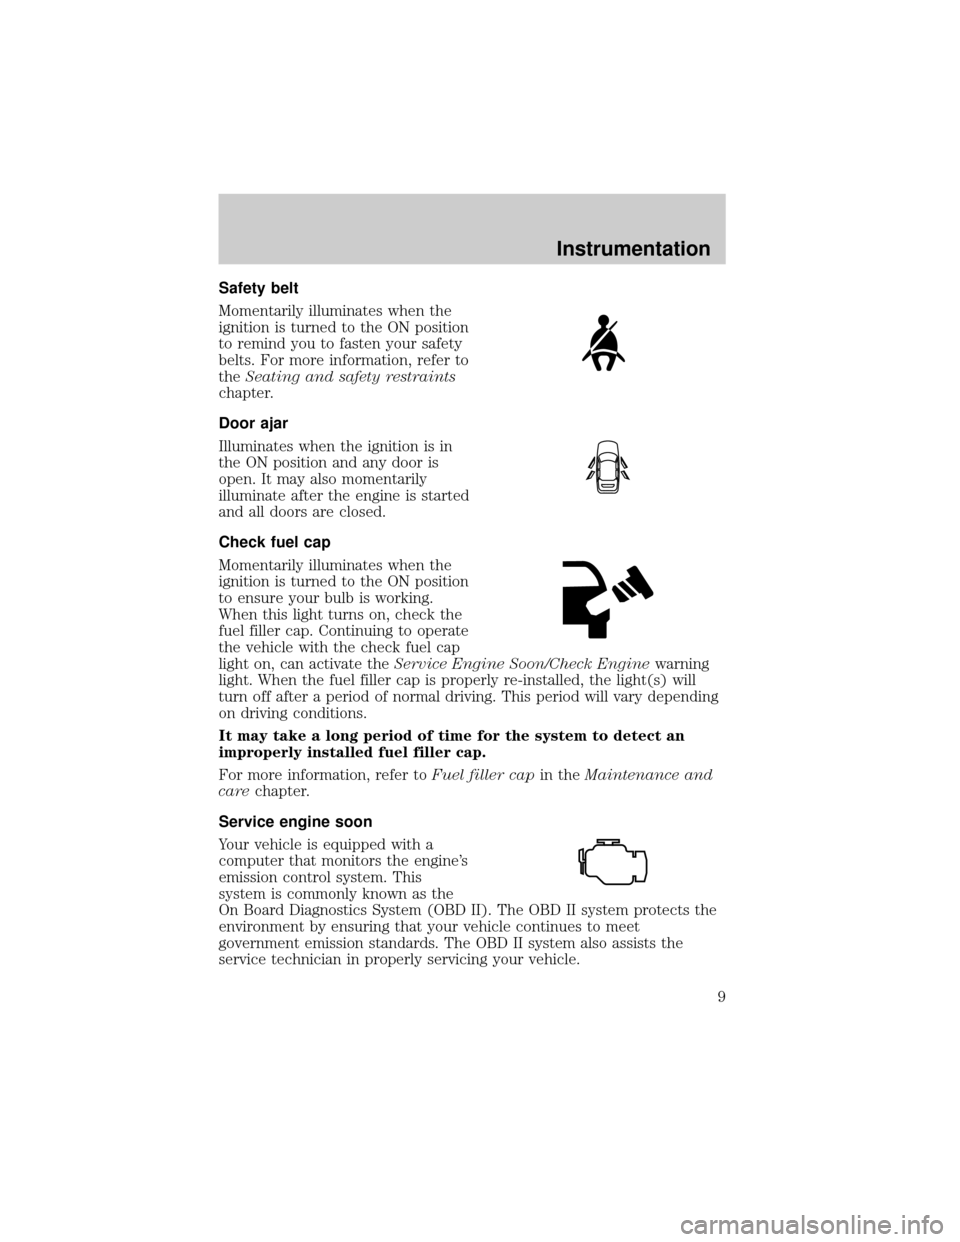
Momentarily illuminates when the
ignition is turned to the ON position
to remind you to fasten your safety
belts. For more information, refer to
theSeating and safety restraints
chapter.
Door ajar
Illuminates when the ignition is in
the ON position and any door is
open. It may also momentarily
illuminate after the engine is started
and all doors are closed.
Check fuel cap
Momentarily illuminates when the
ignition is turned to the ON position
to ensure your bulb is working.
When this light turns on, check the
fuel filler cap. Continuing to operate
the vehicle with the check fuel cap
light on, can activate theService Engine Soon/Check Enginewarning
light. When the fuel filler cap is properly re-installed, the light(s) will
turn off after a period of normal driving. This period will vary depending
on driving conditions.
It may take a long period of time for the system to detect an
improperly installed fuel filler cap.
For more information, refer toFuel filler capin theMaintenance and
carechapter.
Service engine soon
Your vehicle is equipped with a
computer that monitors the engine's
emission control system. This
system is commonly known as the
On Board Diagnostics System (OBD II). The OBD II system protects the
environment by ensuring that your vehicle continues to meet
government emission standards. The OBD II system also assists the
service technician in properly servicing your vehicle.
Instrumentation
9
Page 11 of 240

Low fuel
Illuminates as an early reminder of a
low fuel condition indicated on the
fuel gauge (refer toFuel gaugein
this chapter for more information).
When refueling, after the light
comes on, the amount of fuel that is added will be less than the
advertised capacity since there is fuel still in the tank. The ignition must
be in the ON position for this lamp to illuminate. The lamp will also
illuminate for several seconds after the ignition is turned to the ON
position regardless of the fuel level to ensure your bulb is working.
Low coolant (if equipped)
This lamp will illuminate when the
engine coolant inside the reservoir is
low. This lamp will come on when
the ignition is first turned on, but
then should turn off. If the lamp
stays on, you should check the
coolant level inside the reservoir. For instructions on adding coolant, see
Engine coolantin theMaintenance and carechapter.
Anti-theft system (if equipped)
Refer toPerimeter alarm system
(if equipped)andSecuriLocky
passive anti-theft systemin the
Controls and featureschapter.
Anti-lock brake system (ABS) (If equipped)
Momentarily illuminates when the
ignition is turned to the ON position
to ensure the circuit is functional. If
the light does not illuminate
momentarily at start up, remains on
or continues to flash, the ABS needs to be serviced. With the ABS light
on, the anti-lock brake system is disabled and normal braking is still
effective unless the brake warning light also remains illuminated with the
parking brake released.
LOW
COOLANT
THEFT
ABS
Instrumentation
11
Page 12 of 240
Check transaxle
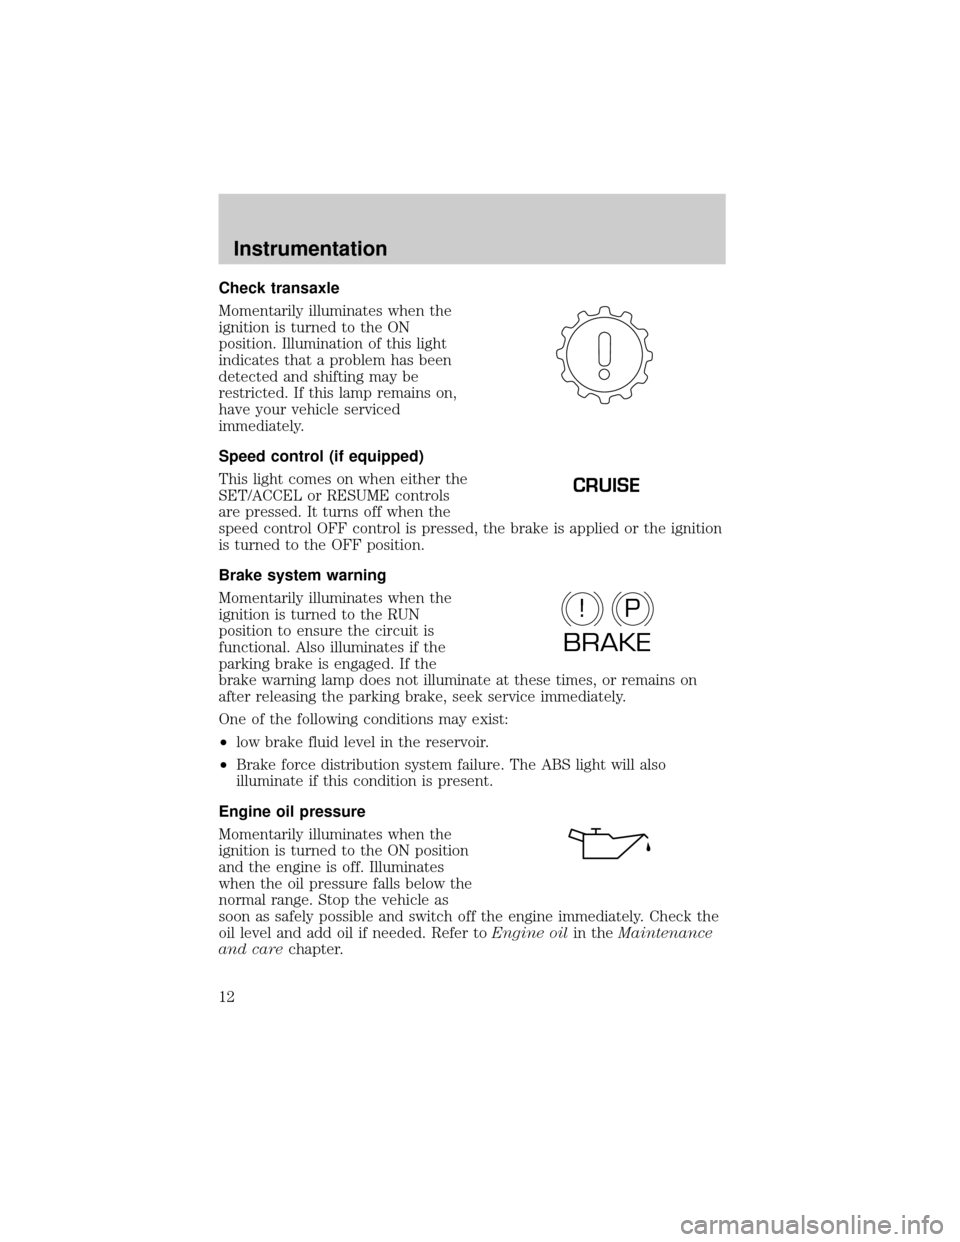
Momentarily illuminates when the
ignition is turned to the ON
position. Illumination of this light
indicates that a problem has been
detected and shifting may be
restricted. If this lamp remains on,
have your vehicle serviced
immediately.
Speed control (if equipped)
This light comes on when either the
SET/ACCEL or RESUME controls
are pressed. It turns off when the
speed control OFF control is pressed, the brake is applied or the ignition
is turned to the OFF position.
Brake system warning
Momentarily illuminates when the
ignition is turned to the RUN
position to ensure the circuit is
functional. Also illuminates if the
parking brake is engaged. If the
brake warning lamp does not illuminate at these times, or remains on
after releasing the parking brake, seek service immediately.
One of the following conditions may exist:
²low brake fluid level in the reservoir.
²Brake force distribution system failure. The ABS light will also
illuminate if this condition is present.
Engine oil pressure
Momentarily illuminates when the
ignition is turned to the ON position
and the engine is off. Illuminates
when the oil pressure falls below the
normal range. Stop the vehicle as
soon as safely possible and switch off the engine immediately. Check the
oil level and add oil if needed. Refer toEngine oilin theMaintenance
and carechapter.
CRUISE
P!
BRAKE
Instrumentation
12
Page 15 of 240
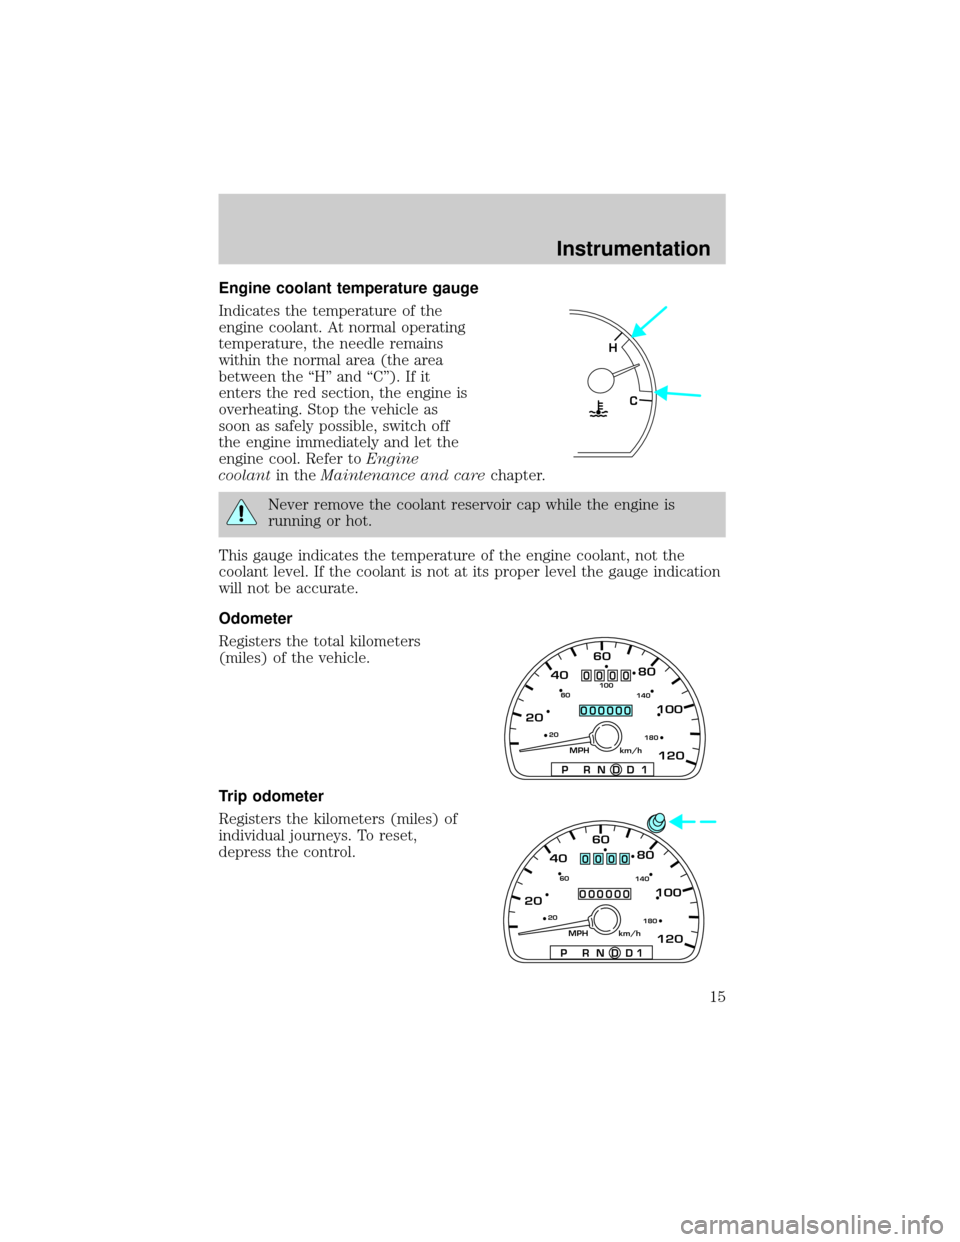
Engine coolant temperature gauge
Indicates the temperature of the
engine coolant. At normal operating
temperature, the needle remains
within the normal area (the area
between the ªHº and ªCº). If it
enters the red section, the engine is
overheating. Stop the vehicle as
soon as safely possible, switch off
the engine immediately and let the
engine cool. Refer toEngine
coolantin theMaintenance and carechapter.
Never remove the coolant reservoir cap while the engine is
running or hot.
This gauge indicates the temperature of the engine coolant, not the
coolant level. If the coolant is not at its proper level the gauge indication
will not be accurate.
Odometer
Registers the total kilometers
(miles) of the vehicle.
Trip odometer
Registers the kilometers (miles) of
individual journeys. To reset,
depress the control.
C H
204060
80
100
1202060
140 100
180
P R N D D 1
MPH km/h
000000
0000
204060
80
100
1202060
140
180
P R N D D 1
MPH km/h
000000
0 000
Instrumentation
15
Page 82 of 240

How does the personal safety system work?
The Personal Safety System uses a collection of sensors to gather
information about the driver's seat position, driver and front outboard
passenger's safety belt usage and accident severity. Then, dual-stage
inflating air bags are combined with safety belt pretensioners and energy
management retractors to help provide enhanced occupant protection in
frontal crashes.
The driver's seat position sensor determines if the seat is fore or aft of a
reference position. Similarly, the safety belt usage sensors determine if
the driver and front outboard passenger safety belts are fastened. These
sensors provide the ability to tailor the air bag deployment based upon
how close the driver's seat is to the steering wheel and whether or not
the safety belts are fastened.
The dual-stage air bags offer the ability to tailor the air bag inflation with
two energy levels. A lower, less forceful energy level is provided for more
common, moderate-severity impacts. A higher energy level is provided
for the most severe impacts. Whether or not the air bag deploys at all
can also be different for the driver versus the passenger based upon
driver's seat position and safety belt usage allowing further tailoring of
the system.
Determining if the personal safety system is operational
The Personal Safety System uses a warning indicator light in the
instrument cluster or a back-up tone to indicate the condition of the
system. Refer to theRestraints Warning Indicatorsection in the
Instrumentationchapter. Routine maintenance of the Personal Safety
System is not required.
The RCM (restraints control module) monitors its own internal circuits
and the circuits for the air bag supplemental restraints, crash sensor(s),
safety belt pretensioners, front safety belt usage sensors and driver's seat
position sensor. In addition, the RCM also monitors the restraints
warning indicator light in the instrument cluster. A difficulty with the
system is indicated by one or more of the following:
²The indicator light will either
flash or stay lit.
²The indicator light will not
illuminate immediately after
ignition is turned on.
Seating and safety restraints
82
Page 85 of 240
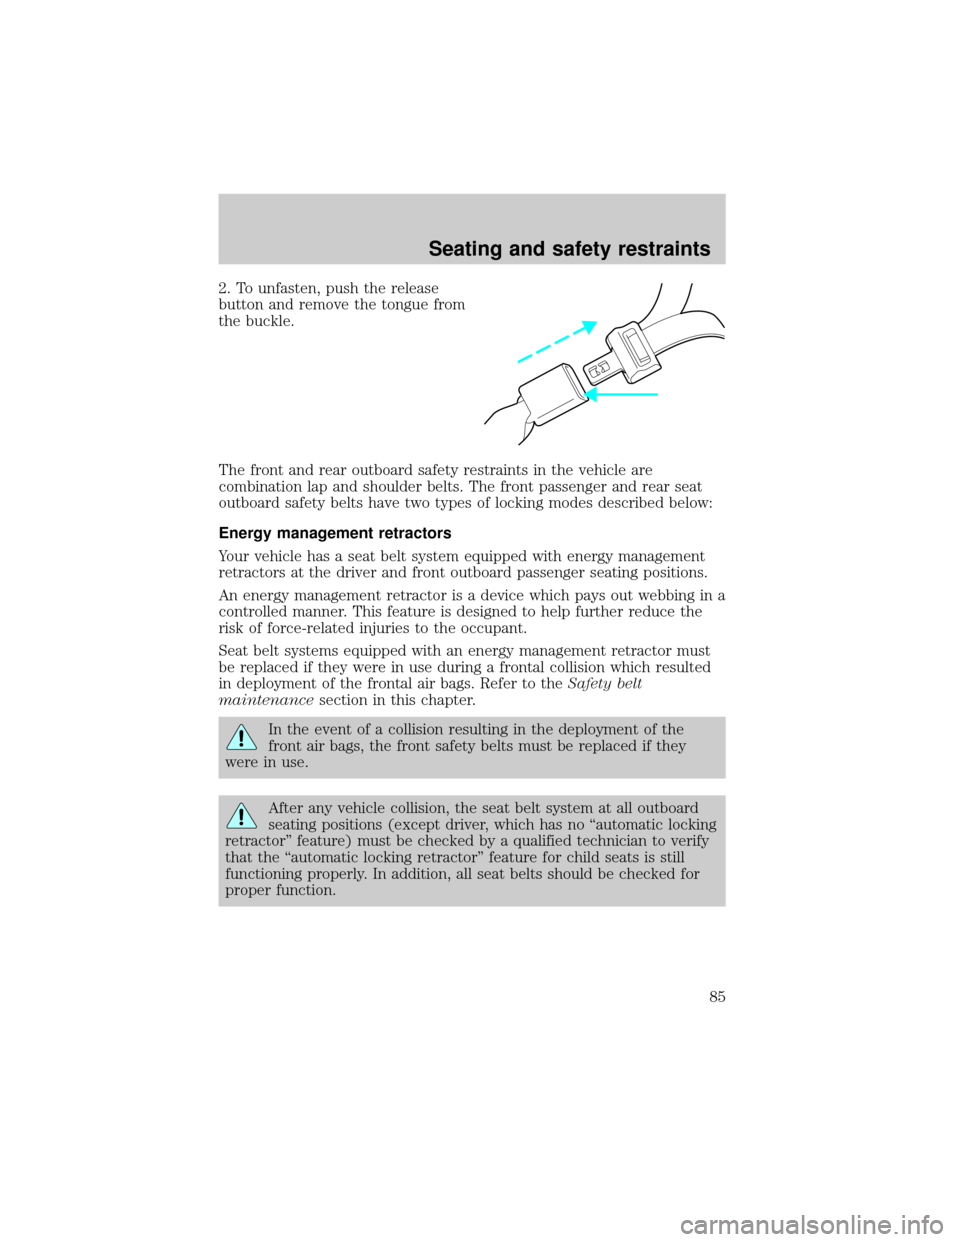
2. To unfasten, push the release
button and remove the tongue from
the buckle.
The front and rear outboard safety restraints in the vehicle are
combination lap and shoulder belts. The front passenger and rear seat
outboard safety belts have two types of locking modes described below:
Energy management retractors
Your vehicle has a seat belt system equipped with energy management
retractors at the driver and front outboard passenger seating positions.
An energy management retractor is a device which pays out webbing in a
controlled manner. This feature is designed to help further reduce the
risk of force-related injuries to the occupant.
Seat belt systems equipped with an energy management retractor must
be replaced if they were in use during a frontal collision which resulted
in deployment of the frontal air bags. Refer to theSafety belt
maintenancesection in this chapter.
In the event of a collision resulting in the deployment of the
front air bags, the front safety belts must be replaced if they
were in use.
After any vehicle collision, the seat belt system at all outboard
seating positions (except driver, which has no ªautomatic locking
retractorº feature) must be checked by a qualified technician to verify
that the ªautomatic locking retractorº feature for child seats is still
functioning properly. In addition, all seat belts should be checked for
proper function.
Seating and safety restraints
85
Page 88 of 240
After any vehicle collision, the front passenger outboard seat belt
system must be checked by a qualified technician to verify that
the ªautomatic locking retractorº feature for child seats is still
functioning properly. In addition, all seat belts should be checked for
proper function.
BELT AND RETRACTOR ASSEMBLY MUST BE REPLACED if
the seat belt assembly ªautomatic locking retractorº feature or
any other seat belt function is not operating properly when checked
according to the procedures in Workshop Manual.
Failure to replace the Belt and Retractor assembly could
increase the risk of injury in collisions.
Safety belt pretensioner
Your vehicle is equipped with safety belt pretensioners at the driver and
front outboard passenger seating positions.
The safety belt pretensioners are designed to activate only when the
safety belts are fastened during certain frontal or near-frontal collisions
with sufficient longitudinal deceleration. A safety belt pretensioner is a
device which tightens the webbing of the lap and shoulder belts in such
a way that they fit more snugly against the body.
The driver and front outboard passenger safety belt system (including
retractors, buckles and height adjusters) must be replaced if the vehicle is
involved in a collision that results in the activation of the safety belt
pretensioners. Refer to theSafety belt maintenancesection in this chapter.
Failure to replace the safety belt assembly under the above
conditions could result in severe personal injuries in the event of
a collision.
Safety belt usage sensors
The driver and front outboard passenger safety belt buckles are
equipped with sensors that detect if the safety belts are fastened. The
sensors provide information to the Personal Safety System which can
then adapt the air bag deployment or safety belt pretensioner activation
based upon safety belt usage.
Seating and safety restraints
88
Page 95 of 240
²the parklamps/headlamps are in OFF position (If vehicle is equipped
with Autolamps, this will not affect the procedure.)
To reduce the risk of injury, do not deactivate/activate the Belt
Minder feature while driving the vehicle.
1. Turn the ignition switch to the RUN (or ON) position. (DO NOT
START THE ENGINE)
2. Wait until the safety belt warning light turns off. (Approximately 1±2
minutes)
²Steps 3±5 must be completed within 60 seconds or the procedure will
have to be repeated.
3. Buckle then unbuckle the safety belt three times, ending with the
safety belt unbuckled. This can be done before or during Belt Minder
warning activation.
4. Turn on the parklamps/headlamps, turn off the parklamps/headlamps.
5. Buckle then unbuckle the safety belt three times, ending with the
safety belt unbuckled.
²After step 5 the safety belt warning light will be turned on for three
seconds.
6. Within seven seconds of the safety belt warning light turning off,
buckle then unbuckle the safety belt.
²This will disable Belt Minder if it is currently enabled, or enable Belt
Minder if it is currently disabled.
7. Confirmation of disabling Belt Minder is provided by flashing the
safety belt warning light four times per second for three seconds.
8. Confirmation of enabling Belt Minder is provided by flashing the safety
belt warning light four times per second for three seconds, followed by
three seconds with the safety belt warning light off, then followed by
flashing the safety belt warning light four times per second for three
seconds again.
9. After receiving confirmation, the deactivation/activation procedure is
complete.
Safety belt maintenance
Inspect the safety belt systems periodically to make sure they work
properly and are not damaged. Inspect the safety belts to make sure
Seating and safety restraints
95