Mercury Villager 1999 s Manual Online
Manufacturer: MERCURY, Model Year: 1999, Model line: Villager, Model: Mercury Villager 1999Pages: 264, PDF Size: 2.19 MB
Page 81 of 264
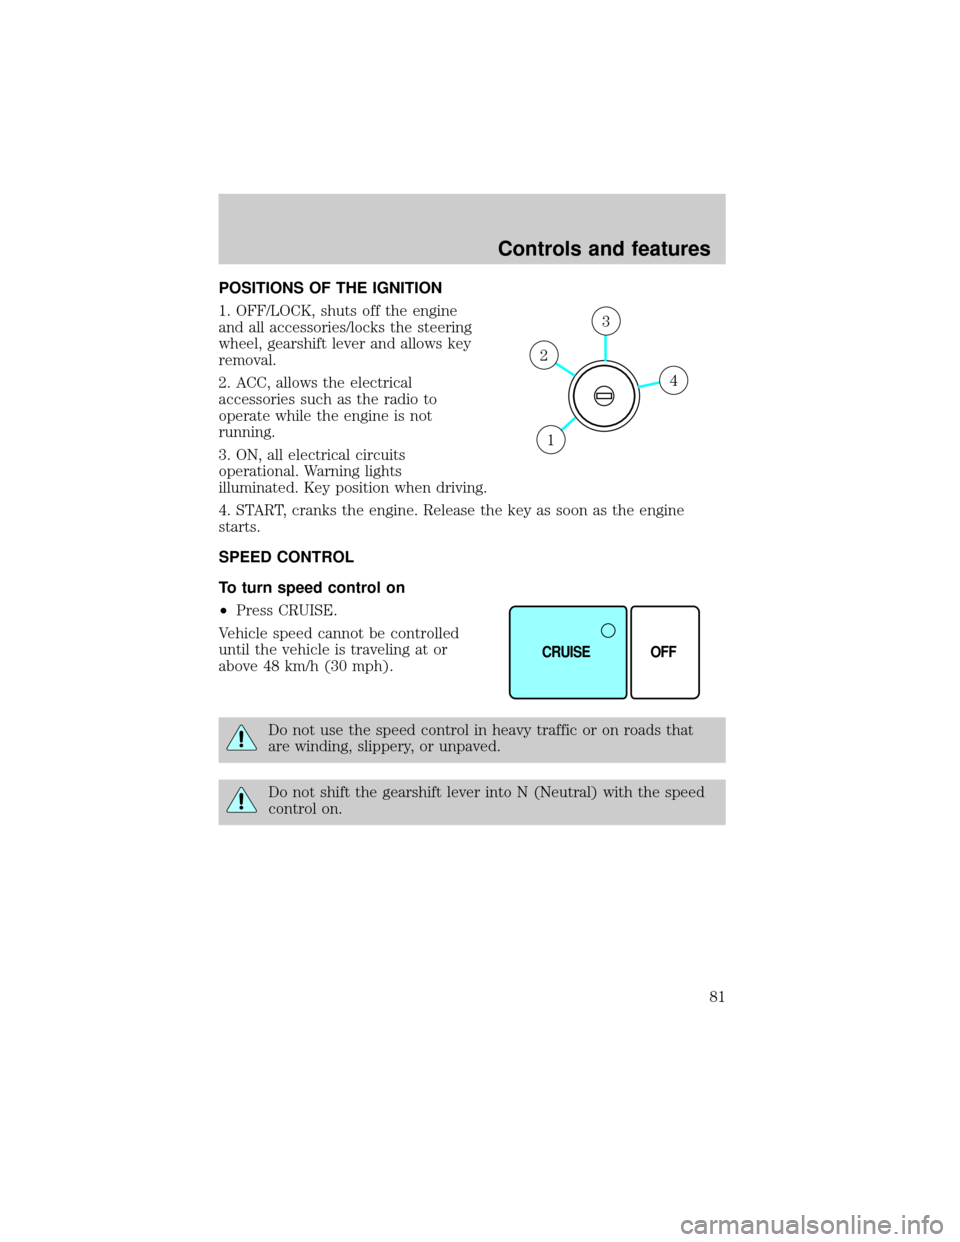
POSITIONS OF THE IGNITION
1. OFF/LOCK, shuts off the engine
and all accessories/locks the steering
wheel, gearshift lever and allows key
removal.
2. ACC, allows the electrical
accessories such as the radio to
operate while the engine is not
running.
3. ON, all electrical circuits
operational. Warning lights
illuminated. Key position when driving.
4. START, cranks the engine. Release the key as soon as the engine
starts.
SPEED CONTROL
To turn speed control on
²Press CRUISE.
Vehicle speed cannot be controlled
until the vehicle is traveling at or
above 48 km/h (30 mph).
Do not use the speed control in heavy traffic or on roads that
are winding, slippery, or unpaved.
Do not shift the gearshift lever into N (Neutral) with the speed
control on.
4
3
2
1
CRUISE OFF
Controls and features
81
Page 82 of 264

To turn speed control off
²Press OFF.
Once speed control is switched off, the previously programmed set speed
will be erased.
To set a speed
²Press COAST/SET. For speed
control to operate, the speed
control must be ON and the
vehicle speed must be greater
than 48 km/h (30 mph).
If you drive up or down a steep hill, your vehicle speed may vary
momentarily slower or faster than the set speed. This is normal.
Speed control cannot reduce the vehicle speed if it increases above the
set speed on a downhill. If your vehicle speed is faster than the set
speed while driving on a downhill, you may want to shift to the next
lower gear or apply the brakes to reduce your vehicle speed.
If your vehicle slows down more than 16 km/h (10 mph) below your set
speed on an uphill, your speed control will disengage. This is normal.
Pressing RES/ACCEL will re-engage it.
Do not use the speed control in heavy traffic or on roads that
are winding, slippery, or unpaved.
CRUISE OFF
CANCELRES
ACCEL
COAST
SET
Controls and features
82
Page 83 of 264

To set a higher set speed
²Press and hold RES/ACCEL.
Release the control when the
desired vehicle speed is reached
or
²Press and release RES/ACCEL.
Each press will increase the set
speed by 1.6 km/h (1 mph) or
²Accelerate with your accelerator
pedal. When the desired vehicle
speed is reached, press and
release COAST/SET.
You can accelerate with the accelerator pedal at any time during speed
control usage. Releasing the accelerator pedal will return your vehicle to
the previously programmed set speed.
To set a lower set speed
²Press and hold COAST/SET.
Release the control when the
desired speed is reached or
²Press and release COAST/SET.
Each press will decrease the set
speed by 1.6 km/h (1 mph) or
²Depress the brake pedal. When
the desired vehicle speed is
reached, press COAST/SET.
CANCELRES
ACCEL
COAST
SET
CANCELRES
ACCEL
COAST
SET
Controls and features
83
Page 84 of 264

To disengage speed control
²Depress the brake pedal.
²Press CANCEL.
Disengaging the speed control will
not erase the previously
programmed set speed.
²Press OFF.
Pressing OFF will erase the
previously programmed set speed.
CANCELRES
ACCEL
COAST
SET
CRUISE OFF
Controls and features
84
Page 85 of 264
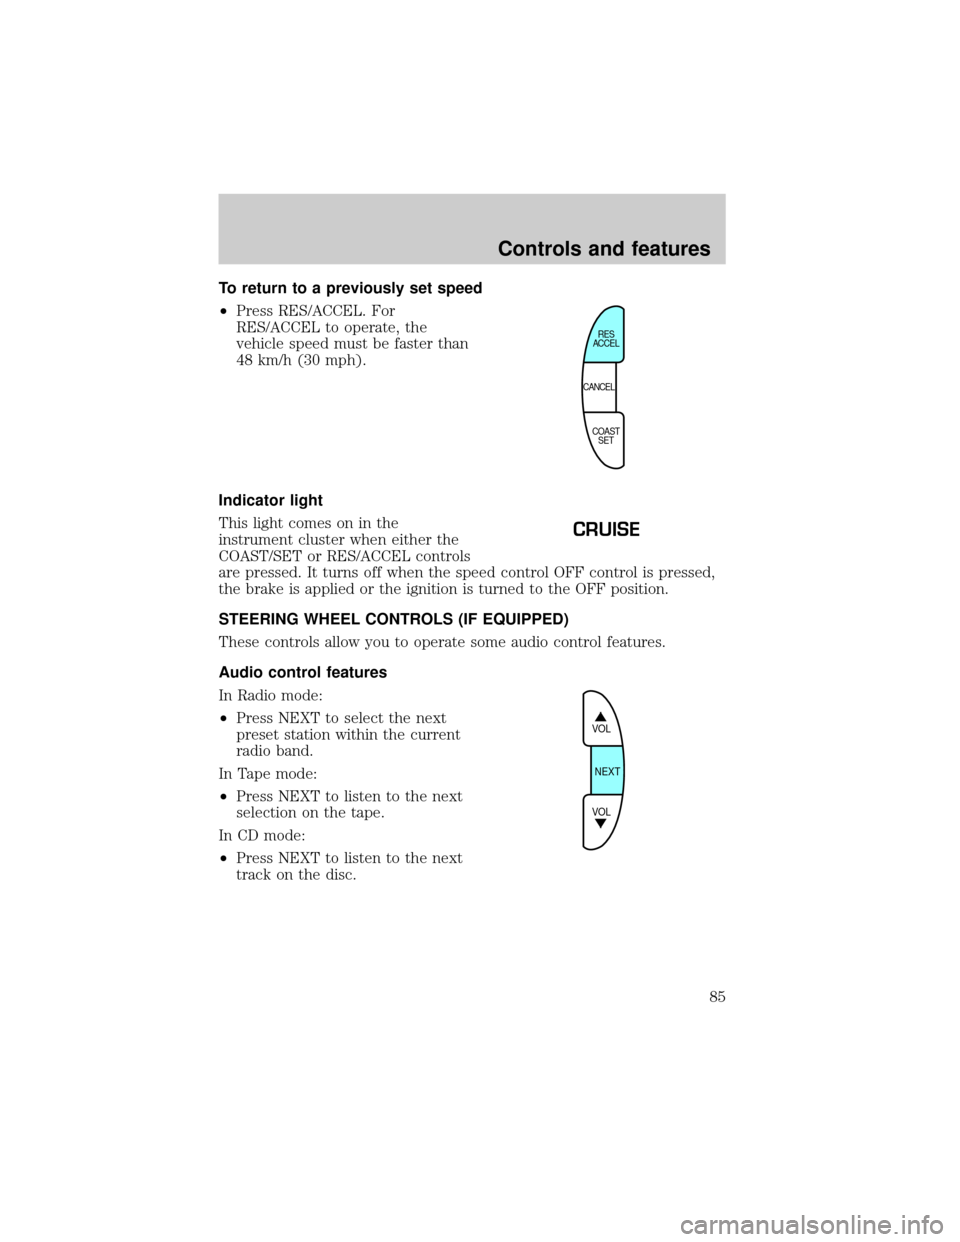
To return to a previously set speed
²Press RES/ACCEL. For
RES/ACCEL to operate, the
vehicle speed must be faster than
48 km/h (30 mph).
Indicator light
This light comes on in the
instrument cluster when either the
COAST/SET or RES/ACCEL controls
are pressed. It turns off when the speed control OFF control is pressed,
the brake is applied or the ignition is turned to the OFF position.
STEERING WHEEL CONTROLS (IF EQUIPPED)
These controls allow you to operate some audio control features.
Audio control features
In Radio mode:
²Press NEXT to select the next
preset station within the current
radio band.
In Tape mode:
²Press NEXT to listen to the next
selection on the tape.
In CD mode:
²Press NEXT to listen to the next
track on the disc.
CANCELRES
ACCEL
COAST
SET
CRUISE
VOL
NEXT
VOL
Controls and features
85
Page 86 of 264
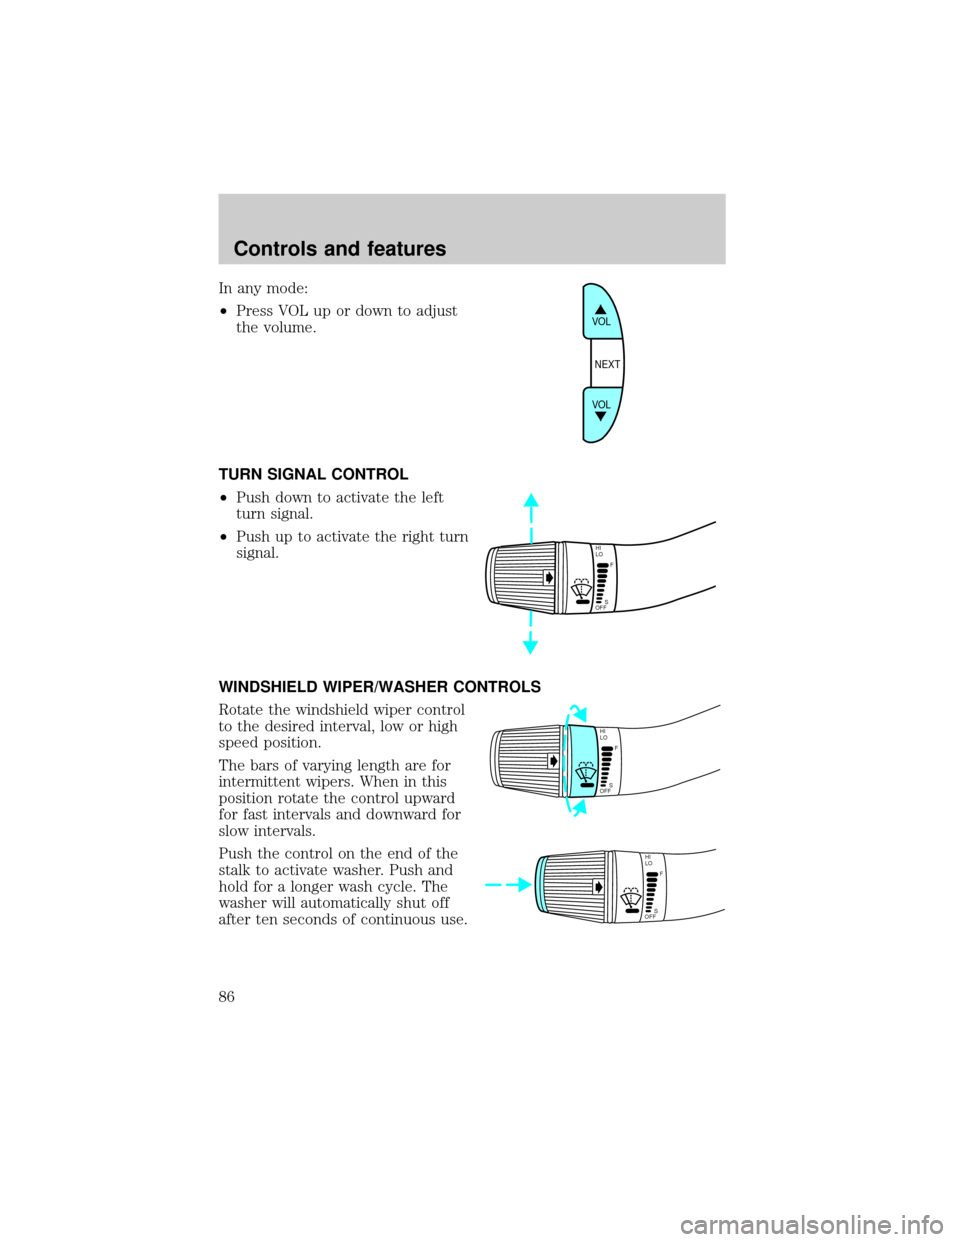
In any mode:
²Press VOL up or down to adjust
the volume.
TURN SIGNAL CONTROL
²Push down to activate the left
turn signal.
²Push up to activate the right turn
signal.
WINDSHIELD WIPER/WASHER CONTROLS
Rotate the windshield wiper control
to the desired interval, low or high
speed position.
The bars of varying length are for
intermittent wipers. When in this
position rotate the control upward
for fast intervals and downward for
slow intervals.
Push the control on the end of the
stalk to activate washer. Push and
hold for a longer wash cycle. The
washer will automatically shut off
after ten seconds of continuous use.
VOL
NEXT
VOL
HI
LO
F
S
OFF
HI
LO
F
S
OFF
HI
LO
F
S
OFF
Controls and features
86
Page 87 of 264

Rear window wiper and washer
Press the wiper control to activate
the rear wiper. Press again to turn
off the wiper. The wiper operates at
a pre-set interval.
Press the washer control to activate
the rear washer. The wiper will
come on when the washer control is
pressed, if it is not already on.
HAZARD FLASHER
For information on the hazard flasher control, refer toHazard flasherin
theRoadside emergencieschapter.
OVERDRIVE CONTROL
Activating overdrive
D (Overdrive) is the normal drive position for the best fuel economy.
The overdrive function allows automatic upshifts from third to fourth gear.
SECURITY HAZARD
RR DEFOGRR WIPER RR WASH
SECURITYHAZARD
RR DEFOGRR WIPER RR WASH
Controls and features
87
Page 88 of 264
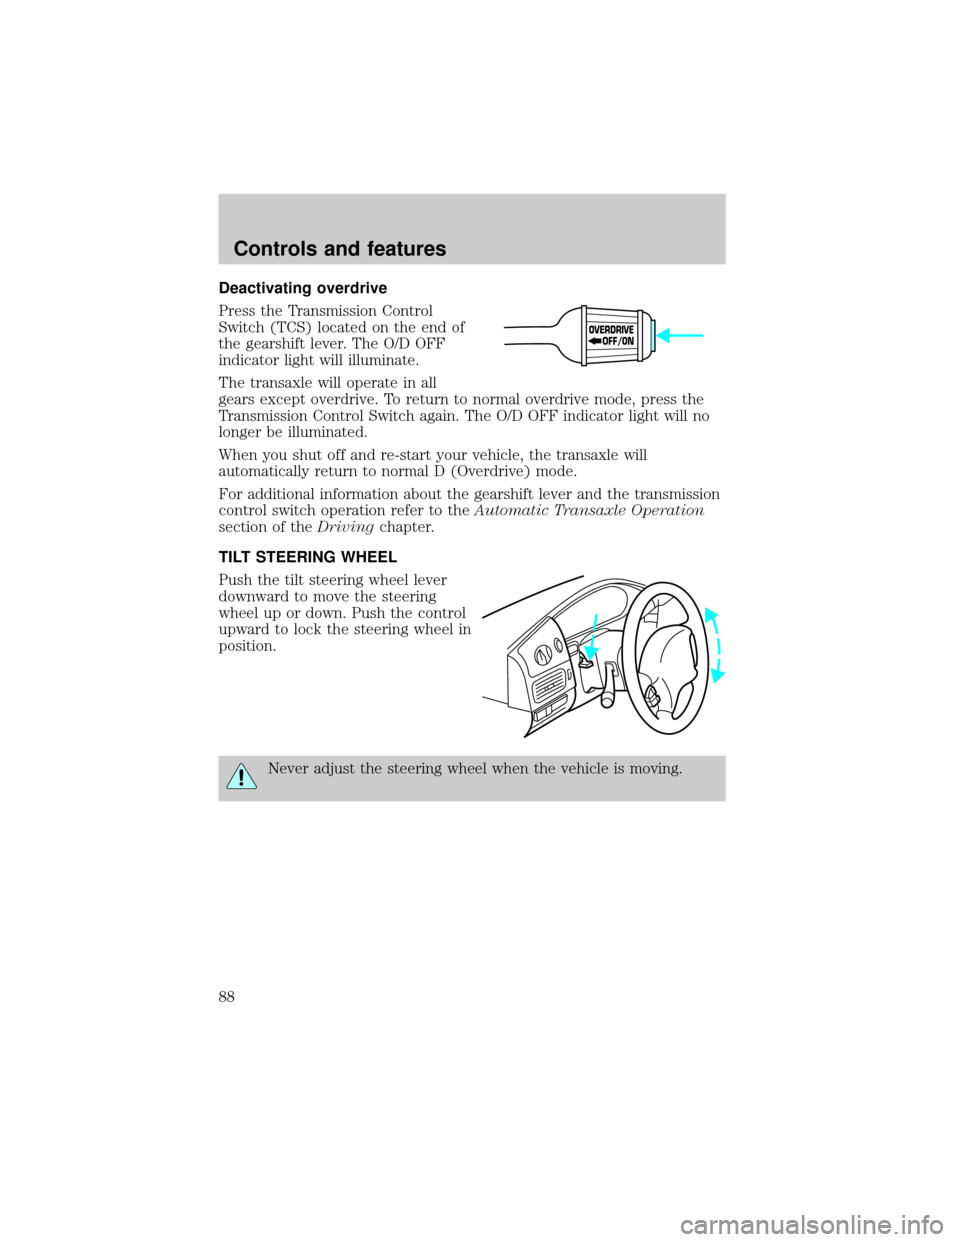
Deactivating overdrive
Press the Transmission Control
Switch (TCS) located on the end of
the gearshift lever. The O/D OFF
indicator light will illuminate.
The transaxle will operate in all
gears except overdrive. To return to normal overdrive mode, press the
Transmission Control Switch again. The O/D OFF indicator light will no
longer be illuminated.
When you shut off and re-start your vehicle, the transaxle will
automatically return to normal D (Overdrive) mode.
For additional information about the gearshift lever and the transmission
control switch operation refer to theAutomatic Transaxle Operation
section of theDrivingchapter.
TILT STEERING WHEEL
Push the tilt steering wheel lever
downward to move the steering
wheel up or down. Push the control
upward to lock the steering wheel in
position.
Never adjust the steering wheel when the vehicle is moving.
OVERDRIVE
OFF/ON
Controls and features
88
Page 89 of 264

POWER WINDOWS
²Press and hold the switch to
open.
²Pull up and hold the switch to
close.
Power vent windows (if equipped)
Your vehicle may be equipped with
rear power vent windows which are
operated the same as the front
power windows.
One touch down
²Press AUTO completely down and
release quickly. The driver's
window will open fully. Depress
again to stop window operation.
The window lock feature allows only
the driver to operate the power
windows.
To lock out all the window controls
except for the driver's press the
control. Press the control again to
restore the window controls.
AUTO
AUTO
AUTO
Controls and features
89
Page 90 of 264
Accessory delay
With accessory delay, the window and moonroof switches may be used
for up to 15 minutes after the ignition switch is turned to the OFF
position or until either of the front doors are opened.
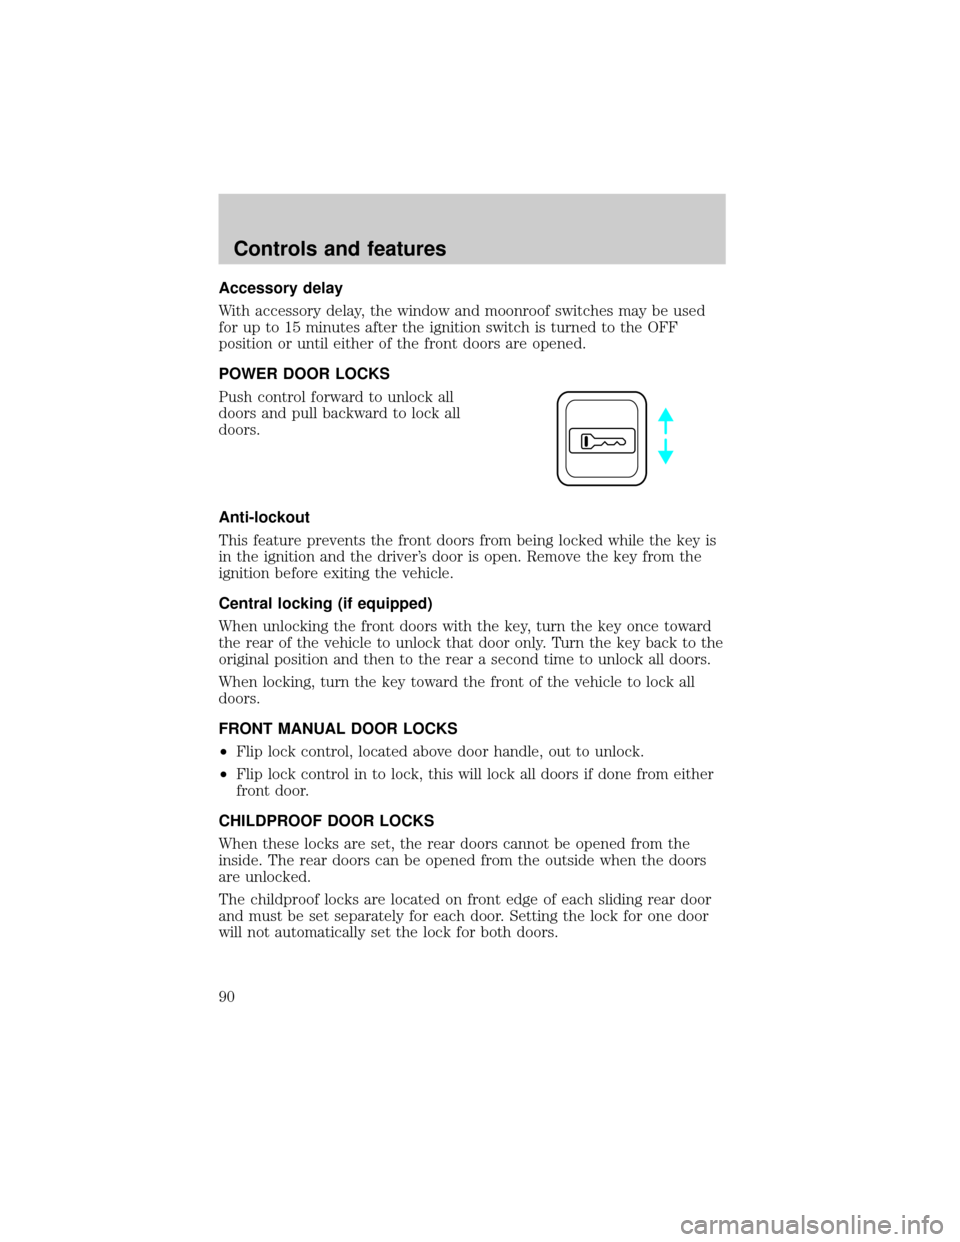
POWER DOOR LOCKS
Push control forward to unlock all
doors and pull backward to lock all
doors.
Anti-lockout
This feature prevents the front doors from being locked while the key is
in the ignition and the driver's door is open. Remove the key from the
ignition before exiting the vehicle.
Central locking (if equipped)
When unlocking the front doors with the key, turn the key once toward
the rear of the vehicle to unlock that door only. Turn the key back to the
original position and then to the rear a second time to unlock all doors.
When locking, turn the key toward the front of the vehicle to lock all
doors.
FRONT MANUAL DOOR LOCKS
²Flip lock control, located above door handle, out to unlock.
²Flip lock control in to lock, this will lock all doors if done from either
front door.
CHILDPROOF DOOR LOCKS
When these locks are set, the rear doors cannot be opened from the
inside. The rear doors can be opened from the outside when the doors
are unlocked.
The childproof locks are located on front edge of each sliding rear door
and must be set separately for each door. Setting the lock for one door
will not automatically set the lock for both doors.
Controls and features
90