Mercury Villager 1999 Owner's Manuals
Manufacturer: MERCURY, Model Year: 1999, Model line: Villager, Model: Mercury Villager 1999Pages: 264, PDF Size: 2.19 MB
Page 101 of 264
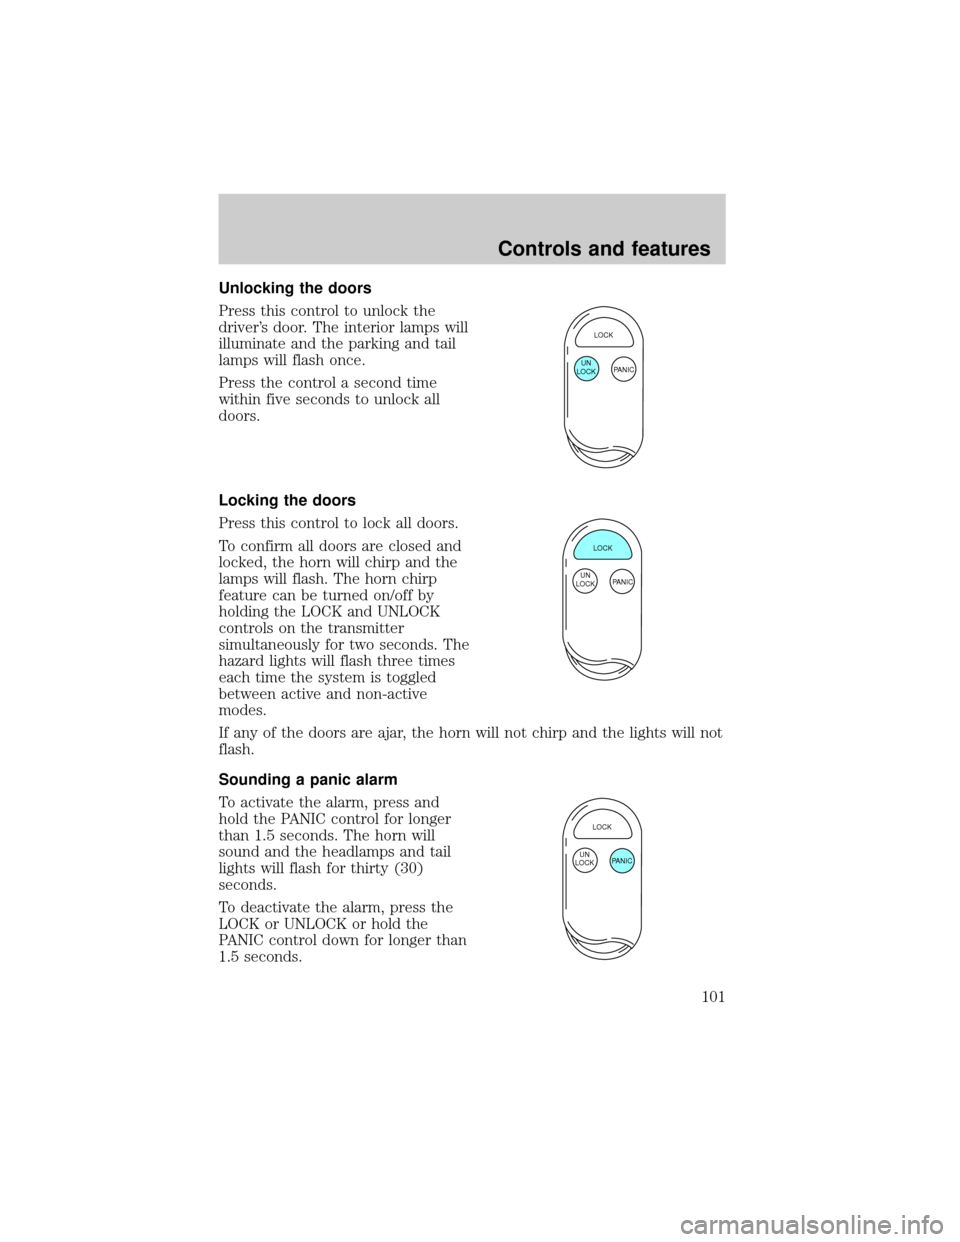
Unlocking the doors
Press this control to unlock the
driver's door. The interior lamps will
illuminate and the parking and tail
lamps will flash once.
Press the control a second time
within five seconds to unlock all
doors.
Locking the doors
Press this control to lock all doors.
To confirm all doors are closed and
locked, the horn will chirp and the
lamps will flash. The horn chirp
feature can be turned on/off by
holding the LOCK and UNLOCK
controls on the transmitter
simultaneously for two seconds. The
hazard lights will flash three times
each time the system is toggled
between active and non-active
modes.
If any of the doors are ajar, the horn will not chirp and the lights will not
flash.
Sounding a panic alarm
To activate the alarm, press and
hold the PANIC control for longer
than 1.5 seconds. The horn will
sound and the headlamps and tail
lights will flash for thirty (30)
seconds.
To deactivate the alarm, press the
LOCK or UNLOCK or hold the
PANIC control down for longer than
1.5 seconds.
LOCK
PANIC UN
LOCK
LOCK
PANIC UN
LOCK
LOCK
PANIC UN
LOCK
Controls and features
101
Page 102 of 264

This device complies with part 15 of the FCC rules and with RS-210 of
Industry Canada. Operation is subject to the following two conditions:
(1) This device may not cause harmful interference, and (2) This device
must accept any interference received, including interference that may
cause undesired operation.
Changes or modifications not expressly approved by the party
responsible for compliance could void the user's authority to
operate the equipment.
Illuminated entry
The interior lamps illuminate when the remote entry system is used to
unlock the door(s) or sound the panic alarm.
The system automatically turns off after 15 seconds or when the ignition
is turned to the RUN position.
The inside lights will not turn off if:
²they have been turned on with the headlamp control or
²any door is open.
The battery saver will shut off the interior lamps after 30 minutes if the
front door is left open or after 60 minutes if the liftgate is left open.
Illuminated exit
The interior lights will illuminate when the key is removed from the
ignition.
The system automatically turns off after 25 seconds or when the driver's
door is opened.
Replacing the battery
The transmitter is powered by one coin type three-volt lithium battery.
Typical operating range will allow you to be up to 10 meters (33 feet)
away from your vehicle. A decrease in operating range can be caused by:
²weather conditions
²nearby radio towers
²structures around the vehicle
²other vehicles parked next to the vehicle
Controls and features
102
Page 103 of 264

To replace the battery:
1. Twist a thin coin between the two
halves of the transmitter near the
key ring. DO NOT TAKE THE
FRONT PART OF THE
TRANSMITTER APART.
2. Place the positive (+) side of new
battery up. Refer to the diagram
inside the transmitter unit.
3. Snap the two halves back
together.
Replacing lost transmitters
Take all your vehicle's transmitters
to your dealer if service is required.
If you purchase additional
transmitters (up to four may be
programmed), perform the following
procedure:
With all doors closed and locked,
insert and remove the key from the
ignition six times within ten
seconds. All lights (except
headlamps) will flash twice.
Press any control on the transmitter while in the ID registration mode.
All lights (except headlamps) will flash twice to acknowledge acceptance
of registration.
To program additional (up to four) transmitters yourself:
²Unlock, then lock the driver's door using the power door lock switch.
²Press any control on the next transmitter to be programmed. All lights
(except headlamps) will flash twice to acknowledge acceptance of
registration.
When ID registration is complete, open the driver's door. All lights
(except headlamps) will flash twice.
All transmittersmustbe programmed at the same time.
LOCK
PANIC UN
LOCK
Controls and features
103
Page 104 of 264

ANTI-THEFT SYSTEM (IF EQUIPPED)
When armed, the anti-theft system will help prevent your vehicle from
unauthorized entry.
If there is any potential perimeter anti-theft problem with your vehicle,
ensureALL key fobs(remote entry transmitters) are brought to the
dealership, to aid in troubleshooting.
Arming the system
When unauthorized entry occurs, the system will flash headlamp lamps,
tail lamps and the security indicator lamp, chirp the horn and disable the
starting system.
The system is ready to arm whenever the ignition is turned OFF. Any of
the following actions will prearm the alarm system:
²Lock the doors with the remote
transmitter (doors opened or
closed). The horn will chirp (if all
doors are closed) to confirm that
the control was pressed. The
horn chirp feature can be turned
on/off by holding the LOCK and
UNLOCK controls on the
transmitter simultaneously for
two seconds. The hazard lights
will flash three times each time
the system is toggled between active and non-active modes.
²Open a door and press the power door lock control to lock the doors.
LOCK
PANIC UN
LOCK
Controls and features
104
Page 105 of 264
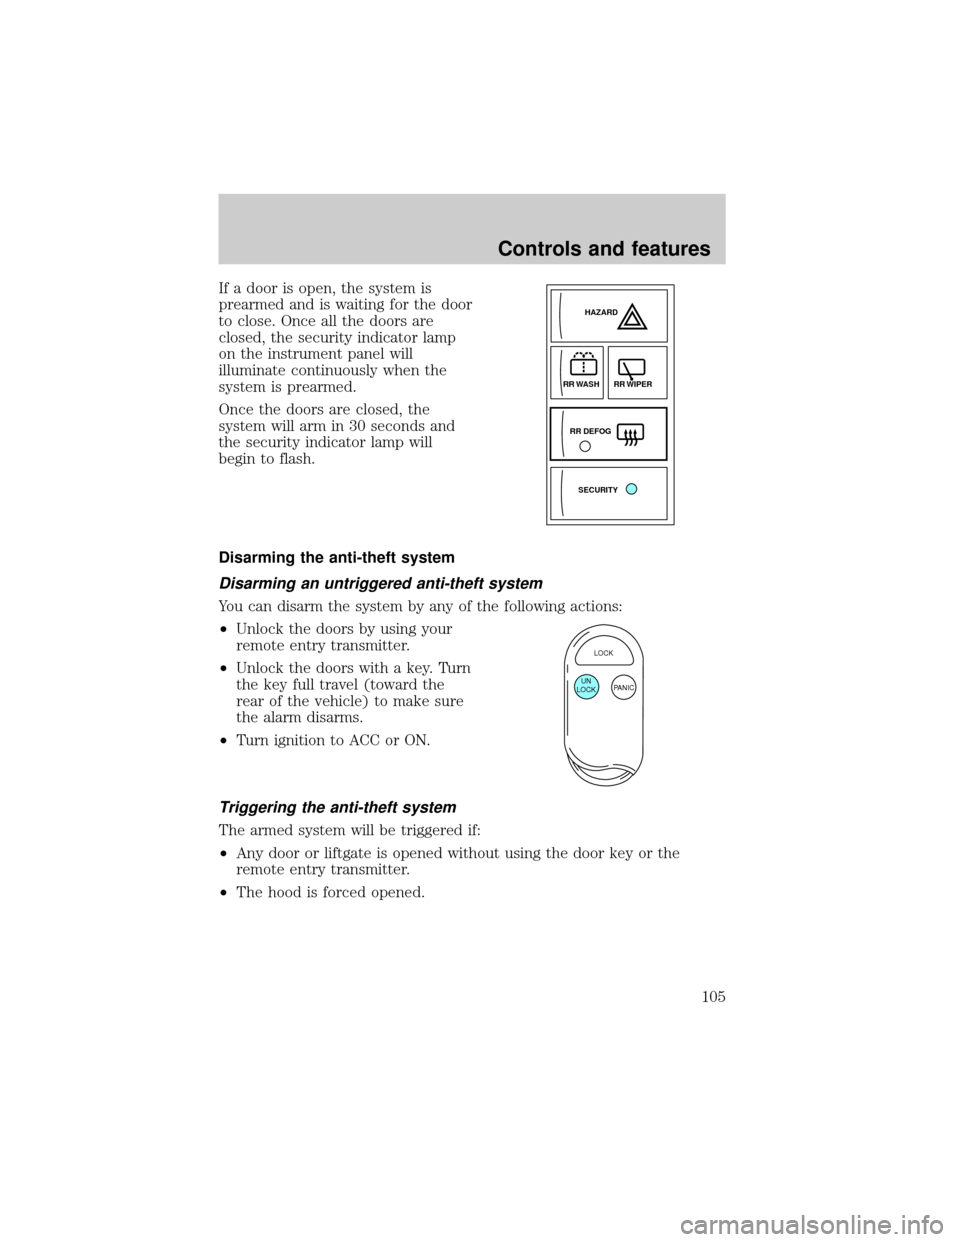
If a door is open, the system is
prearmed and is waiting for the door
to close. Once all the doors are
closed, the security indicator lamp
on the instrument panel will
illuminate continuously when the
system is prearmed.
Once the doors are closed, the
system will arm in 30 seconds and
the security indicator lamp will
begin to flash.
Disarming the anti-theft system
Disarming an untriggered anti-theft system
You can disarm the system by any of the following actions:
²Unlock the doors by using your
remote entry transmitter.
²Unlock the doors with a key. Turn
the key full travel (toward the
rear of the vehicle) to make sure
the alarm disarms.
²Turn ignition to ACC or ON.
Triggering the anti-theft system
The armed system will be triggered if:
²Any door or liftgate is opened without using the door key or the
remote entry transmitter.
²The hood is forced opened.
SECURITYHAZARD
RR DEFOGRR WIPER
RR WASH
LOCK
PANIC UN
LOCK
Controls and features
105
Page 106 of 264
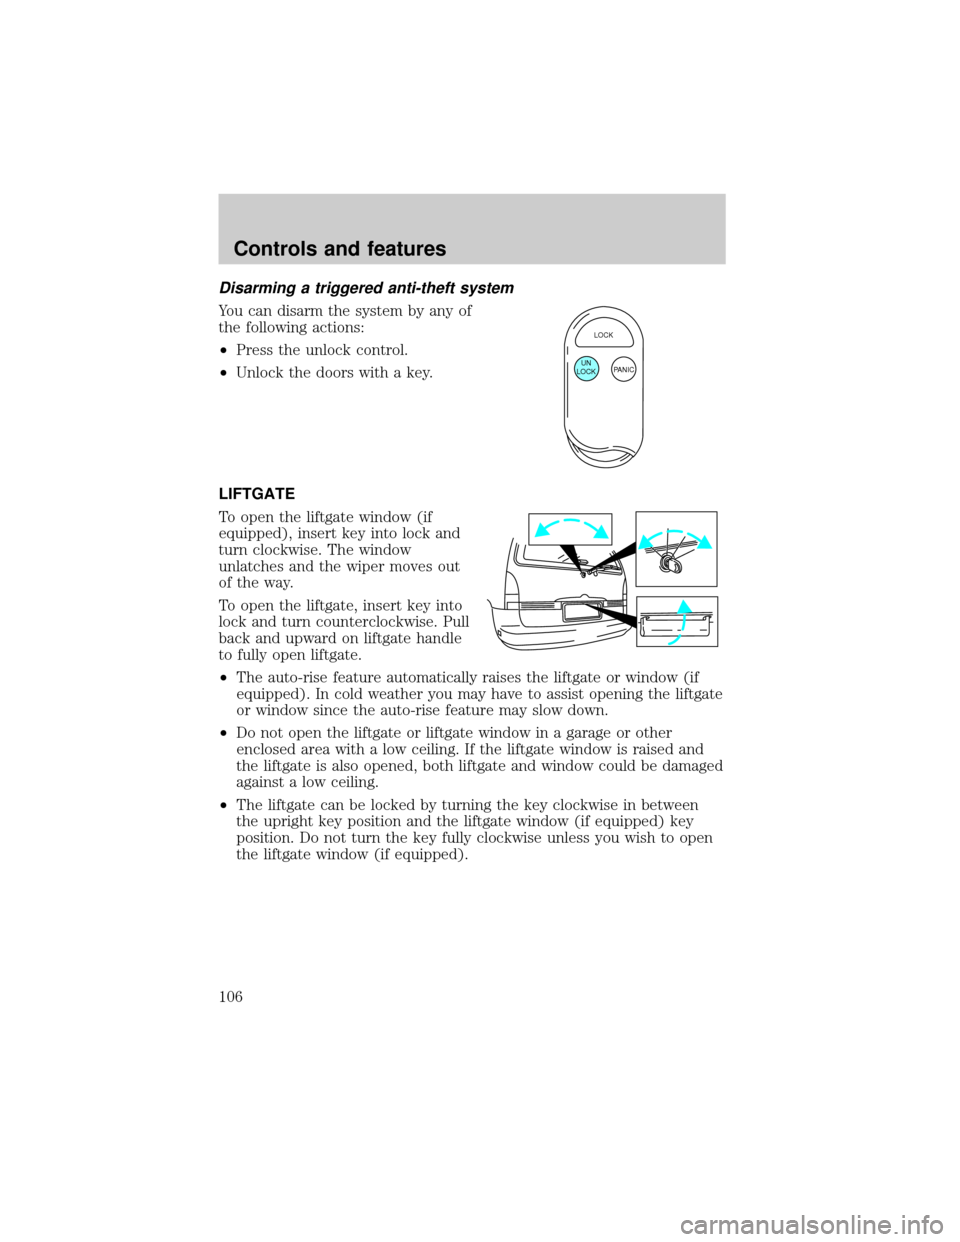
Disarming a triggered anti-theft system
You can disarm the system by any of
the following actions:
²Press the unlock control.
²Unlock the doors with a key.
LIFTGATE
To open the liftgate window (if
equipped), insert key into lock and
turn clockwise. The window
unlatches and the wiper moves out
of the way.
To open the liftgate, insert key into
lock and turn counterclockwise. Pull
back and upward on liftgate handle
to fully open liftgate.
²The auto-rise feature automatically raises the liftgate or window (if
equipped). In cold weather you may have to assist opening the liftgate
or window since the auto-rise feature may slow down.
²Do not open the liftgate or liftgate window in a garage or other
enclosed area with a low ceiling. If the liftgate window is raised and
the liftgate is also opened, both liftgate and window could be damaged
against a low ceiling.
²The liftgate can be locked by turning the key clockwise in between
the upright key position and the liftgate window (if equipped) key
position. Do not turn the key fully clockwise unless you wish to open
the liftgate window (if equipped).
LOCK
PANIC UN
LOCK
Controls and features
106
Page 107 of 264

Make sure that the liftgate door and/or window are closed to
prevent exhaust fumes from being drawn into the vehicle. This
will also prevent passengers and cargo from falling out. If you must
drive with the liftgate door or window open, keep the vents open so
outside air comes into the vehicle.
CARGO AREA FEATURES
Rear Cargo net
The cargo net helps stabilize lightweight objects in the cargo area.
Attach the net to the anchors provided. The cargo restrained in the net
must not exceed 22 kg (50 lbs.) or the net may not stay secured.
The cargo net is not designed to restrain objects during a
collision or heavy braking.
Controls and features
107
Page 108 of 264
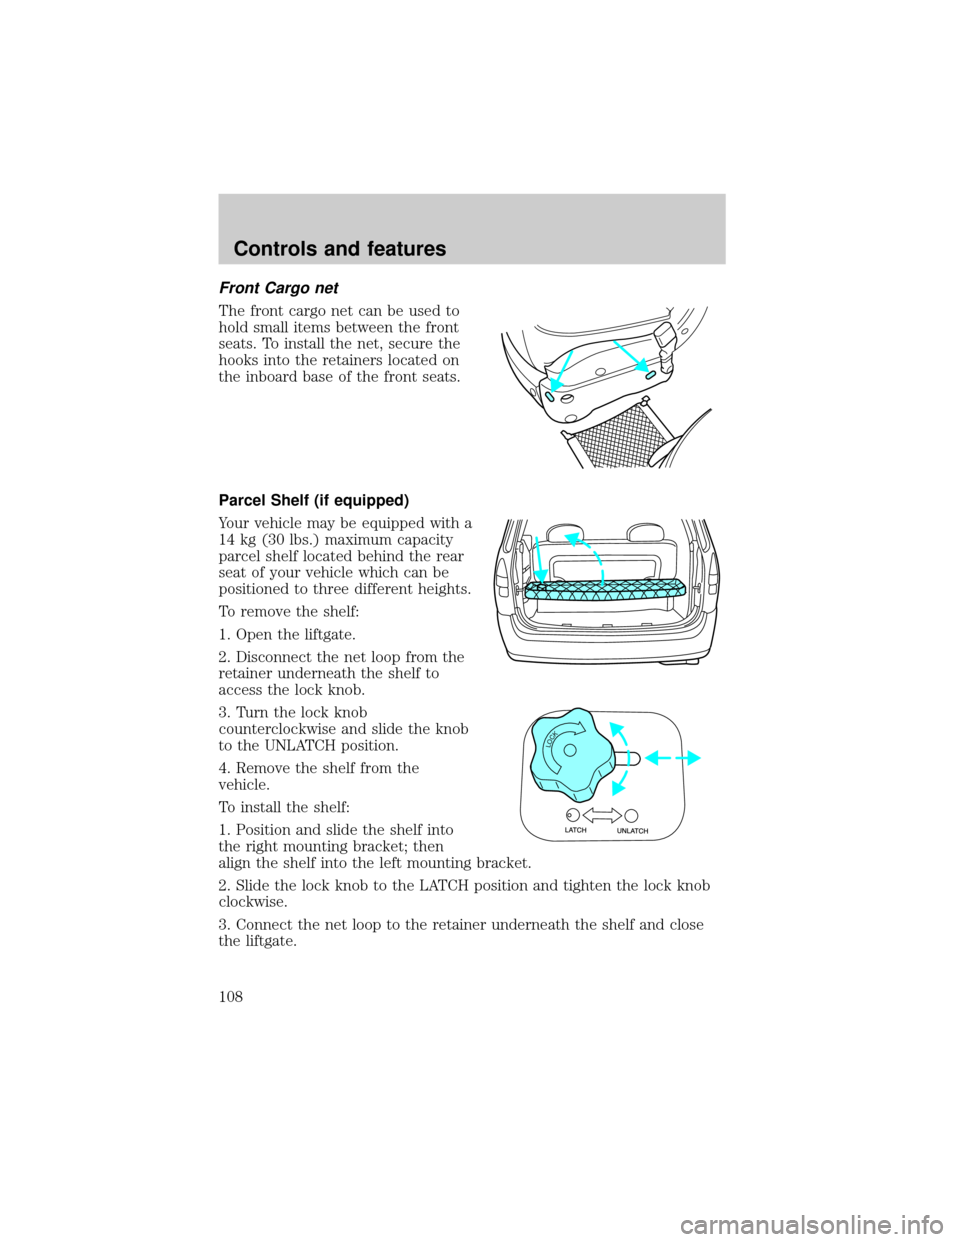
Front Cargo net
The front cargo net can be used to
hold small items between the front
seats. To install the net, secure the
hooks into the retainers located on
the inboard base of the front seats.
Parcel Shelf (if equipped)
Your vehicle may be equipped with a
14 kg (30 lbs.) maximum capacity
parcel shelf located behind the rear
seat of your vehicle which can be
positioned to three different heights.
To remove the shelf:
1. Open the liftgate.
2. Disconnect the net loop from the
retainer underneath the shelf to
access the lock knob.
3. Turn the lock knob
counterclockwise and slide the knob
to the UNLATCH position.
4. Remove the shelf from the
vehicle.
To install the shelf:
1. Position and slide the shelf into
the right mounting bracket; then
align the shelf into the left mounting bracket.
2. Slide the lock knob to the LATCH position and tighten the lock knob
clockwise.
3. Connect the net loop to the retainer underneath the shelf and close
the liftgate.
LOCK
Controls and features
108
Page 109 of 264
To secure objects on the shelf:
1. Disconnect the net loops from the retainers underneath the shelf.
2. Place the objects underneath the net and secure the net loops to the
retainers underneath the shelf.
All objects loaded on the cargo shelf MUST BE SECURED UNDER THE
CARGO NET. The net is permanently attached to the cargo shelf.
Do not load more than 14 kg (30 lbs.) on the parcel shelf.
Make sure the rear seat back is in the rearmost/upright position
when parcel shelf is loaded.
Do not load any objects on the parcel shelf that may obstruct
your vision or strike occupants of the vehicle in the case of a
sudden stop or collision.
Failure to secure cargo under the cargo net will increase the risk
of the cargo striking occupants in the case of a sudden stop or
collision.
Do not load the parcel shelf through the liftgate glass. You MUST
open the entire rear liftgate to gain access to the rear net
retainers under the shelf.
To properly use child safety tethers in the 3rd row seat position,
REMOVE THE PARCEL SHELF and tether child safety seat to
the tether anchor located on the floor behind the 3rd row seat.
Do not place people or pets on or under the parcel shelf.
Controls and features
109
Page 110 of 264

SEATING
Adjustable head restraints
Your vehicle's seats may be equipped with head restraints which are
vertically adjustable. The purpose of these head restraints is to help limit
head motion in the event of a rear collision. To properly adjust your head
restraints, lift the head restraint so that it is located directly behind your
head or as close to that position as possible. Refer to the following to
raise and lower the head restraints.
The head restraints can be moved
up and down.
Push side control and push down on
head restraint to lower it.
Adjusting the front manual seat
Never adjust the driver's seat or seatback when the vehicle is
moving.
Do not pile cargo higher than the seatbacks to avoid injuring
people in a collision or sudden stop.
Seating and safety restraints
110