change wheel Mercury Villager 2002 Owner's Manuals
[x] Cancel search | Manufacturer: MERCURY, Model Year: 2002, Model line: Villager, Model: Mercury Villager 2002Pages: 256, PDF Size: 1.91 MB
Page 1 of 256

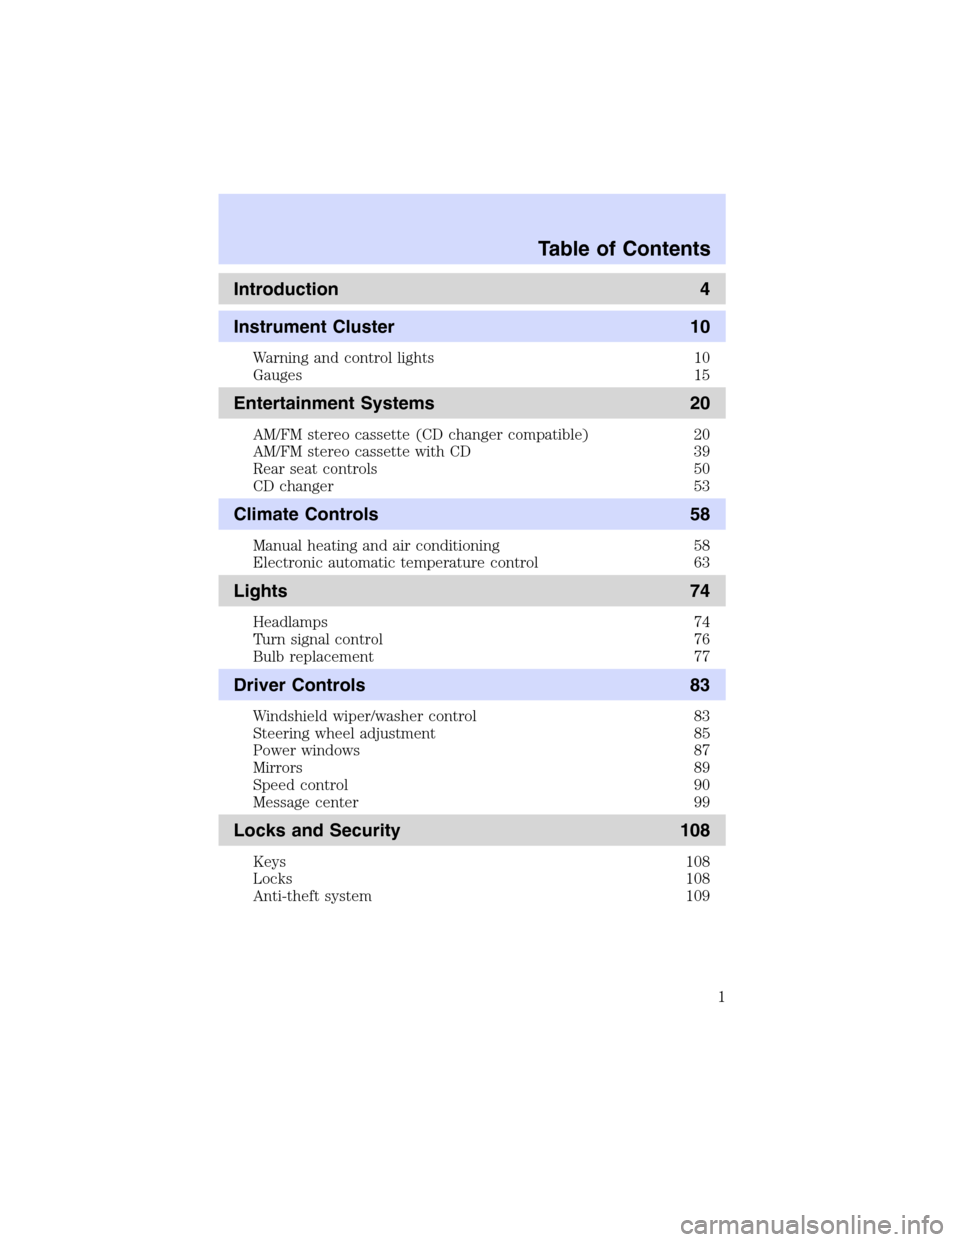
Introduction 4
Instrument Cluster 10
Warning and control lights 10
Gauges 15
Entertainment Systems 20
AM/FM stereo cassette (CD changer compatible) 20
AM/FM stereo cassette with CD 39
Rear seat controls 50
CD changer 53
Climate Controls 58
Manual heating and air conditioning 58
Electronic automatic temperature control 63
Lights 74
Headlamps 74
Turn signal control 76
Bulb replacement 77
Driver Controls 83
Windshield wiper/washer control 83
Steering wheel adjustment 85
Power windows 87
Mirrors 89
Speed control 90
Message center 99
Locks and Security 108
Keys 108
Locks 108
Anti-theft system 109
Table of Contents
1
Page 64 of 256

Turning the EATC system on
Press AUTOMATIC, any of the override controls or the fan speed control.
The EATC system will only operate when the vehicle is running.
Turning the EATC system off
Press OFF.
Automatic operation
Press AUTOMATIC and select the desired temperature. The selected
temperature and the word AUTO will appear in the display window. The
EATC system will either heat or cool to achieve the selected
temperature. The system will automatically determine fan speed, airflow
location and if outside air or recirculated air is required. Fan speed
remains automatic unless the fan speed thumbwheel is turned or the
steering wheel fan speed control (if equipped) is pressed.
When in AUTOMATIC and weather conditions require heat, air will be
sent to the floor. However, if the engine is not warm enough to provide
heat, the fan will be at a low speed and the air will be directed to the
windshield. In approximately 3
1⁄2minutes or less, the fan speed will start
to increase and the airflow location will change to the floor area.
TEMP
AUTOMATICOFF REAR 1 2 3 4
OFFA/C
A/CMAXHI
LO
TEMP
AUTOMATICOFF REAR 1
OFF
A/C
Climate Controls
64
Page 185 of 256

2. Install the retainer through the
wheel center and slide the wheel
under the vehicle.
3. Turn the wrench clockwise until
the tire is raised to its original
position underneath the vehicle. The
hex nut ratchets when the tire is
raised to the stowed position. It will
not allow you to overtighten.
4. Check seating position of tire for
looseness against the underbody
supports and retighten if necessary.
Ensure the position of the
tire is not too far forward to
avoid contact with the axle.
Tire change procedure
When one of the front wheels is off the ground, the transaxle
alone will not prevent the vehicle from moving or slipping off the
jack, even if the vehicle is in P (Park).
To prevent the vehicle from moving when you change a tire, be
sure the parking brake is set, then block (in both directions) the
wheel that is diagonally opposite (other side and end of the vehicle) to
the tire being changed.
If the vehicle slips off the jack, you or someone else could be
seriously injured.
All occupants should be out of the vehicle while it is on the jack.
Roadside Emergencies
185