reset Mercury Villager 2002 Owner's Manuals
[x] Cancel search | Manufacturer: MERCURY, Model Year: 2002, Model line: Villager, Model: Mercury Villager 2002Pages: 256, PDF Size: 1.91 MB
Page 5 of 256

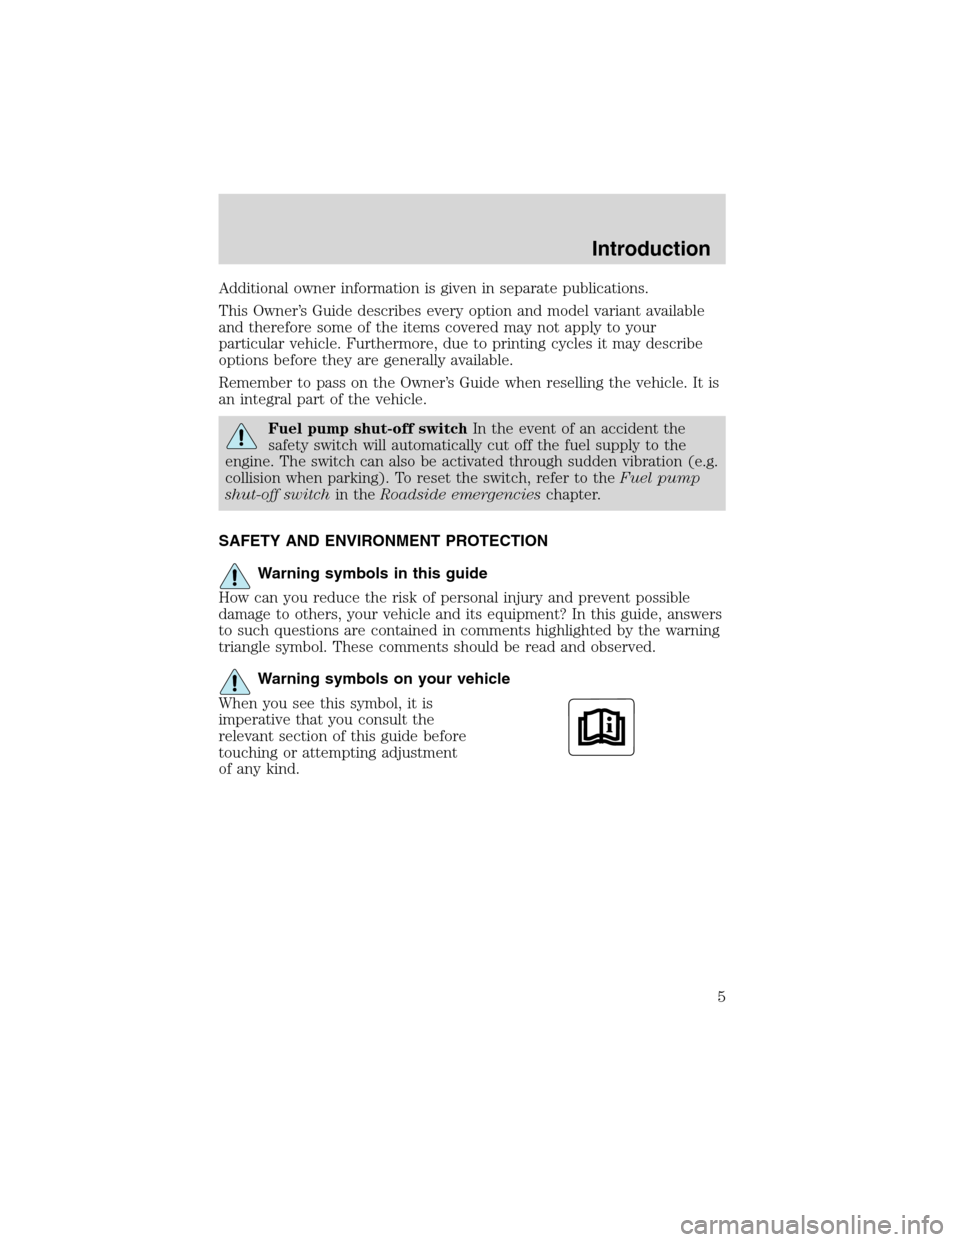
Additional owner information is given in separate publications.
This Owner’s Guide describes every option and model variant available
and therefore some of the items covered may not apply to your
particular vehicle. Furthermore, due to printing cycles it may describe
options before they are generally available.
Remember to pass on the Owner’s Guide when reselling the vehicle. It is
an integral part of the vehicle.
Fuel pump shut-off switchIn the event of an accident the
safety switch will automatically cut off the fuel supply to the
engine. The switch can also be activated through sudden vibration (e.g.
collision when parking). To reset the switch, refer to theFuel pump
shut-off switchin theRoadside emergencieschapter.
SAFETY AND ENVIRONMENT PROTECTION
Warning symbols in this guide
How can you reduce the risk of personal injury and prevent possible
damage to others, your vehicle and its equipment? In this guide, answers
to such questions are contained in comments highlighted by the warning
triangle symbol. These comments should be read and observed.
Warning symbols on your vehicle
When you see this symbol, it is
imperative that you consult the
relevant section of this guide before
touching or attempting adjustment
of any kind.
Introduction
5
Page 8 of 256

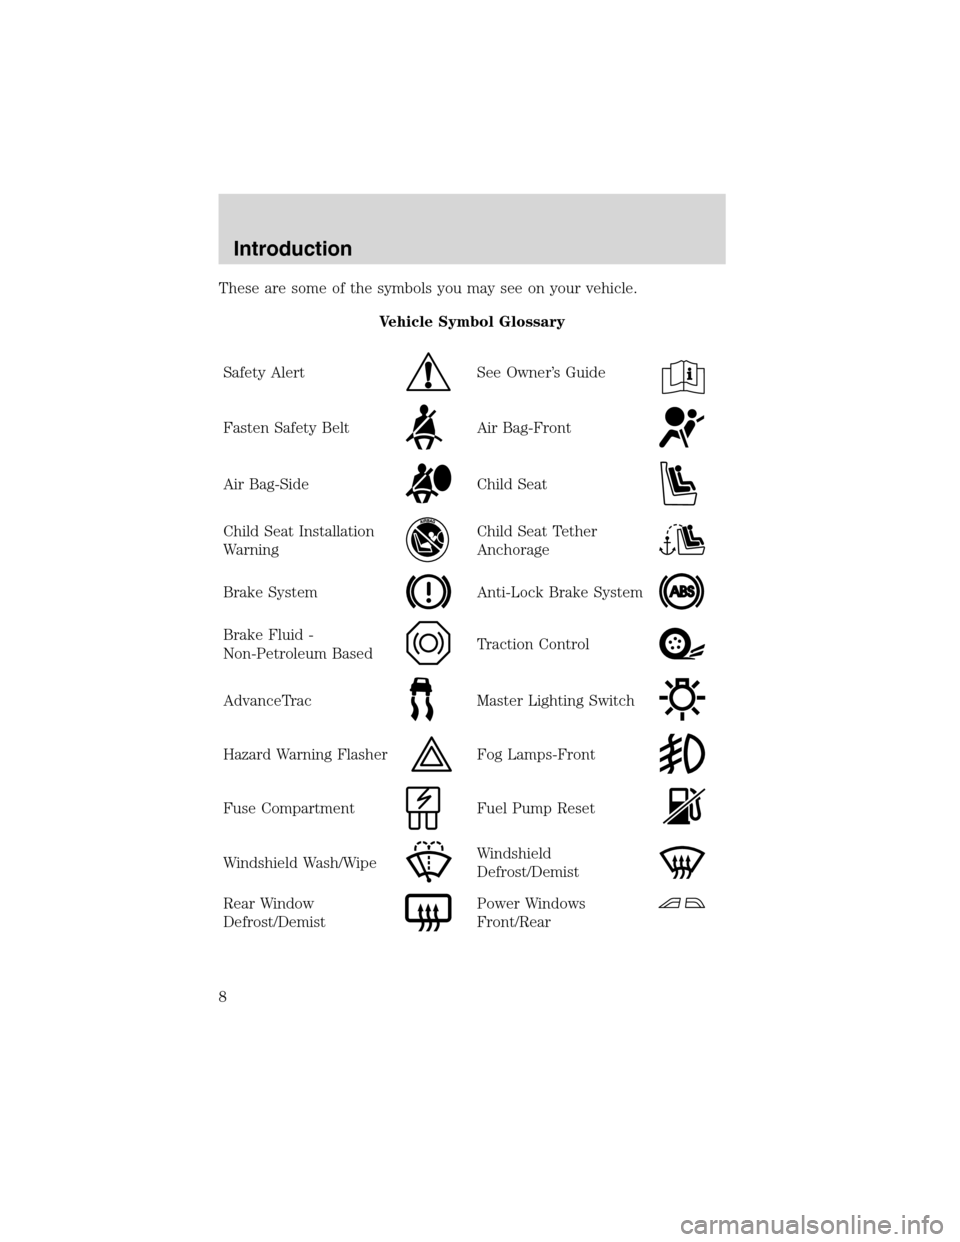
These are some of the symbols you may see on your vehicle.
Vehicle Symbol Glossary
Safety Alert
See Owner’s Guide
Fasten Safety BeltAir Bag-Front
Air Bag-SideChild Seat
Child Seat Installation
WarningChild Seat Tether
Anchorage
Brake SystemAnti-Lock Brake System
Brake Fluid -
Non-Petroleum BasedTraction Control
AdvanceTracMaster Lighting Switch
Hazard Warning FlasherFog Lamps-Front
Fuse CompartmentFuel Pump Reset
Windshield Wash/WipeWindshield
Defrost/Demist
Rear Window
Defrost/DemistPower Windows
Front/Rear
Introduction
8
Page 19 of 256

Trip odometer
Registers the kilometers (miles) of individual journeys.
•Standard analog instrument
cluster
To reset, press and hold the control
for one second.
•Optional electronic instrument
cluster
Refer toElectronic Message Center
in theDriver controlschapter for
information on how to switch the
display from Trip 1 and Trip 2
features on the electronic
instrument cluster.
Tachometer
Indicates the engine speed in revolutions per minute.
Driving with your tachometer pointer continuously at the top of the scale
may damage the engine.
•Standard analog instrument
cluster
•Optional electronic instrument
cluster
TRIP A
CRUISE
MPH
km/h
km 012345
6
78
X 1000
RPMTRIP 1
TRIP 2
RPM x 1000
0 1234
5
6
7
8
CRUISE
MPH
km/h
km 012345
6
78
X 1000
RPMTRIP 1
TRIP 2
Instrument Cluster
19
Page 23 of 256

Scan function in CD changer mode (if equipped)
Press the SCAN control to hear a brief sampling of all selections on the
CD. (The CD scans in a forward direction, wrapping back to the first
track at the end of the CD.) To stop on a particular selection, press the
SCAN control again.
AM/FM select
The AM/FM select control works in
radio, tape and CD changer modes
(if equipped).
AM/FM select in radio mode
This control allows you to select AM or FM frequency bands. Press the
control to switch between AM, FM1 or FM2 memory preset stations.
AM/FM select in tape mode
Press this control to stop tape play and begin radio play.
AM/FM select in CD changer mode (if equipped)
Press this control to stop CD play and begin radio play.
Radio station memory preset
The radio is equipped with six station memory preset controls. These
controls can be used to select up to six preset AM stations and twelve
FM stations ( six in FM1 and six in FM2).
Setting memory preset stations
1. Select the frequency band with the AM/FM select control.
2. Select a station. Refer toTune adjustorSeek functionfor more
information on selecting a station.
CDAM
FM
Entertainment Systems
23
Page 24 of 256

3. Press and hold a memory preset control until the sound returns,
indicating the station is held in memory on the control you selected.
Setting the clock
Press CLK to toggle between
listening frequencies and clock
mode while in radio mode.
To set the hour, press and hold the
CLK control and press the SEEK
control:
•
to decrease hours and
•
to increase hours.
To set the minute, press and hold
the CLK control and press the
TUNE control:
•
to decrease minutes and
•
to increase minutes.
The CLK control will allow you to switch between media display mode
(radio station, stereo information, etc.) and clock display mode (time).
When in clock mode, the media information will display for 10 seconds,
when the radio is turned on, and then revert to clock information. Any
time that the media is changed, (new radio station, etc.), the media
information will again display for 10 seconds before reverting back to the
clock. In media mode, the media information will always be displayed.
SHUFFLE COMP CD CD
3 2 1456
TAPE
AMS
CLK
SEEK
TUNEDISCS
TAPE
AMS
CLK
SEEK
TUNEDISCS
Entertainment Systems
24
Page 32 of 256

Scan function in radio mode
Press the SCAN control to hear a brief sampling of all listenable stations
on the frequency band. Press the SCAN control again to stop the scan
mode.
Scan function in tape mode
Press the SCAN control to hear a short sampling of all selections on the
tape. (The tape scans in a forward direction. At the end of the tape’s
first side, direction automatically reverses to the opposite side of the
tape.) To stop on a particular selection, press the control again.
Scan function in CD changer mode (if equipped)
Press the SCAN control to hear a short sampling of all selections on the
CD (The CD scans in a forward direction, wrapping back to the first
track at the end of the CD.). To stop on a particular selection, press the
control again.
AM/FM select
The AM/FM select control works in
radio, tape and CD changer modes
(if equipped).
AM/FM select in radio mode
This control allows you to select AM or FM frequency bands. Press the
control to switch between AM, FM1 or FM2 memory preset stations.
AM/FM select in CD or CD changer mode (if equipped)
Press this control to stop CD play and begin radio play.
Radio station memory preset
The radio is equipped with six station memory preset controls. These
controls can be used to select up to six preset AM stations and twelve
FM stations (six in FM1 and six in FM2).
Setting memory preset stations
1. Select the frequency band with the AM/FM select control.
2. Select a station. Refer toTune adjustorSeek functionfor more
information on selecting a station.
FM AM
Entertainment Systems
32
Page 33 of 256

3. Press and hold a memory preset control until the sound returns,
indicating the station is held in memory on the control you selected.
Autoset memory preset
Autoset allows you to set strong radio stations without losing your
original manually set preset stations. This feature is helpful on trips
when you travel between cities with different radio stations.
Starting autoset memory preset
1. Select a frequency using the AM/FM select controls.
2. Press the AUTO control.
3. When the first six strong stations
are filled, the station stored in
memory preset control 1 will start
playing.
If there are less than six strong stations available on the frequency band,
the remaining memory preset controls will all store the last strong
station available.
To deactivate autoset and return to your audio system’s manually set
memory stations, press the AUTO control again.
Setting the clock
Press the CLOCK control until
SELECT HOUR or SELECT MINS is
displayed.
Use the SEL control to manually set
the time.
•Press
to increase
hours/minutes.
•Press
to decrease
hours/minutes.
REW
1
FF
2
SIDE 1.
2
34
COMP
5
SHUFF
6
AUTO
RDS / CLK
SEL
Entertainment Systems
33
Page 40 of 256

Turn control to raise or lower
volume.
If the volume is set above a certain level and the ignition is turned off,
the volume will come back on at a“nominal”listening level when the
ignition switch is turned back on. If you wish to maintain your preset
volume level, turn the audio system off with the power control before
switching off the ignition.
Bass adjust
The bass adjust control allows you
to increase or decrease the audio
system’s bass output.
Press the BASS control then press:
•
to decrease bass output and
•
to increase bass output.
Treble adjust
The treble adjust control allows you
to increase or decrease the audio
system’s treble output.
VOL - PUSH ON
BASS TREB
SEL
BASS TREB
Entertainment Systems
40
Page 43 of 256

Scan function in CD mode
Press the SCAN control to hear a short sampling of all selections on the
CD. (The CD scans in a forward direction, wrapping back to the first
track at the end of the CD.) To stop on a particular selection, press the
control again.
AM/FM select
The AM/FM select control works in
radio, tape and CD modes.
AM/FM select in radio mode
This control allows you to select AM or FM frequency bands. Press the
control to switch between AM, FM1 or FM2 memory preset stations.
AM/FM select in tape mode
Press this control to stop tape play and begin radio play.
AM/FM select in CD mode
Press this control to stop CD play and begin radio play.
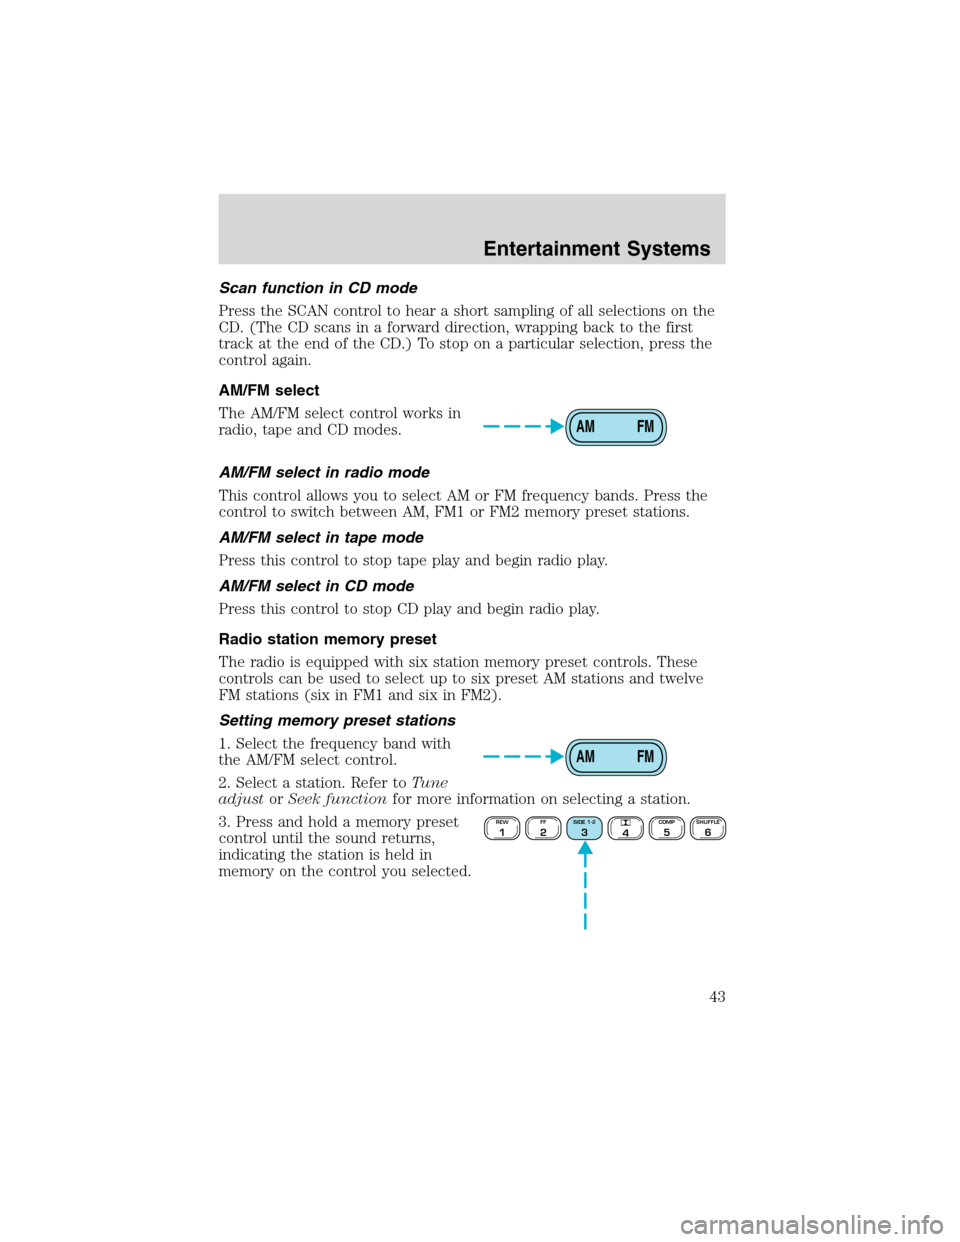
Radio station memory preset
The radio is equipped with six station memory preset controls. These
controls can be used to select up to six preset AM stations and twelve
FM stations (six in FM1 and six in FM2).
Setting memory preset stations
1. Select the frequency band with
the AM/FM select control.
2. Select a station. Refer toTune
adjustorSeek functionfor more information on selecting a station.
3. Press and hold a memory preset
control until the sound returns,
indicating the station is held in
memory on the control you selected.
AM FM
AM FM
REW1FF2SIDE 1-23
4COMP5SHUFFLE6
Entertainment Systems
43
Page 44 of 256

Autoset memory preset
Autoset allows you to set strong radio stations without losing your
original manually set preset stations. This feature is helpful on trips
when you travel between cities with different radio stations.
Starting autoset memory preset
1. Select a frequency using the AM/FM select controls.
2. Press the AUTO control.
3. When the first six strong stations
are filled, the station stored in
memory preset control 1 will start
playing.
If there are less than six strong stations available on the frequency band,
the remaining memory preset controls will all store the last strong
station available.
To deactivate autoset and return to your audio system’s manually set
memory stations, press the AUTO control again.
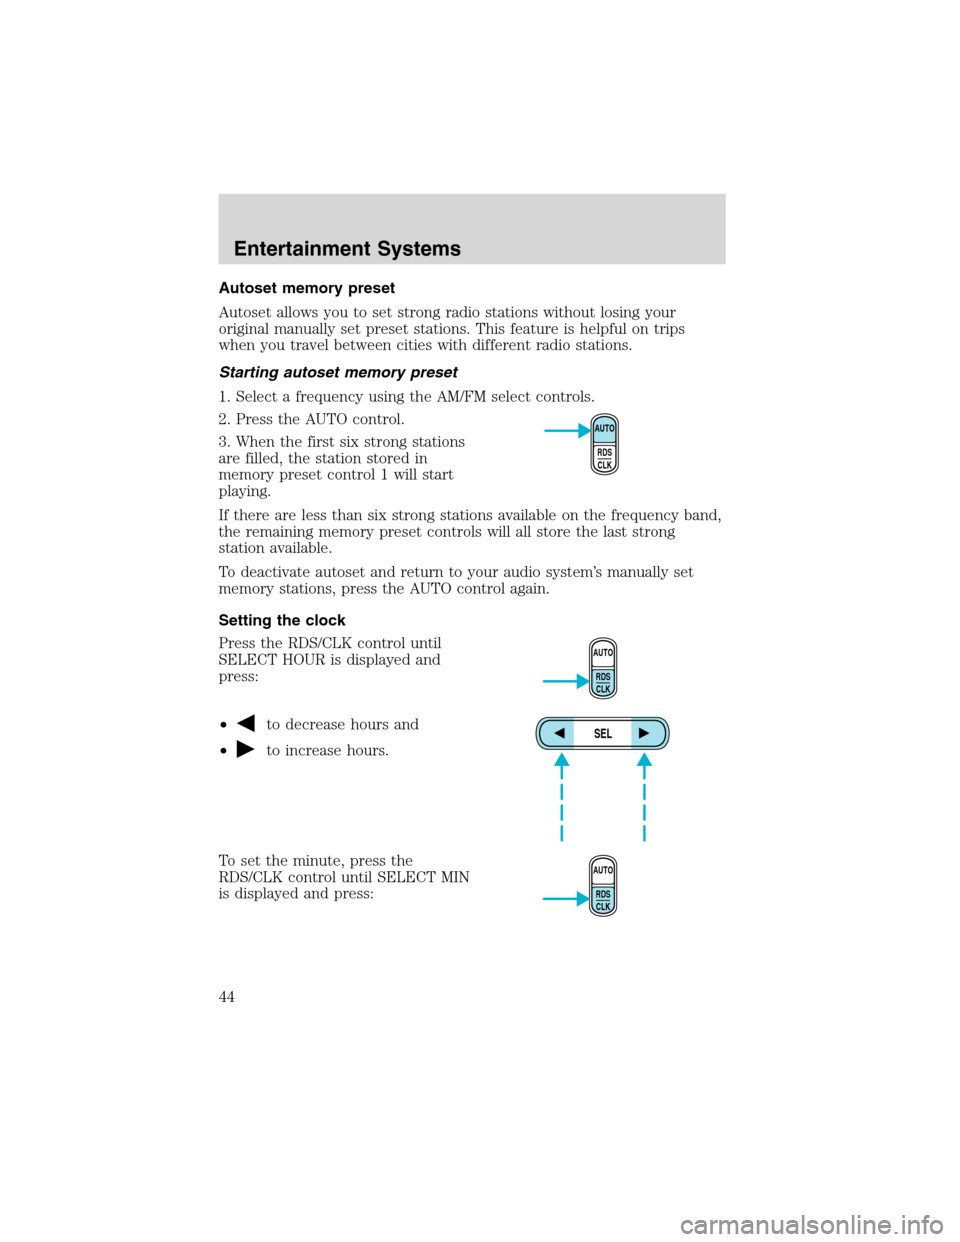
Setting the clock
Press the RDS/CLK control until
SELECT HOUR is displayed and
press:
•
to decrease hours and
•
to increase hours.
To set the minute, press the
RDS/CLK control until SELECT MIN
is displayed and press:
AUTO
RDS
CLK
AUTO
RDS
CLK
SEL
AUTO
RDS
CLK
Entertainment Systems
44