turn signal bulb Mercury Villager 2002 Owner's Manuals
[x] Cancel search | Manufacturer: MERCURY, Model Year: 2002, Model line: Villager, Model: Mercury Villager 2002Pages: 256, PDF Size: 1.91 MB
Page 1 of 256

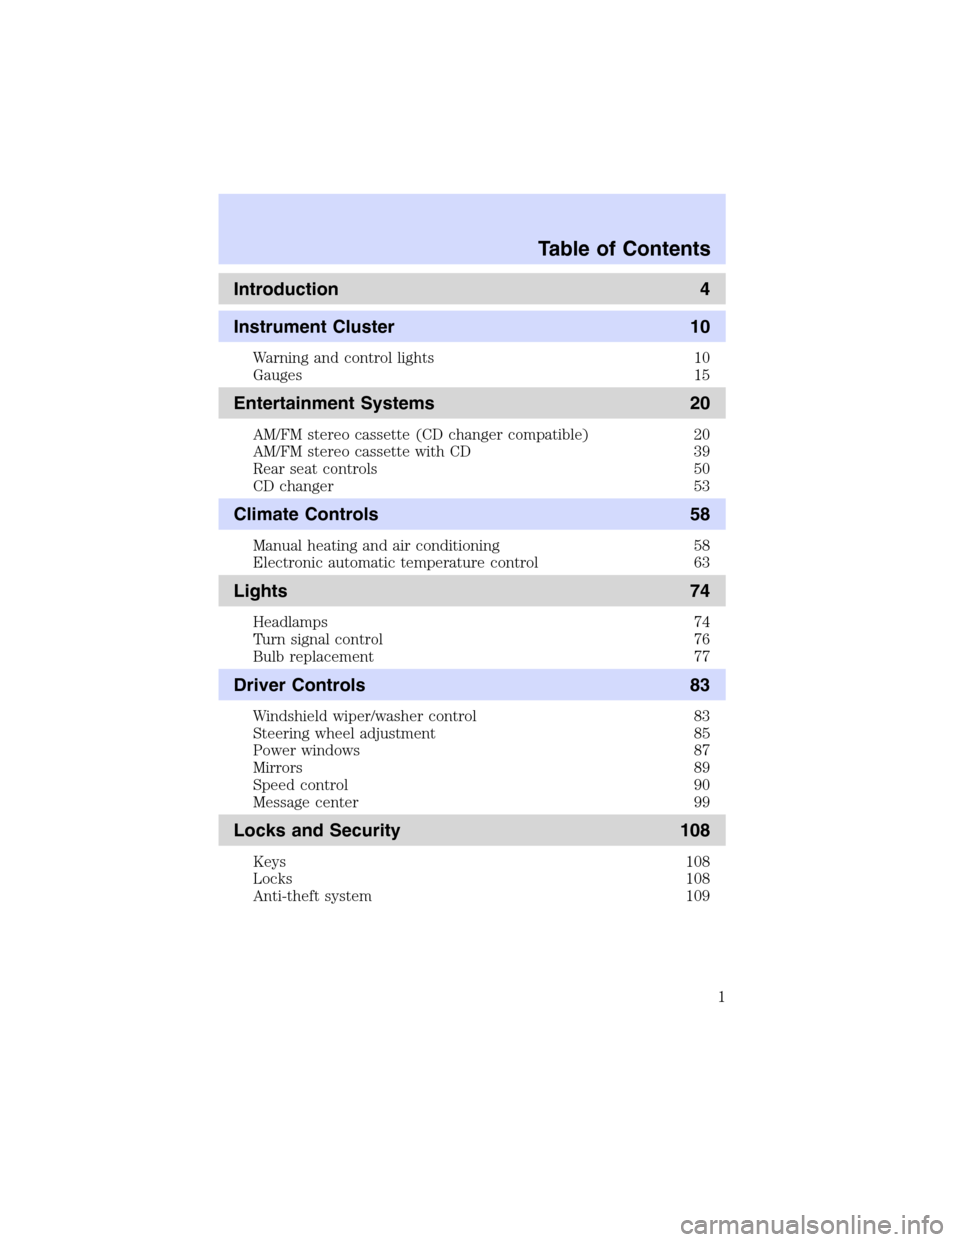
Introduction 4
Instrument Cluster 10
Warning and control lights 10
Gauges 15
Entertainment Systems 20
AM/FM stereo cassette (CD changer compatible) 20
AM/FM stereo cassette with CD 39
Rear seat controls 50
CD changer 53
Climate Controls 58
Manual heating and air conditioning 58
Electronic automatic temperature control 63
Lights 74
Headlamps 74
Turn signal control 76
Bulb replacement 77
Driver Controls 83
Windshield wiper/washer control 83
Steering wheel adjustment 85
Power windows 87
Mirrors 89
Speed control 90
Message center 99
Locks and Security 108
Keys 108
Locks 108
Anti-theft system 109
Table of Contents
1
Page 14 of 256

The“SET”light comes on when either the COAST/SET or RES/ACCEL
controls are pressed. The“SET”light turns off when the cruise cancel
control is pressed or the brake is applied. Both the“CRUISE”and“SET”
lights turn off when the OFF control is pressed or the ignition is turned
to the OFF position.
•Optional electronic instrument
cluster
This light comes on when either the
COAST/SET or RES/ACCEL controls are pressed. It turns off when the
cruise cancel control is pressed, the brake is applied or the ignition is
turned to the OFF position.
O/D off
Illuminates when the overdrive
function has been turned OFF using
the Transmission Control Switch
(TCS) on the gearshift. If the light
does not come on or the light flashes steadily, have your vehicle serviced
as soon as possible, damage to the transmission could occur.
Door ajar
•Standard analog instrument
cluster
•Optional electronic instrument
cluster
Illuminates when any door is open (or not fully closed).
Turn signals
Illuminates when the turn signals or
the hazard lights are turned on. If
the lights stay on continuously or
flash faster, check for a burned-out bulb.
CRUISE
O/D
OFF
Instrument Cluster
14
Page 77 of 256

Map lamps (if equipped)
The map lamps are located on the
overhead console and the side roof
panels. Press the lamp lens to
activate the lamps.
BULBS
Replacing exterior bulbs
It is a good idea to check the operation of the following lights frequently:
•Headlamps
•Turn signals
•Cornering lamps
•High-mount brakelamp
•Tail lamps
•Brakelamps
•Backup lamps
•License plate lamps
Do not remove lamp bulbs unless they will be replaced immediately. If a
bulb is removed for an extended period of time, contaminants may enter
the lamp housings and affect performance.
Using the right bulbs
Replacement bulbs are specified in the chart below. Headlamp bulbs
must be marked with an authorized“D.O.T.”for North America and an
“E”for Europe to assure lamp performance, light brightness and pattern
and safe visibility. The correct bulbs will not damage the lamp assembly
or void the lamp assembly warranty and will provide quality bulb burn
time.
Lights
77
Page 78 of 256

Function Number of
bulbsTrade number
Parking lamps (front) 2 3157
Headlamps 2 9007
License plate lamps 2 194
High mount brakelamps 2 912
Backup lamps 2 3156
Brakelamps 1 3157
Cornering lamps 2 3157
Side marker lamps 2 194
Cargo liftgate lamp 1 211-2
Dome lamps 2 211-2
Turn signal lamps (front) 2 3157 AK
(amber)
Turn signal lamps (rear) 2 3156
Tail Lamps 2 3157
Personal reading lamps 2 578
Stepwell lamps 4 194
Glove compartment 1 194
All replacement bulbs are clear in color except where noted.
To replace all instrument panel lights - see your dealer.
Lights
78
Page 81 of 256

Replacing front turn signal lamp bulbs
1. Remove bulb socket by turning it
counterclockwise, then slide it out
of the lamp assembly.
2. Carefully pull bulb straight out of
the socket and push in the new
bulb.
3. To complete installation, follow
removal procedure in the reverse
order.
Replacing high-mount brakelamp bulbs
1. Remove the two screws and lamp
assembly from vehicle.
2. Remove the bulb by rotating
socket counterclockwise and pulling
it out of the lamp assembly.
3. Pull bulb straight out of socket
and push in the new bulb.
4. To complete installation, follow
removal procedure in the reverse
order.
Lights
81
Page 82 of 256

Replacing tail lamp/backup/turn signal lamp bulbs
1. Open the liftgate to expose the
lamp assemblies.
2. Remove the two screws from the
lamp assembly.
3. Carefully remove the lamp
assembly by pulling it rearward.
4. Rotate bulb socket
counterclockwise and remove from
lamp assembly.
5. Carefully pull bulb straight out of
the socket and push in the new
bulb.
6. To complete installation, follow
removal procedure in the reverse
order.
Replacing license plate lamp bulbs
1. Remove two screws, grommets
and the license plate lamp assembly
from the liftgate.
2. Remove bulb socket by turning
counterclockwise.
3. Carefully pull the bulb from the
socket and push in the new bulb.
4. Install the lamp assembly on
liftgate with two grommets, ensuring
the grommets are pushed all the
way in to the liftgate and secure
with two screws.
Lights
82
Page 251 of 256

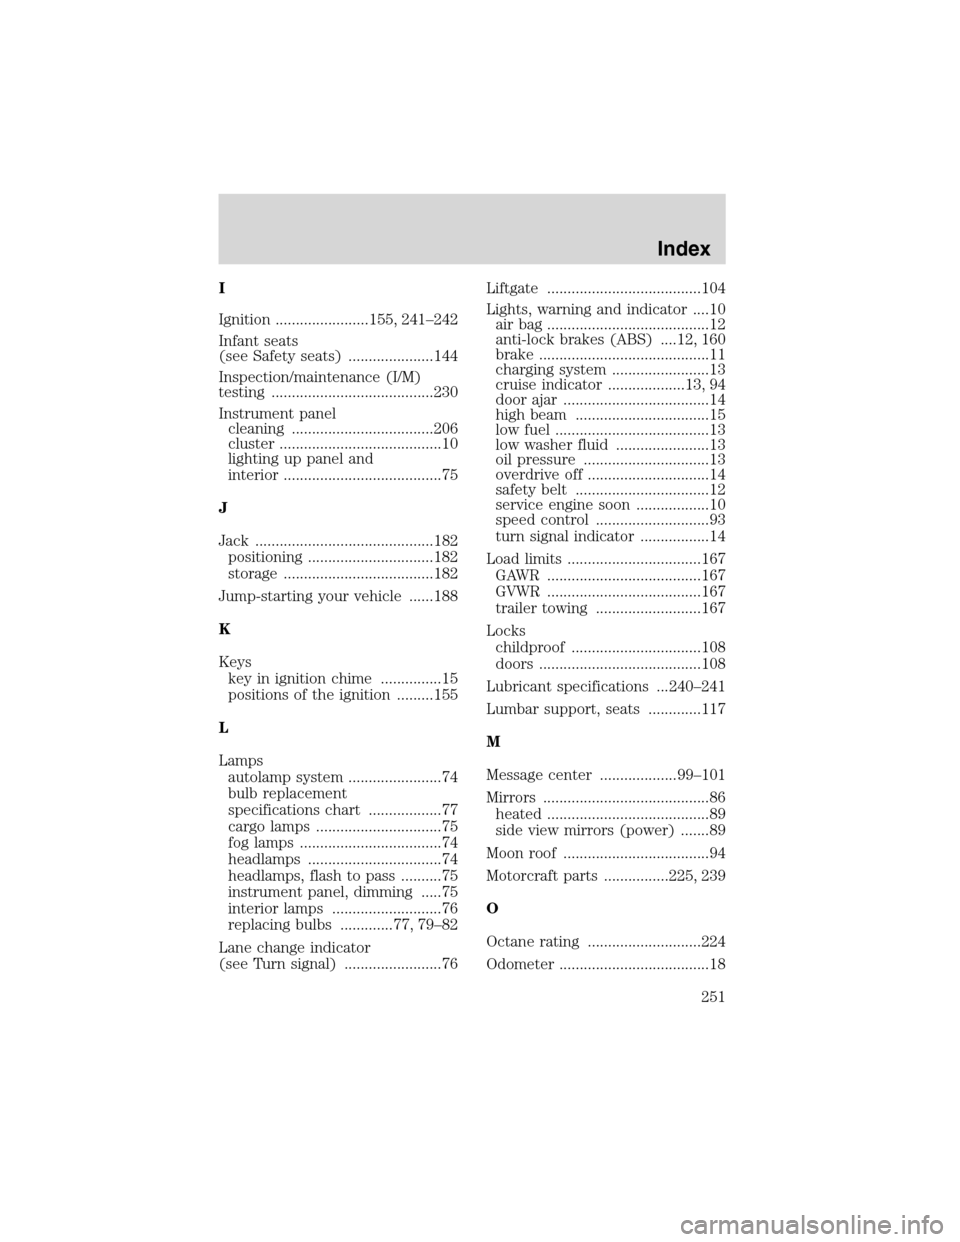
I
Ignition .......................155, 241–242
Infant seats
(see Safety seats) .....................144
Inspection/maintenance (I/M)
testing ........................................230
Instrument panel
cleaning ...................................206
cluster ........................................10
lighting up panel and
interior .......................................75
J
Jack ............................................182
positioning ...............................182
storage .....................................182
Jump-starting your vehicle ......188
K
Keys
key in ignition chime ...............15
positions of the ignition .........155
L
Lamps
autolamp system .......................74
bulb replacement
specifications chart ..................77
cargo lamps ...............................75
fog lamps ...................................74
headlamps .................................74
headlamps, flash to pass ..........75
instrument panel, dimming .....75
interior lamps ...........................76
replacing bulbs .............77, 79–82
Lane change indicator
(see Turn signal) ........................76Liftgate ......................................104
Lights, warning and indicator ....10
air bag ........................................12
anti-lock brakes (ABS) ....12, 160
brake ..........................................11
charging system ........................13
cruise indicator ...................13, 94
door ajar ....................................14
high beam .................................15
low fuel ......................................13
low washer fluid .......................13
oil pressure ...............................13
overdrive off ..............................14
safety belt .................................12
service engine soon ..................10
speed control ............................93
turn signal indicator .................14
Load limits .................................167
GAWR ......................................167
GVWR ......................................167
trailer towing ..........................167
Locks
childproof ................................108
doors ........................................108
Lubricant specifications ...240–241
Lumbar support, seats .............117
M
Message center ...................99–101
Mirrors .........................................86
heated ........................................89
side view mirrors (power) .......89
Moon roof ....................................94
Motorcraft parts ................225, 239
O
Octane rating ............................224
Odometer .....................................18
Index
251