tow MINI 3 door 2013 Owner's Manual
[x] Cancel search | Manufacturer: MINI, Model Year: 2013, Model line: 3 door, Model: MINI 3 door 2013Pages: 233, PDF Size: 17.19 MB
Page 27 of 233
Panic mode
You can trigger the alarm system if you find
yourself in a dangerous situation.
Press the button on the remote control
for at least 3 seconds.
To switch off the alarm: press any button.
Unlock the tailgate Press the button on the remote control
for approx. 1 second.
The tailgate opens a little, regardless of
whether it was previously locked or unlocked.
Depending on the version and the country var‐
iant, it is possible to set whether the doors are
also unlocked. Settings, refer to page 26.
Do not place the remote control in the
cargo area
Take the remote control with you and do not
leave it in the cargo area; otherwise, the re‐
mote control is locked inside the vehicle when
the tailgate is closed. ◀
The tailgate is locked again as soon as it is
pushed closed.
Provide edge protection
Sharp or angular objects can hit the rear
window while driving and damage the heating
wires of the rear window. Provide edge protec‐
tion. ◀
Malfunction If the vehicle can no longer be locked or un‐
locked with the remote control, the battery
may be discharged or there may be interfer‐
ence from external sources such as mobile
phones, metal objects, overhead power lines,
transmission towers, etc.
If this occurs, lock or unlock the driver's door at
the door lock using the integrated key.For US owners only
The transmitter and receiver units comply with
part 15 of the FCC/Federal Communication
Commission regulations. Operation is governed
by the following:
FCC ID:▷LX8766S.▷LX8766E.▷LX8CAS.▷LX8CAS2.▷MYTCAS4.
Compliance statement:
This device complies with part 15 of the FCC
Rules. Operation is subject to the following two
conditions:
▷This device may not cause harmful interfer‐
ence, and▷this device must accept any interference re‐
ceived, including interference that may
cause undesired operation.
Any unauthorized modifications or changes to
these devices could void the user's authority to
operate this equipment.
Without remote control
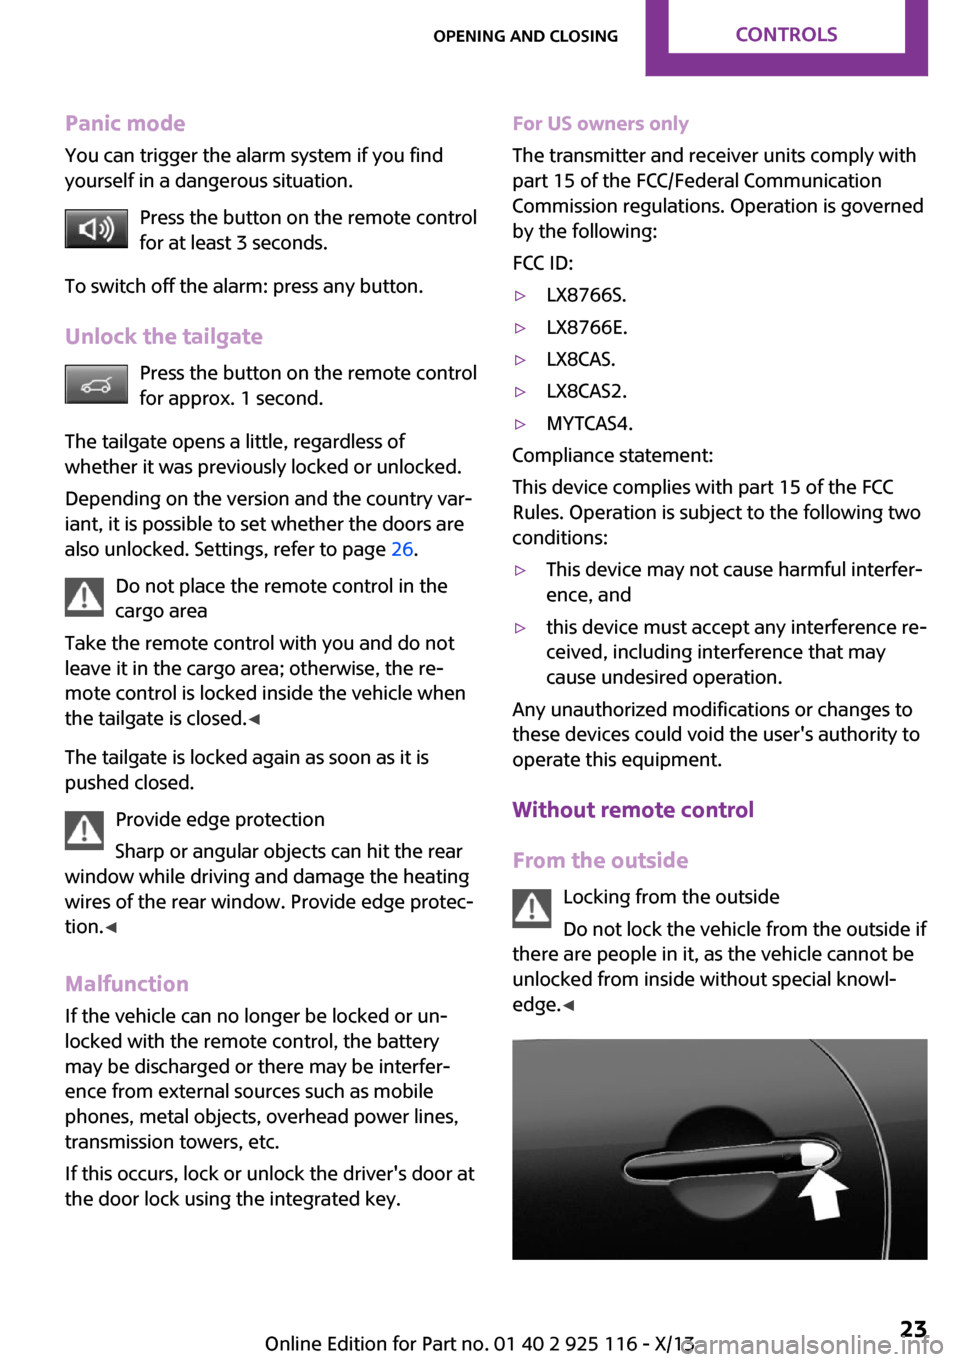
From the outside Locking from the outside
Do not lock the vehicle from the outside if
there are people in it, as the vehicle cannot be
unlocked from inside without special knowl‐
edge. ◀
Seite 23Opening and closingControls23
Online Edition for Part no. 01 40 2 925 116 - X/13
Page 30 of 233
Locking
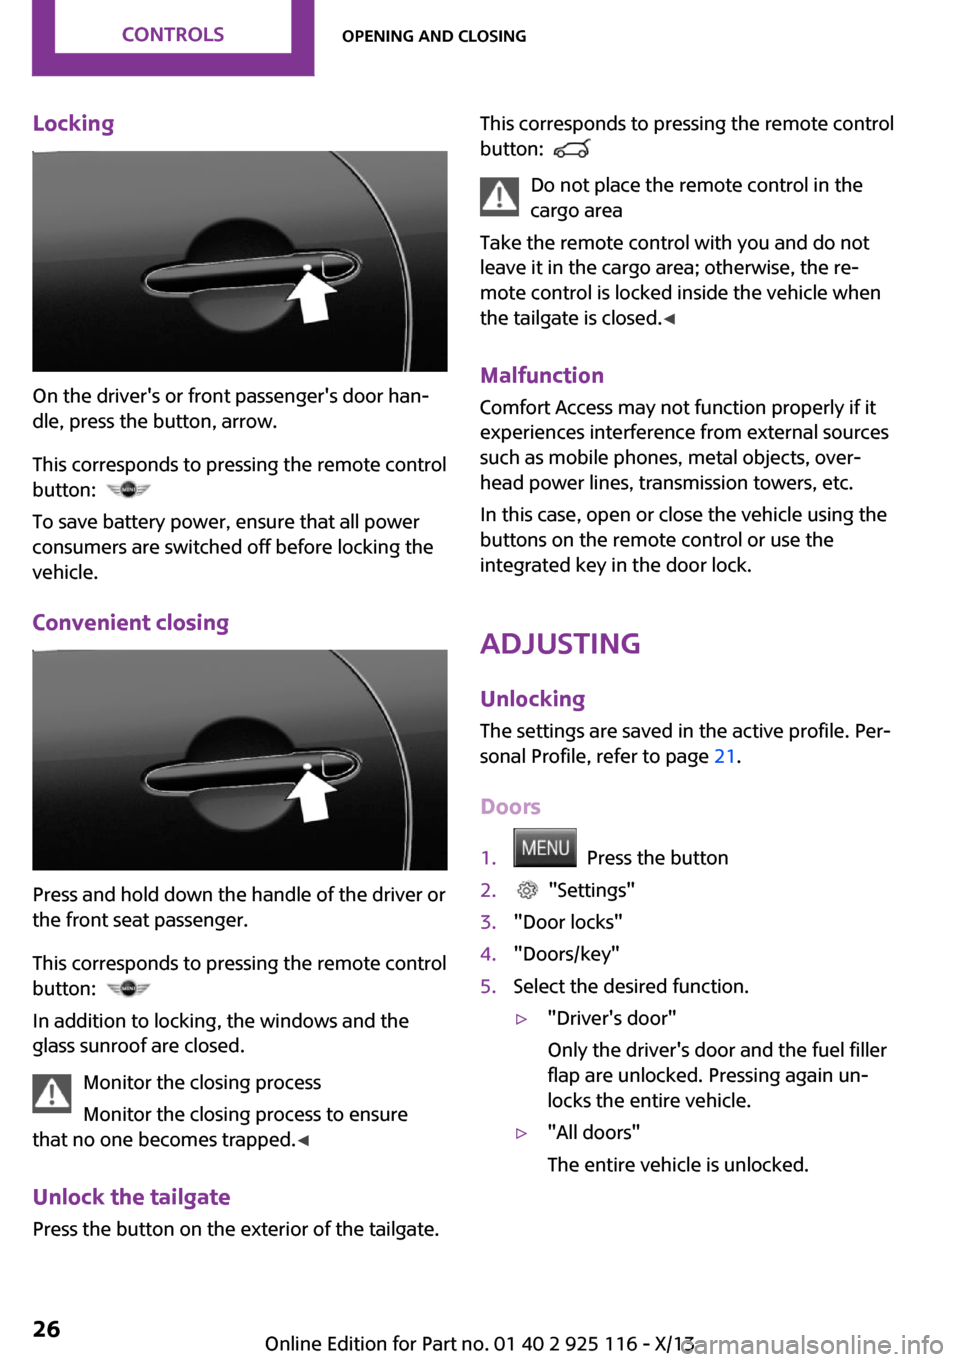
On the driver's or front passenger's door han‐
dle, press the button, arrow.
This corresponds to pressing the remote control
button:
To save battery power, ensure that all power
consumers are switched off before locking the
vehicle.
Convenient closing
Press and hold down the handle of the driver or
the front seat passenger.
This corresponds to pressing the remote control
button:
In addition to locking, the windows and the
glass sunroof are closed.
Monitor the closing process
Monitor the closing process to ensure
that no one becomes trapped. ◀
Unlock the tailgate Press the button on the exterior of the tailgate.
This corresponds to pressing the remote control
button:
Do not place the remote control in the
cargo area
Take the remote control with you and do not
leave it in the cargo area; otherwise, the re‐
mote control is locked inside the vehicle when
the tailgate is closed. ◀
Malfunction Comfort Access may not function properly if it
experiences interference from external sources
such as mobile phones, metal objects, over‐
head power lines, transmission towers, etc.
In this case, open or close the vehicle using the
buttons on the remote control or use the
integrated key in the door lock.
Adjusting Unlocking The settings are saved in the active profile. Per‐
sonal Profile, refer to page 21.
Doors
1. Press the button2. "Settings"3."Door locks"4."Doors/key"5.Select the desired function.▷"Driver's door"
Only the driver's door and the fuel filler
flap are unlocked. Pressing again un‐
locks the entire vehicle.▷"All doors"
The entire vehicle is unlocked.Seite 26ControlsOpening and closing26
Online Edition for Part no. 01 40 2 925 116 - X/13
Page 31 of 233
Tailgate
Depending on the equipment version and
country variant, this setting is not offered in
some cases.1. Press the button2. "Settings"3."Door locks"4."Tailgate"5.Select the desired function.▷"Tailgate"
Only the tailgate is unlocked.▷"Tailgate + door(s)"
The tailgate and the doors are un‐
locked.
Locking
The settings are saved in the active profile. Per‐
sonal Profile, refer to page 21.
1. Press the button2. "Settings"3."Door locks"4."Doors/key"5.Select the desired setting.▷"Lock if no door is opened"
The vehicle locks automatically after a
short period of time if a door is not
opened.▷"Lock after starting to drive"
The vehicle locks automatically after
you drive away.
Confirmation signals from the vehicle
1. Press the button2. "Settings"3."Door locks"4.Select the desired setting.▷"Flash for lock/unlock"
The unlocking is acknowledged by two
flashes, the locking by one.▷"Acoustic warning"
The unlocking is acknowledged by one
honk of the horn.
Alarm system
The concept
When the vehicle is locked, the vehicle alarm
system responds to:
▷Opening of a door, the hood or the tailgate.▷Movements in the vehicle.▷Changes in the vehicle tilt, e.g., during at‐
tempts to steal a wheel or when towing the
car.▷Interruptions in battery voltage.
The alarm system briefly indicates tampering:
▷Acoustic alarm.▷By switching on the hazard warning system.▷By flashing the daytime running lights.
Arming and disarming the alarm system
When you lock or unlock the vehicle, either
with the remote control or via the Comfort Ac‐
cess at the door lock, the alarm system is
armed or disarmed at the same time.
Door lock and armed alarm system The alarm system is triggered when the door is
opened, if the vehicle is unlocked via the door
lock.
In order to terminate this alarm, unlock vehicle
with the remote control or switch on the igni‐
tion, if necessary, by emergency detection of
the remote control.
Seite 27Opening and closingControls27
Online Edition for Part no. 01 40 2 925 116 - X/13
Page 32 of 233
Tailgate and armed alarm systemThe tailgate can be opened with the remotecontrol even when the alarm system is armed.
Press the button on the remote control
for approx. 1 second.
Depending on the version and the country var‐
iant, it is possible to set whether the doors are
also unlocked. Settings, refer to page 26.
The tailgate is somewhat raised.
If the doors were also unlocked with the tail‐
gate, the alarm system is disarmed.
After the tailgate is closed, it is locked and
monitored again if the doors are locked. The
hazard warning system flashes once.
Panic mode You can trigger the alarm system if you find
yourself in a dangerous situation.
Press the button on the remote control
for at least 3 seconds.
To switch off the alarm: press any button.
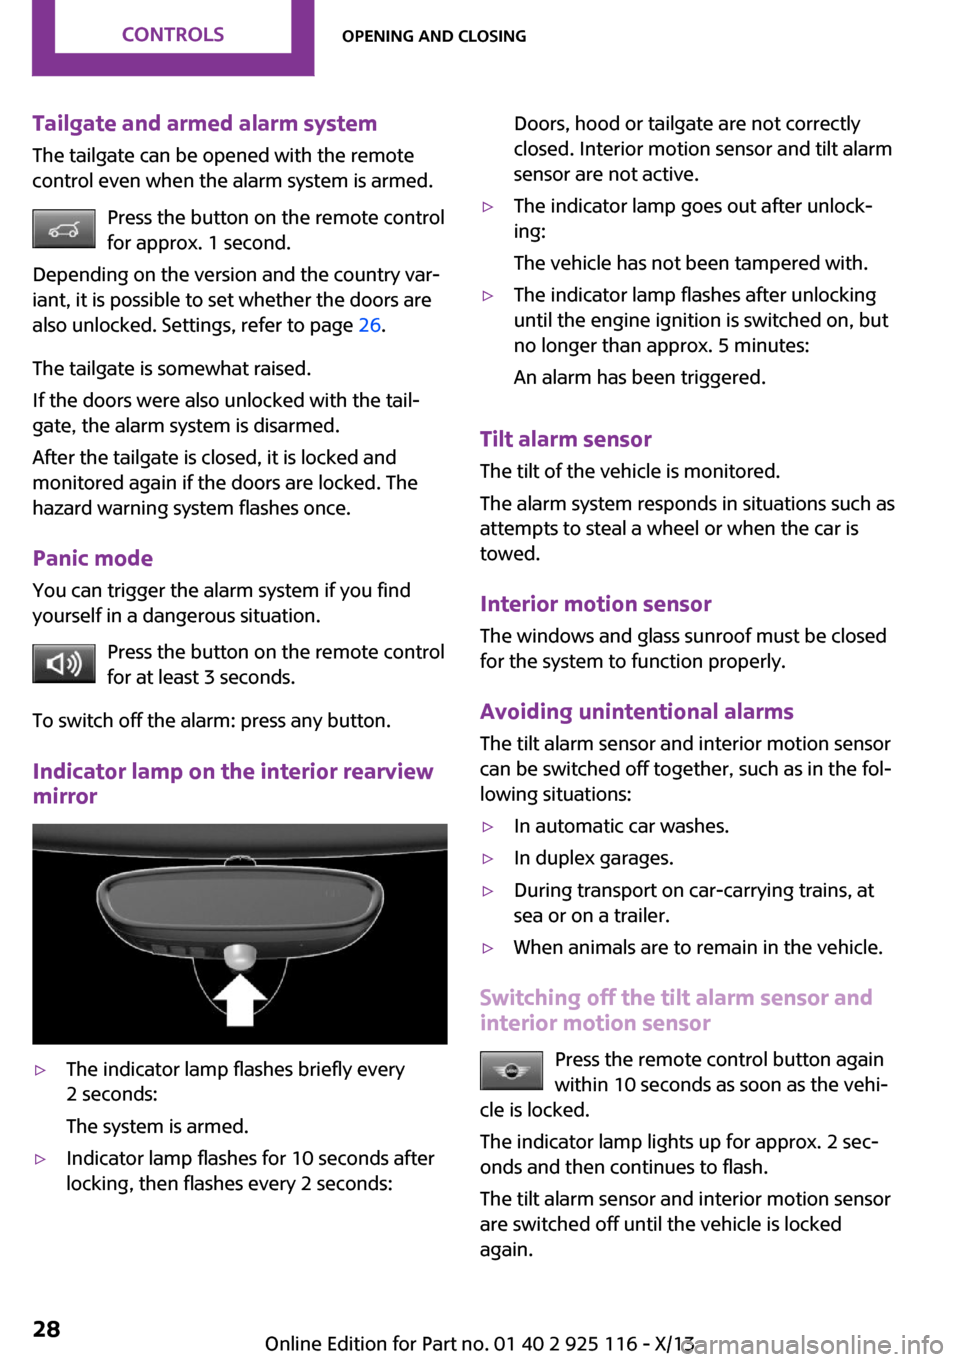
Indicator lamp on the interior rearview
mirror▷The indicator lamp flashes briefly every
2 seconds:
The system is armed.▷Indicator lamp flashes for 10 seconds after
locking, then flashes every 2 seconds:Doors, hood or tailgate are not correctly
closed. Interior motion sensor and tilt alarm
sensor are not active.▷The indicator lamp goes out after unlock‐
ing:
The vehicle has not been tampered with.▷The indicator lamp flashes after unlocking
until the engine ignition is switched on, but
no longer than approx. 5 minutes:
An alarm has been triggered.
Tilt alarm sensor The tilt of the vehicle is monitored.
The alarm system responds in situations such as
attempts to steal a wheel or when the car is
towed.
Interior motion sensor The windows and glass sunroof must be closed
for the system to function properly.
Avoiding unintentional alarms
The tilt alarm sensor and interior motion sensor
can be switched off together, such as in the fol‐
lowing situations:
▷In automatic car washes.▷In duplex garages.▷During transport on car-carrying trains, at
sea or on a trailer.▷When animals are to remain in the vehicle.
Switching off the tilt alarm sensor and
interior motion sensor
Press the remote control button again
within 10 seconds as soon as the vehi‐
cle is locked.
The indicator lamp lights up for approx. 2 sec‐
onds and then continues to flash.
The tilt alarm sensor and interior motion sensor
are switched off until the vehicle is locked
again.
Seite 28ControlsOpening and closing28
Online Edition for Part no. 01 40 2 925 116 - X/13
Page 58 of 233
The selected drive mode is briefly displayed in
the instrument cluster, followed by the current
one.
Manual mode M/S: prevent automatic upshifting
Once maximum engine speed is attained, M/S
manual mode is automatically upshifted as
needed.
For vehicles with Sport automatic transmission,
automatic shift operations are not performed if
one of the following conditions is met:▷DSC is deactivated.▷TRACTION is activated.
In addition, the kickdown is deactivated.
Ending the sport program/manual
mode
Push the gear selector lever to the right.
D is displayed in the instrument cluster.
Shift paddles for Sport automatic
transmission
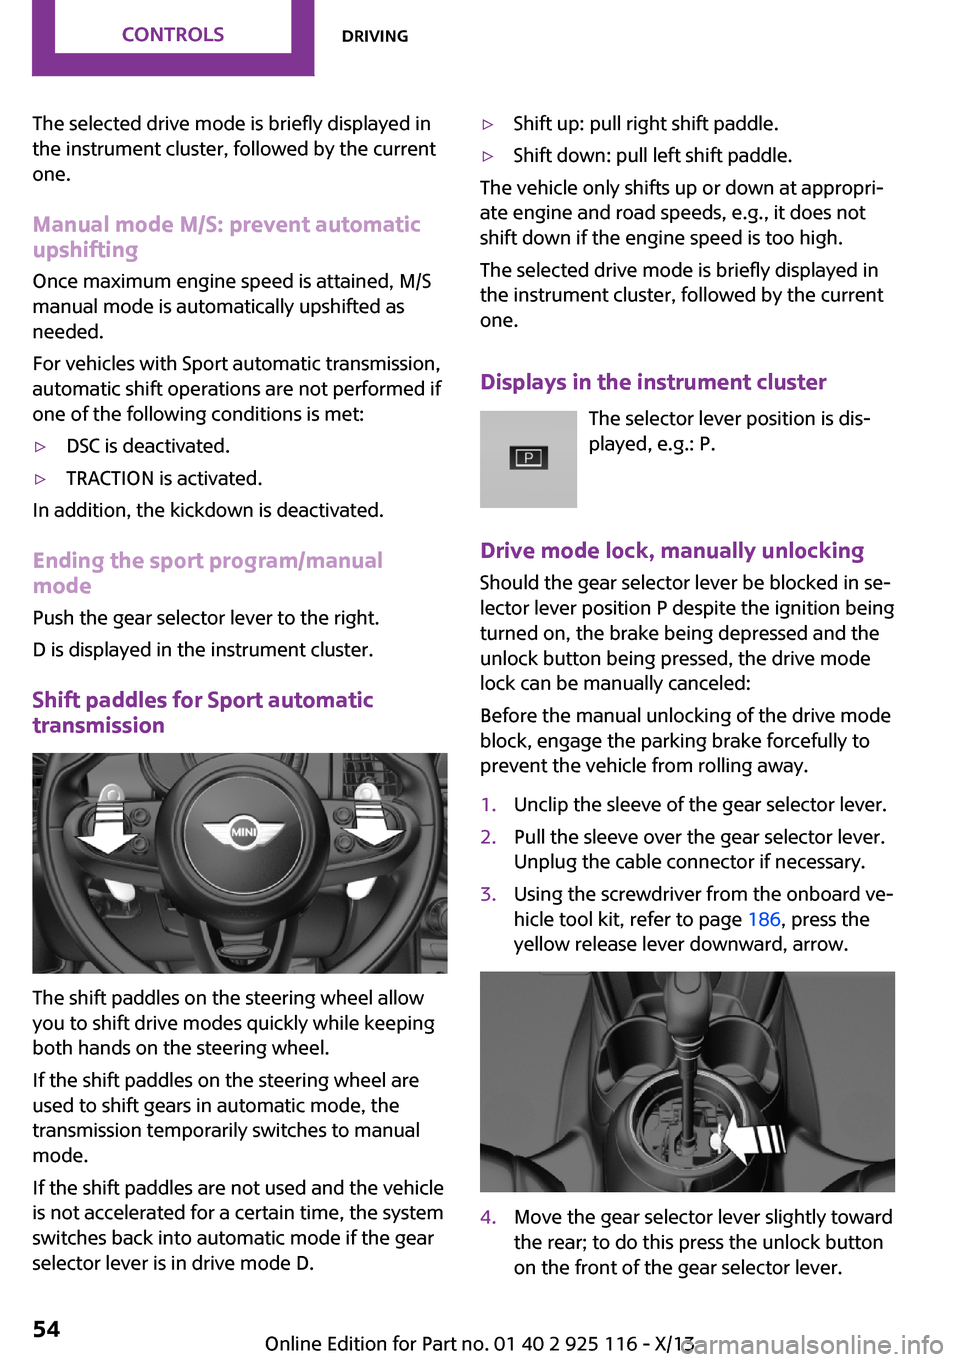
The shift paddles on the steering wheel allow
you to shift drive modes quickly while keeping
both hands on the steering wheel.
If the shift paddles on the steering wheel are
used to shift gears in automatic mode, the
transmission temporarily switches to manual
mode.
If the shift paddles are not used and the vehicle
is not accelerated for a certain time, the system
switches back into automatic mode if the gear
selector lever is in drive mode D.
▷Shift up: pull right shift paddle.▷Shift down: pull left shift paddle.
The vehicle only shifts up or down at appropri‐
ate engine and road speeds, e.g., it does not
shift down if the engine speed is too high.
The selected drive mode is briefly displayed in
the instrument cluster, followed by the current
one.
Displays in the instrument cluster The selector lever position is dis‐
played, e.g.: P.
Drive mode lock, manually unlocking Should the gear selector lever be blocked in se‐
lector lever position P despite the ignition being
turned on, the brake being depressed and the
unlock button being pressed, the drive mode
lock can be manually canceled:
Before the manual unlocking of the drive mode
block, engage the parking brake forcefully to
prevent the vehicle from rolling away.
1.Unclip the sleeve of the gear selector lever.2.Pull the sleeve over the gear selector lever.
Unplug the cable connector if necessary.3.Using the screwdriver from the onboard ve‐
hicle tool kit, refer to page 186, press the
yellow release lever downward, arrow.4.Move the gear selector lever slightly toward
the rear; to do this press the unlock button
on the front of the gear selector lever.Seite 54ControlsDriving54
Online Edition for Part no. 01 40 2 925 116 - X/13
Page 66 of 233
nage is present, but passing would not be
permitted.
Hints
Speed limits and no passing zones when towing
a trailer are not shown.
Personal judgment
The system cannot serve as a substitute
for the driver's personal judgment of the traffic
situation.
The system assists the driver and does not re‐
place the human eye. ◀
At a glance
Camera
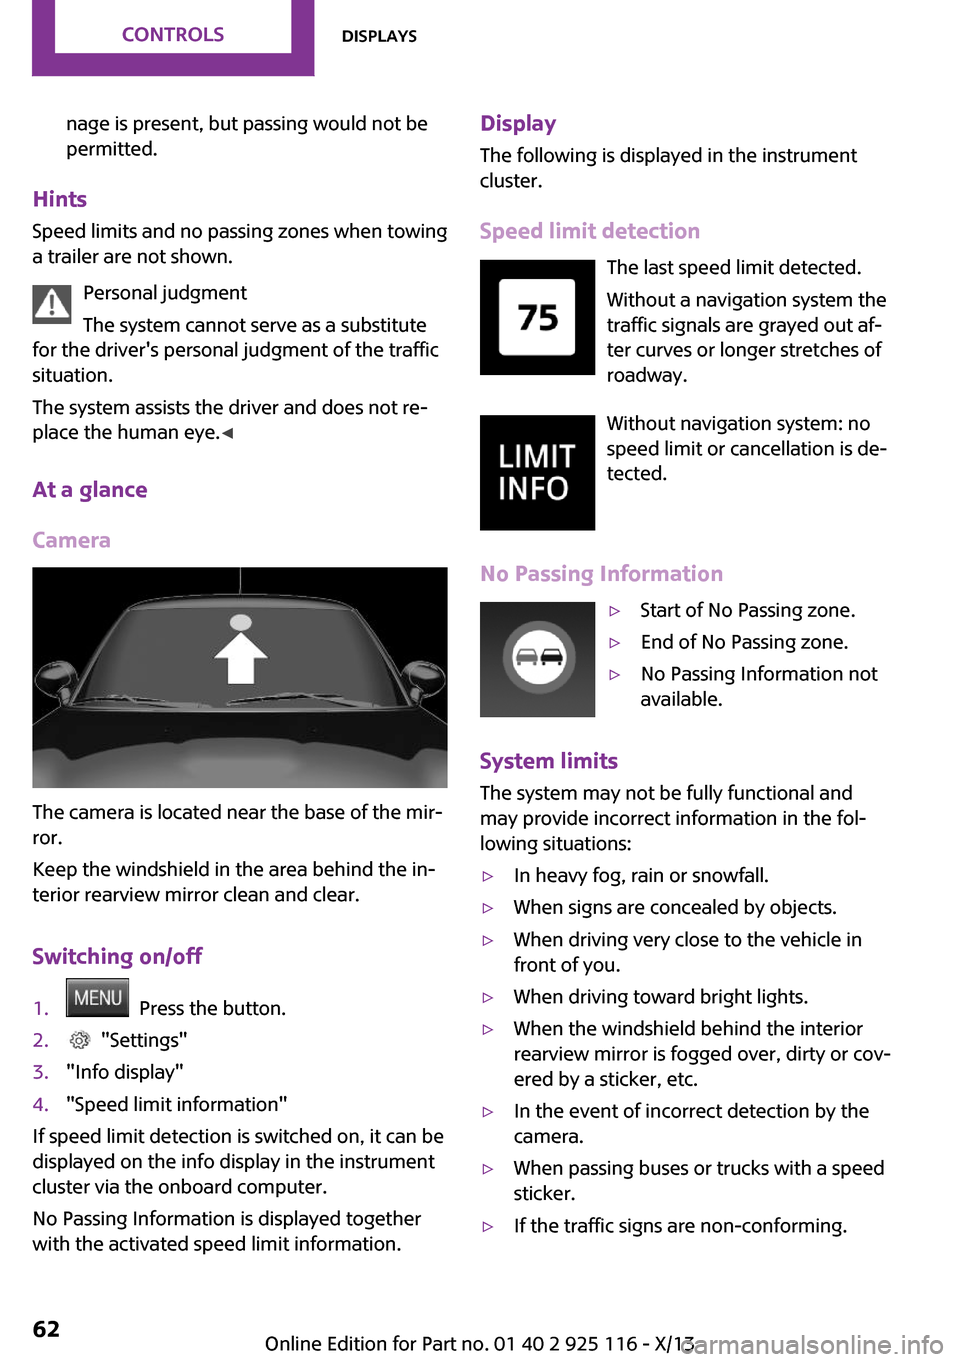
The camera is located near the base of the mir‐
ror.
Keep the windshield in the area behind the in‐
terior rearview mirror clean and clear.
Switching on/off
1. Press the button.2. "Settings"3."Info display"4."Speed limit information"
If speed limit detection is switched on, it can be
displayed on the info display in the instrument
cluster via the onboard computer.
No Passing Information is displayed together
with the activated speed limit information.
Display
The following is displayed in the instrument
cluster.
Speed limit detection The last speed limit detected.Without a navigation system the
traffic signals are grayed out af‐ ter curves or longer stretches of
roadway.
Without navigation system: no
speed limit or cancellation is de‐
tected.
No Passing Information▷Start of No Passing zone.▷End of No Passing zone.▷No Passing Information not
available.
System limits
The system may not be fully functional and
may provide incorrect information in the fol‐
lowing situations:
▷In heavy fog, rain or snowfall.▷When signs are concealed by objects.▷When driving very close to the vehicle in
front of you.▷When driving toward bright lights.▷When the windshield behind the interior
rearview mirror is fogged over, dirty or cov‐
ered by a sticker, etc.▷In the event of incorrect detection by the
camera.▷When passing buses or trucks with a speed
sticker.▷If the traffic signs are non-conforming.Seite 62ControlsDisplays62
Online Edition for Part no. 01 40 2 925 116 - X/13
Page 72 of 233
The setting is stored for the remote control cur‐
rently in use.
Cornering lamp
Switch position
: during cornering, the cor‐
nering lamp also lights the interior area of the
curve. Below a speed of approx.
25 mph/40 km/h when the flasher is switched
on and the steering angle is detected, there is
automatic activation.
Malfunction
A Check Control message is displayed.
Cornering light is disrupted or failed. Have the
system checked as soon as possible.
High-beam Assistant The concept
When the low beams are switched on, this sys‐
tem automatically switches the high beams on
and off. The procedure is controlled by a sensor
on the front of the interior rearview mirror. The
assistant ensures that the high beams are
switched on whenever the traffic situation al‐
lows. The driver can intervene at any time and
switch the high beams on and off as usual.
Activating
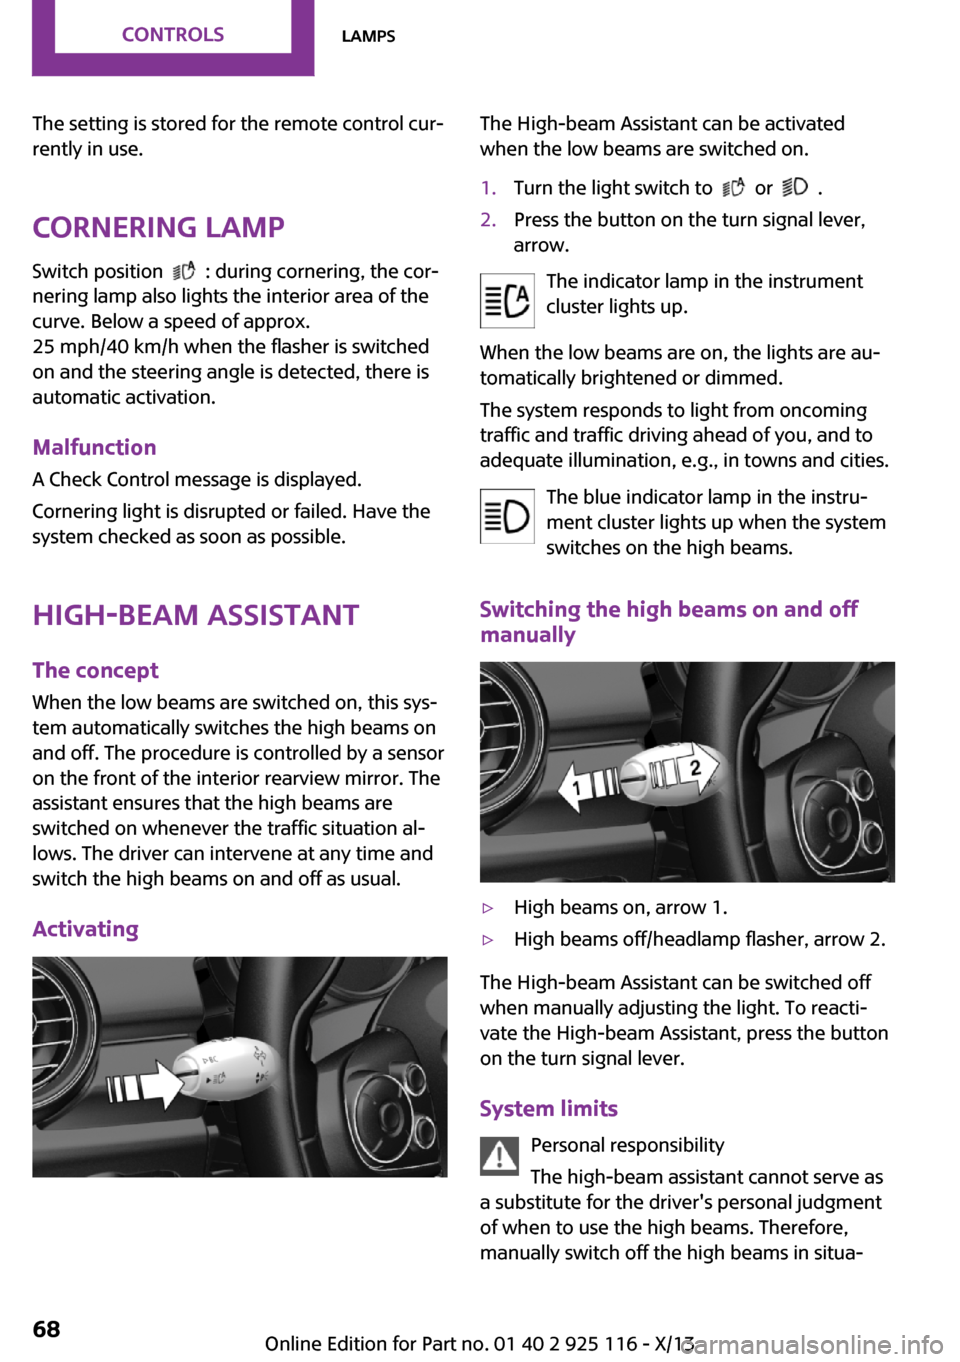
The High-beam Assistant can be activated
when the low beams are switched on.1.Turn the light switch to or .2.Press the button on the turn signal lever,
arrow.
The indicator lamp in the instrument
cluster lights up.
When the low beams are on, the lights are au‐
tomatically brightened or dimmed.
The system responds to light from oncoming
traffic and traffic driving ahead of you, and to
adequate illumination, e.g., in towns and cities.
The blue indicator lamp in the instru‐
ment cluster lights up when the system
switches on the high beams.
Switching the high beams on and off
manually
▷High beams on, arrow 1.▷High beams off/headlamp flasher, arrow 2.
The High-beam Assistant can be switched off
when manually adjusting the light. To reacti‐
vate the High-beam Assistant, press the button
on the turn signal lever.
System limits Personal responsibility
The high-beam assistant cannot serve as
a substitute for the driver's personal judgment
of when to use the high beams. Therefore,
manually switch off the high beams in situa‐
Seite 68ControlsLamps68
Online Edition for Part no. 01 40 2 925 116 - X/13
Page 73 of 233
tions where this is required to avoid a safety
risk. ◀
The system is not fully functional in situations
such as the following, and driver intervention
may be necessary:▷In very unfavorable weather conditions,
such as fog or heavy precipitation.▷In detecting poorly-lit road users, such as
pedestrians, cyclists, horseback riders and
wagons; when driving close to train or ship
traffic; and at animal crossings.▷In tight curves, on hilltops or in depressions,
in cross traffic or half-obscured oncoming
traffic on freeways.▷In poorly-lit towns and cities and in the
presence of highly reflective signs.▷At low speeds.▷When the windshield behind the interior
rearview mirror is fogged over, dirty or cov‐
ered with stickers, etc.
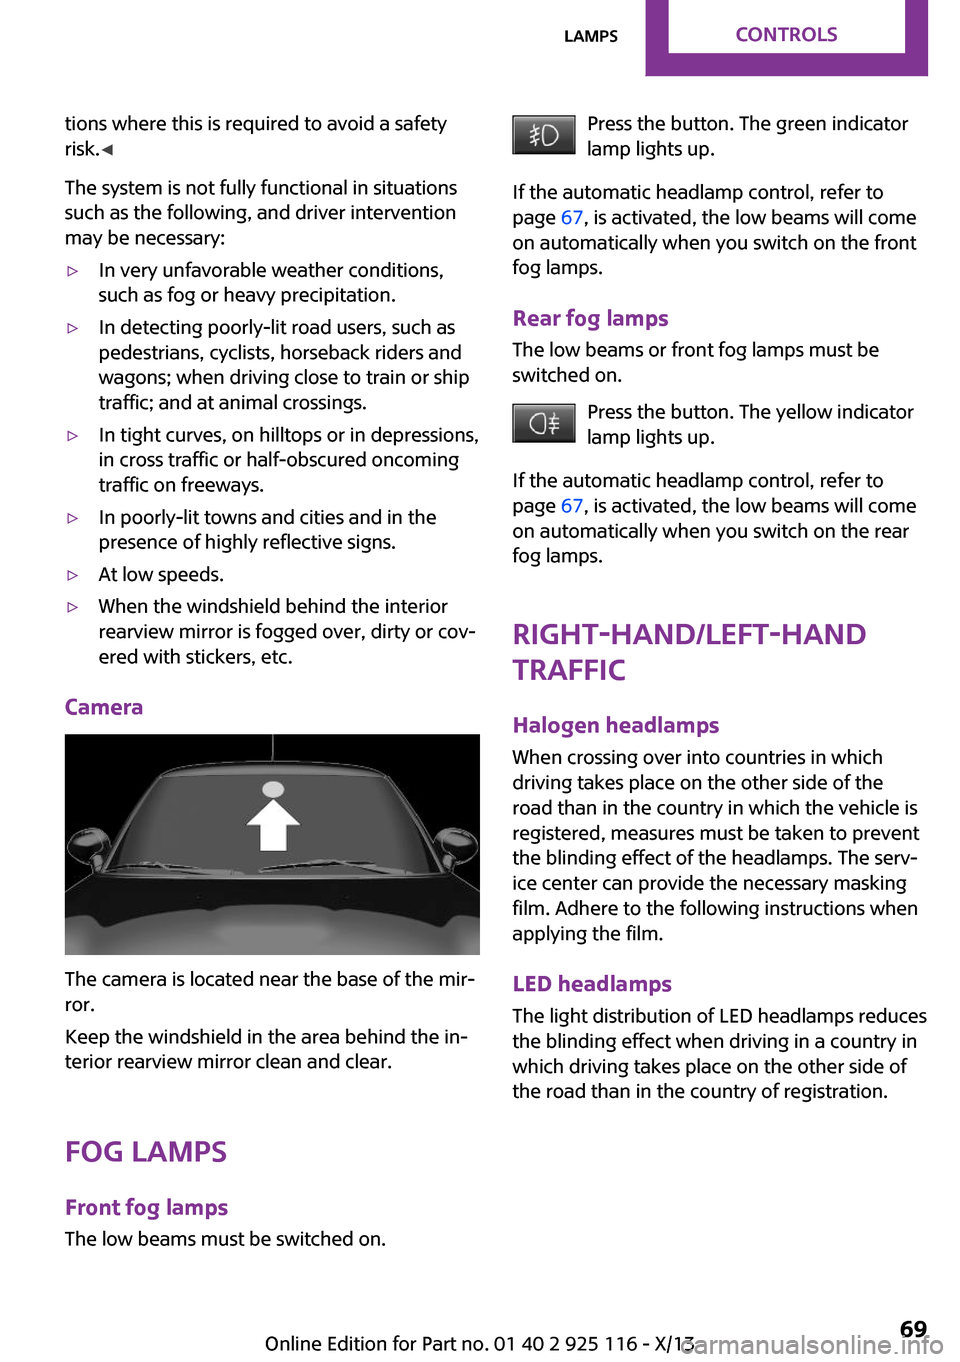
Camera
The camera is located near the base of the mir‐
ror.
Keep the windshield in the area behind the in‐
terior rearview mirror clean and clear.
Fog lamps Front fog lamps
The low beams must be switched on.
Press the button. The green indicator
lamp lights up.
If the automatic headlamp control, refer to
page 67, is activated, the low beams will come
on automatically when you switch on the front
fog lamps.
Rear fog lamps The low beams or front fog lamps must be
switched on.
Press the button. The yellow indicator
lamp lights up.
If the automatic headlamp control, refer to
page 67, is activated, the low beams will come
on automatically when you switch on the rear
fog lamps.
Right-hand/left-hand
traffic
Halogen headlamps When crossing over into countries in which
driving takes place on the other side of the
road than in the country in which the vehicle is
registered, measures must be taken to prevent
the blinding effect of the headlamps. The serv‐
ice center can provide the necessary masking
film. Adhere to the following instructions when
applying the film.
LED headlamps The light distribution of LED headlamps reduces
the blinding effect when driving in a country in
which driving takes place on the other side of
the road than in the country of registration.Seite 69LampsControls69
Online Edition for Part no. 01 40 2 925 116 - X/13
Page 86 of 233
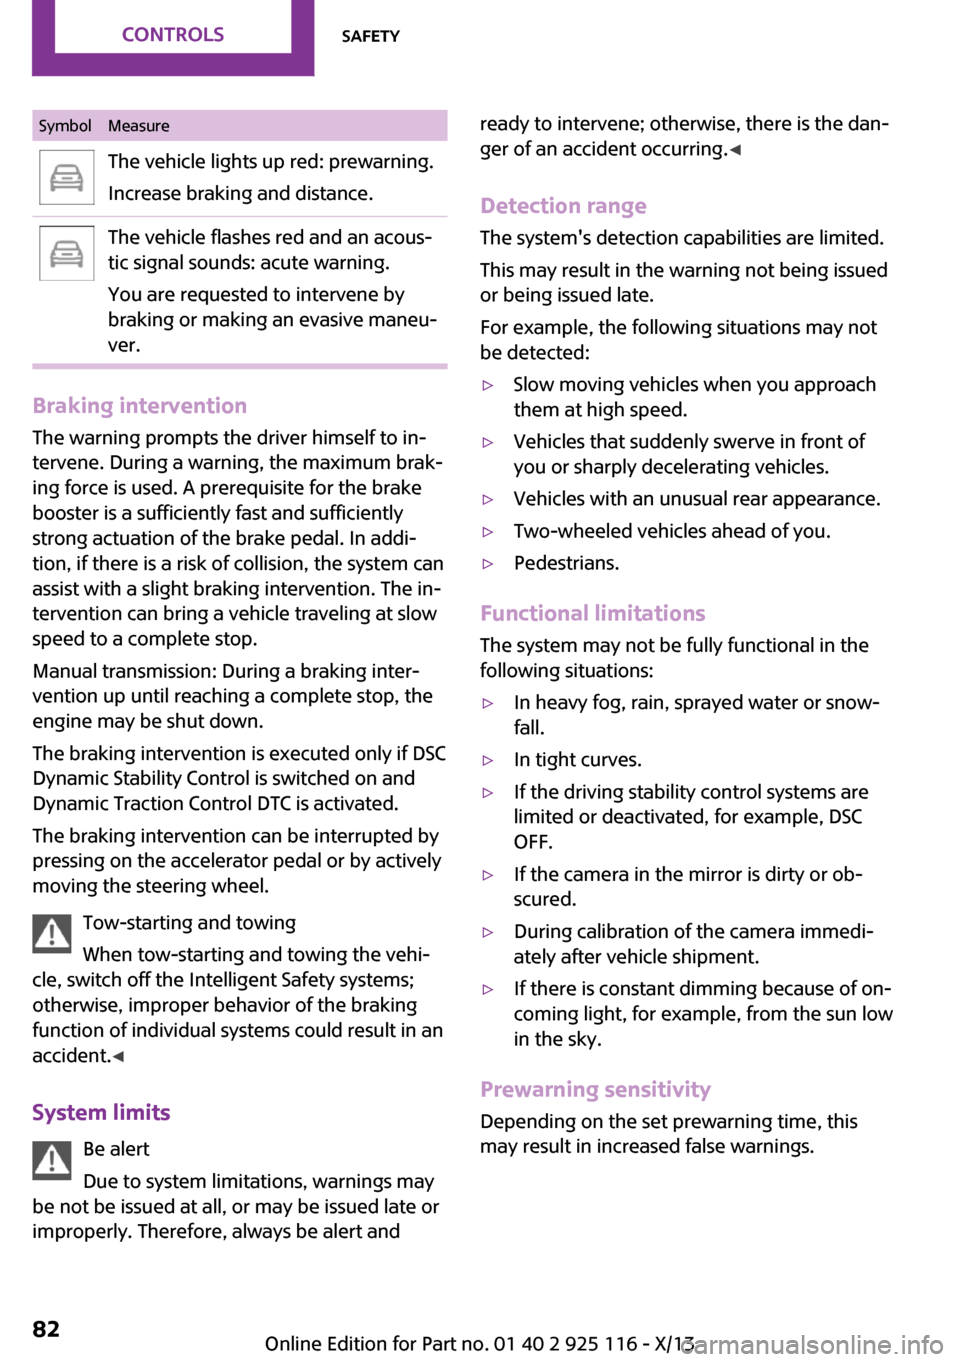
SymbolMeasureThe vehicle lights up red: prewarning.
Increase braking and distance.The vehicle flashes red and an acous‐
tic signal sounds: acute warning.
You are requested to intervene by
braking or making an evasive maneu‐
ver.
Braking intervention
The warning prompts the driver himself to in‐
tervene. During a warning, the maximum brak‐
ing force is used. A prerequisite for the brake
booster is a sufficiently fast and sufficiently
strong actuation of the brake pedal. In addi‐
tion, if there is a risk of collision, the system can
assist with a slight braking intervention. The in‐
tervention can bring a vehicle traveling at slow
speed to a complete stop.
Manual transmission: During a braking inter‐
vention up until reaching a complete stop, the
engine may be shut down.
The braking intervention is executed only if DSC
Dynamic Stability Control is switched on and
Dynamic Traction Control DTC is activated.
The braking intervention can be interrupted by
pressing on the accelerator pedal or by actively
moving the steering wheel.
Tow-starting and towing
When tow-starting and towing the vehi‐
cle, switch off the Intelligent Safety systems;
otherwise, improper behavior of the braking
function of individual systems could result in an
accident. ◀
System limits Be alert
Due to system limitations, warnings may
be not be issued at all, or may be issued late or
improperly. Therefore, always be alert and
ready to intervene; otherwise, there is the dan‐
ger of an accident occurring. ◀
Detection range The system's detection capabilities are limited.
This may result in the warning not being issued
or being issued late.
For example, the following situations may not
be detected:▷Slow moving vehicles when you approach
them at high speed.▷Vehicles that suddenly swerve in front of
you or sharply decelerating vehicles.▷Vehicles with an unusual rear appearance.▷Two-wheeled vehicles ahead of you.▷Pedestrians.
Functional limitations
The system may not be fully functional in the
following situations:
▷In heavy fog, rain, sprayed water or snow‐
fall.▷In tight curves.▷If the driving stability control systems are
limited or deactivated, for example, DSC
OFF.▷If the camera in the mirror is dirty or ob‐
scured.▷During calibration of the camera immedi‐
ately after vehicle shipment.▷If there is constant dimming because of on‐
coming light, for example, from the sun low
in the sky.
Prewarning sensitivity
Depending on the set prewarning time, this
may result in increased false warnings.
Seite 82ControlsSafety82
Online Edition for Part no. 01 40 2 925 116 - X/13
Page 88 of 233
justments can be made. The individual settings
are stored for the remote control currently in
use.
Press the button briefly:▷Intelligent Safety systems are individually
switched off according to individual setting.▷The LED lights up orange.
Press the button again:
▷All Intelligent Safety systems are switched
on.▷The LED lights up green.
Hold the button down:
▷All Intelligent Safety systems are switched
off.▷The LED goes out.
Warning with braking function
Note Adapting your speed and driving style
The warning does not relieve the driver of
the responsibility to adapt his or her driving
speed and style to the traffic conditions. ◀
Display
If a collision with a person detected in this way
is imminent, a warning symbol appears on the
instrument cluster and in the Head-up Display.
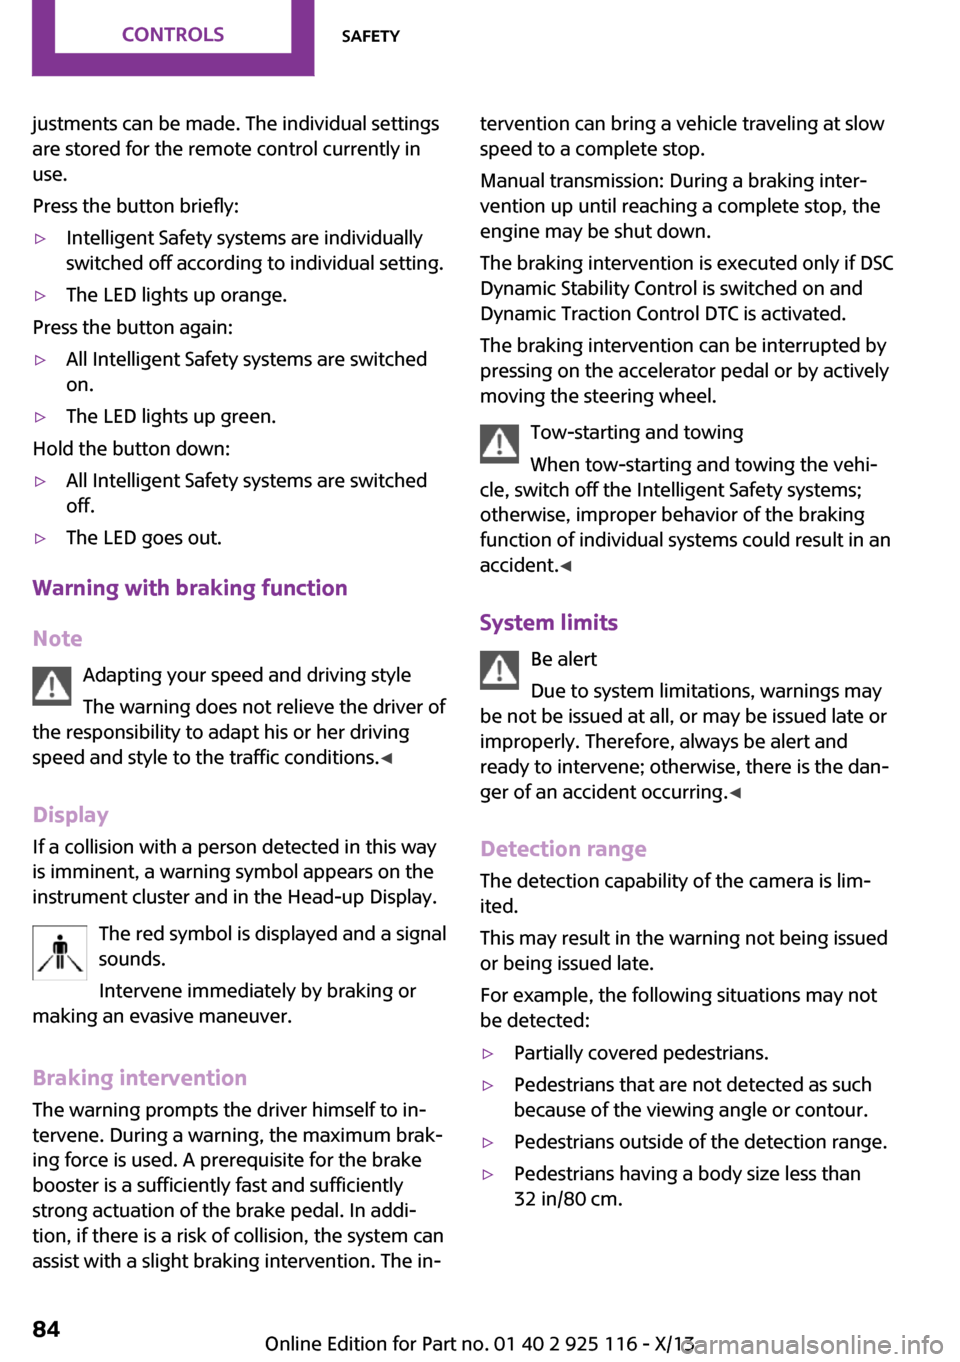
The red symbol is displayed and a signalsounds.
Intervene immediately by braking or
making an evasive maneuver.
Braking intervention
The warning prompts the driver himself to in‐
tervene. During a warning, the maximum brak‐ ing force is used. A prerequisite for the brake
booster is a sufficiently fast and sufficiently
strong actuation of the brake pedal. In addi‐
tion, if there is a risk of collision, the system can
assist with a slight braking intervention. The in‐
tervention can bring a vehicle traveling at slow
speed to a complete stop.
Manual transmission: During a braking inter‐
vention up until reaching a complete stop, the
engine may be shut down.
The braking intervention is executed only if DSC
Dynamic Stability Control is switched on and
Dynamic Traction Control DTC is activated.
The braking intervention can be interrupted by
pressing on the accelerator pedal or by actively
moving the steering wheel.
Tow-starting and towing
When tow-starting and towing the vehi‐
cle, switch off the Intelligent Safety systems;
otherwise, improper behavior of the braking
function of individual systems could result in an
accident. ◀
System limits Be alert
Due to system limitations, warnings may
be not be issued at all, or may be issued late or
improperly. Therefore, always be alert and
ready to intervene; otherwise, there is the dan‐
ger of an accident occurring. ◀
Detection range The detection capability of the camera is lim‐
ited.
This may result in the warning not being issued
or being issued late.
For example, the following situations may not
be detected:▷Partially covered pedestrians.▷Pedestrians that are not detected as such
because of the viewing angle or contour.▷Pedestrians outside of the detection range.▷Pedestrians having a body size less than
32 in/80 cm.Seite 84ControlsSafety84
Online Edition for Part no. 01 40 2 925 116 - X/13