engine MINI Clubman 2016 (Mini Connected) Owner's Guide
[x] Cancel search | Manufacturer: MINI, Model Year: 2016, Model line: Clubman, Model: MINI Clubman 2016Pages: 246, PDF Size: 5.21 MB
Page 80 of 246
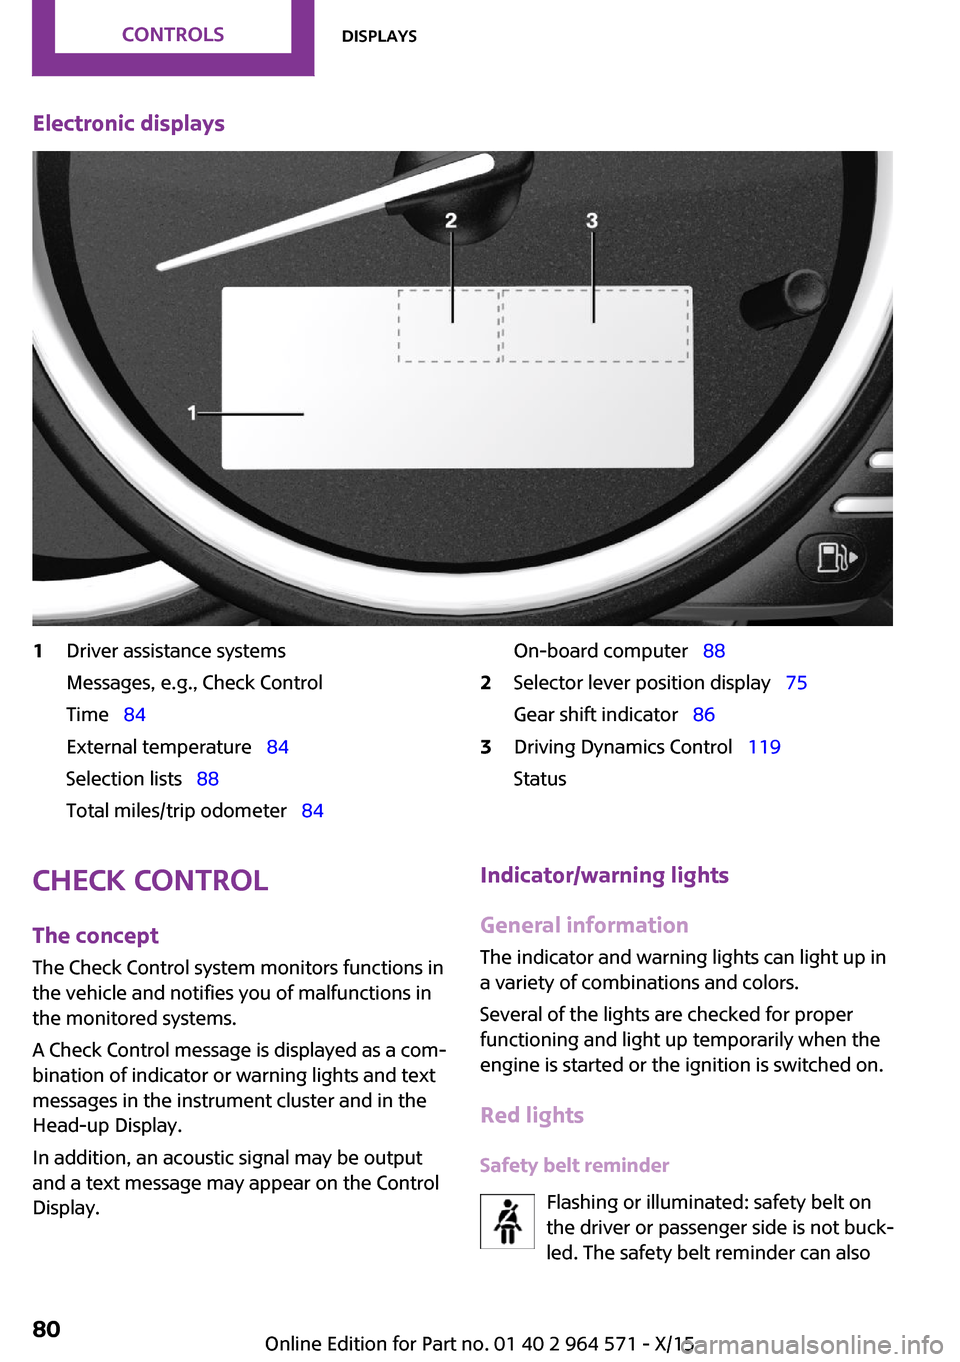
Electronic displays1Driver assistance systems
Messages, e.g., Check Control
Time 84
External temperature 84
Selection lists 88
Total miles/trip odometer 84
On-board computer 882Selector lever position display 75
Gear shift indicator 86
3Driving Dynamics Control 119
Status
Check Control
The concept
The Check Control system monitors functions in
the vehicle and notifies you of malfunctions in
the monitored systems.
A Check Control message is displayed as a com‐
bination of indicator or warning lights and text
messages in the instrument cluster and in the
Head-up Display.
In addition, an acoustic signal may be output
and a text message may appear on the Control
Display.
Indicator/warning lights
General information
The indicator and warning lights can light up in
a variety of combinations and colors.
Several of the lights are checked for proper
functioning and light up temporarily when the
engine is started or the ignition is switched on.
Red lights
Safety belt reminder
Flashing or illuminated: safety belt on
the driver or passenger side is not buck‐
led. The safety belt reminder can also
Seite 80CONTROLSDisplays80
Online Edition for Part no. 01 40 2 964 571 - X/15
Page 82 of 246

Illuminated: DSC failed. Have the system
checked by a dealer’s service center or another
qualified service center or repair shop.
For additional information, refer to Dynamic
Stability Control DSC, refer to page 117.
DSC Dynamic Stability Control is deactivated
or DTC Dynamic Traction Control is activated
Dynamic Stability Control DSC is
switched off or Dynamic Traction Con‐
trol DTC is switched on.
For additional information, refer to Dynamic
Stability Control DSC, refer to page 117, and
Dynamic Traction Control DTC, refer to
page 118.
Flat Tire Monitor FTM
The Flat Tire Monitor signals a loss of
tire inflation pressure in a tire.
Reduce your speed and stop cautiously.
Avoid sudden braking and steering maneuvers.
For additional information, refer to Flat Tire
Monitor, refer to page 108.
Tire Pressure Monitor TPM
Illuminated: the Tire Pressure Monitor
signals a loss of tire inflation pressure in
a tire.
Reduce your speed and stop cautiously. Avoid
sudden braking and steering maneuvers.
Flashing and then continuously illuminated: no
flat tire or loss of tire inflation pressure can be
detected.
▷Interference through systems or devices
with the same radio frequency: After leav‐
ing the area of the interference, the system
automatically becomes active again.
▷TPM was unable to complete the reset. Re‐
set the system again.
▷A wheel without TPM electronics is
mounted: Have it checked by a dealer’s
service center or another qualified service
center or repair shop as needed.
▷Malfunction: have the system checked by a
dealer’s service center or another qualified
service center or repair shop.
For additional information, refer to Tire Pres‐
sure Monitor, refer to page 104.
Steering system
Steering system in some cases not
working.
Have the steering system checked by a
dealer’s service center or another qualified
service center or repair shop.
Engine functions
Have the vehicle checked by a dealer’s
service center or another qualified serv‐
ice center or repair shop.
For additional information, refer to On-board
Diagnostics socket, refer to page 202.
Rear fog lamp
Rear fog lights are activated.
For additional information, refer to Rear
fog lights, refer to page 99.
Green lights
Turn signal
Turn signal switched on.
Unusually rapid flashing of the indicator
lamp indicates that a turn signal bulb
has failed.
For additional information, refer to Turn signal,
refer to page 70.
Seite 82CONTROLSDisplays82
Online Edition for Part no. 01 40 2 964 571 - X/15
Page 84 of 246

▷Other Check Control messages are faded
automatically after approx. 20 seconds.
They are stored and can be displayed again
later.
Displaying stored Check Control
messages
On the Control Display:
1. "Vehicle info"2."Vehicle status"3. "Check Control"4.Select the text message.
Messages after trip completion
Special messages displayed while driving are
displayed again after the ignition is switched
off.
Fuel gauge
Vehicle tilt position may cause
the display to vary.
The arrow beside the fuel pump
symbol shows which side of the
vehicle the fuel filler flap is on.
Hints on refueling, refer to page 178.
Tachometer
Always avoid engine speeds in the red warning
field. In this range, the fuel supply is interrupted
to protect the engine.
Odometer and trip odom‐
eter
The concept
Odometer and trip odometer are displayed in
the instrument cluster.
Resetting the trip odometer
Press the knob.
▷The odometer is displayed
when the ignition is switched
off.
▷When the ignition is switched
on, the trip odometer is re‐
set.
External temperature
If the indicator drops to
+37 ℉/+3 ℃, a signal sounds.
A Check Control message is dis‐
played.
There is an increased risk of ice
on roads.
WARNING
Even at temperatures above +37 ℉/+3 ℃
there can be a danger of icy roads, for example
on bridges or shady sections of road. There is
risk of an accident. Adjust your driving style to
the weather conditions at low temperatures.◀
Time
The time is displayed in the in‐
strument cluster.
Setting the time on the Control
Display, refer to page 91.
Date
The date is displayed in the in‐
strument cluster.
Set the date on the Control Dis‐
play, refer to page 91.
Seite 84CONTROLSDisplays84
Online Edition for Part no. 01 40 2 964 571 - X/15
Page 85 of 246

Range
Display
With a low remaining range:
▷A Check Control message is
displayed briefly.
▷The remaining range is
shown on the onboard com‐
puter.
▷With a dynamic driving style, e.g. taking
curves aggressively, the engine function is
not always ensured.
The Check Control message appears continu‐
ously below a range of approx. 30 miles/50 km.
CAUTION
With a range of less than 30 miles/50 km
it is possible that the engine will no longer have
sufficient fuel. Engine functions are not ensured
anymore. There is risk of property damage. Re‐
fuel promptly.◀
Displaying the cruising range
1. "Settings"2."Instrument cluster"3."Range"
Current fuel consump‐
tion
The concept
Displays the current fuel consumption. Check
whether you are currently driving in an efficient
and environmentally-friendly manner.
Displaying the current fuel
consumption
1. "Settings"2."Instrument cluster"3."Current consumption"Service requirements
The concept
After the ignition is turned on the instrument
cluster briefly displays available driving distance
or time to the next scheduled maintenance.
A service advisor can read out the current serv‐
ice requirements from your remote control.
Display
Detailed information on service
requirements
More information on the scope of service re‐
quired can be displayed on the Control Display.
1. "Vehicle info"2."Vehicle status"3. "Service required"
Required maintenance procedures and le‐
gally mandated inspections are displayed.
4.Select an entry to call up detailed informa‐
tion.
Symbols
SymbolsDescriptionNo service is currently required.The deadline for scheduled
maintenance or a legally man‐
dated inspection is approach‐
ing.
The service deadline has al‐
ready passed.
Entering appointment dates
Enter the dates for the required inspections.
Make sure that the vehicle's date and time are
set correctly.
Seite 85DisplaysCONTROLS85
Online Edition for Part no. 01 40 2 964 571 - X/15
Page 88 of 246
▷If the traffic signs are non-conforming.▷During calibration of the camera immedi‐
ately after vehicle delivery.
Selection lists in the in‐
strument cluster
The concept
With the buttons on the steering wheel and the
display in the instrument cluster the following
can be displayed or operated:
▷Current audio source.▷Redial phone feature.▷Turn on voice activation system.
It also displays programs of the Driving Dynam‐
ics Control.
Display
Activating a list and adjusting the
setting
Button the steering wheelFunctionActivate the respec‐
tive list and select the
desired settings.
Confirm the selection.On-board computer
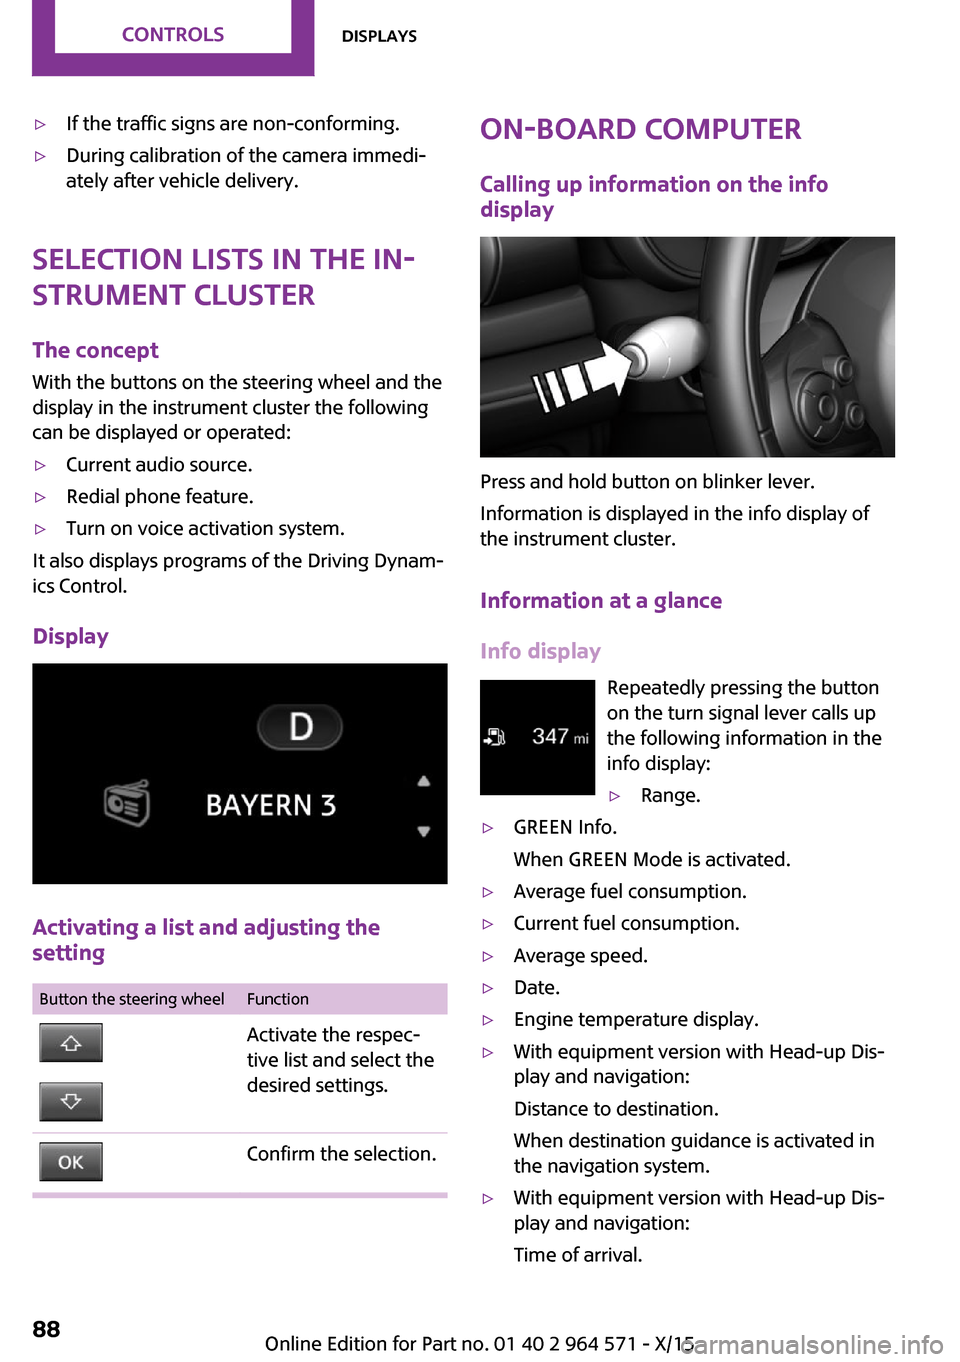
Calling up information on the info
display
Press and hold button on blinker lever.
Information is displayed in the info display of
the instrument cluster.
Information at a glance
Info display
Repeatedly pressing the button
on the turn signal lever calls up
the following information in the
info display:
▷Range.▷GREEN Info.
When GREEN Mode is activated.
▷Average fuel consumption.▷Current fuel consumption.▷Average speed.▷Date.▷Engine temperature display.▷With equipment version with Head-up Dis‐
play and navigation:
Distance to destination.
When destination guidance is activated in
the navigation system.
▷With equipment version with Head-up Dis‐
play and navigation:
Time of arrival.
Seite 88CONTROLSDisplays88
Online Edition for Part no. 01 40 2 964 571 - X/15
Page 89 of 246
When destination guidance is activated in
the navigation system.
▷Speed limit detection.▷Speed.
Selecting information
You can select what information from the on‐
board computer is to be displayed on the CID
(central information display) of the instrument
cluster.
On the Control Display:
1. "Settings"2."Instrument cluster"3.Select the desired information.
Settings are stored for the profile currently
used.
Information in detail
Range
Displays the estimated cruising range available
with the remaining fuel.
It is calculated based on your driving style over
the last 20 miles/30 km.
GREEN info
Description of GREEN info, refer to page 171.
Average fuel consumption
This is calculated for the period while the en‐
gine is running.
The average fuel consumption is calculated for
the distance traveled since the last reset by the
onboard computer.
Average speed
Periods in which the vehicle is parked with the
engine manually stopped are not included in
the calculation of the average speed.
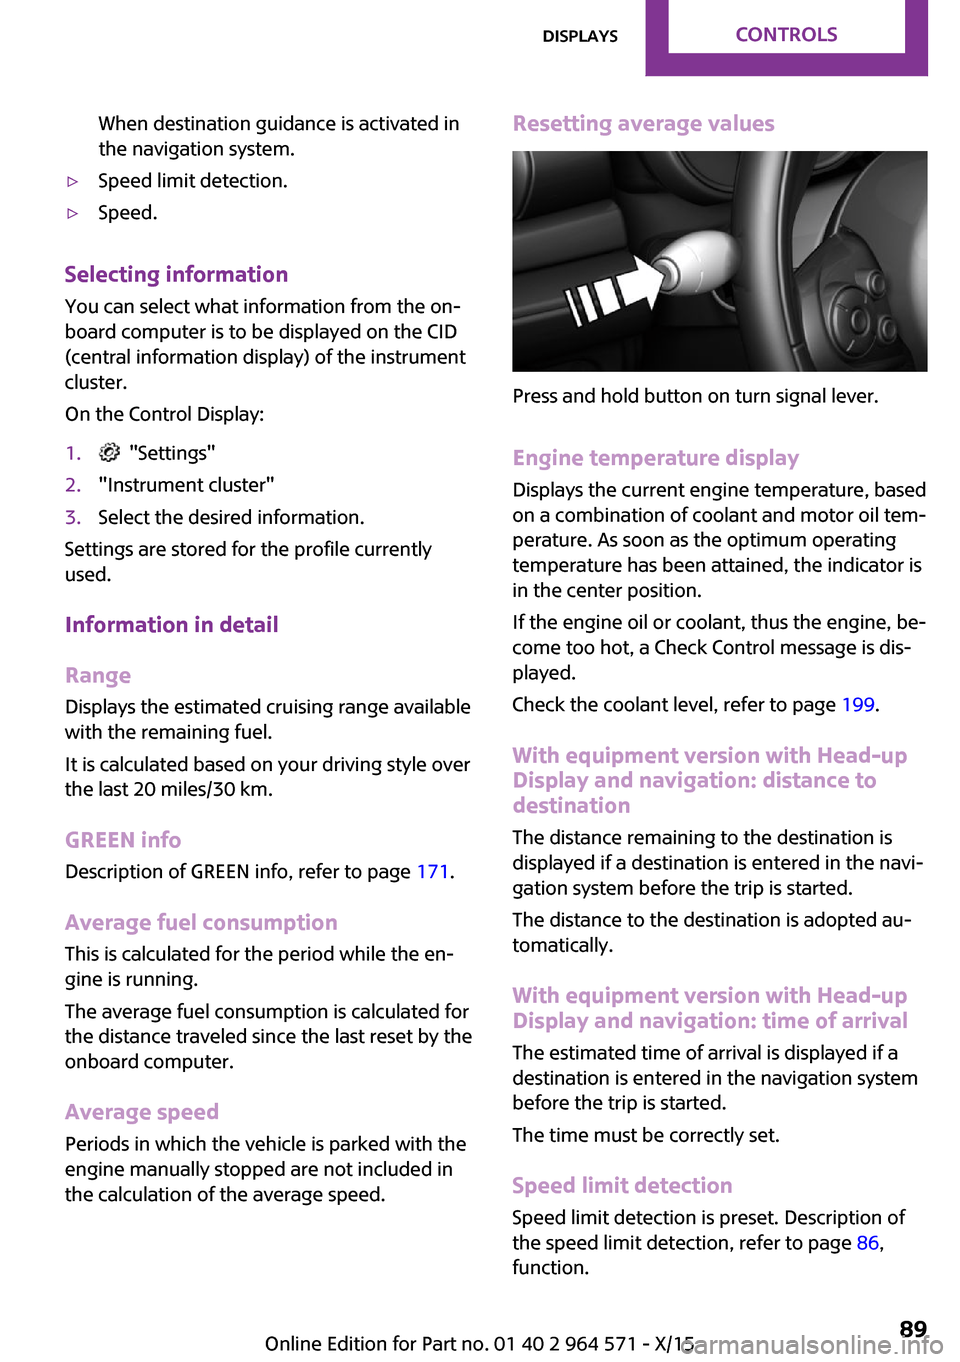
Resetting average values
Press and hold button on turn signal lever.
Engine temperature display
Displays the current engine temperature, based
on a combination of coolant and motor oil tem‐
perature. As soon as the optimum operating
temperature has been attained, the indicator is
in the center position.
If the engine oil or coolant, thus the engine, be‐
come too hot, a Check Control message is dis‐
played.
Check the coolant level, refer to page 199.
With equipment version with Head-up
Display and navigation: distance to
destination
The distance remaining to the destination is
displayed if a destination is entered in the navi‐
gation system before the trip is started.
The distance to the destination is adopted au‐
tomatically.
With equipment version with Head-up
Display and navigation: time of arrival
The estimated time of arrival is displayed if a
destination is entered in the navigation system
before the trip is started.
The time must be correctly set.
Speed limit detection
Speed limit detection is preset. Description of
the speed limit detection, refer to page 86,
function.
Seite 89DisplaysCONTROLS89
Online Edition for Part no. 01 40 2 964 571 - X/15
Page 90 of 246
Trip onboard computer
The vehicle features two types of onboard
computers.
▷"Onboard info": the values can be reset as
often as necessary.
▷"Trip computer": the values provide an
overview of the current trip.
Resetting the trip onboard computer
On the Control Display:
1. "Vehicle info"2."Trip computer"3."Reset": all values are reset.
"Automatically reset": all values are reset
approx. 4 hours after the vehicle came to a
standstill.
Display on the Control Display
Display the onboard computer or trip onboard
computer on the Control Display.
On the Control Display:
1. "Vehicle info"2."Onboard info" or "Trip computer"
Resetting the fuel consumption and
speed
On the Control Display:
1. "Vehicle info"2."Onboard info"3."Consumpt." or "Speed"4."Yes"
Driving Excitement
The concept
On the Control Display, sport instruments can
be displayed, and the vehicle condition can be
checked before the use of the SPORT program.
Sport instruments
On the Control Display, values for power and
torque are displayed.
Displaying sport instruments
Via onboard monitor:
1. "Vehicle info"2."Driving Excitement"3. "Sports instruments"
Via the Driving Dynamics Control
1.Activating SPORT.2. "Driving Excitement"3. "Sports instruments"
Vehicle state
The following vehicle and surrounding area
data are automatically checked and evaluated
in succession:
▷Range.▷Engine temperature.▷External temperature.▷SPORT program state.
Finally, a total evaluation of the vehicle state is
displayed.
Checking vehicle state
Via onboard monitor:
1. "Vehicle info"2."Driving Excitement"3. "Vehicle and surroundings"
Via the Driving Dynamics Control
1.Activating SPORT.2. "Driving Excitement"3. "Vehicle and surroundings"Seite 90CONTROLSDisplays90
Online Edition for Part no. 01 40 2 964 571 - X/15
Page 96 of 246
LightsVehicle features and op‐
tions
This chapter describes all standard, country-
specific and optional features offered with the
series. It also describes features that are not
necessarily available in your car, e. g., due to
the selected options or country versions. This
also applies to safety-related functions and sys‐
tems. The respectively applicable country provi‐
sions must be observed when using the respec‐
tive features and systems.
Overview
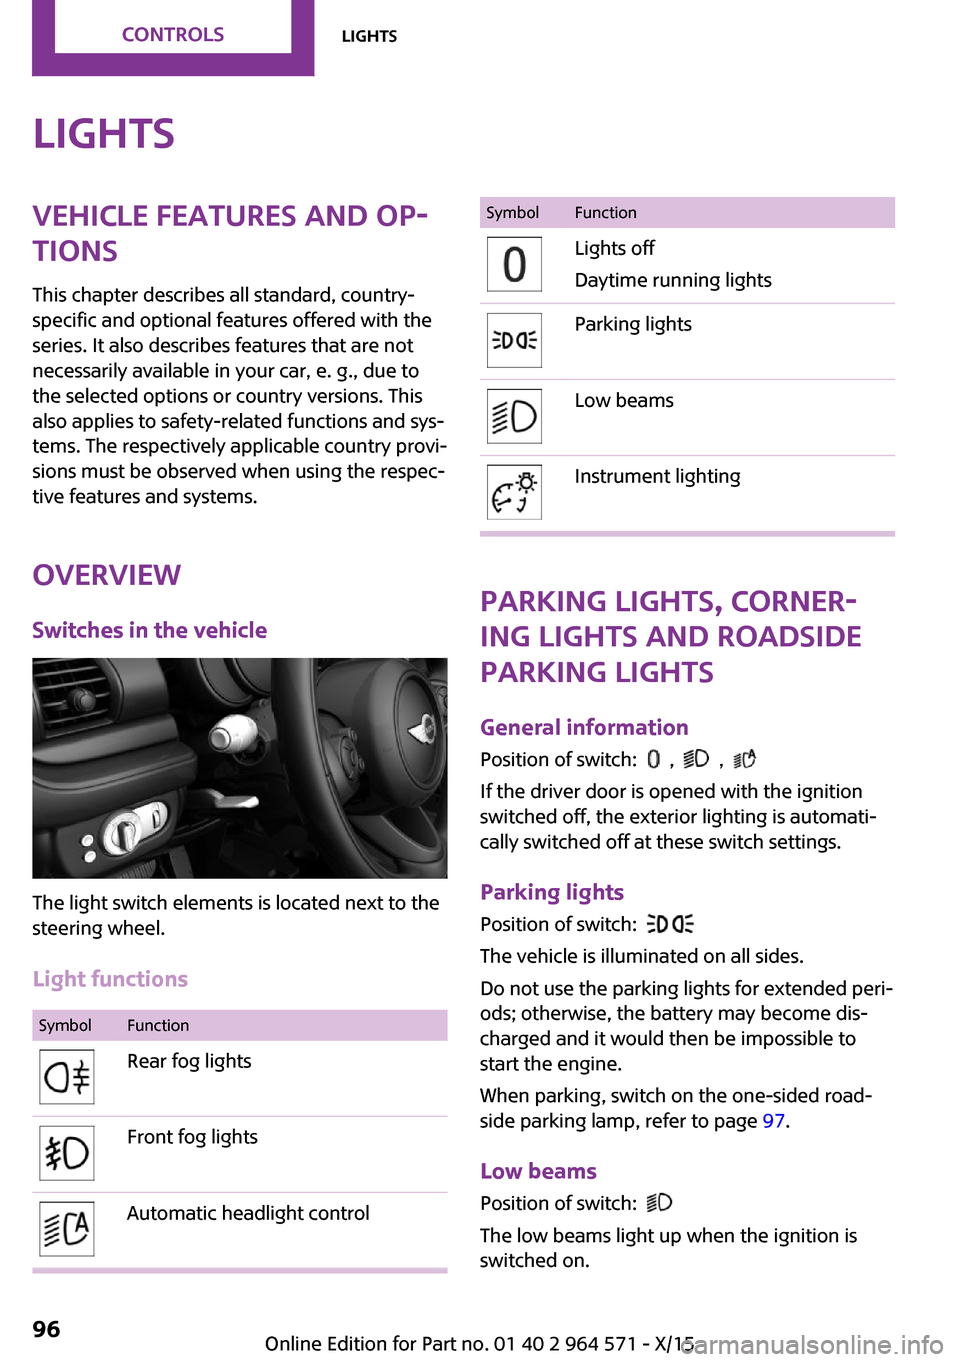
Switches in the vehicle
The light switch elements is located next to the
steering wheel.
Light functions
SymbolFunctionRear fog lightsFront fog lightsAutomatic headlight controlSymbolFunctionLights off
Daytime running lights
Parking lightsLow beamsInstrument lighting
Parking lights, corner‐
ing lights and roadside
parking lights
General information
Position of switch: , ,
If the driver door is opened with the ignition
switched off, the exterior lighting is automati‐
cally switched off at these switch settings.
Parking lights
Position of switch:
The vehicle is illuminated on all sides.
Do not use the parking lights for extended peri‐
ods; otherwise, the battery may become dis‐
charged and it would then be impossible to
start the engine.
When parking, switch on the one-sided road‐
side parking lamp, refer to page 97.
Low beams
Position of switch:
The low beams light up when the ignition is
switched on.
Seite 96CONTROLSLights96
Online Edition for Part no. 01 40 2 964 571 - X/15
Page 105 of 246

Status display
The current status of the Tire Pressure Monitor
TPM can be displayed on the Control Display,
e.g., whether or not the TPM is active.
On the Control Display:
1. "Vehicle info"2."Vehicle status"3. "Tire Pressure Monitor (TPM)"
The status is displayed.
Status control display
Tire and system status are indicated by the
color of the tires and a text message on the
Control Display.
All wheels green
System is active and will issue a warning rela‐
tive to the tire inflation pressures stored during
the last reset.
One wheel is yellow
A flat tire or major drop in inflation pressure in
the indicated tire.
All wheels are yellow
A flat tire or major drop in inflation pressure in
several tires.
Wheels, gray
The system cannot detect a flat tire due to a
malfunction.
Status information
The status control display additionally shows
the current tire inflation pressures. It shows the
actual values read; they may vary depending
on driving style or weather conditions.
Carry out reset
Reset the system after each adjustment of the
tire inflation pressure and after every tire or
wheel change.
On the Control Display and on the vehicle:1. "Vehicle info"2."Vehicle status"3. "Perform reset"4.Start the engine - do not drive off.5.Reset the tire inflation pressure using
"Perform reset".
6.Drive away.
The tires are shown in gray and the status is
displayed.
After driving faster than 19 mph/30 km/h for a
short period, the set tire inflation pressures are
accepted as reference values. The resetting
process is completed automatically while driv‐
ing. After successful completion of the reset,
the tires appear in green on the Control Display
and "Tire Pressure Monitor (TPM) active" is dis‐
played.
The progress of the reset is displayed.
You may interrupt this trip at any time. When
you continue the reset resumes automatically.
Low tire pressure message
The yellow warning lamp lights up. A
Check Control message is displayed.
▷There is a flat tire or a major loss in
tire inflation pressure.
▷A reset of the system was not carried out
after a wheel was changed. The system
therefore issues a warning based on the tire
pressures before the last reset.
1.Reduce your speed and stop cautiously.
Avoid sudden braking and steering maneu‐
vers.
2.Check whether the vehicle is fitted with
normal tires or run-flat tires.
Run-flat tires, refer to page 188, are la‐
beled with a circular symbol containing the
letters RSC marked on the tire's sidewall.
Seite 105SafetyCONTROLS105
Online Edition for Part no. 01 40 2 964 571 - X/15
Page 108 of 246
tire tread life, and may affect the vehicle's han‐
dling and stopping ability. Please note that the
TPMS is not a substitute for proper tire mainte‐
nance, and it is the driver's responsibility to
maintain correct tire pressure, even if under-in‐
flation has not reached the level to trigger illu‐
mination of the TPMS low tire pressure telltale.
Your vehicle has also been equipped with a
TPMS malfunction indicator to indicate when
the system is not operating properly. The TPMS
malfunction indicator is combined with the low
tire pressure telltale. When the system detects
a malfunction, the telltale will flash for approxi‐
mately one minute and then remain continu‐
ously illuminated. This sequence will continue
upon subsequent vehicle start-ups as long as
the malfunction exists. When the malfunction
indicator is illuminated, the system may not be
able to detect or signal low tire pressure as in‐
tended. TPMS malfunctions may occur for a va‐
riety of reasons, including the installation of re‐
placement or alternate tires or wheels on the
vehicle that prevent the TPMS from functioning
properly. Always check the TPMS malfunction
telltale after replacing one or more tires or
wheels on your vehicle to ensure that the re‐
placement or alternate tires and wheels allow
the TPMS to continue to function properly.
FTM Flat Tire Monitor
The concept
The system does not measure the actual infla‐
tion pressure in the tires.
It detects a tire inflation pressure loss by com‐
paring the rotational speeds of the individual
wheels while moving.
In the event of a tire inflation pressure loss, the
diameter and therefore the rotational speed of
the corresponding wheel changes. This will be
detected and reported as a flat tire.
Functional requirements
The system must have been initialized when
the tire inflation pressure was correct; other‐
wise, reliable flagging of a flat tire is not as‐
sured. Initialize the system after each correc‐
tion of the tire inflation pressure and after
every tire or wheel change.
Status display
The current status of the Flat Tire Monitor can
be displayed on the Control Display, e.g.,
whether or not the FTM is active.
On the Control Display:
1. "Vehicle info"2."Vehicle status"3. "Flat Tire Monitor (FTM)"
The status is displayed.
Initialization
When initializing the once set inflation tire pres‐
sures serve as reference values in order to de‐
tect a flat tire. Initialization is started by con‐
firming the inflation pressures.
Do not initialize the system when driving with
snow chains.
On the Control Display:
1. "Vehicle info"2."Vehicle status"3. "Perform reset"4.Start the engine - do not drive off.5.Start the initialization with "Perform reset".6.Drive away.
The initialization is completed while driving,
which can be interrupted at any time.
The initialization automatically continues when
driving resumes.
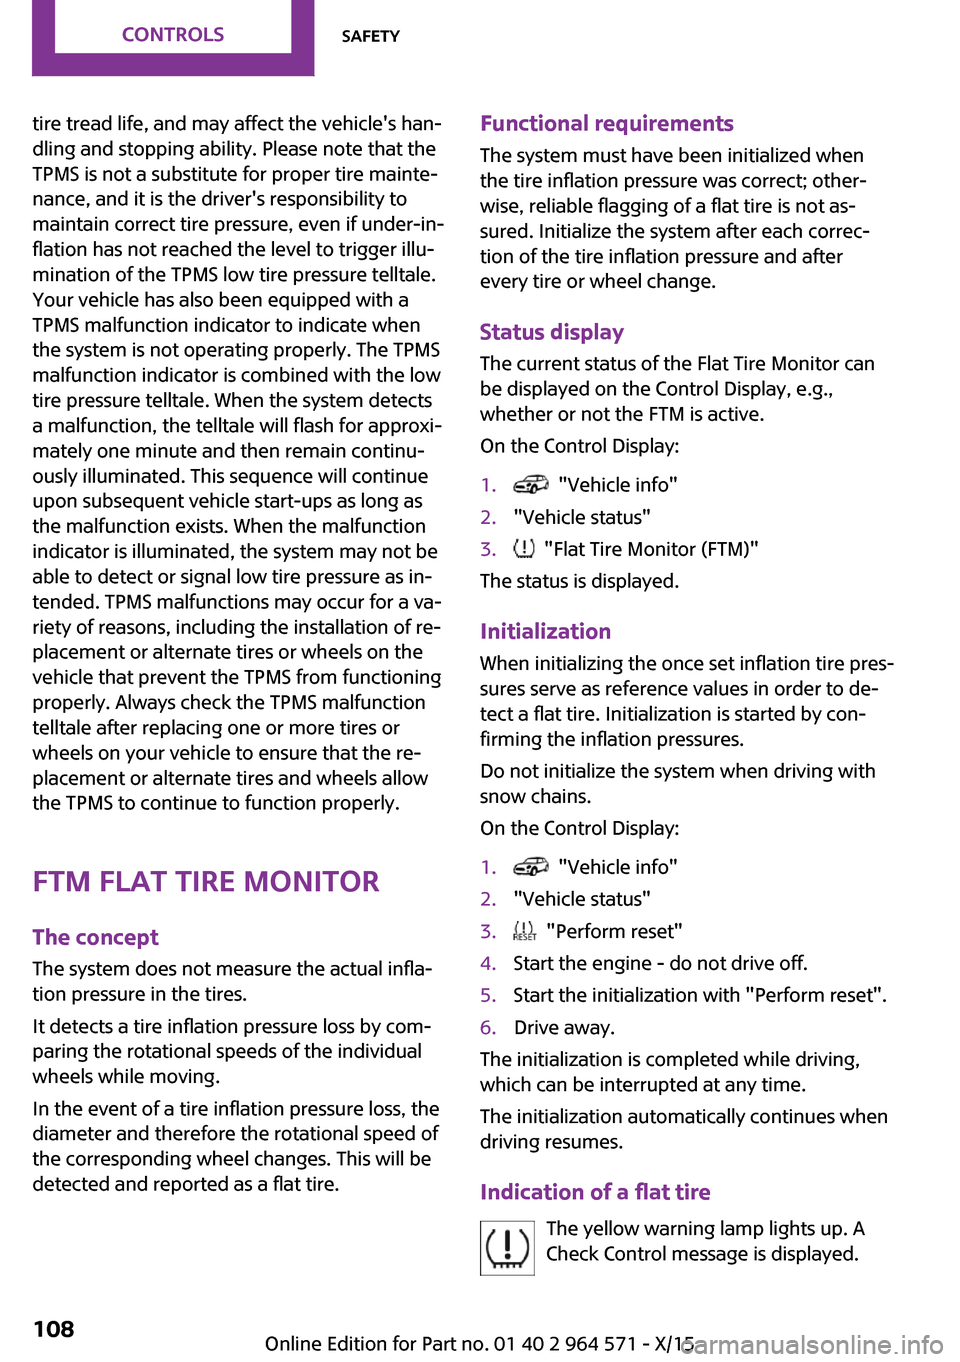
Indication of a flat tire
The yellow warning lamp lights up. A
Check Control message is displayed.
Seite 108CONTROLSSafety108
Online Edition for Part no. 01 40 2 964 571 - X/15