warning MINI COOPER 2003 User Guide
[x] Cancel search | Manufacturer: MINI, Model Year: 2003, Model line: COOPER, Model: MINI COOPER 2003Pages: 148, PDF Size: 3.17 MB
Page 26 of 148

24
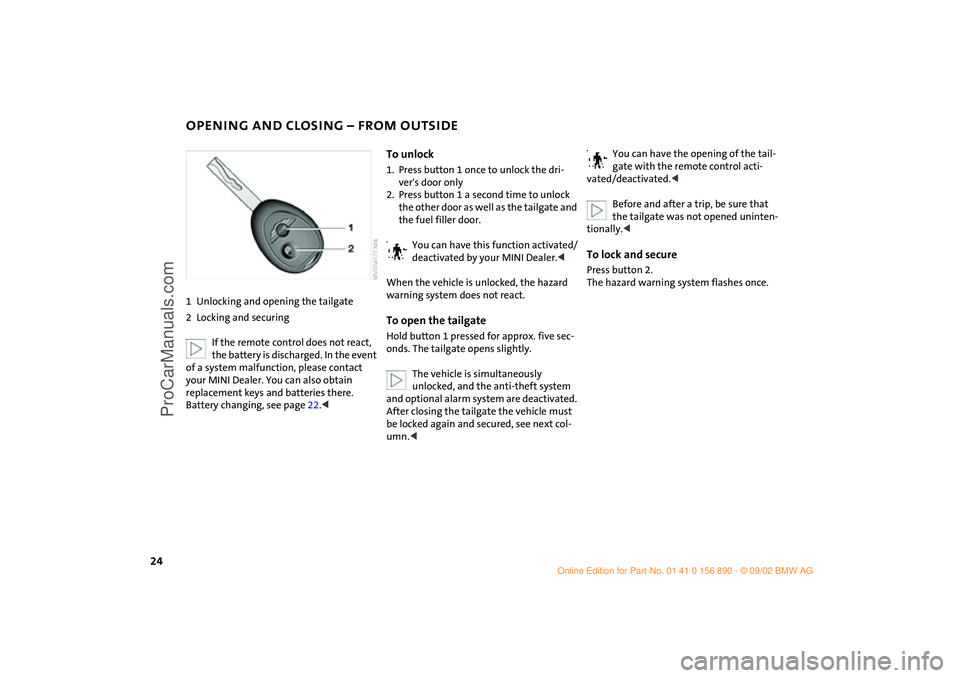
OPENING AND CLOSING – FROM OUTSIDE1Unlocking and opening the tailgate
2Locking and securing
If the remote control does not react,
the battery is discharged. In the event
of a system malfunction, please contact
your MINI Dealer. You can also obtain
replacement keys and batteries there.
Battery changing, see page 22.<
To unlock1. Press button 1 once to unlock the dri-
ver's door only
2. Press button 1 a second time to unlock
the other door as well as the tailgate and
the fuel filler door.
You can have this function activated/
deactivated by your MINI Dealer.<
When the vehicle is unlocked, the hazard
warning system does not react.To open the tailgateHold button 1 pressed for approx. five sec-
onds. The tailgate opens slightly.
The vehicle is simultaneously
unlocked, and the anti-theft system
and optional alarm system are deactivated.
After closing the tailgate the vehicle must
be locked again and secured, see next col-
umn.<
You can have the opening of the tail-
gate with the remote control acti-
vated/deactivated.<
Before and after a trip, be sure that
the tailgate was not opened uninten-
tionally.<
To lock and securePress button 2.
The hazard warning system flashes once.
ba.book Seite 24 Montag, 5. August 2002 8:09 20
ProCarManuals.com
Page 27 of 148

25
OVERVIEW REPAIRS OPERATIONCONTROLS DATA INDEX
OPENING AND CLOSING – FROM OUTSIDETo turn off tilt alarm sensor* and
interior protection* Press button 2 again directly after locking.
For more on the tilt alarm sensor and inte-
rior protection, see page 32.Non-MINI systemsExternal systems or devices may cause local
interference in the functions of the remote
control.
In this case, use the master key to unlock
the door lock.
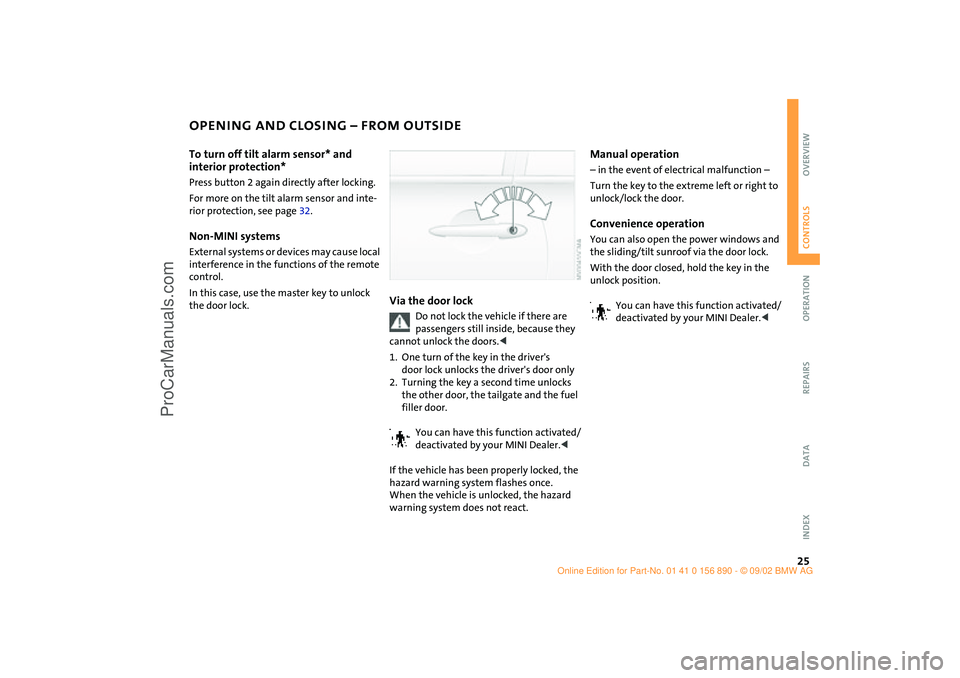
Via the door lock
Do not lock the vehicle if there are
passengers still inside, because they
cannot unlock the doors.<
1. One turn of the key in the driver's
door lock unlocks the driver's door only
2. Turning the key a second time unlocks
the other door, the tailgate and the fuel
filler door.
You can have this function activated/
deactivated by your MINI Dealer.<
If the vehicle has been properly locked, the
hazard warning system flashes once.
When the vehicle is unlocked, the hazard
warning system does not react.
Manual operation – in the event of electrical malfunction –
Turn the key to the extreme left or right to
unlock/lock the door.Convenience operationYou can also open the power windows and
the sliding/tilt sunroof via the door lock.
With the door closed, hold the key in the
unlock position.
You can have this function activated/
deactivated by your MINI Dealer.<
ba.book Seite 25 Montag, 5. August 2002 8:09 20
ProCarManuals.com
Page 33 of 148

31
OVERVIEW REPAIRS OPERATIONCONTROLS DATA INDEX
ALARM SYSTEM
*
The concept
The alarm system reacts if:
>A door, the bonnet or the tailgate is
opened
>There is any movement inside the vehicle
– interior motion sensor
>There is a change in the tilt angle of the
vehicle, e. g. during attempts to steal
wheels or tow away the vehicle
>There is interruption of the battery volt-
age.
Depending on the country-specific version,
the alarm system signals unauthorized
entry or tampering in different ways:
>Acoustic alarm for 30 seconds
>Turning on the hazard warning flashers
for approx. five minutes.
To arm and disarm the alarm systemWhen the vehicle is locked or unlocked via
the driver's door lock or with the remote
control, the alarm system is also simulta-
neously armed or disarmed.
The interior motion and tilt alarm sensors
are also activated with the closing action.
The alarm system cannot be armed if
the driver's door is not properly
closed.
In some country-specific versions the alarm
system can only be operated with the
remote control.
Unlocking these vehicles with the key trig-
gers the alarm.
To stop the alarm:
Press button 1 – unlock –
or
turn the ignition key to position 1.<
Indicator lampAlarm system:
>Indicator lamp in the wiper system lever
changes after 10 seconds from fast blink-
ing to constant flashing:
The system is activated
>Indicator lamp does not react:
Doors, bonnet or tailgate are not prop-
erly closed.
Even if these are not closed any more,
the alarm system is activated and
secures the remaining part of the vehi-
cle. If everything is closed, the indicator
lamp changes after 10 seconds from fast
blinking to constant flashing
ba.book Seite 31 Montag, 5. August 2002 8:09 20
ProCarManuals.com
Page 40 of 148

38
SAFETY BELTS STEERING WHEEL Drive with your safety belt onEven though there is an airbag, always fasten
your seat belt before driving off, because air-
bags are designed to enhance the effective-
ness of the safety belts, not to replace them.To fastenMake sure you hear the lock engage in the
belt buckle.
The warning lamp – Fasten safety
belts – lights up for several seconds
or until after the safety belts are
fastened.To release1. Press the red button in the belt buckle
2. Hold the belt
3. Guide the belt back into its reel.
Safety belt height adjustmentUse the height adjustment mechanism to
adapt the safety belt to the ideal position
for your own body:
Press the button and at the same time push
the entire unit upwards or downwards.
Also observe the instructions on adjusting
the seats on page 33.
If the safety belts are damaged or
stretched in an accident: have the
safety belt system replaced by your MINI
Dealer and the belt anchors checked, other-
wise the safety function can no longer be
guaranteed. If a child-restraint system was
in the vehicle during an accident, consult
the manufacturer's instructions regarding
replacement.<
To adjust the steering wheel height1. Push the locking lever downward
2. Adjust the desired steering wheel posi-
tion
3. Pull the lever back in.
Do not adjust the steering wheel
while the vehicle is moving, other-
wise unexpected movement could increase
the risk of accident.<
ba.book Seite 38 Montag, 5. August 2002 8:09 20
ProCarManuals.com
Page 46 of 148

44
VEHICLE MEMORY How the system functionsNo doubt you have often reflected on how
great it would be if you could configure
your vehicle's various adjustment settings
to meet your own personal requirements.
In developing this vehicle, the manufac-
turer of the MINI has incorporated a num-
ber of options that your MINI Dealer can
program to reflect your individual prefer-
ences.
What the system can doYour MINI Dealer can provide you with
details on the capabilities of the Vehicle
Memory system.
Examples for Vehicle Memory:
>Automatic locking after starting to drive,
see page 26
>Selective central locking system, see
pages 24, 25
>Automatically opening the sliding/tilt
sunroof, see page 29
>Convenience opening, see pages 24,
25, 26
>Delayed lighting shut off, "Follow-me-
home" lamps, see page 52
>Daytime driving lamps, see page 52
>Speed-dependent windshield wipers, see
page 55
>Acoustic ignition key warning,
see page 45
>Fuel consumption display, see page 61
>Temperature display, see page 61
>Volume control PDC, see page 66
>Acoustic alarm for starting PDC
activation, see page 66This symbol alerts you to Vehicle
Memory functions in the Owner's
Manual<
ba.book Seite 44 Montag, 5. August 2002 8:09 20
ProCarManuals.com
Page 49 of 148

47
OVERVIEW REPAIRS OPERATIONCONTROLS DATA INDEX
SWITCHING OFF THE ENGINE PARKING BRAKE
You should never remove the ignition
key when the vehicle is in motion, as
the steering lock could engage.
When you leave the vehicle, always remove
the ignition key and engage the steering
lock.
When you park on downward slopes,
engage the parking brake.<
Manual transmissionTurn the ignition key to position 1 or 0.Continuously Variable automatic
Transmission (CVT)*Engage selector lever position P, turn the
ignition key to position 1 or 0.
The parking brake is designed primarily to
prevent the vehicle from rolling when it is
parked. It operates against the rear wheels.To engageLever automatically locks in position.
The warning lamp in the instrument cluster
comes on when the ignition key is in
position 2, see page 16.To release1. Pull up slightly
2. Press the button
3. Push the lever downwards.
If, in exceptional circumstances, it
should be necessary to engage the
parking brake while the vehicle is in
motion, do not pull the lever with excessive
pressure. Keep your thumb pressed against
the release button while carefully pulling
the lever up to apply moderate pressure.
Excessive pressure can lead to overbraking
and loss of traction, i.e. fishtailing, at the
rear axle.
The brake lamps do not come on when the
parking brake is engaged.
Vehicles with manual transmission:
Always engage the parking brake when
parking on hills and inclined surfaces, as
first gear or reverse may not provide ade-
quate resistance to rolling.
Vehicles with CVT:
Place the selector lever in P.<
ba.book Seite 47 Montag, 5. August 2002 8:09 20
ProCarManuals.com
Page 54 of 148

52
PARKING LAMPS/LOW BEAMS SIGNAL/HEADLAMP FLASHER Switching on the parking lampsTurn to the first position. The front, rear
and side vehicle lighting is switched on.
Parking light on one side, see following
column.Switching on the low beamsTurn to the second position. With the low
beams on and with the ignition switched
off, only the parking lamps will remain on."Follow me home" lampsIf you switch off the engine with the low
beams on, and then switch off the low
beams, they remain lit for a set length of
time.
You can have this function set by
your MINI Dealer.<
Switching on the standing lampsFor parking, you can activate lights on one
side of the vehicle. Observe local laws.
In ignition key position 0:
Move the lever into the relevant turn signal
indicator position."Lights on" warningIf the lights have not been switched off and
the ignition key is in position 0, an acoustic
signal sounds for a few seconds when you
open the driver's door to remind you that
the lights have not been switched off.Daytime driving lamps*If you desire, the light switch can be left in
the second position:
When the ignition is switched off, the
external lighting is also switched off.
You can have this function set by
your MINI Dealer.<
1Turn signal indicator – green indicator
lamps and periodic clicking sound from
the relay
2High beams/Headlamp flasher – blue
indicator lampTo signal brieflyPress the lever up to but not beyond the
point of resistance.
If the blinking of the indicator lamp
and the clicking from the relay are
both faster than normal: one of the turn
signal indicators has failed.<
ba.book Seite 52 Montag, 5. August 2002 8:09 20
ProCarManuals.com
Page 61 of 148

59
OVERVIEW REPAIRS OPERATIONCONTROLS DATA INDEX
FUEL GAUGE COOLANT TEMPERATURE GAUGE In the navigation system
Please also comply with the instruc-
tions in the previous section.<
If the indicator light 1 changes from orange
to red, there are approx. 2.1 gallons /
8 liters of fuel in the tank.
Low temperatureThe needle is at the bottom or on the right
of the range.
The engine is still cold. Drive at moderate
engine and vehicle speeds.Center positionNormal operating temperature of the
engine.High temperatureAs soon as there is a deviation from the
center position upwards or to the left:
Drive moderately and at low engine speed.
If necessary, switch off the engine and
allow it to cool down.
Checking coolant level, see page 96.
1 Red indicator lamp When you switch on the ignition, warning
lamp 1 comes on briefly to confirm that the
system is operational.
Lights up while driving:
Engine is too hot. Switch off the engine
immediately and allow it to cool down.Navigation system option
Coolant temperature warning
lamp in tachometer lights up while
driving:
Engine is too hot. Switch off the engine
immediately and allow it to cool down.
ba.book Seite 59 Montag, 5. August 2002 8:09 20
ProCarManuals.com
Page 68 of 148

66
PARK DISTANCE CONTROL (PDC)*The conceptThe PDC assists you when you back into a
parking space. A signal tone tells you the
current distance to an object behind your
vehicle. To do this, four ultrasonic sensors
in the rear bumper measure the distance to
the nearest object.
The sensors on each side have a range of
approx. 2 ft / 60 cm, the middle sensors
one of approx. 5 ft / 1.5 m.
The system starts to operate automatically
about one second after you select reverse
with the ignition key in position 2.
Wait for this one second before you
drive backwards.<
PDC is deactivated when you shift away
from Reverse.
You can have a signal tone set by your
MINI Dealer as a confirmation that
PDC has been activated.<
Acoustical signalsThe distance to an object is indicated by a
tone sounding at intervals. As the distance
between vehicle and object decreases, the
intervals between the tones become
shorter. A continuous tone indicates the
presence of an object less than 8 in / 20 cm
away.
The warning signal is canceled after
approx. three seconds if the distance to the
object remains constant during this time,
for instance if you are moving parallel to a
wall.
System malfunctions will be indicated by a
continuous high-pitched tone when the
system is activated the first time. Please
have your MINI Dealer resolve the problem.Volume controlThe volume of the Park Distance Control
signal can be adjusted from level 1 – soft –
to level 6 – loud.
The volume can be set by your MINI
Dealer.<
Even with PDC, final responsibility for
estimating the distance between the
vehicle and any objects always remains
with the driver.
Even when sensors are involved, there is a
blind spot in which objects cannot be de-
tected. Recognition of some objects can be
beyond the limits of physical ultrasonic
measurement, for example with towing
bars or hitches or with thin or wedge-
shaped objects. Moreover, low objects that
have already been detected – such as a curb
edge – can disappear out of the range of
the sensors before a continuous tone
sounds.
Loud sources of sound outside and inside
your vehicle can drown the PDC signal
tone.<
Keep the sensors clean and free of ice
or snow in order to ensure that they
will continue to operate effectively.
Do not apply high pressure spray to the
sensors for a prolonged period of time.
Always maintain a distance which is
greater than 4 in / 10 cm.<
ba.book Seite 66 Montag, 5. August 2002 8:09 20
ProCarManuals.com
Page 97 of 148

95
OVERVIEW REPAIRSOPERATIONCONTROLS DATA INDEX
ENGINE OILThe oil volume between the two notches –
MIN, MAX – on the dipstick corresponds to
approx. 1.1 quarts / 1 liter. Do not fill
beyond the upper notch on the dipstick.
Excess oil will damage the engine.
Adding engine oil
Only top up oil when the oil level has
dropped to just above the lower
notch of the dipstick. However, never allow
the level to drop below the lower notch.<
MINI engines are designed to operate
without oil additives; the use of addi-
tives could lead to damage in some cases.
That is also valid for the Continuously Vari-
able automatic Transmission (CVT), the
gear box and the power assisted steering.<
The manufacturer of your MINI recom-
mends that you have the oil changed at
your MINI Dealer.
Continuous exposure to used oil has
caused cancer in laboratory testing.
For this reason, any skin areas that come
into contact with oil should be thoroughly
washed with soap and water.
Always store oil, grease, etc., out of reach of
children. Comply with all warning labels
and information on lubricant containers.<
Comply with the applicable environ-
mental laws regulating the disposal
of used oil.<
Specified engine oilsThe quality of the engine oil selected has
critical significance for the operation and
service life of an engine. Based on extensive
testing, the manufacturer of your MINI
approves only certain grades of engine oil.
Use only approved MINI High Performance
Synthetic Oil.
If you are unable to obtain MINI High Per-
formance Synthetic Oil, you can add small
amounts of synthetic oil in between oil
changes. Only use oils with the API SH spec-
ification or higher.
ba.book Seite 95 Montag, 5. August 2002 8:09 20
ProCarManuals.com