ESP MINI COOPER 2013 Owner's Guide
[x] Cancel search | Manufacturer: MINI, Model Year: 2013, Model line: COOPER, Model: MINI COOPER 2013Pages: 267, PDF Size: 3.53 MB
Page 121 of 267
NAVIGATIONDestination entry
120
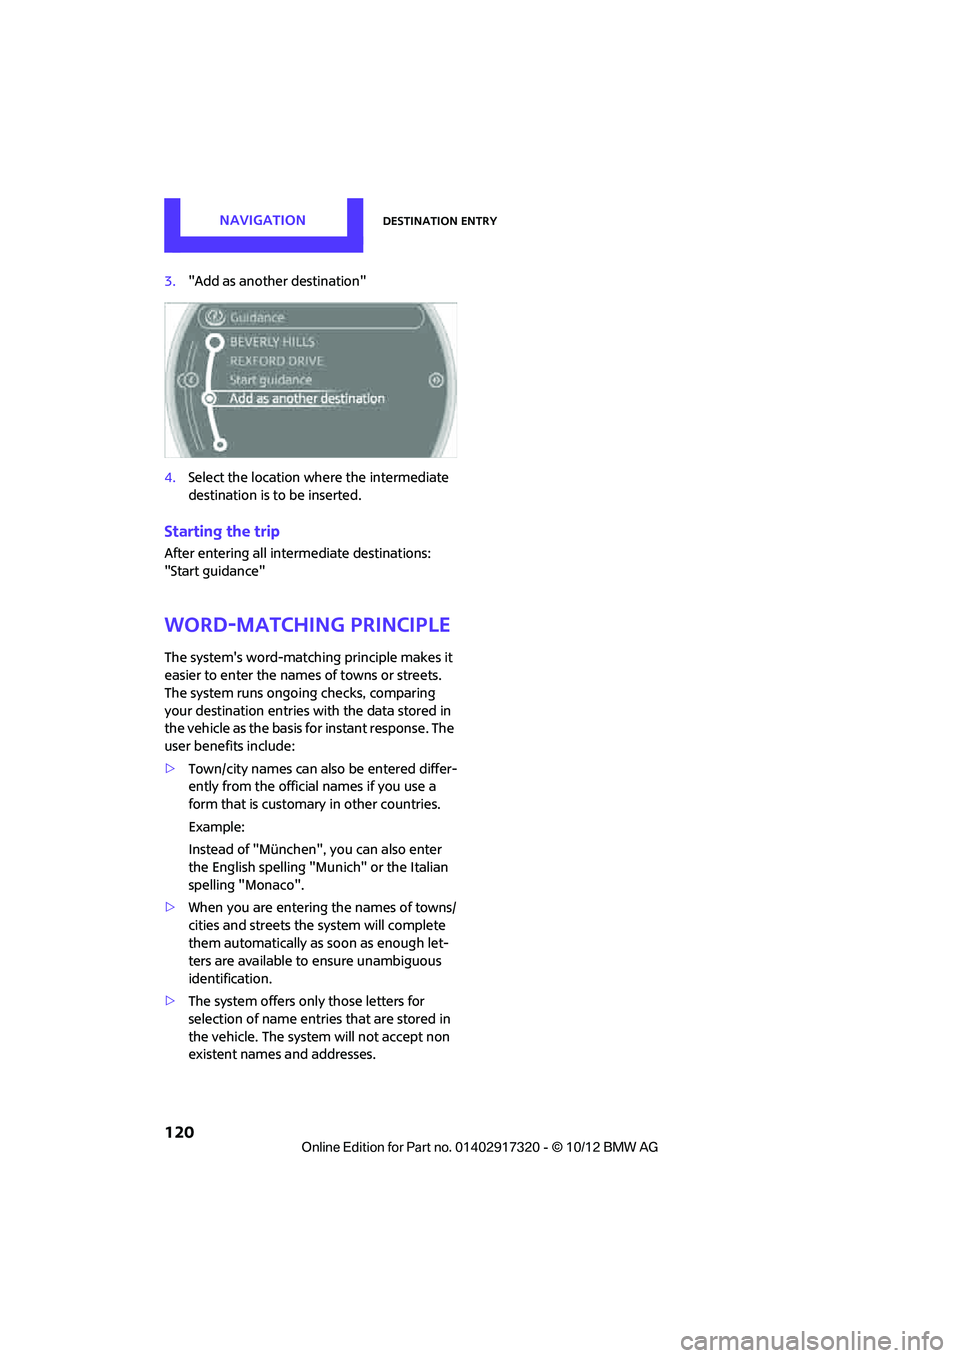
3."Add as another destination"
4. Select the location where the intermediate
destination is to be inserted.
Starting the trip
After entering all inte rmediate destinations:
"Start guidance"
Word-matching principle
The system's word-matching principle makes it
easier to enter the name s of towns or streets.
The system runs ongoing checks, comparing
your destination entries wi th the data stored in
the vehicle as the basis for instant response. The
user benefits include:
> Town/city names can also be entered differ-
ently from the official names if you use a
form that is customary in other countries.
Example:
Instead of "München", you can also enter
the English spelling "Munich" or the Italian
spelling "Monaco".
> When you are entering the names of towns/
cities and streets the system will complete
them automatically as soon as enough let-
ters are available to ensure unambiguous
identification.
> The system offers only those letters for
selection of name entries that are stored in
the vehicle. The system will not accept non
existent names and addresses.
00320051004F004C00510048000300280047004C0057004C005200510003
Page 125 of 267
NAVIGATIONRoute guidance
124
Traffic information, refer to page125.
Planned route
After route guidance is started, the planned
route is displayed on the map.
Status boxes
Show/hide: press the MINI joystick.
>Upper status box: time, phone details, and
entertainment details.
> Lower status box: symb ol for active route
guidance, traffic inform ation status, arrival
time, and distance from destination.
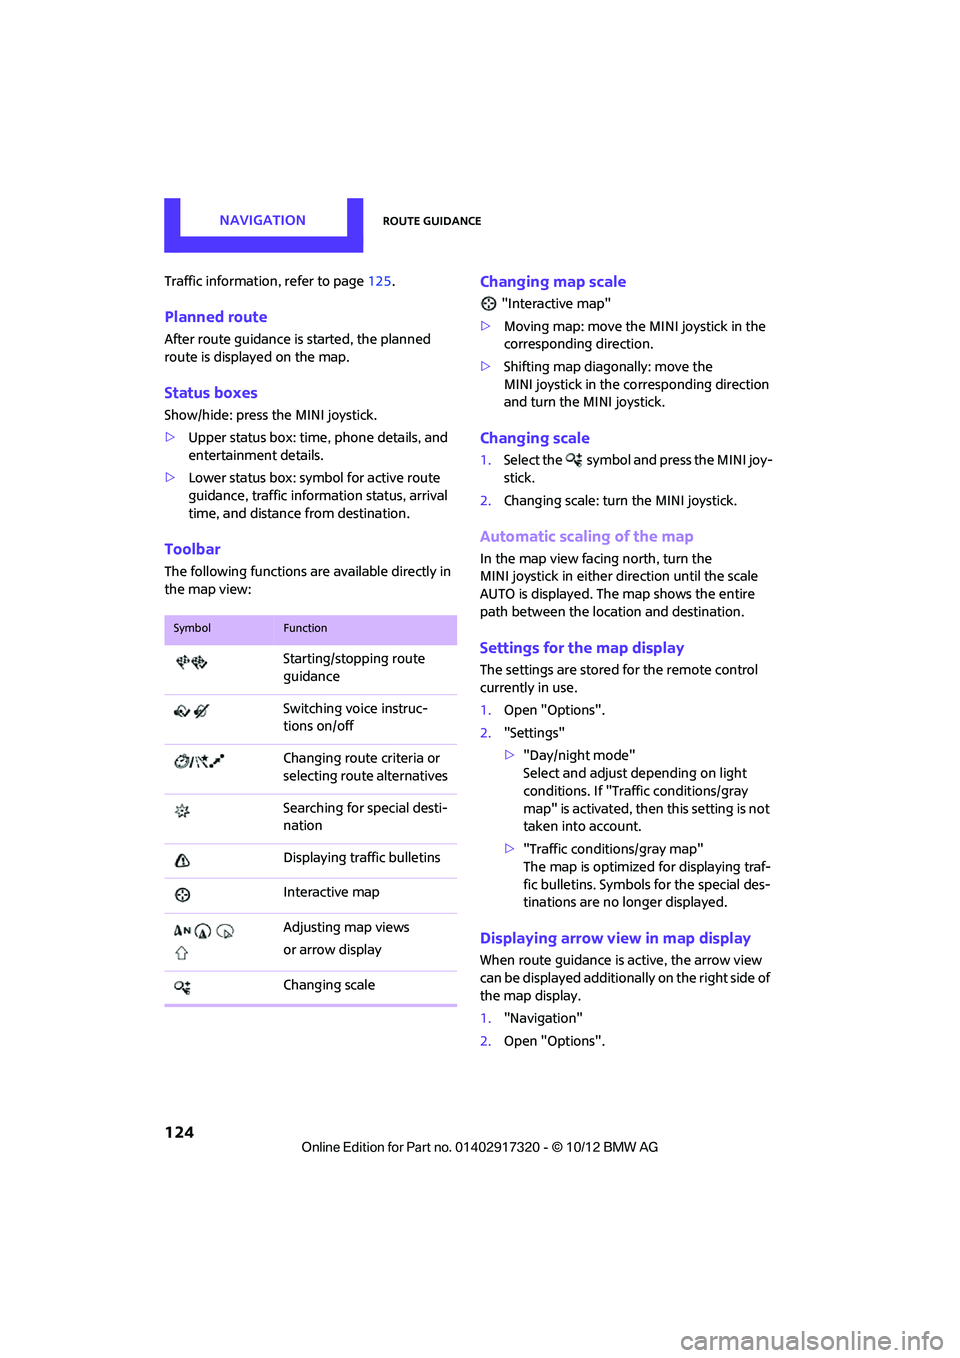
Toolbar
The following functions ar e available directly in
the map view:
Changing map scale
"Interactive map"
> Moving map: move the MINI joystick in the
corresponding direction.
> Shifting map diagonally: move the
MINI joystick in the co rresponding direction
and turn the MINI joystick.
Changing scale
1. Select the symbol and press the MINI joy-
stick.
2. Changing scale: turn the MINI joystick.
Automatic scaling of the map
In the map view facing north, turn the
MINI joystick in either direction until the scale
AUTO is displayed. The map shows the entire
path between the location and destination.
Settings for the map display
The settings are stored for the remote control
currently in use.
1.Open "Options".
2. "Settings"
>"Day/night mode"
Select and adjust depending on light
conditions. If "Traffic conditions/gray
map" is activated, then this setting is not
taken into account.
> "Traffic conditions/gray map"
The map is optimized for displaying traf-
fic bulletins. Symbols for the special des-
tinations are no longer displayed.
Displaying arrow view in map display
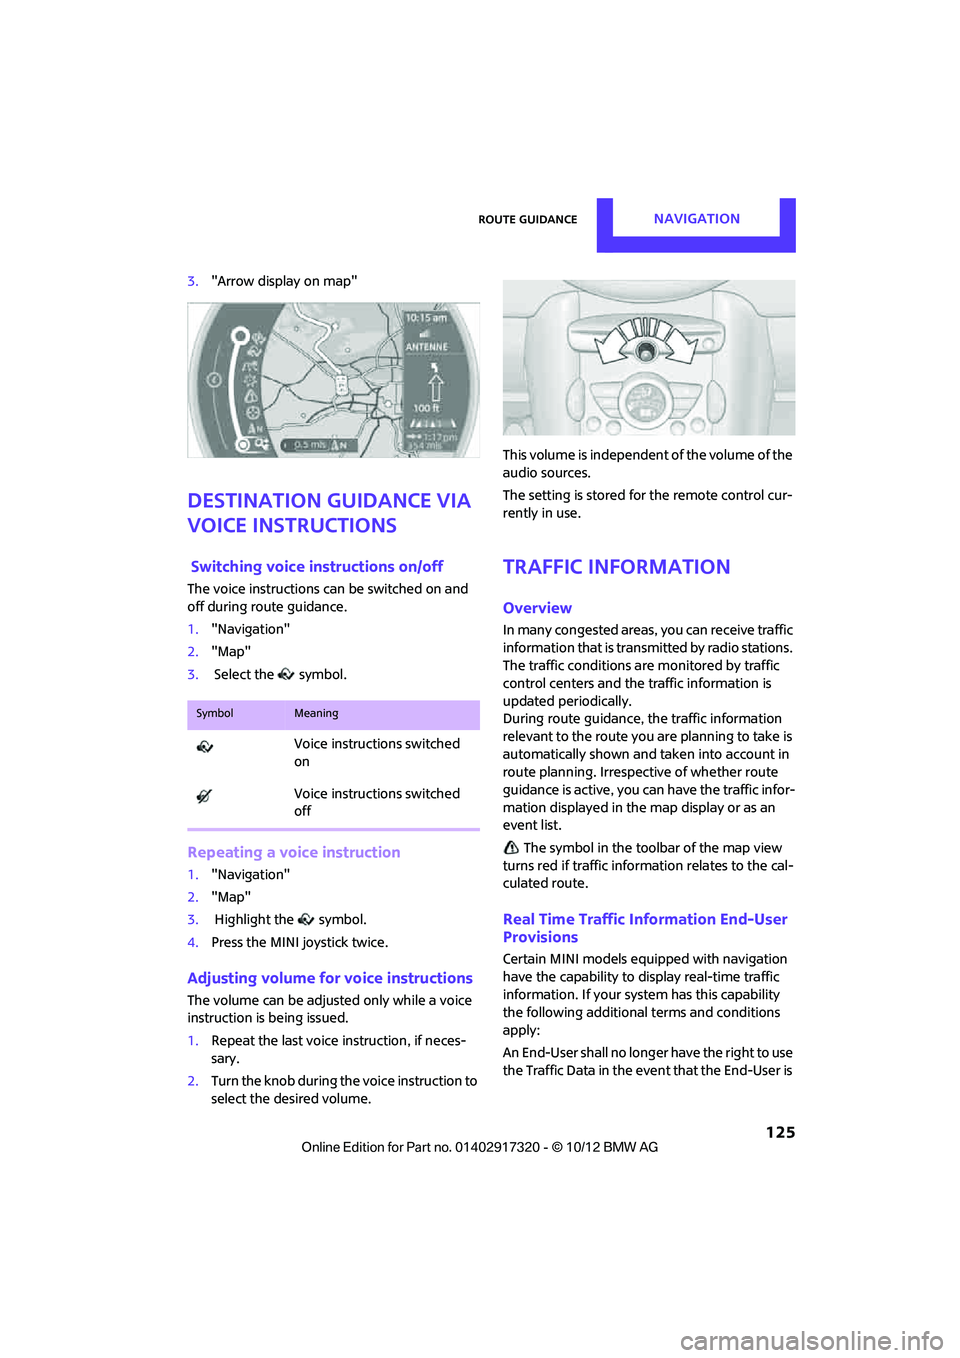
When route guidance is active, the arrow view
can be displayed additionally on the right side of
the map display.
1. "Navigation"
2. Open "Options".
SymbolFunction
Starting/stopping route
guidance
Switching voice instruc-
tions on/off
Changing route criteria or
selecting route alternatives
Searching for special desti-
nation
Displaying traffic bulletins
Interactive map
Adjusting map views
or arrow display
Changing scale
00320051004F004C00510048000300280047004C0057004C005200510003
Page 126 of 267
Route guidanceNAVIGATION
125
3."Arrow display on map"
Destination guidance via
voice instructions
Switching voice in structions on/off
The voice instructions ca n be switched on and
off during route guidance.
1. "Navigation"
2. "Map"
3. Select the symbol.
Repeating a voice instruction
1."Navigation"
2. "Map"
3. Highlight the symbol.
4. Press the MINI joystick twice.
Adjusting volume for voice instructions
The volume can be adjust ed only while a voice
instruction is being issued.
1. Repeat the last voice instruction, if neces-
sary.
2. Turn the knob during th e voice instruction to
select the desired volume. This volume is independent of the volume of the
audio sources.
The setting is stored for the remote control cur-
rently in use.
Traffic information
Overview
In many congested areas,
you can receive traffic
information that is transm itted by radio stations.
The traffic conditions are monitored by traffic
control centers and the traffic information is
updated periodically.
During route guidance, the traffic information
relevant to the route you are planning to take is
automatically shown and taken into account in
route planning. Irrespective of whether route
guidance is active, you can have the traffic infor-
mation displayed in the map display or as an
event list.
The symbol in the toolbar of the map view
turns red if traffic inform ation relates to the cal-
culated route.
Real Time Traffic Information End-User
Provisions
Certain MINI models equipped with navigation
have the capability to display real-time traffic
information. If your system has this capability
the following additional terms and conditions
apply:
An End-User shall no longer have the right to use
the Traffic Data in the event that the End-User is
SymbolMeaning
Voice instructions switched
on
Voice instructions switched
off
00320051004F004C00510048000300280047004C0057004C005200510003
Page 127 of 267
NAVIGATIONRoute guidance
126
in material breach of the terms and conditions
contained herein.
A. Total Traffic Network, a division of Clear Chan-
nel Broadcasting, Inc. (" Total Traffic Network")
holds the rights to the traffic incident data and
RDS-TMC network through which it is delivered.
You may not modify, copy, scan or use any other
method to reproduce, duplicate, republish,
transmit or distribute in any way any portion of
traffic incident data. You agree to indemnify,
defend and hold harmless MINI of North Amer-
ica, LLC. ("MINI NA") and Total Traffic Network,
Inrix, Inc (and their affiliates) against any and all
claims, damages, costs or other expenses that
arise directly or indirectly out of (a) your unau-
thorized use of the traffic incident data or the
RDS-TMC network, (b) your violation of this
directive and/or (c) any unauthorized or unlaw-
ful activities by you in connection herewith.
B. Total Traffic Network traffic data is informa-
tional only. User assumes all risk of use. Total
Traffic Network, MINI NA, and their suppliers
make no representations about content, traffic
and road conditions, route usability, or speed.
C. The licensed material is provided to license
"as is," and "where is". Total Traffic Network,
including, but not limited to, any and all third
party providers of any of the licensed material,
expressly disclaims, to th e fullest extent permit-
ted by law, all warranties or representations with
respect to the licensed material (including, with-
out limitation, that the licensed material will be
error-free, will operate without interruption or
that the traffic data will be accurate), express,
implied or statutory, including, without limita-
tion, the implied warranti es of merchantability,
non-infringement fitne ss for a particular pur-
pose, or those arising from a course of dealing or
usage of trade.
D. Neither Total Traffic Network, Inrix, Inc. nor
MINI NA will be liable to you for any indirect,
special, consequential, exemplary, or incidental
damages (including, without limitation, lost rev-
enues, anticipated revenue s, or profits relating
to the same) arising from any claim relating
directly or indirectly to use of the traffic data, and even if Total Traffic Network, Inrix, Inc., or
MINI NA are aware of the possibility of such
damages. These limitations apply to all claims,
including, without limitati
on, claims in contract
and tort (such as negligence, product liability
and strict liability). Some states do not allow the
exclusion or limitation of incidental or conse-
quential damages, so th ose particular limita-
tions may not apply to you.
Switching reception of traffic
information on/off
1. "Navigation"
2. Open "Options".
3. Activate/deactivate "Receive Traffic Info".
Accessing traffic information
1."Navigation"
2. "Map"
"Traffic Info": traffic information for the sur-
rounding area is listed here. The symbol
turns red when traffic information relate to
the calculated route.
3. "Traffic Info"
First, traffic bulletins relating to the planned
route are displayed.
The traffic bulletins are sorted in the order of
their distance from th e current vehicle posi-
tion.
4. Select traffic information.
"More information": display additional
information.
5. Scroll to the next or pr evious traffic informa-
tion if desired.
Traffic bulletins in the map
When the traffic info map is activated, the pic-
ture on the Control Displa y is switched to a gray-
scale. This permits an optimized depiction of
traffic information. The day/night mode is disre-
garded in this setting. The symbols for the spe-
cial destinations are no longer displayed.
00320051004F004C00510048000300280047004C0057004C005200510003
Page 136 of 267
RadioENTERTAINMENT
135
Radio
Vehicle equipment
In this chapter, all production, country, and
optional equipment that is offered in the model
range is described. Equipment is also described
that is not available because of, for example,
selected options or count ry version. This also
applies to safety related functions and systems.
General information
Your radio is designed for reception of the fol-
lowing stations:
> FM and AM
> HD Radio
> Satellite radio
AM/FM station
Selecting a station
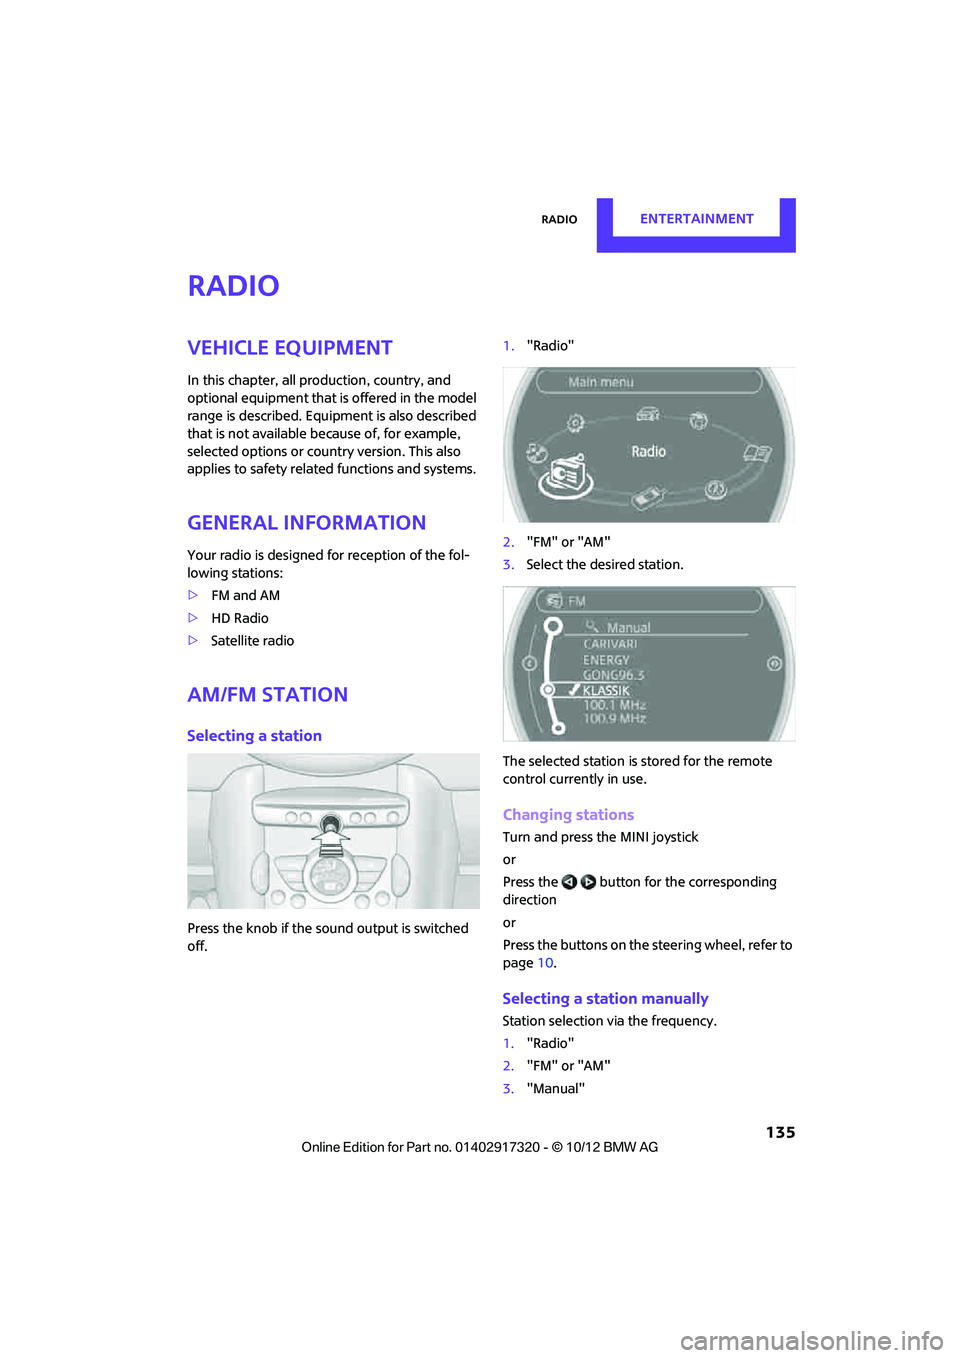
Press the knob if the sound output is switched
off. 1.
"Radio"
2. "FM" or "AM"
3. Select the desired station.
The selected station is stored for the remote
control current ly in use.
Changing stations
Turn and press the MINI joystick
or
Press the button for the corresponding
direction
or
Press the buttons on the steering wheel, refer to
page10.
Selecting a station manually
Station selection via the frequency.
1. "Radio"
2. "FM" or "AM"
3. "Manual"
00320051004F004C00510048000300280047004C0057004C005200510003
Page 140 of 267
RadioENTERTAINMENT
139
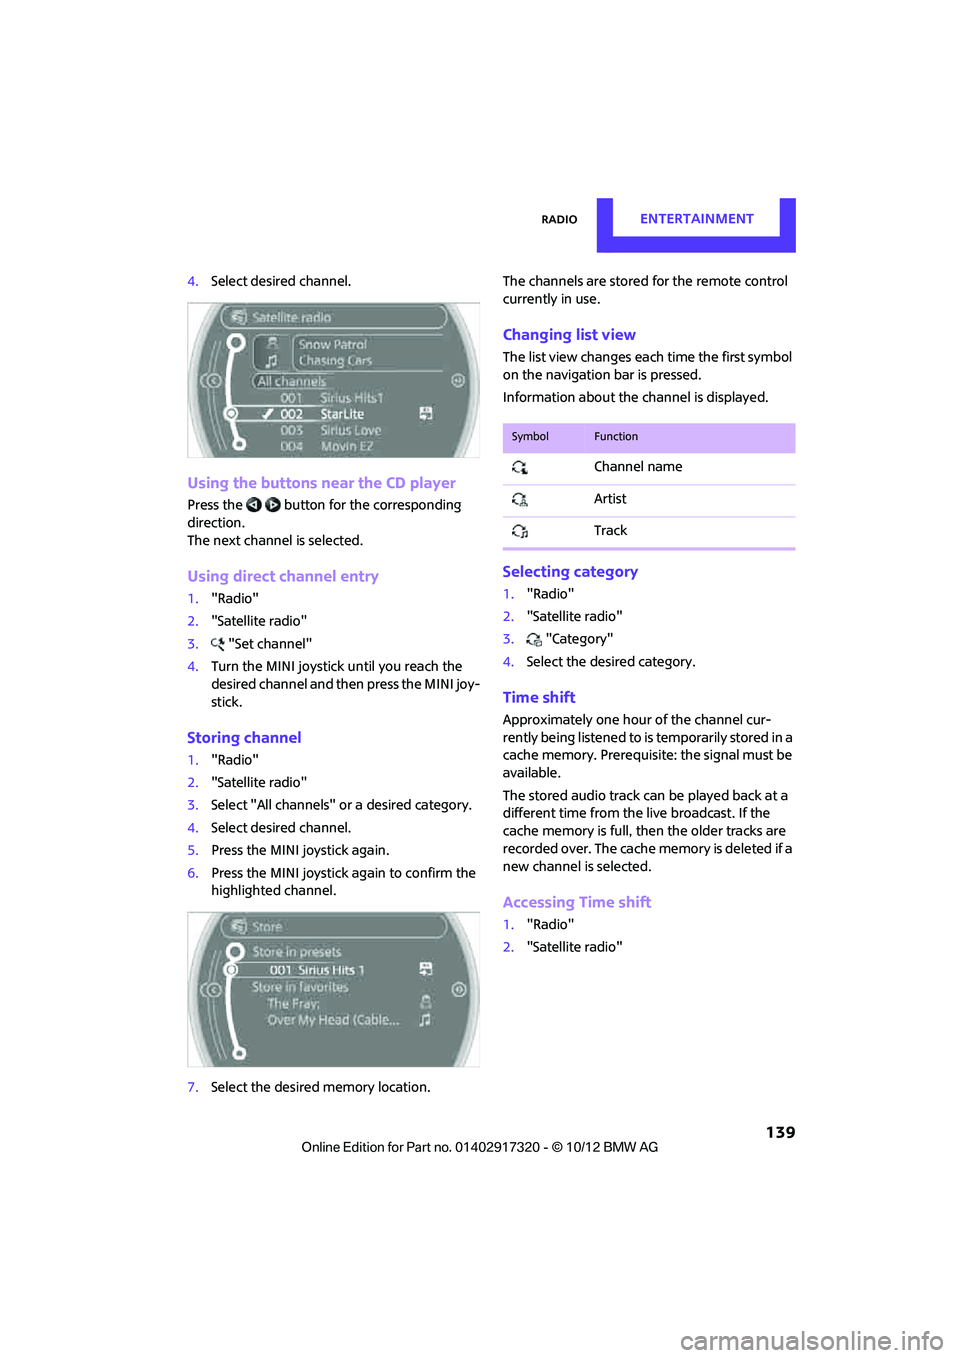
4.Select desired channel.
Using the buttons near the CD player
Press the button for the corresponding
direction.
The next channel is selected.
Using direct channel entry
1."Radio"
2. "Satellite radio"
3. "Set channel"
4. Turn the MINI joystick until you reach the
desired channel and then press the MINI joy-
stick.
Storing channel
1."Radio"
2. "Satellite radio"
3. Select "All channels" or a desired category.
4. Select desired channel.
5. Press the MINI joystick again.
6. Press the MINI joystick again to confirm the
highlighted channel.
7. Select the desired memory location. The channels are stored for the remote control
currently in use.
Changing list view
The list view changes each time the first symbol
on the navigation bar is pressed.
Information about the channel is displayed.
Selecting category
1.
"Radio"
2. "Satellite radio"
3. "Category"
4. Select the desired category.
Time shift
Approximately one hour of the channel cur-
rently being listened to is temporarily stored in a
cache memory. Prerequisite: the signal must be
available.
The stored audio track ca n be played back at a
different time from the live broadcast. If the
cache memory is full, then the older tracks are
recorded over. The cache memory is deleted if a
new channel is selected.
Accessing Time shift
1. "Radio"
2. "Satellite radio"
SymbolFunction
Channel name
Artist
Track
00320051004F004C00510048000300280047004C0057004C005200510003
Page 144 of 267
CD playerENTERTAINMENT
143
CD player
Vehicle equipment
In this chapter, all production, country, and
optional equipment that is offered in the model
range is described. Equipment is also described
that is not available because of, for example,
selected options or count ry version. This also
applies to safety related functions and systems.
General information
Inserting CD
Insert the CD into the drive with the labeled side
up. Die CD is automatically pulled in.
Playback starts automatically if the sound out-
put is on. For CDs with compressed audio files, it
can take several minutes to the data, depending
on the folder structure.
Playable formats
CD player
> CD: CD-ROM, CD-R, CD-RW, CD-DA
> Compressed audio file s: MP3, WMA, AAC
Ejecting CD
Press the button on the CD player.
The CD will be slid a short distance out from the
drive.
Audio playback
Selecting the track using the button
Press the button for the corresponding
direction repeatedly until you reach the desired
track.
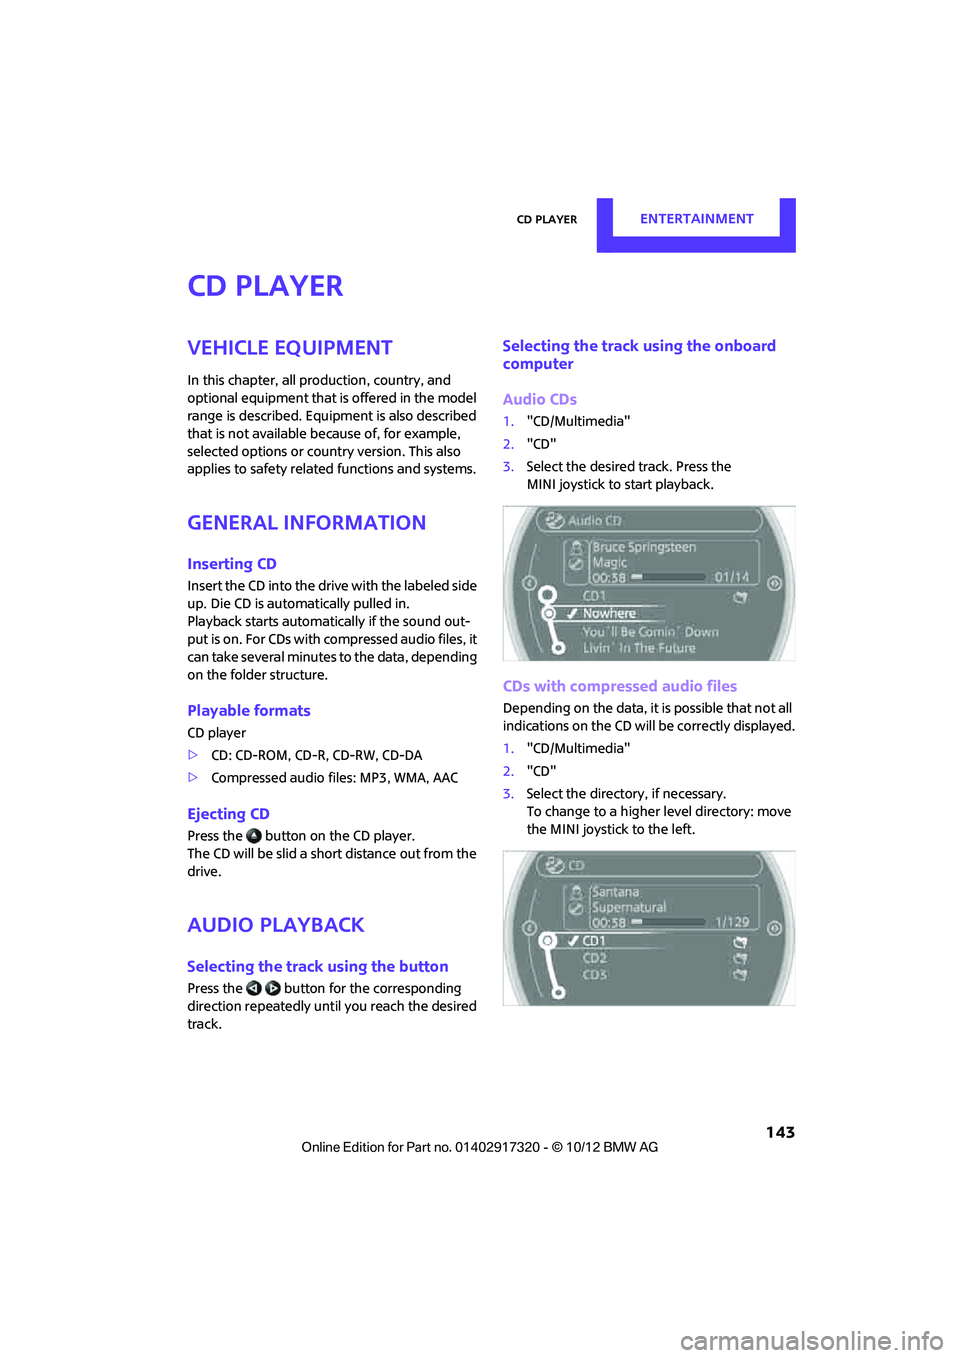
Selecting the track using the onboard
computer
Audio CDs
1. "CD/Multimedia"
2. "CD"
3. Select the desired track. Press the
MINI joystick to start playback.
CDs with compressed audio files
Depending on the data, it is possible that not all
indications on the CD will be correctly displayed.
1."CD/Multimedia"
2. "CD"
3. Select the director y, if necessary.
To change to a higher level directory: move
the MINI joystick to the left.
00320051004F004C00510048000300280047004C0057004C005200510003
Page 153 of 267
ENTERTAINMENTExternal devices
152
4.Open "Options".
5. "Select player"
6. Select the desired program.
Disconnecting an audio connection
1."CD/Multimedia"
2. "Bluetooth® (audio)"
3. Select the desired device from the list of con-
nected devices.
4. Open "Options".
5. "Configure phone"
6. Deactivate "Audio".
7. "OK"
With a mobile phone, only the audio connection
is disconnected. All other connections remain
active.
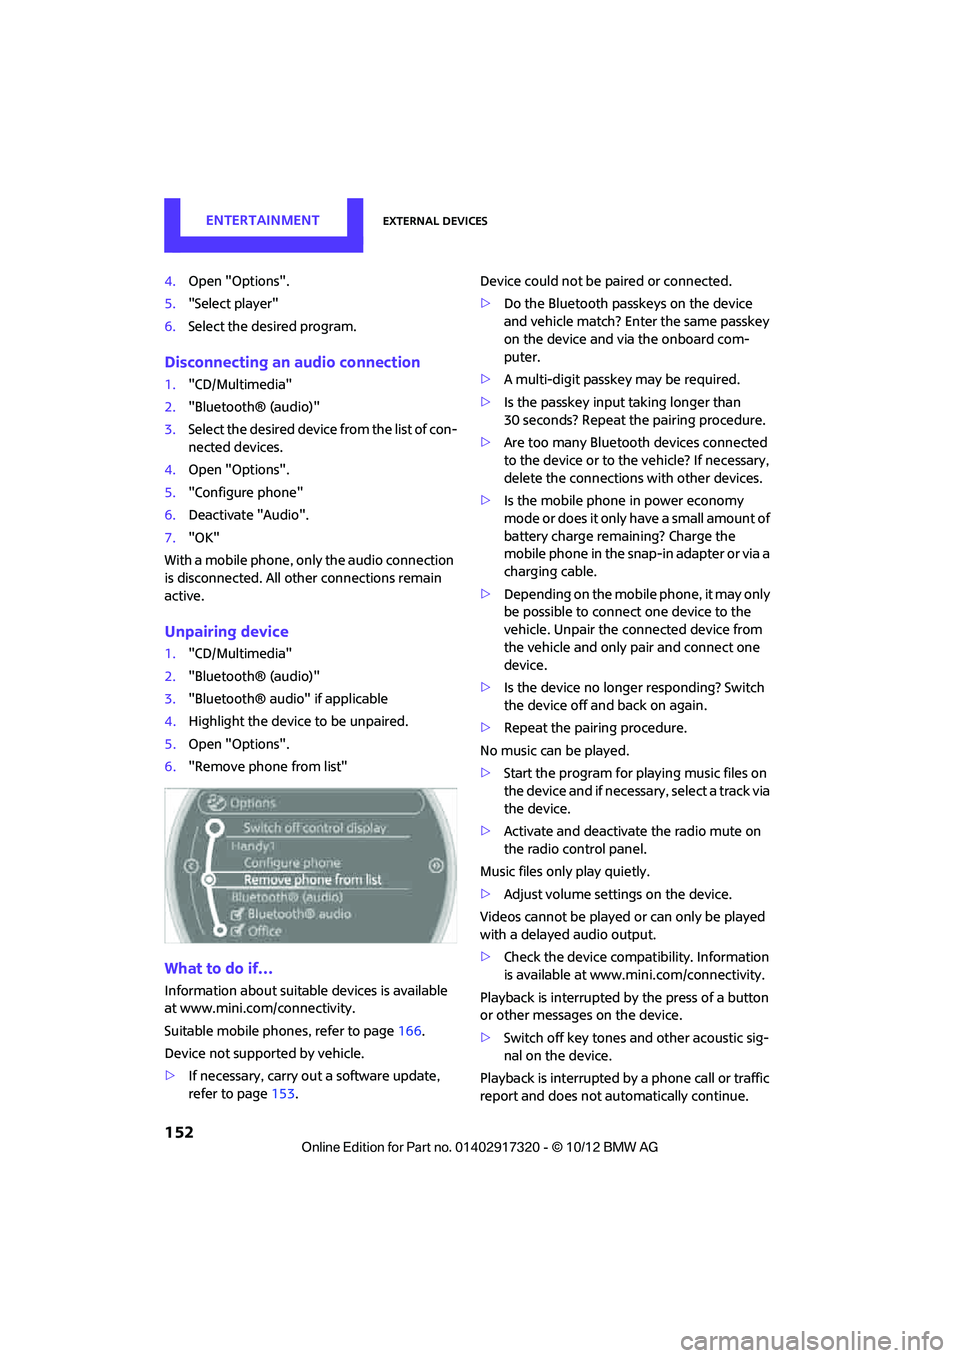
Unpairing device
1. "CD/Multimedia"
2. "Bluetooth® (audio)"
3. "Bluetooth® audio" if applicable
4. Highlight the device to be unpaired.
5. Open "Options".
6. "Remove phone from list"
What to do if…
Information about suitable devices is available
at www.mini.com /connectivity.
Suitable mobile phones, refer to page 166.
Device not supported by vehicle.
> If necessary, carry ou t a software update,
refer to page 153. Device could not be paired or connected.
>
Do the Bluetooth passkeys on the device
and vehicle match? Enter the same passkey
on the device and via the onboard com-
puter.
> A multi-digit passkey may be required.
> Is the passkey input taking longer than
30 seconds? Repeat th e pairing procedure.
> Are too many Bluetoot h devices connected
to the device or to the vehicle? If necessary,
delete the connections with other devices.
> Is the mobile phone in power economy
m o d e o r d o e s i t o n l y have a small amount of
battery charge remaining? Charge the
mobile phone in the snap-in adapter or via a
charging cable.
> Depending on the mobile phone, it may only
be possible to connect one device to the
vehicle. Unpair the connected device from
the vehicle and only pair and connect one
device.
> Is the device no longer responding? Switch
the device off and back on again.
> Repeat the pairing procedure.
No music can be played.
> Start the program for playing music files on
the device and if necessary, select a track via
the device.
> Activate and deactivate the radio mute on
the radio control panel.
Music files only play quietly.
> Adjust volume settings on the device.
Videos cannot be played or can only be played
with a delayed audio output.
> Check the device compatibility. Information
is available at www.mini.com/connectivity.
Playback is interrupted by the press of a button
or other messages on the device.
> Switch off key tones an d other acoustic sig-
nal on the device.
Playback is interrupted by a phone call or traffic
report and does not automatically continue.
00320051004F004C00510048000300280047004C0057004C005200510003
Page 159 of 267
COMMUNICATIONSHands-free device Bluetooth
158
If pairing was successful, the mobile phone
appears at the top of the list of mobile phones.
If the pairing was not successful: What to do if…,
refer to page158.
Following the initial pairing
>The mobile phone is detected/connected in
the vehicle within a short period of time
when the engine is running or radio readi-
ness is switched on.
> After identification, phone book entries are
imported from the mobile phone and/or SIM
card of the telephone, depending on the
telephone.
> Four mobile phones can be paired.
> Specific settings may be necessary in some
mobile phones, e.g. authorization or a
secure connection, re fer to the Owner's
Manual for the mobile phone.
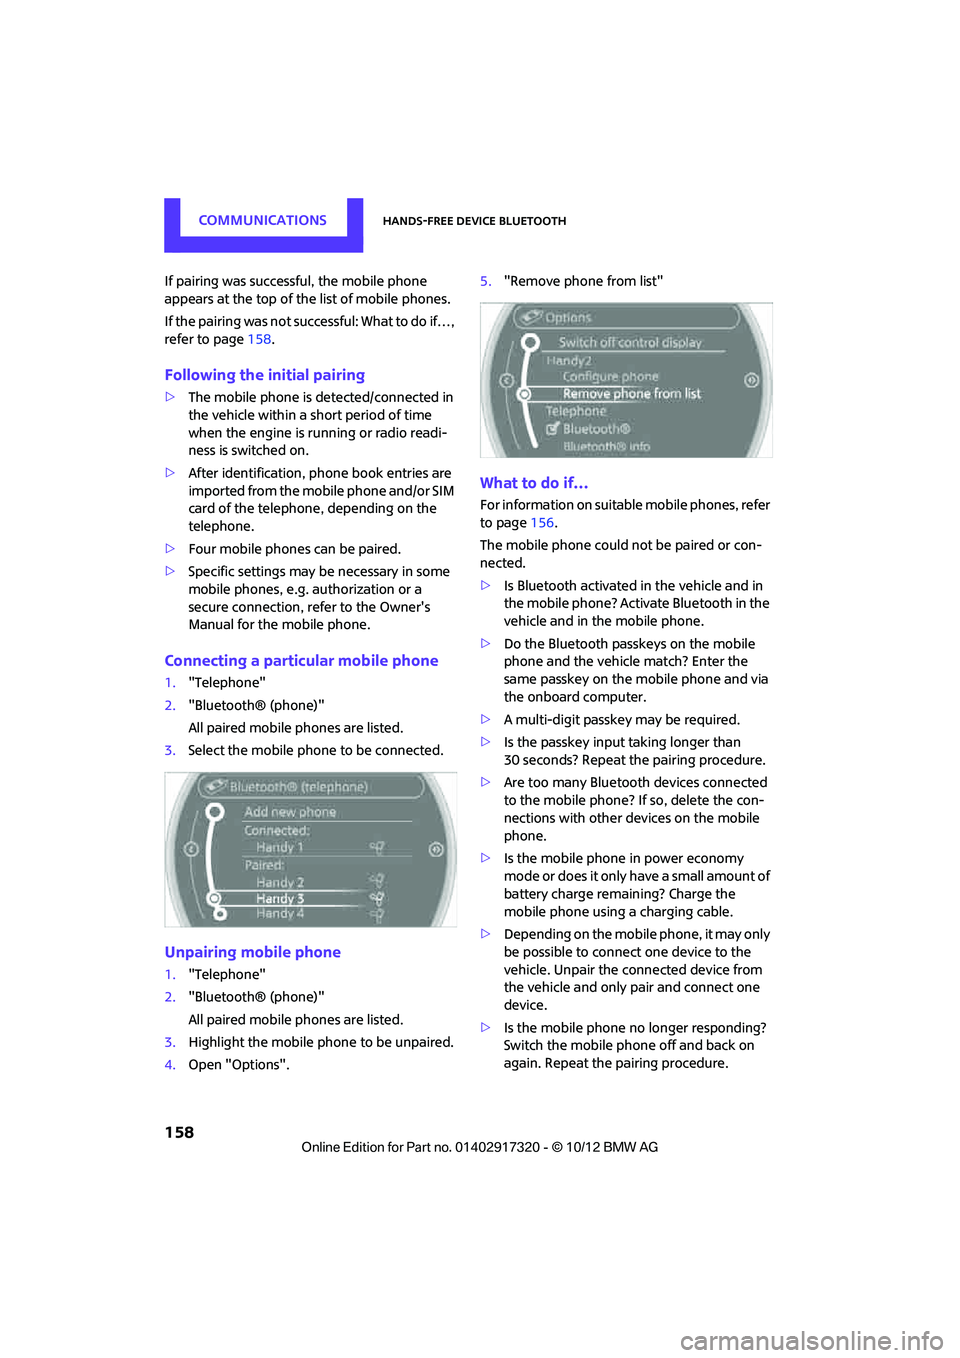
Connecting a particular mobile phone
1. "Telephone"
2. "Bluetooth® (phone)"
All paired mobile phones are listed.
3. Select the mobile phone to be connected.
Unpairing mobile phone
1."Telephone"
2. "Bluetooth® (phone)"
All paired mobile phones are listed.
3. Highlight the mobile phone to be unpaired.
4. Open "Options". 5.
"Remove phone from list"
What to do if…
For information on suitab le mobile phones, refer
to page 156.
The mobile phone could not be paired or con-
nected.
> Is Bluetooth activated in the vehicle and in
the mobile phone? Activate Bluetooth in the
vehicle and in the mobile phone.
> Do the Bluetooth passkeys on the mobile
phone and the vehicle match? Enter the
same passkey on the mobile phone and via
the onboard computer.
> A multi-digit passkey may be required.
> Is the passkey input taking longer than
30 seconds? Repeat th e pairing procedure.
> Are too many Bluetoot h devices connected
to the mobile phone? If so, delete the con-
nections with other devices on the mobile
phone.
> Is the mobile phone in power economy
m o d e o r d o e s i t o n l y have a small amount of
battery charge remaining? Charge the
mobile phone using a charging cable.
> Depending on the mobile phone, it may only
be possible to connect one device to the
vehicle. Unpair the connected device from
the vehicle and only pair and connect one
device.
> Is the mobile phone no longer responding?
Switch the mobile phone off and back on
again. Repeat the pairing procedure.
00320051004F004C00510048000300280047004C0057004C005200510003
Page 160 of 267
Hands-free device BluetoothCOMMUNICATIONS
159
Is the mobile phone no longer responding?
>Switch the mobile ph one off and back on
again. Repeat the pairing procedure.
> Is the ambient temperature too high or too
low? Do not subject your mobile phone to
extreme ambient temperatures.
Phone book entries are not displayed, not all of
them are displayed, or they are displayed
incompletely.
> The transfer of phone book entries has not
yet completed.
> It is possible that only the phone book
entries of the mobile phone or the SIM card
are transferred.
> It may not be possible to display phone book
entries with special characters.
> The number of phone book entries to be
stored is too high.
> Is the amount of data for the contact too
large, e.g., because of stored information
such as addresses? Reduce the number of
data entries.
The telephone connection quality is low.
> Depending on the mobile phone, it is possi-
ble to adjust the strength of the Bluetooth
signal.
> Place mobile phone in the area of the center
console.
If you have gone through all items in the list and
still cannot activate the desired function please
contact the Hotline or your MINI dealer.Operation
Adjusting volume
Turn the knob until the desired volume is
reached.
The setting is stored for the remote control cur-
rently in use.
Incoming call
Receiving calls
If the number of the caller is stored in the phone
book and is transmitted by the network, then
the name and number of the contact are dis-
played; otherwise, only the number is displayed.
If a contact is assigned more than one phone
number, then only the name of the caller is
transmitted.
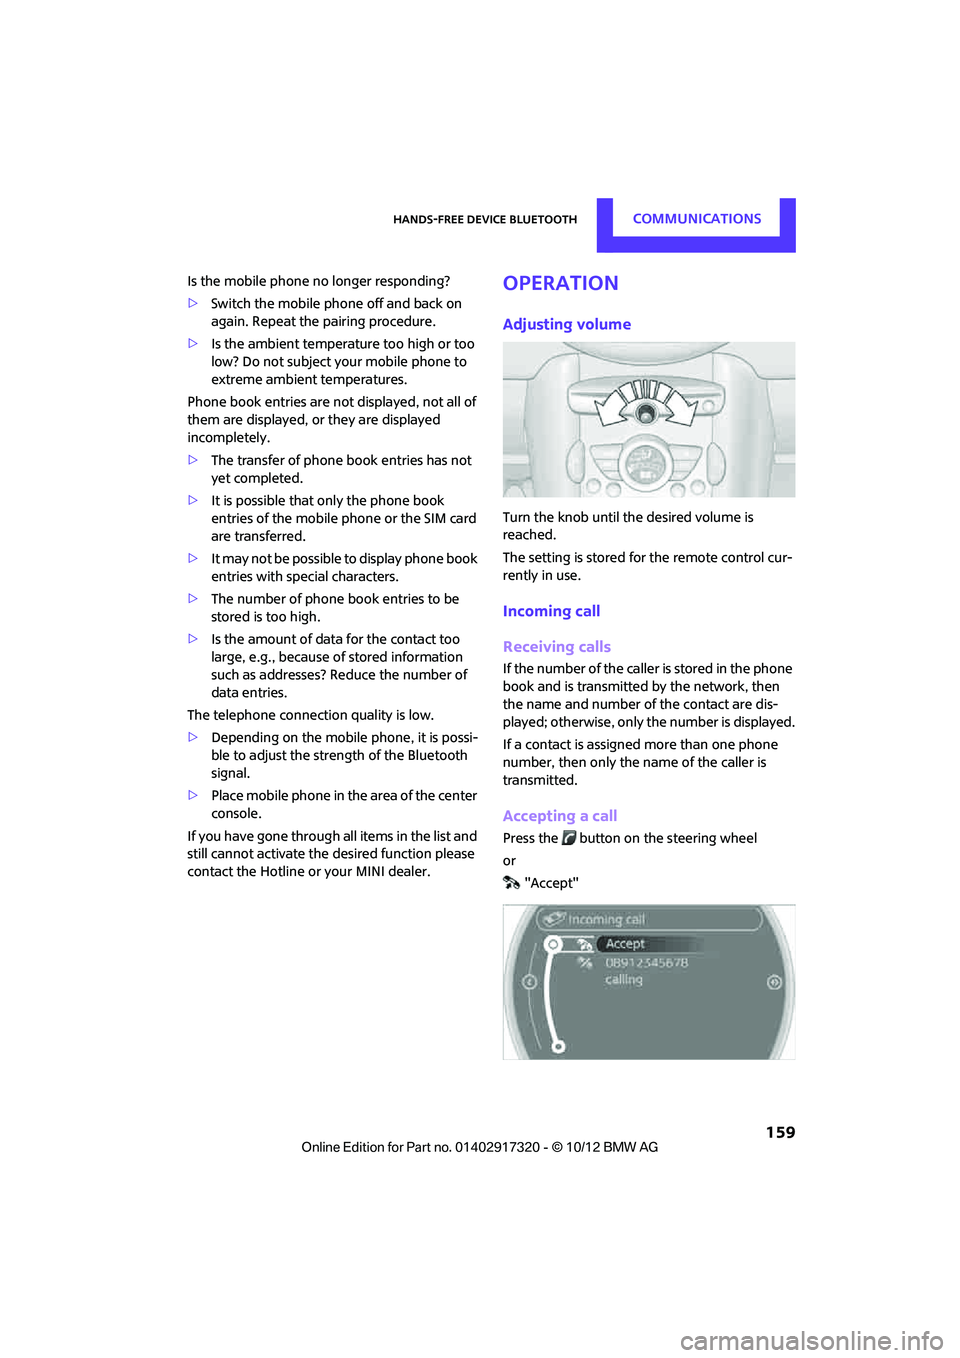
Accepting a call
Press the button on the steering wheel
or "Accept"
00320051004F004C00510048000300280047004C0057004C005200510003