ESP MINI COOPER 2013 Service Manual
[x] Cancel search | Manufacturer: MINI, Model Year: 2013, Model line: COOPER, Model: MINI COOPER 2013Pages: 267, PDF Size: 3.53 MB
Page 166 of 267
Hands-free device BluetoothCOMMUNICATIONS
165
Checking the address as a destination
An address that is to be used in route guidance
must correspond to the navigation data stored
in the vehicle. The address can be checked to
ensure this.
1.Select the desired contact and highlight the
address.
2. Open "Options".
3. "Check as destination"
4. Correct and store the address, if necessary.
Selecting name sorting
Names can be displayed in different orders.
1."My contacts"
2. Open "Options".
3. "Display: last, first name " or "Display: first,
last name"
Depending on how the cont acts were stored in
the mobile phone, the sorting of names can dif-
fer from the sorting selected.
Deleting contacts
1. "My contacts"
2. Highlight the contact.
3. Open "Options".
4. "Delete contact" or "Delete all contacts".
00320051004F004C00510048000300280047004C0057004C005200510003
Page 172 of 267
Mobile phone preparation BluetoothCOMMUNICATIONS
171
>Is the mobile phone paired as an auxiliary
phone and is the auxiliary phone function
deactivated? Activate the function.
> Outgoing call not possible? Connect the
mobile phone as a telephone.
Is the mobile phone no longer responding?
> Switch the mobile ph one off and back on
again. Repeat the pairing procedure.
> Is the ambient temperature too high or too
low? Do not subject your mobile phone to
extreme ambient temperatures.
Phone book entries are not displayed, not all of
them are displayed, or they are displayed
incompletely.
> The transfer of phone book entries has not
yet completed.
> It is possible that only the phone book
entries of the mobile phone or the SIM card
are transferred.
> It may not be possible to display phone book
entries with special characters.
> The number of phone book entries to be
stored is too high.
> The data volume of the phone book entry is
too great, e.g. due to additionally stored
information such as notes? Reduce the data
volume.
> Is the mobile phone connected as an audio
source or auxiliary phone? The mobile
phone must be connected as a telephone.
The telephone connection quality is low.
> Depending on the mobile phone, it is possi-
ble to adjust the strength of the Bluetooth
signal.
> Insert the mobile phone into the snap-in
adapter or place it in the vicinity of the cen-
ter console.
> Adjust the volume of the microphone and
speaker separately.
If you have gone through all items in the list and
still cannot activate the desired function please
contact the Hotline or your MINI dealer.Operation
Adjusting volume
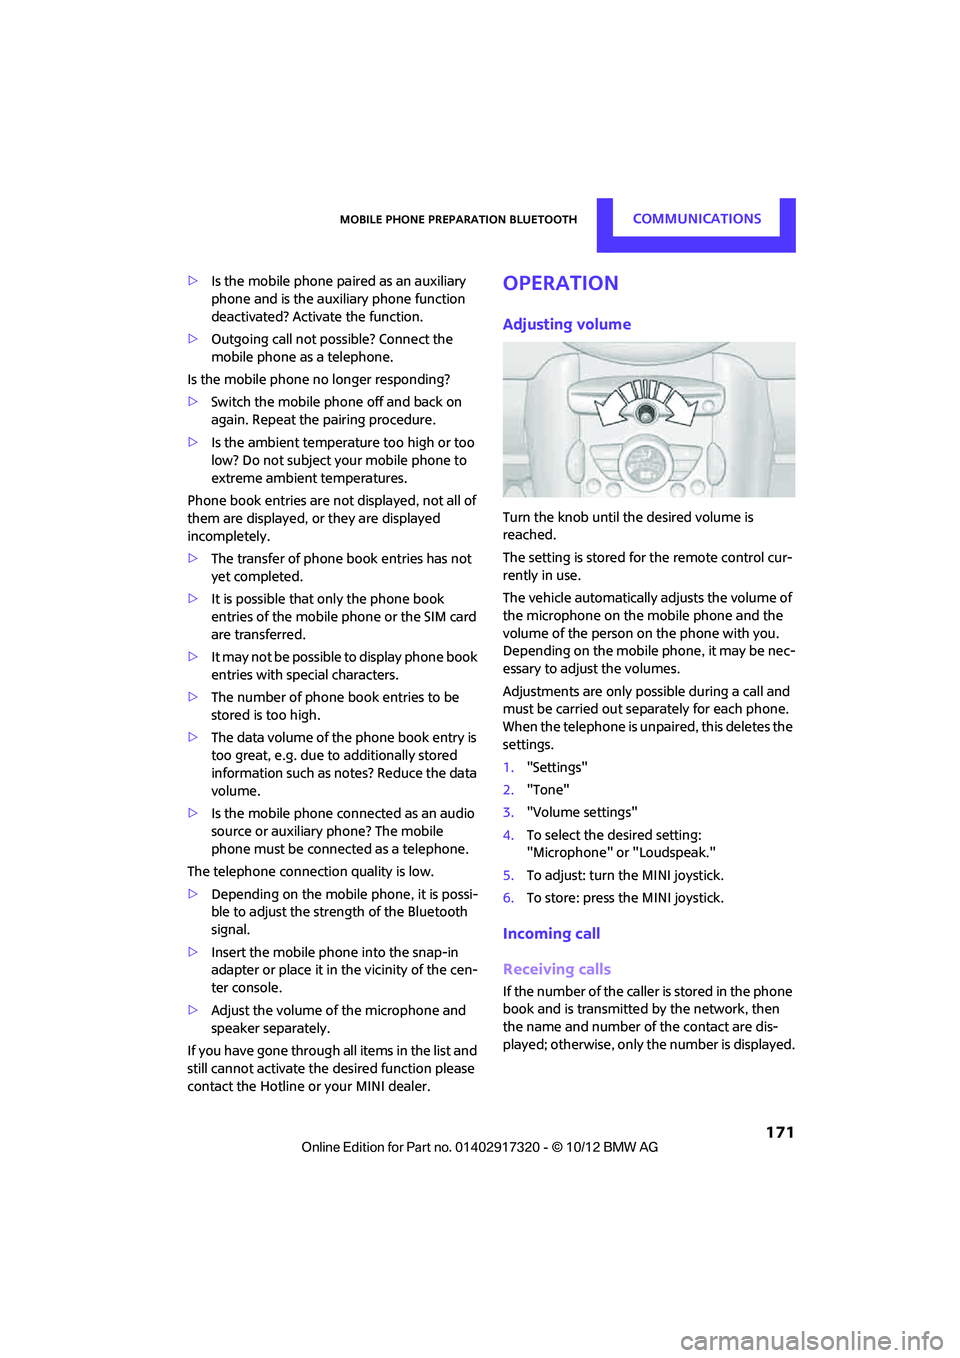
Turn the knob until the desired volume is
reached.
The setting is stored for the remote control cur-
rently in use.
The vehicle automatically adjusts the volume of
the microphone on the mobile phone and the
volume of the person on the phone with you.
Depending on the mobile phone, it may be nec-
essary to adjust the volumes.
Adjustments are only possible during a call and
must be carried out separately for each phone.
When the telephone is unpaired, this deletes the
settings.
1. "Settings"
2. "Tone"
3. "Volume settings"
4. To select the desired setting:
"Microphone" or "Loudspeak."
5. To adjust: turn the MINI joystick.
6. To store: press the MINI joystick.
Incoming call
Receiving calls
If the number of the caller is stored in the phone
book and is transmitted by the network, then
the name and number of the contact are dis-
played; otherwise, only the number is displayed.
00320051004F004C00510048000300280047004C0057004C005200510003
Page 182 of 267
OfficeCOMMUNICATIONS
181
3."Start guidance" or "Add as another destina-
tion"
Checking the address as a destination
An address that is to be used in route guidance
must correspond to the navigation data stored
in the vehicle. The address can be checked to
ensure this.
1.Select the desired contact and highlight the
address.
2. Open "Options".
3. "Check as destination"
4. Correct and store the address, if necessary.
If the address is corrected and stored, a copy of
it is stored in the vehicle. The address is not
changed on the mobile phone.
New contact
A contact can be associated with up to 8 phone
numbers, 2 addresses, 3 e-mail addresses, and
one Internet address.
1. "Office"
2. "Contacts"
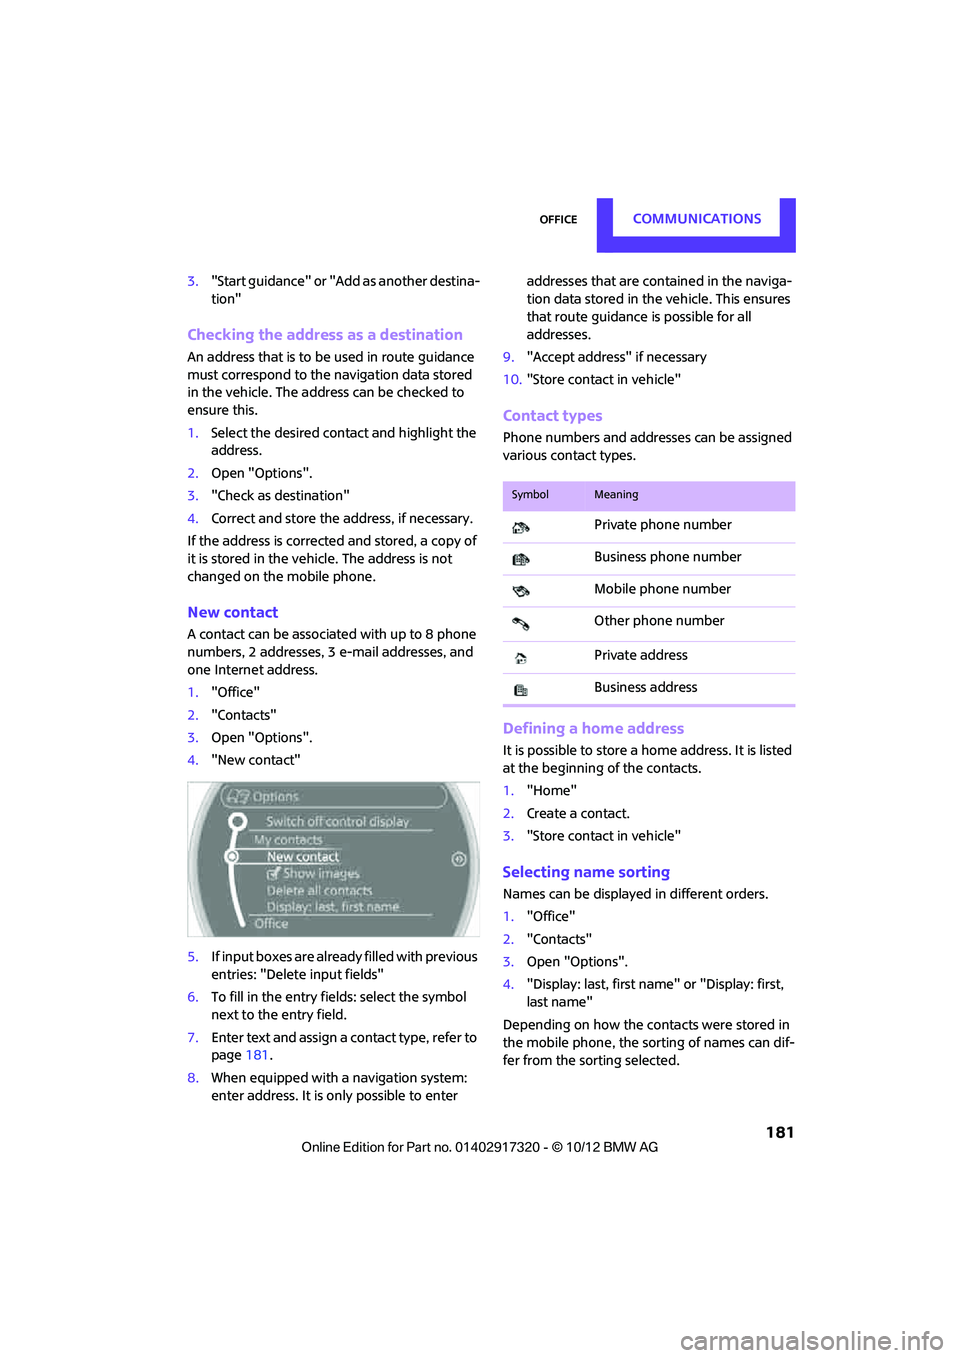
3. Open "Options".
4. "New contact"
5. If input boxes are already filled with previous
entries: "Delete input fields"
6. To fill in the entry fields: select the symbol
next to the entry field.
7. Enter text and assign a contact type, refer to
page 181.
8. When equipped with a navigation system:
enter address. It is only possible to enter addresses that are cont
ained in the naviga-
tion data stored in the vehicle. This ensures
that route guidance is possible for all
addresses.
9. "Accept address" if necessary
10. "Store contact in vehicle"
Contact types
Phone numbers and addresses can be assigned
various contact types.
Defining a home address
It is possible to store a ho me address. It is listed
at the beginning of the contacts.
1. "Home"
2. Create a contact.
3. "Store contact in vehicle"
Selecting name sorting
Names can be displayed in different orders.
1."Office"
2. "Contacts"
3. Open "Options".
4. "Display: last, first name " or "Display: first,
last name"
Depending on how the contacts were stored in
the mobile phone, the sorting of names can dif-
fer from the sorting selected.
SymbolMeaning
Private phone number
Business phone number
Mobile phone number
Other phone number
Private address
Business address
00320051004F004C00510048000300280047004C0057004C005200510003
Page 195 of 267
MOBILITYRefueling
194
The use of poor quality fuels may result in
harmful engine deposits or damage. Addi-
tionally, problems relating to drivability, starting
and stalling, especially under certain environ-
mental conditions such as high ambient temper-
atures and high altitudes, may occur.
If drivability problems are encountered, we rec-
ommend switching to a high quality gasoline
brand and a higher octane grade - AKI number -
for a few tankfuls. To avoid harmful engine
deposits, it is highly recommended to purchase
gasoline from BP or Top Tier retailers.
Failure to comply with these recommendations
may result in a need for unscheduled mainte-
nance. <
00320051004F004C00510048000300280047004C0057004C005200510003
Page 196 of 267
Wheels and tiresMOBILITY
195
Wheels and tires
Vehicle equipment
In this chapter, all production, country, and
optional equipment that is offered in the model
range is described. Equipment is also described
that is not available because of, for example,
selected options or count ry version. This also
applies to safety related functions and systems.
Tire inflation pressures
Information for your safety
It is not merely the tires' service life, but also
driving comfort and, to a great extent, driving
safety that depend on the condition of the tires
and the maintenance of the specified tire pres-
sure.
Checking pressure
Check the tire inflatio n pressure regularly
and correct it, if nece ssary: at least twice a
month and before starting long trips. If you fail
to observe this precaution you may be driving
on tires with incorrect tire pressures, a condition
that can not only compromise your vehicle's
driving stability, but also lead to tire damage and
the risk of an accident. Do not drive with
deflated, i.e. flat tires, except when using run-
flat tires. A flat tire will seriously impair your
vehicle's handling and braking response.
Attempts to drive on a flat tire can lead to loss of
control over the vehicle. <
Check the tire inflation pressures only on cold
tires. This means after a maximum of 1.25 miles/
2 km driving or when the vehicle has been
parked for at least 2 hours. When tires are warm,
the tire inflation pressure is higher. After adjusting the tire inflation pressure,
reinitialize the Flat Tire Monitor, page 72,
or reset the Tire Pressure Monitor, page 75.<
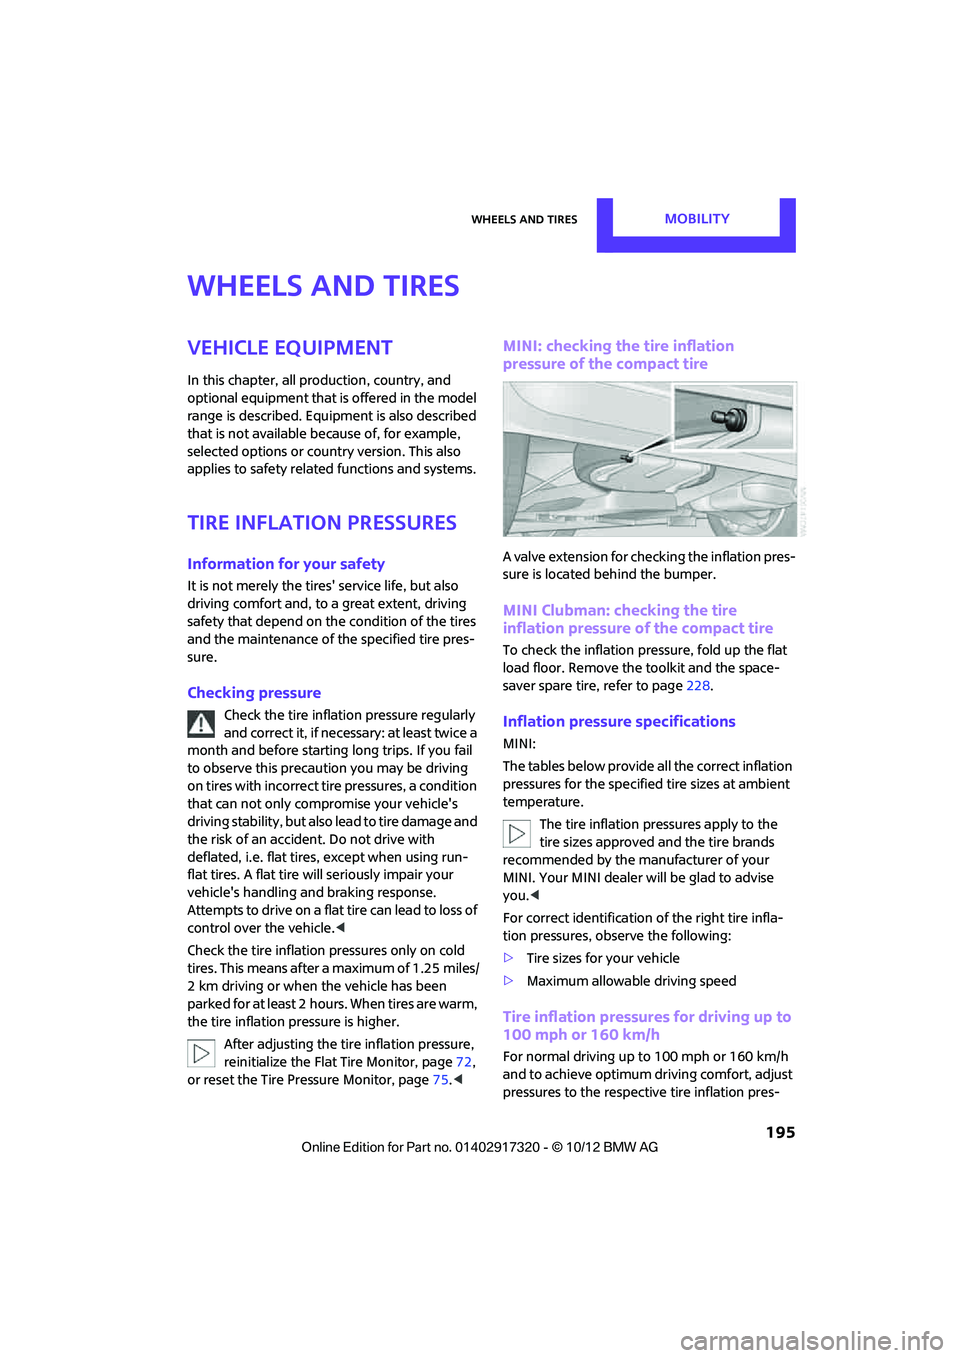
MINI: checking the tire inflation
pressure of the compact tire
A valve extension for checking the inflation pres-
sure is located behind the bumper.
MINI Clubman: checking the tire
inflation pressure of the compact tire
To check the inflation pressure, fold up the flat
load floor. Remove the toolkit and the space-
saver spare tire, refer to page 228.
Inflation pressure specifications
MINI:
The tables below provide all the correct inflation
pressures for the specified tire sizes at ambient
temperature.
The tire inflation pressures apply to the
tire sizes approved and the tire brands
recommended by the manufacturer of your
MINI. Your MINI dealer will be glad to advise
you. <
For correct identification of the right tire infla-
tion pressures, observe the following:
> Tire sizes for your vehicle
> Maximum allowable driving speed
Tire inflation pressures for driving up to
100 mph or 160 km/h
For normal driving up to 100 mph or 160 km/h
and to achieve optimum dr iving comfort, adjust
pressures to the respective tire inflation pres-
00320051004F004C00510048000300280047004C0057004C005200510003
Page 197 of 267
MOBILITYWheels and tires
196
sures listed on the following pages in the col-
umns for traveling speeds up to a maximum of
100 mph or 160 km/h.
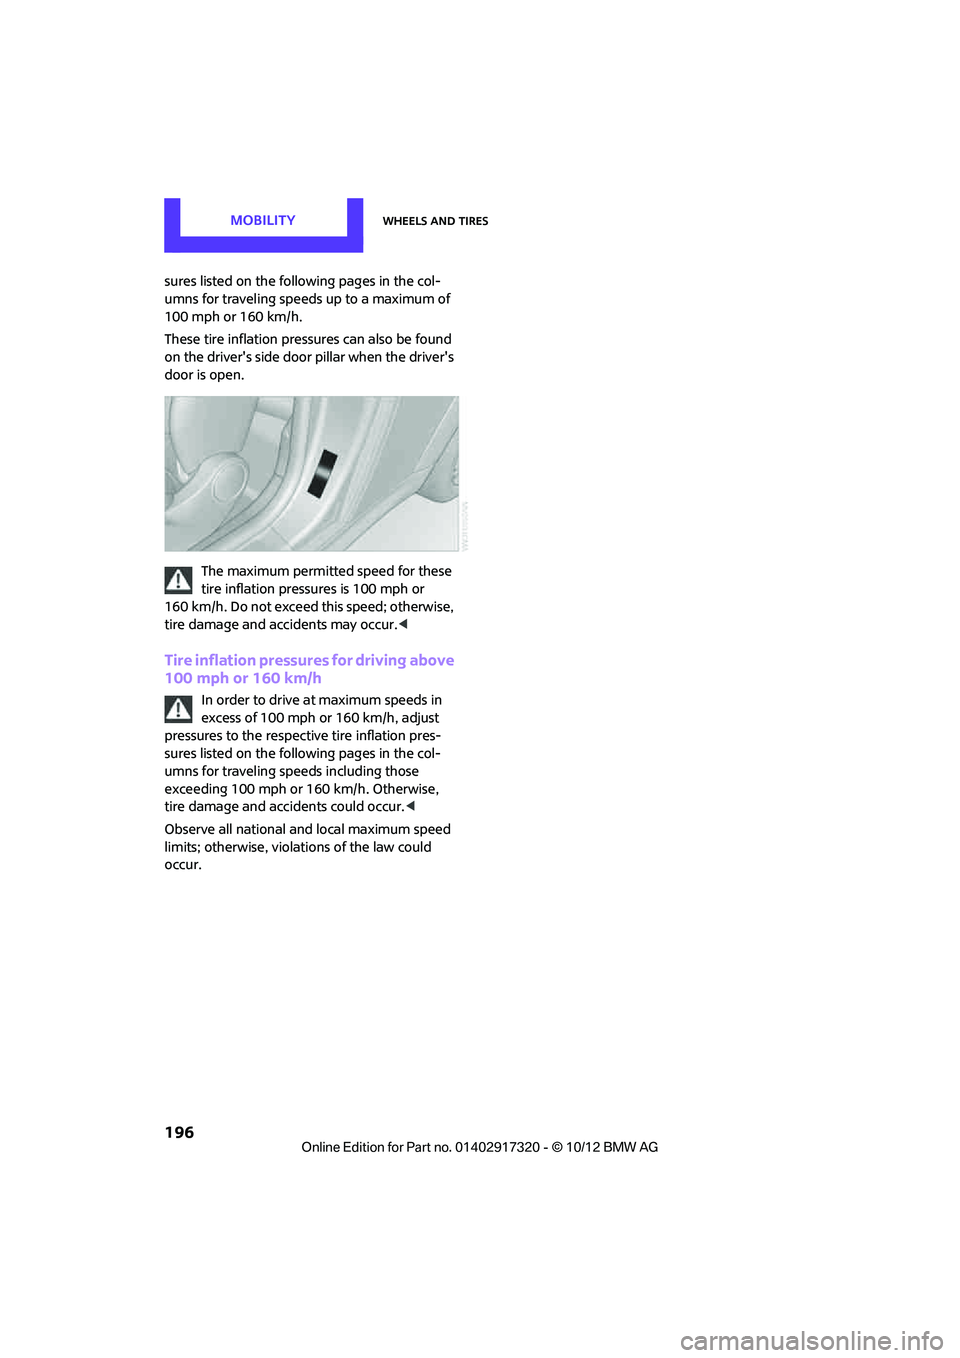
These tire inflation pre ssures can also be found
on the driver's side door pillar when the driver's
door is open.
The maximum permitted speed for these
tire inflation pressures is 100 mph or
160 km/h. Do not exceed this speed; otherwise,
tire damage and accidents may occur. <
Tire inflation pressures for driving above
100 mph or 160 km/h
In order to drive at maximum speeds in
excess of 100 mph or 160 km/h, adjust
pressures to the respective tire inflation pres-
sures listed on the follo wing pages in the col-
umns for traveling speeds including those
exceeding 100 mph or 160 km/h. Otherwise,
tire damage and accidents could occur. <
Observe all national and local maximum speed
limits; otherwise, violat ions of the law could
occur.
00320051004F004C00510048000300280047004C0057004C005200510003
Page 204 of 267
Wheels and tiresMOBILITY
203
Uniform Tire Quality Grading
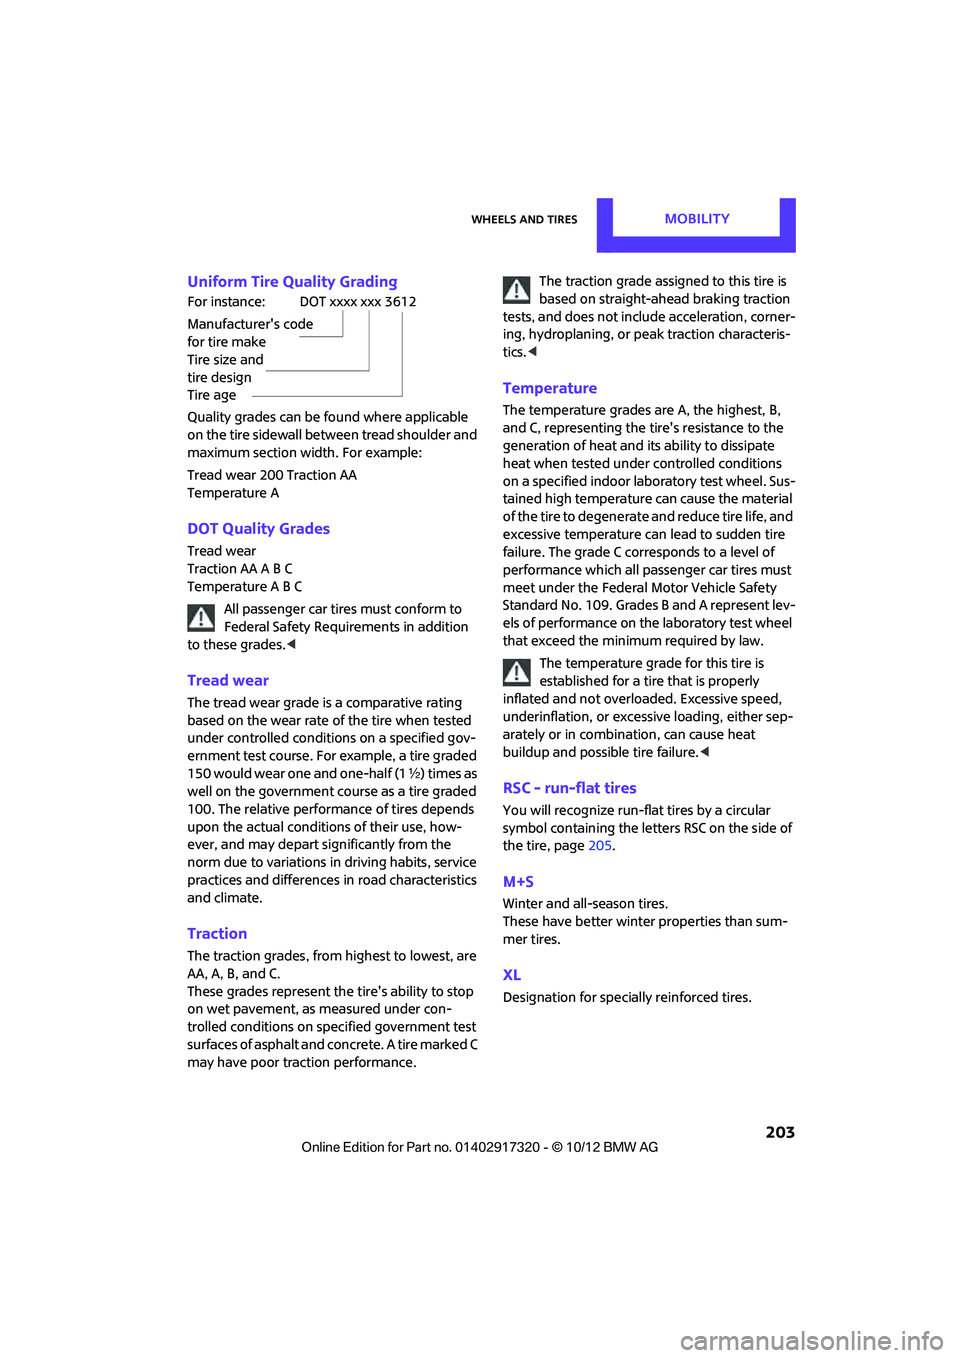
Quality grades can be found where applicable
on the tire sidewall between tread shoulder and
maximum section width. For example:
Tread wear 200 Traction AA
Temperature A
DOT Quality Grades
Tread wear
Traction AA A B C
Temperature A B C
All passenger car tires must conform to
Federal Safety Requirements in addition
to these grades. <
Tread wear
The tread wear grade is a comparative rating
based on the wear rate of the tire when tested
under controlled conditions on a specified gov-
ernment test course. For example, a tire graded
150 would wear one and one-half (1 γ) times as
well on the government course as a tire graded
100. The relative performance of tires depends
upon the actual conditio ns of their use, how-
ever, and may depart si gnificantly from the
norm due to variations in driving habits, service
practices and differences in road characteristics
and climate.
Traction
The traction grades, from highest to lowest, are
AA, A, B, and C.
These grades represent the tire's ability to stop
on wet pavement, as measured under con-
trolled conditions on specified government test
surfaces of asphalt and concrete. A tire marked C
may have poor traction performance. The traction grade assigned to this tire is
based on straight-ahead braking traction
tests, and does not incl ude acceleration, corner-
ing, hydroplaning, or peak traction characteris-
tics. <
Temperature
The temperature grades are A, the highest, B,
and C, representing the tire's resistance to the
generation of heat and its ability to dissipate
heat when tested under controlled conditions
on a specified indoor labo ratory test wheel. Sus-
tained high temperature can cause the material
of the tire to degenerate and reduce tire life, and
excessive temperature can lead to sudden tire
failure. The grade C corresponds to a level of
performance which all passenger car tires must
meet under the Federal Motor Vehicle Safety
Standard No. 109. Grades B and A represent lev-
els of performance on the laboratory test wheel
that exceed the minimum required by law.
The temperature grade for this tire is
established for a tire that is properly
inflated and not overloaded. Excessive speed,
underinflation, or excessive loading, either sep-
arately or in combinat ion, can cause heat
buildup and possible tire failure.<
RSC - run-flat tires
You will recognize run-flat tires by a circular
symbol containing the letters RSC on the side of
the tire, page 205.
M+S
Winter and all-season tires.
These have better winter properties than sum-
mer tires.
XL
Designation for specia lly reinforced tires.
For instance:
Manufacturer's code
for tire make
Tire size and
tire design
Tire age
DOT xxxx xxx 3612
00320051004F004C00510048000300280047004C0057004C005200510003
Page 205 of 267
MOBILITYWheels and tires
204
Tire condition
Inspect your tires regularly for tread wear, signs
of damage and for foreign objects lodged in the
tread. Check the tread depth.
Tread depth
The tread depth should not drop below 0.12 in/
3 mm, although, for exam ple, European legisla-
tion only specifies a minimum tread depth of
0.063 in/1.6 mm. At tread depths below 0.12 in/
3 mm there is an increased risk of high-speed
hydroplaning, even when only small amounts of
water are present on the road surface.
Winter tires
When winter tires wear down past a tread depth
of 0.16 in/4 mm, they become perceptibly less
suitable for winter condit ions. In the interest of
safety, new tires should be installed.
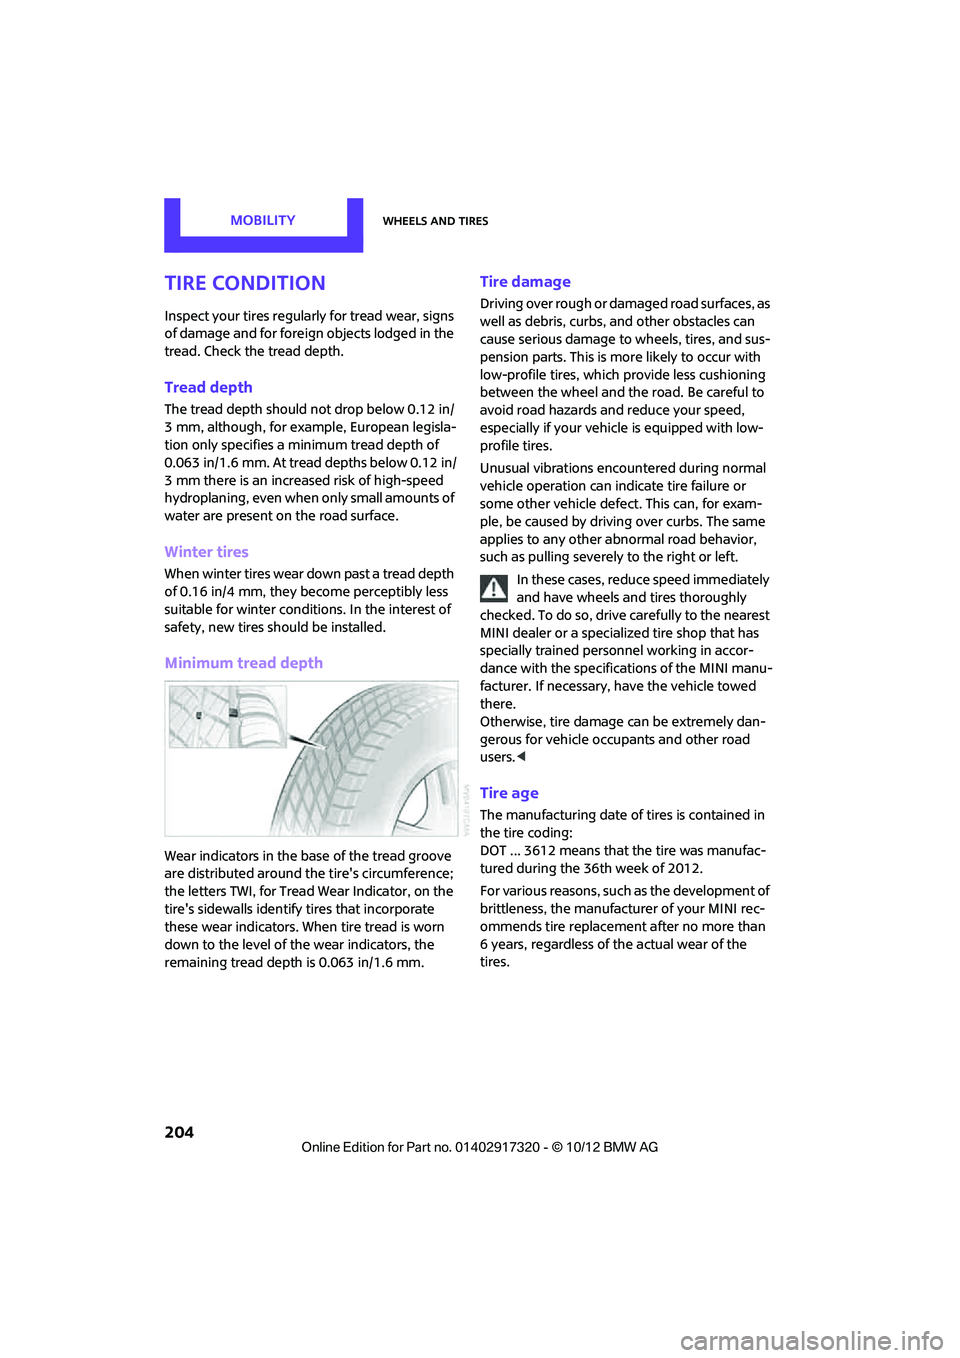
Minimum tread depth
Wear indicators in the base of the tread groove
are distributed around the tire's circumference;
the letters TWI, for Tread Wear Indicator, on the
tire's sidewalls identify tires that incorporate
these wear indicators. When tire tread is worn
down to the level of the wear indicators, the
remaining tread dept h is 0.063 in/1.6 mm.
Tire damage
Driving over rough or damaged road surfaces, as
well as debris, curbs, and other obstacles can
cause serious damage to wheels, tires, and sus-
pension parts. This is more likely to occur with
low-profile tires, which provide less cushioning
between the wheel and the road. Be careful to
avoid road hazards and reduce your speed,
especially if your vehi cle is equipped with low-
profile tires.
Unusual vibrations encountered during normal
vehicle operation can indi cate tire failure or
some other vehicle defect . This can, for exam-
ple, be caused by drivin g over curbs. The same
applies to any other abnormal road behavior,
such as pulling severely to the right or left.
In these cases, reduce speed immediately
and have wheels and tires thoroughly
checked. To do so, drive carefully to the nearest
MINI dealer or a specialized tire shop that has
specially trained personnel working in accor-
dance with the specifications of the MINI manu-
facturer. If necessary, have the vehicle towed
there.
Otherwise, tire damage can be extremely dan-
gerous for vehicle occu pants and other road
users. <
Tire age
The manufacturing date of tires is contained in
the tire coding:
DOT ... 3612 means that the tire was manufac-
tured during the 36th week of 2012.
For various reasons, such as the development of
brittleness, the manufacturer of your MINI rec-
ommends tire replacemen t after no more than
6 years, regardless of the actual wear of the
tires.
00320051004F004C00510048000300280047004C0057004C005200510003
Page 206 of 267
Wheels and tiresMOBILITY
205
Run-flat tires
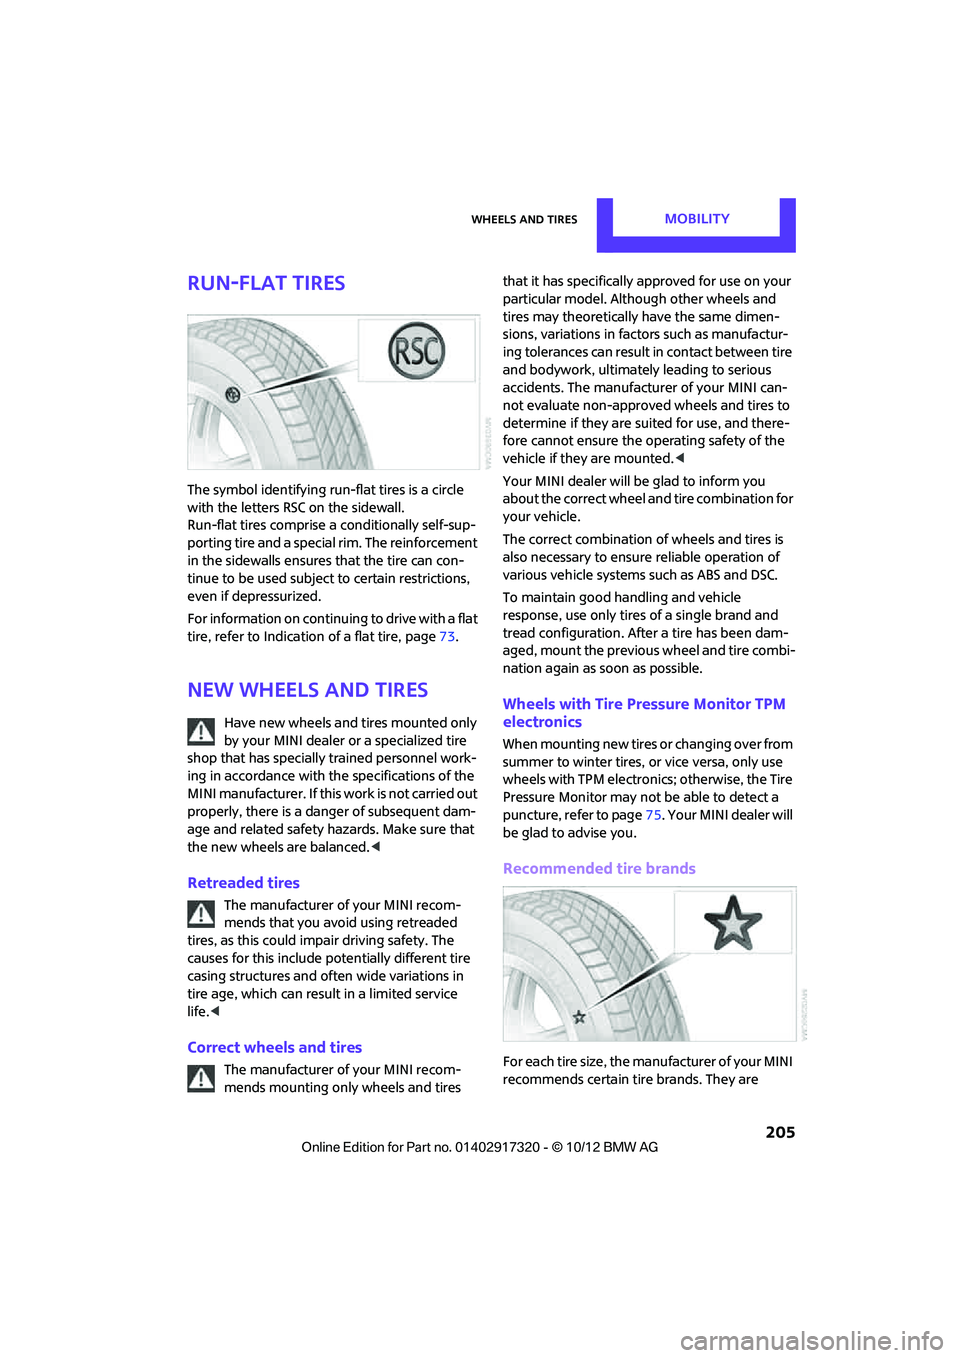
The symbol identifying run-flat tires is a circle
with the letters RSC on the sidewall.
Run-flat tires comprise a conditionally self-sup-
porting tire and a special rim. The reinforcement
in the sidewalls ensures that the tire can con-
tinue to be used subject to certain restrictions,
even if depressurized.
For information on continuing to drive with a flat
tire, refer to Indication of a flat tire, page73.
New wheels and tires
Have new wheels and tires mounted only
by your MINI dealer or a specialized tire
shop that has specially trained personnel work-
ing in accordance with th e specifications of the
MINI manufacturer. If this work is not carried out
properly, there is a danger of subsequent dam-
age and related safety ha zards. Make sure that
the new wheels are balanced. <
Retreaded tires
The manufacturer of your MINI recom-
mends that you avoid using retreaded
tires, as this could impair driving safety. The
causes for this include potentially different tire
casing structures and of ten wide variations in
tire age, which can result in a limited service
life.<
Correct wheels and tires
The manufacturer of your MINI recom-
mends mounting only wheels and tires that it has specifically approved for use on your
particular model. Alth
ough other wheels and
tires may theoretically have the same dimen-
sions, variations in factors such as manufactur-
ing tolerances can result in contact between tire
and bodywork, ultimately leading to serious
accidents. The manufactur er of your MINI can-
not evaluate non-approved wheels and tires to
determine if they are su ited for use, and there-
fore cannot ensure the operating safety of the
vehicle if they are mounted. <
Your MINI dealer will be glad to inform you
about the correct wheel an d tire combination for
your vehicle.
The correct combination of wheels and tires is
also necessary to ensure reliable operation of
various vehicle systems such as ABS and DSC.
To maintain good handling and vehicle
response, use only tires of a single brand and
tread configuration. After a tire has been dam-
aged, mount the previous wheel and tire combi-
nation again as soon as possible.
Wheels with Tire Pressure Monitor TPM
electronics
When mounting new tires or changing over from
summer to winter tires, or vice versa, only use
wheels with TPM electronics; otherwise, the Tire
Pressure Monitor may not be able to detect a
puncture, refer to page 75. Your MINI dealer will
be glad to advise you.
Recommended tire brands
For each tire size, the manufacturer of your MINI
recommends certain tire brands. They are
00320051004F004C00510048000300280047004C0057004C005200510003
Page 210 of 267
Engine compartmentMOBILITY
209
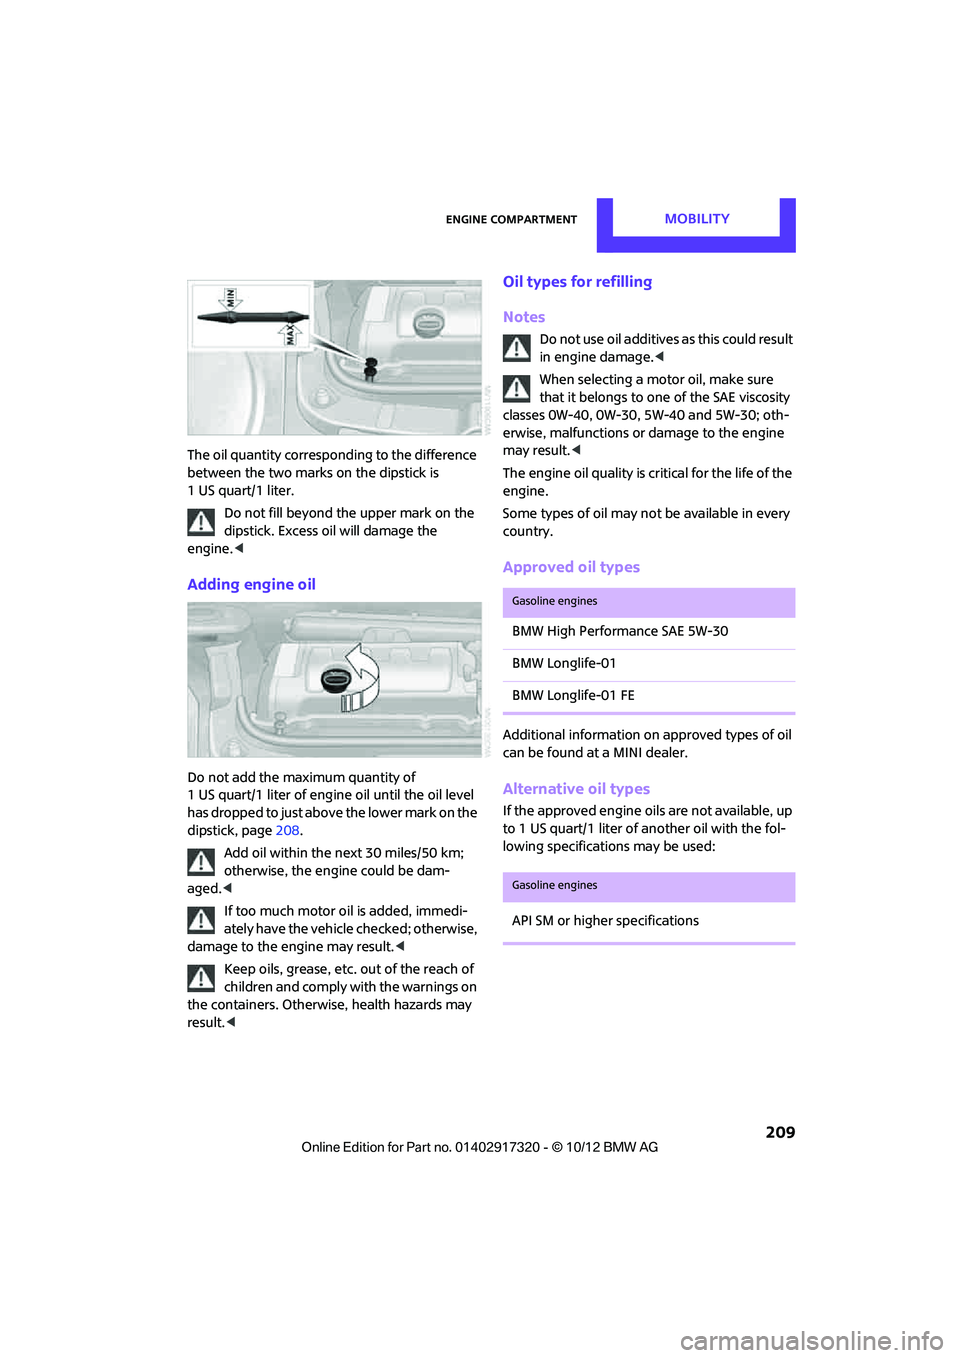
The oil quantity corresponding to the difference
between the two marks on the dipstick is
1 US quart/1 liter.Do not fill beyond the upper mark on the
dipstick. Excess oil will damage the
engine. <
Adding engine oil
Do not add the maximum quantity of
1 US quart/1 liter of engine oil until the oil level
has dropped to just abov e the lower mark on the
dipstick, page 208.
Add oil within the next 30 miles/50 km;
otherwise, the engine could be dam-
aged. <
If too much motor oi l is added, immedi-
ately have the vehicle checked; otherwise,
damage to the engine may result.<
Keep oils, grease, etc. out of the reach of
children and comply with the warnings on
the containers. Otherwise, health hazards may
result. <
Oil types for refilling
Notes
Do not use oil additives as this could result
in engine damage. <
When selecting a moto r oil, make sure
that it belongs to one of the SAE viscosity
classes 0W-40, 0W-30, 5W-40 and 5W-30; oth-
erwise, malfunctions or damage to the engine
may result. <
The engine oil quality is critical for the life of the
engine.
Some types of oil may not be available in every
country.
Approved oil types
Additional information on approved types of oil
can be found at a MINI dealer.
Alternative oil types
If the approved engine oi ls are not available, up
to 1 US quart/1 liter of an other oil with the fol-
lowing specifications may be used:
Gasoline engines
BMW High Performance SAE 5W-30
BMW Longlife-01
BMW Longlife-01 FE
Gasoline engines
API SM or higher specifications
00320051004F004C00510048000300280047004C0057004C005200510003