ESP MINI COOPER 2013 Workshop Manual
[x] Cancel search | Manufacturer: MINI, Model Year: 2013, Model line: COOPER, Model: MINI COOPER 2013Pages: 267, PDF Size: 3.53 MB
Page 213 of 267
MOBILITYMaintenance
212
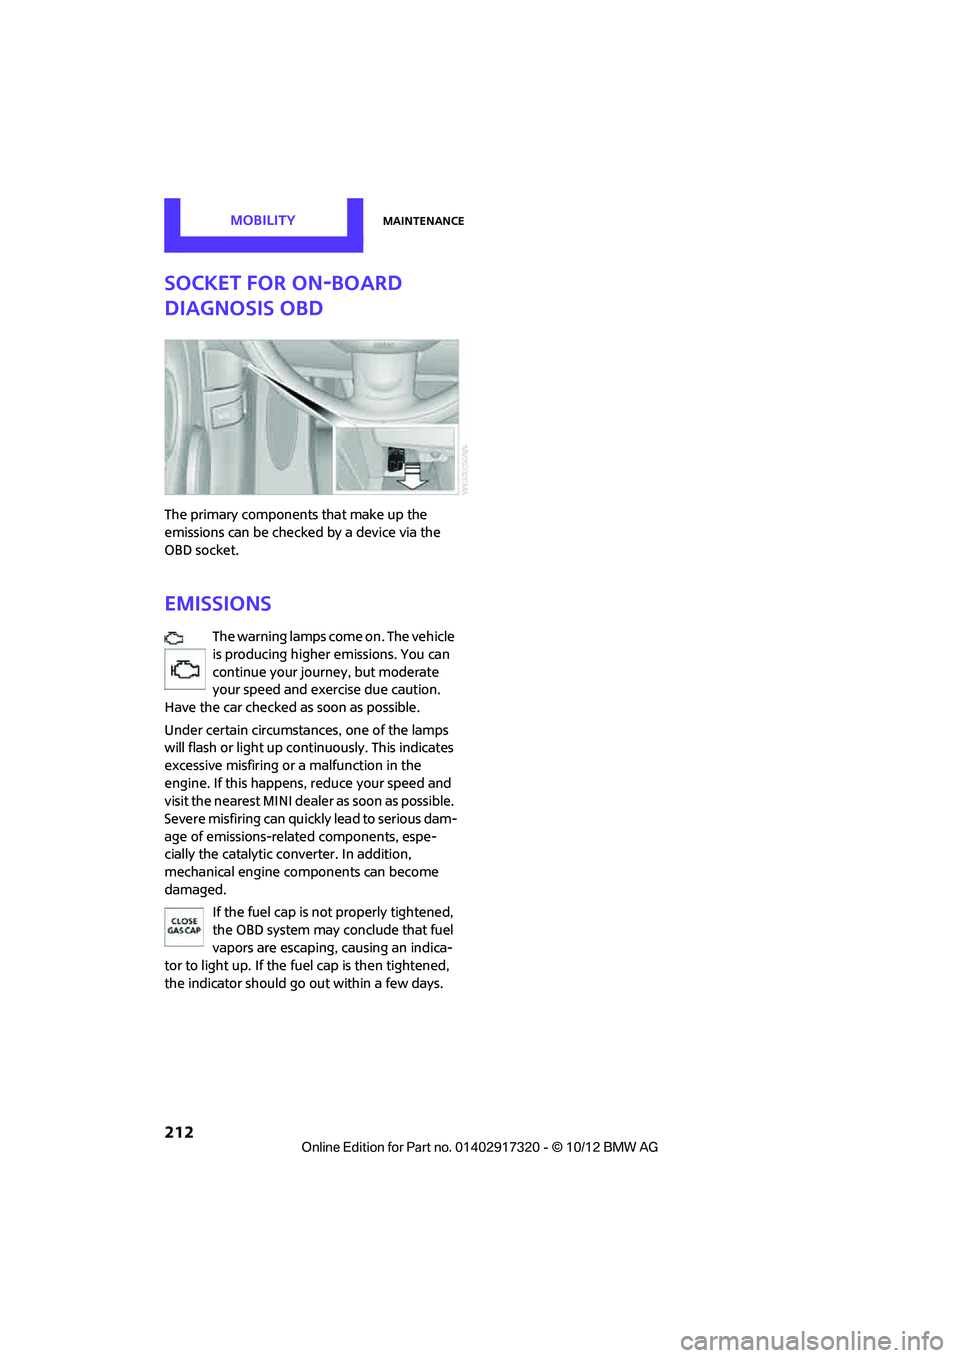
Socket for On-Board
Diagnosis OBD
The primary components that make up the
emissions can be checked by a device via the
OBD socket.
Emissions
The warning lamps come on. The vehicle
is producing higher emissions. You can
continue your journey, but moderate
your speed and exercise due caution.
Have the car checked as soon as possible.
Under certain circumstances, one of the lamps
will flash or light up cont inuously. This indicates
excessive misfiring or a malfunction in the
engine. If this happens, reduce your speed and
visit the nearest MINI dealer as soon as possible.
Severe misfiring can quic kly lead to serious dam-
age of emissions-related components, espe-
cially the catalytic converter. In addition,
mechanical engine components can become
damaged.
If the fuel cap is not properly tightened,
the OBD system may conclude that fuel
vapors are escaping, causing an indica-
tor to light up. If the fuel cap is then tightened,
the indicator should go out within a few days.
00320051004F004C00510048000300280047004C0057004C005200510003
Page 214 of 267

CareMOBILITY
213
Care
Vehicle equipment
In this chapter, all production, country, and
optional equipment that is offered in the model
range is described. Equipment is also described
that is not available because of, for example,
selected options or count ry version. This also
applies to safety related functions and systems.
Car-care products
Regular cleaning and care helps to maintain the
value of your MINI.
The manufacturer of your MINI recommends
using manufacturer-approved products to clean
and care for your vehicle.
Your MINI dealer would be pleased to advise
you on cleaning and care products and services
for your MINI.
The ingredients of original MINI Care Prod-
ucts have been tested, and the products
have been tested in the laboratory and in prac-
tice. They offer optimum care and protection for
your vehicle.<
Do not use any cleansers containing alco-
hol or solvents as these may cause dam-
age. <
Cleaning agents may contain hazardous
or health-damaging substances. Follow
the warning and hazard instructions on the
packaging. For interior cleaning, always open
the doors or windows of the vehicle.
Do not use any products that are not intended
for cleaning the vehicle. <
External care
Washing your vehicle
Especially during the winter months the
vehicle should be frequently washed. Dirt
and road salt can damage the vehicle.<
After washing the vehicle, apply the
brakes briefly to dry them; otherwise,
water can reduce braking efficiency over the
short term and the brake rotors can corrode. <
Regularly open the hood and clear out any
debris such as leaves th at may have collected in
the region of the windshield.
Car washes
Preference should be given to cloth car washes.
Do not use automatic high-pressure car
washes; otherwise, water may drip into
the vehicle around the windows. <
Before driving into the car wash, check if the sys-
tem is suitable for your MINI. Observe the fol-
lowing points:
> Vehicle dimensions, page 239.
> If necessary: fold in the outside mirrors,
page 42.
> Maximum permissible tire width.
Avoid car washes with tracks higher than
4 in/10 cm; otherwise, the chassis could
be damaged. <
Preparations for driving into the car wash:
> Unscrew the rod antenna.
> Deactivate the rain sensor to prevent unin-
tentional wiping.
> Deactivate rear window wiper and protect it
from damage. Ask the car wash operator
about measures that can be taken to protect
the wipers.
00320051004F004C00510048000300280047004C0057004C005200510003
Page 216 of 267
CareMOBILITY
215
The manufacturer of the MINI recommends
repairing paint damage professionally according
to factory specifications with original MINI
paints.
Preservation
Preservation is necessary when water no longer
beads on the clean paint surface. To preserve
the paint, only use preservatives that contain
carnauba or synthetic waxes.
Rubber seals
Only treat with water or rubber care products.
Do not use silicon sprays or other silicon-
containing care products on rubber seals;
otherwise, noise and damage could occur. <
Chrome parts
Carefully clean vehicle parts such as the radiator
grill and door handles with copious quantities of
water and, if necessary, a shampoo additive,
especially when contaminated with road salt.
For additional treatment, use chrome polish.
Light alloy wheels
The system produces brake dust that collects on
the light alloy wheels. Clean them regularly with
acid-free wheel cleaner.
Do not use aggressive , acid-containing,
highly alkaline, or abrasive cleansers or
steam jets hotter than 140 7/60 6 as they may
cause damage. <
External sensors
Keep the outside sensors on the vehicle
such as the Park Di stance Control clean
and ice-free to ensure that they function prop-
erly. <
Internal care
Upholstery/fabrics
Regularly use a vacuum cleaner to remove sur-
face dirt.
In case of serious spots such as liquid stains, use
a soft sponge or lint-free microfiber cloth and
suitable interior cleane rs. Observe the instruc-
tions on the packaging.
Clean upholstery up to the seams. Do not
rub forcefully. <
Velcro fasteners on pants or other items of
clothing can damage seat covers. Make
sure that all Velcro fasteners are closed. <
Leather/leather coverings
The leather processed by the manufac-
turer of your MINI is a high-quality natural
product. Light variations in the grain is one of
the typical properties of natural leather. <
Dust and road grit in the pores and folds of the
leather have an abrasive effect, leading to
increased wear and causing the leather surface
to become brittle prematurely. Use a cloth or
vacuum cleaner to remove dust on a regular
basis.
Especially when the leather has a light color, it
should be cleaned regularl y since it tends to get
heavily soiled.
Treat the leather twice a year using a leather
lotion since dirt and grease will gradually attack
the leather's protective layer.
Carpets/floor mats
Keep floor mats, carp et, and other objects
out of the movement range of the pedals;
otherwise, they may inhi bit the function of the
pedals during driving.
Do not place additional floor mats onto an exist-
ing one or onto other objects.
Only use floor mats that have been approved for
the vehicle and can be appropriately fastened.
Make sure that the floo r mats are securely fas-
00320051004F004C00510048000300280047004C0057004C005200510003
Page 220 of 267
Replacing componentsMOBILITY
219
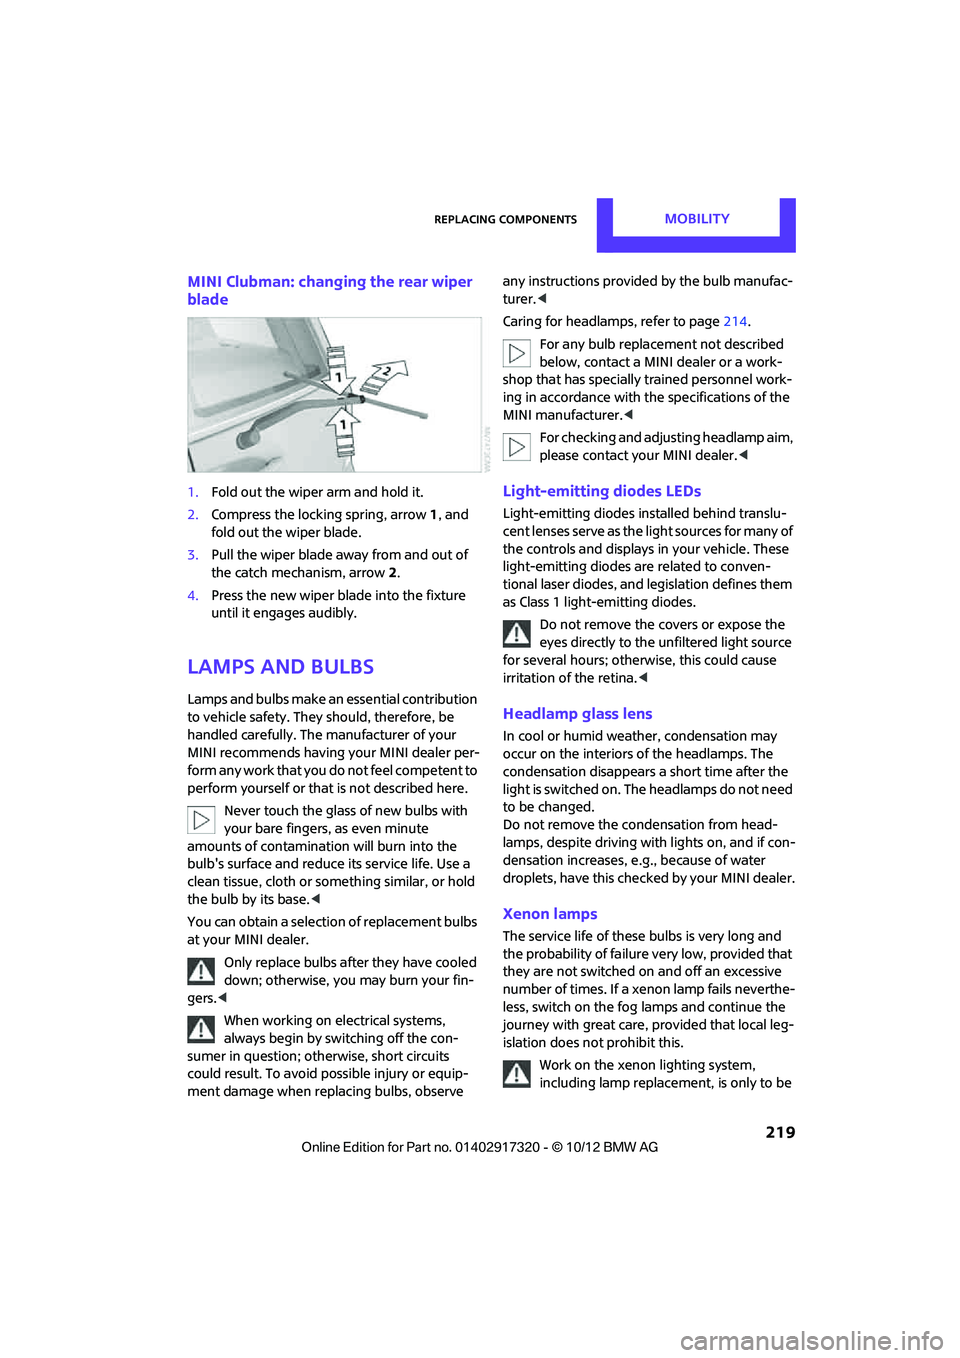
MINI Clubman: changing the rear wiper
blade
1.Fold out the wiper arm and hold it.
2. Compress the locking spring, arrow 1, and
fold out the wiper blade.
3. Pull the wiper blade away from and out of
the catch mechanism, arrow 2.
4. Press the new wiper blade into the fixture
until it engages audibly.
Lamps and bulbs
Lamps and bulbs make an essential contribution
to vehicle safety. They should, therefore, be
handled carefully. The manufacturer of your
MINI recommends having your MINI dealer per-
form any work that you do not feel competent to
perform yourself or that is not described here.
Never touch the glass of new bulbs with
your bare fingers, as even minute
amounts of contaminatio n will burn into the
bulb's surface and reduce its service life. Use a
clean tissue, cloth or some thing similar, or hold
the bulb by its base. <
You can obtain a selection of replacement bulbs
at your MINI dealer.
Only replace bulbs after they have cooled
down; otherwise, you may burn your fin-
gers. <
When working on electrical systems,
always begin by switching off the con-
sumer in question; otherwise, short circuits
could result. To avoid possible injury or equip-
ment damage when replacing bulbs, observe any instructions provided
by the bulb manufac-
turer. <
Caring for headlamps, refer to page 214.
For any bulb replacement not described
below, contact a MINI dealer or a work-
shop that has specially trained personnel work-
ing in accordance with th e specifications of the
MINI manufacturer. <
For checking and adjusting headlamp aim,
please contact your MINI dealer. <
Light-emitting diodes LEDs
Light-emitting diodes installed behind translu-
cent lenses serve as the light sources for many of
the controls and displays in your vehicle. These
light-emitting diodes are related to conven-
tional laser diodes, and legislation defines them
as Class 1 light-emitting diodes.
Do not remove the covers or expose the
eyes directly to the unfiltered light source
for several hours; otherwise, this could cause
irritation of the retina. <
Headlamp glass lens
In cool or humid weather, condensation may
occur on the interiors of the headlamps. The
condensation disappears a short time after the
light is switched on. The headlamps do not need
to be changed.
Do not remove the condensation from head-
lamps, despite driving with lights on, and if con-
densation increases, e.g., because of water
droplets, have this checked by your MINI dealer.
Xenon lamps
The service life of these bulbs is very long and
the probability of failure very low, provided that
they are not switched on and off an excessive
number of times. If a xenon lamp fails neverthe-
less, switch on the fog lamps and continue the
journey with great care, provided that local leg-
islation does not prohibit this.
Work on the xenon lighting system,
including lamp replacement, is only to be
00320051004F004C00510048000300280047004C0057004C005200510003
Page 224 of 267
Replacing componentsMOBILITY
223
3.To insert the new bulb and replace the
cover, proceed in reverse order.
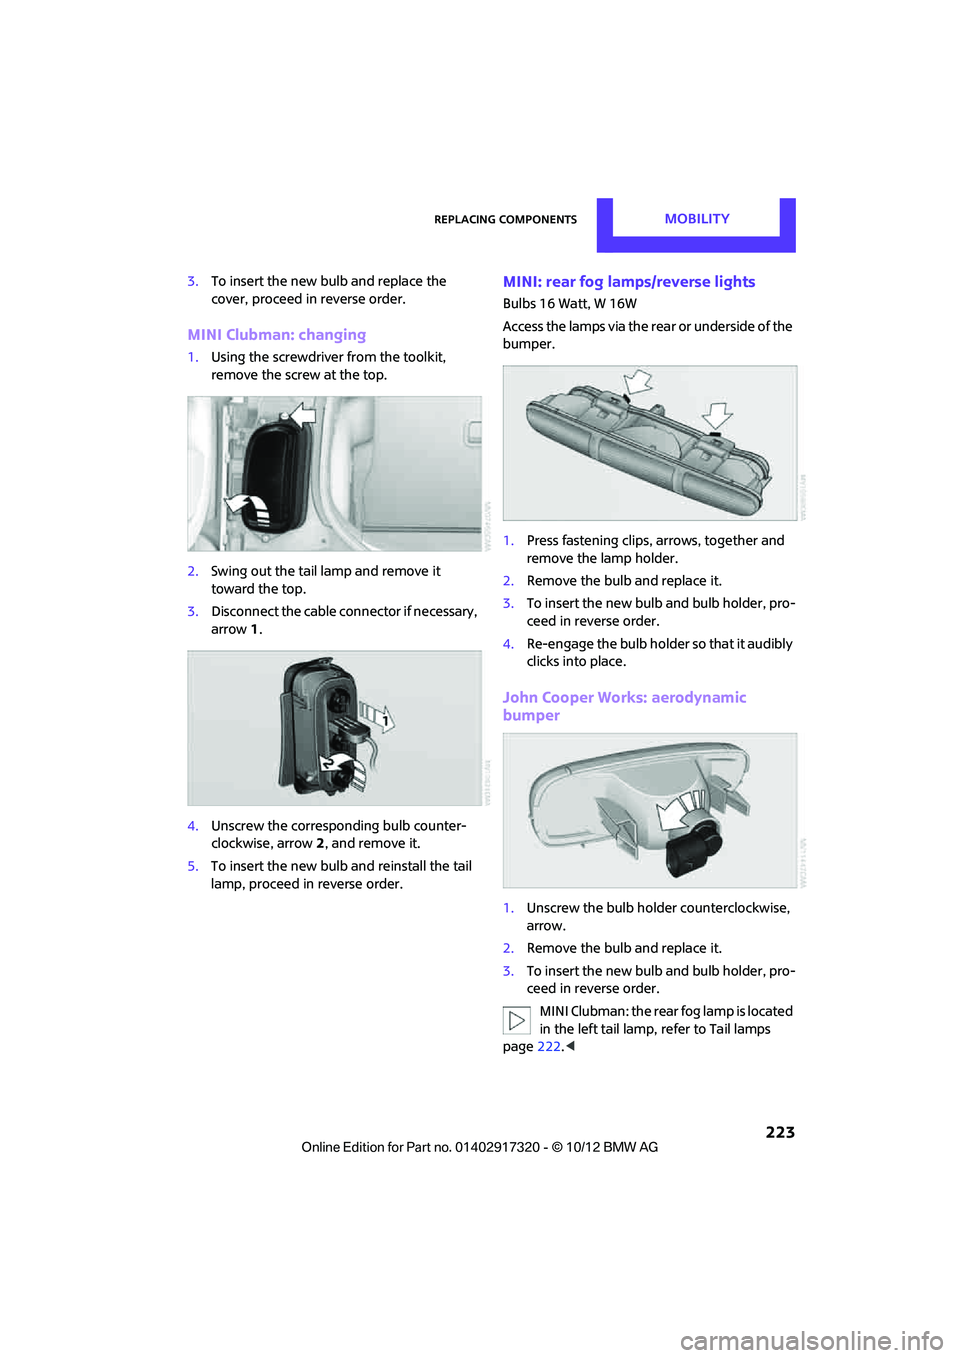
MINI Clubman: changing
1.Using the screwdriver from the toolkit,
remove the screw at the top.
2. Swing out the tail la mp and remove it
toward the top.
3. Disconnect the cable connector if necessary,
arrow 1.
4. Unscrew the corresponding bulb counter-
clockwise, arrow 2, and remove it.
5. To insert the new bulb and reinstall the tail
lamp, proceed in reverse order.
MINI: rear fog lamps/reverse lights
Bulbs 16 Watt, W 16W
Access the lamps via the rear or underside of the
bumper.
1. Press fastening clips, arrows, together and
remove the lamp holder.
2. Remove the bulb and replace it.
3. To insert the new bulb and bulb holder, pro-
ceed in reverse order.
4. Re-engage the bulb holder so that it audibly
clicks into place.
John Cooper Works: aerodynamic
bumper
1.Unscrew the bulb holder counterclockwise,
arrow.
2. Remove the bulb and replace it.
3. To insert the new bulb and bulb holder, pro-
ceed in reverse order.
MINI Clubman: the rear fog lamp is located
in the left tail lamp, refer to Tail lamps
page 222.<
00320051004F004C00510048000300280047004C0057004C005200510003
Page 230 of 267

Replacing componentsMOBILITY
229
The jack base must be perpendicular to the
surface beneath the jacking point.
2. During jacking up, insert the jack head in the
square recess of the jacking point.
3. Jack the vehicle up until the wheel you are
changing is raised off the ground.
Mounting the space-saver spare tire
1.Unscrew the lug bolts and remove the
wheel.
2. Remove accumulations of mud or dirt from
the mounting surfaces of the wheel and
hub. Clean the lug bolts.
3. Lift the new wheel into place.
4. Screw at least two lug bolts finger-tight into
opposite bolt holes.
5. Screw in the remaining bolts.
6. Tighten all the lug bolts firmly in a diagonal
pattern.
7. Lower the vehicle.
8. Remove the jack.
Tightening the lug bolts
Tighten the lug bolts in a diagonal pattern.
Immediately have the wheels checked
with a calibrated torque wrench to ensure
that the lug bolts are firmly seated. Otherwise,
incorrectly tightened lug bolts can present a
safety hazard. <
Tightening torque: 103.3 lb ft or 140 Nm.
Replace the defective tire as soon as possible
and have the new wheel/tire assembly bal-
anced.
Vehicle battery
Maintenance
The battery is maintenance-free; that is, the
electrolyte will last for the life of the battery
when the vehicle is operated in a temperate cli-
mate.
Battery replacement
Only use vehicle batteries that have been
approved for your vehicle by the manu-
facturer; otherwise, the vehicle could be dam-
aged and systems or func tions may not be fully
available. <
After a battery replacement, have the battery
registered on the vehicle by your MINI dealer to
ensure that all convenie nce functions are fully
available and, if nece ssary, the corresponding
Check Control messages are no longer dis-
played.
Charging the battery
Note
Do not connect battery chargers to the
sockets installed in the vehicle at the fac-
tory; otherwise you may cause damage to the
battery. <
Only charge the battery in the vehicle when the
engine is off. Connection s, refer to Jump-start-
ing on page 232.
General information
To guarantee the full service life of the battery,
make sure that the battery is always properly
charged.
It may be necessary to charge the battery in the
following situations:
>if frequent short trips are taken.
> if the vehicle is frequently parked for more
than a month.
00320051004F004C00510048000300280047004C0057004C005200510003
Page 256 of 267
Everything from A to ZREFERENCE
255
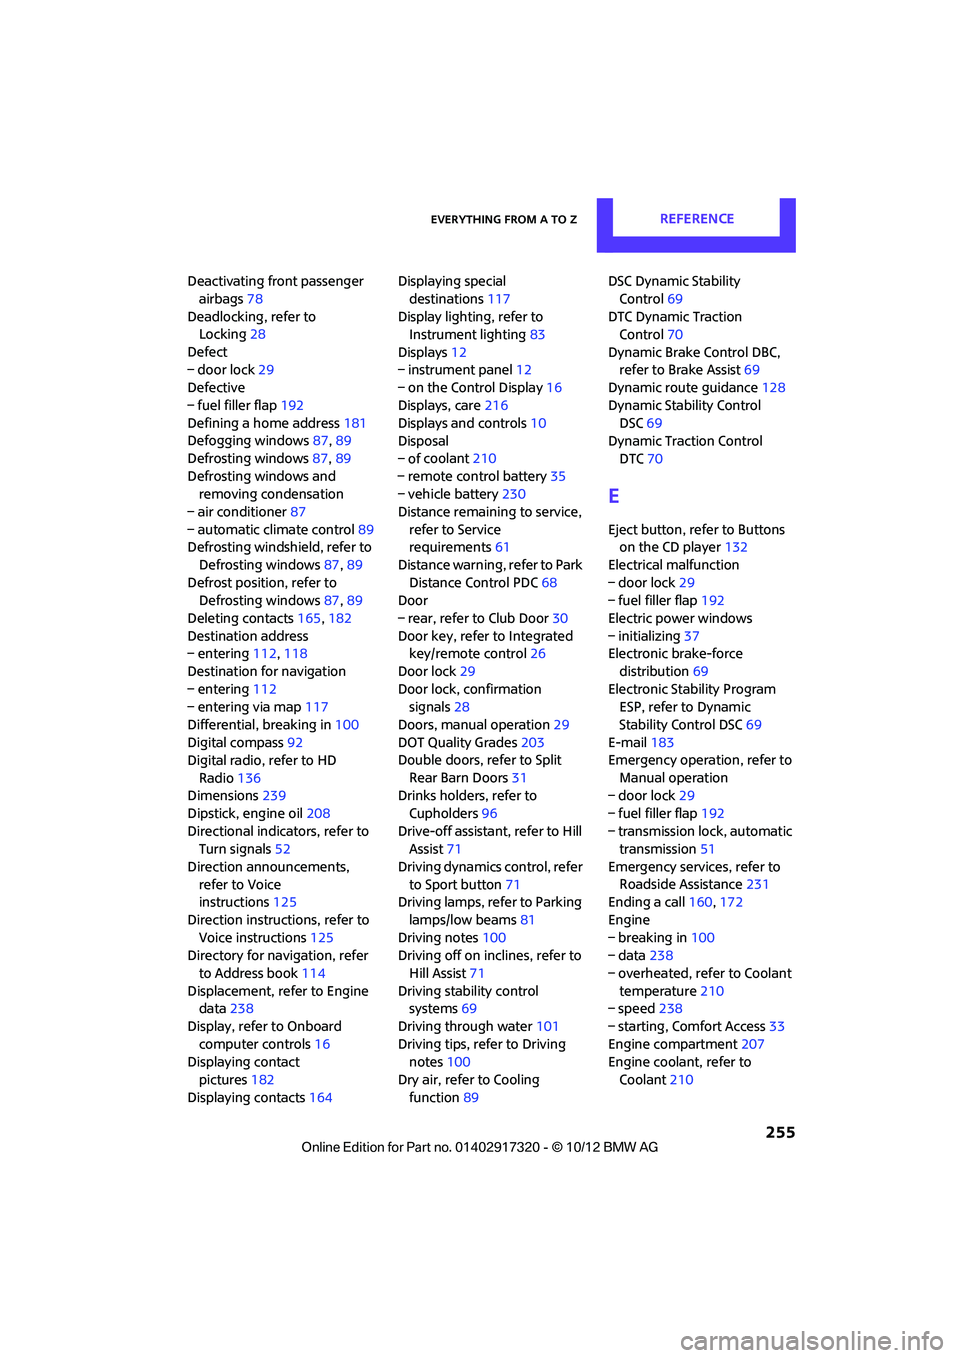
Deactivating front passenger airbags 78
Deadlocking, refer to Locking 28
Defect
– door lock 29
Defective
– fuel filler flap 192
Defining a home address 181
Defogging windows 87,89
Defrosting windows 87,89
Defrosting windows and removing condensation
– air conditioner 87
– automatic climate control 89
Defrosting windshield, refer to
Defrosting windows 87,89
Defrost position, refer to Defrosting windows 87,89
Deleting contacts 165,182
Destination address
– entering 112,118
Destination for navigation
– entering 112
– entering via map 117
Differential, breaking in 100
Digital compass 92
Digital radio, refer to HD
Radio 136
Dimensions 239
Dipstick, engine oil 208
Directional indicators, refer to Turn signals 52
Direction announcements, refer to Voice
instructions 125
Direction instructions, refer to Voice instructions 125
Directory for navigation, refer
to Address book 114
Displacement, refer to Engine data 238
Display, refer to Onboard computer controls 16
Displaying contact
pictures 182
Displaying contacts 164Displaying special
destinations 117
Display lighting, refer to Instrument lighting 83
Displays 12
– instrument panel 12
– on the Control Display 16
Displays, care 216
Displays and controls 10
Disposal
– of coolan
t210
–
remote control battery 35
– vehicle battery 230
Distance remaining to service, refer to Service
requirements 61
Distance warning, refer to Park Distance Control PDC 68
Door
– rear, refer to Club Door 30
Door key, refer to Integrated key/remote control 26
Door lock 29
Door lock, confirmation signals 28
Doors, manual operation 29
DOT Quality Grades 203
Double doors, refer to Split
Rear Barn Doors 31
Drinks holders, refer to
Cupholders 96
Drive-off assistant, refer to Hill
Assist 71
Driving dynamics control, refer to Sport button 71
Driving lamps, refer to Parking
lamps/low beams 81
Driving notes 100
Driving off on inclines, refer to
Hill Assist 71
Driving stability control systems 69
Driving through water 101
Driving tips, refer to Driving notes 100
Dry air, refer to Cooling function 89 DSC Dynamic Stability
Control 69
DTC Dynamic Traction Control 70
Dynamic Brake Control DBC, refer to Brake Assist 69
Dynamic route guidance 128
Dynamic Stability Control DSC 69
Dynamic Traction Control
DTC 70
E
Eject button, refer to Buttons
on the CD player 132
Electrical malfunction
– door lock 29
– fuel filler flap 192
Electric power windows
– initializing 37
Electronic brake-force
distribution 69
Electronic Stability Program ESP, refer to Dynamic
Stability Control DSC 69
E-mail 183
Emergency operation, refer to
Manual operation
– door lock 29
– fuel filler flap 192
– transmission lock, automatic transmission 51
Emergency services, refer to Roadside Assistance 231
Ending a call 160,172
Engine
– breaking in 100
– data 238
– overheated, refer to Coolant temperature 210
– speed 238
– starting, Comfort Access 33
Engine compartment 207
Engine coolant, refer to
Coolant 210
00320051004F004C00510048000300280047004C0057004C005200510003
Page 257 of 267
REFERENCEEverything from A to Z
256
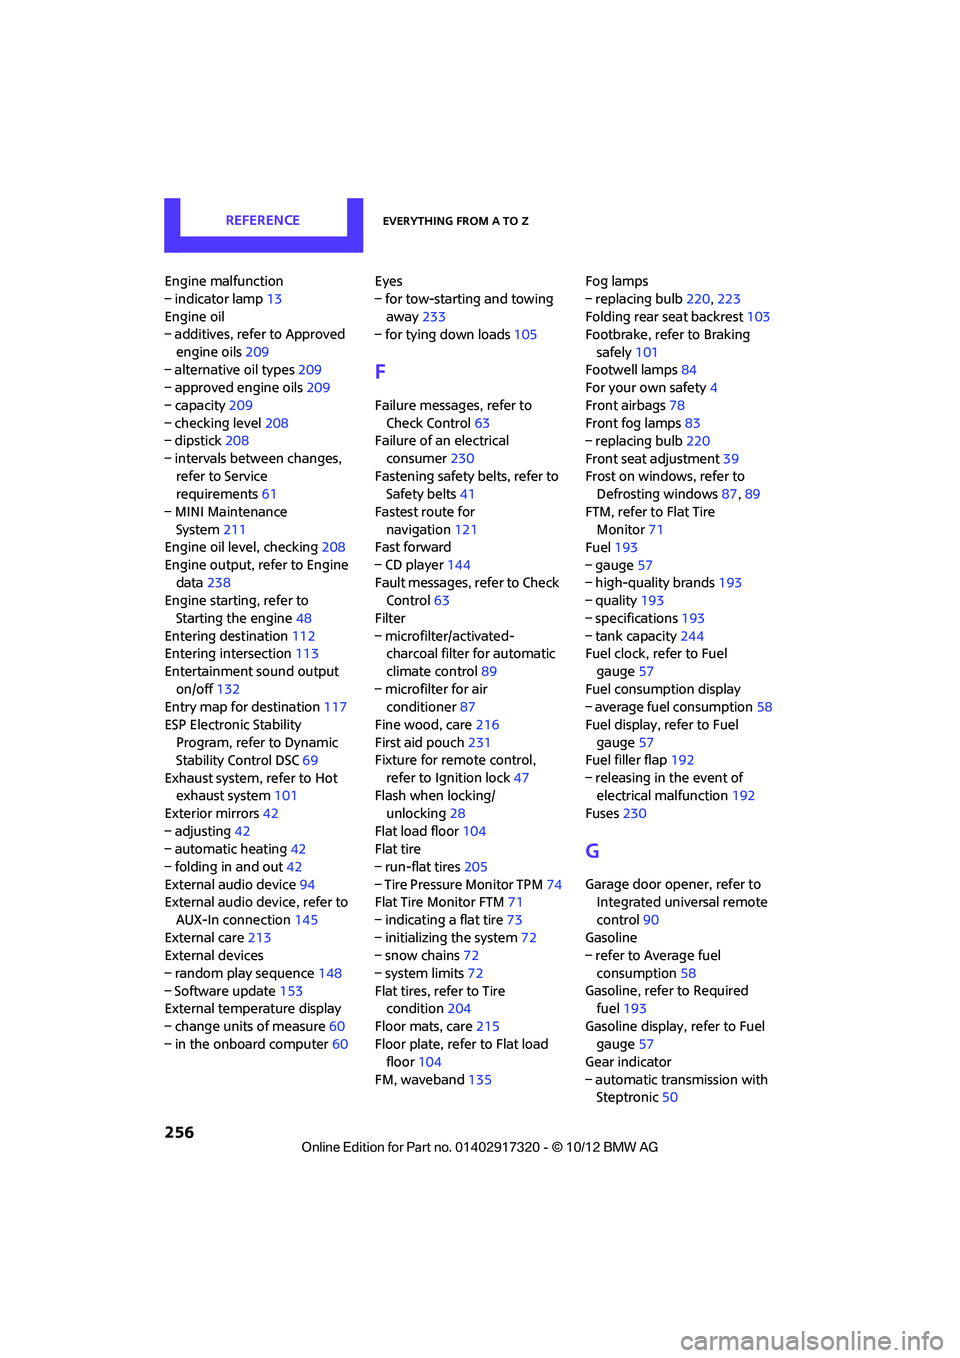
Engine malfunction
– indicator lamp13
Engine oil
– additives, refer to Approved
engine oils 209
– alternative oil types 209
– approved engine oils 209
– capacity 209
– checking level 208
– dipstick 208
– intervals between changes, refer to Service
requirements 61
– MINI Maintenance System 211
Engine oil level, checking 208
Engine output, refer to Engine data 238
Engine starti ng, refer to
Starting the engine 48
Entering destination 112
Entering intersection 113
Entertainment sound output on/off 132
Entry map for destination 117
ESP Electronic Stability Program, refer to Dynamic
Stability Control DSC 69
Exhaust system, refer to Hot exhaust system 101
Exterior mirrors 42
– adjusting 42
– automatic heating 42
– folding in and out 42
External audio device 94
External audio device, refer to
AUX-In connection 145
External care 213
External devices
– random play sequence 148
– Software update 153
External temperature display
– change units of measure 60
– in the onboard computer 60Eyes
– for tow-starting and towing
away 233
– for tying down loads 105
F
Failure messages, refer to
Check Control 63
Failure of an electrical
consumer 230
Fastening safety belts, refer to Safety belts 41
Fastest route for navigation 121
Fast forward
– CD player 144
Fault messages, refer to Check Control 63
Filter
– microfilter/activated- charcoal filter for automatic
climate control 89
– microfilter for air conditioner 87
Fine wood, care 216
First aid pouch 231
Fixture for remote control,
refer to Ignition lock 47
Flash when locking/
unlocking 28
Flat load floor 104
Flat tire
– run-flat tires 205
– Tire Pressure Monitor TPM 74
Flat Tire Monitor FTM 71
– indicating a flat tire 73
– initializing the system 72
– snow chains 72
– system limits 72
Flat tires, refer to Tire condition 204
Floor mats, care 215
Floor plate, refer to Flat load floor 104
FM, waveband 135 Fog lamps
– replacing bulb
220,223
Folding rear seat backrest 103
Footbrake, refer to Braking
safely 101
Footwell lamps 84
For your own safety 4
Front airbags 78
Front fog lamps 83
– replacing bulb 220
Front seat adjustment 39
Frost on windows, refer to Defrosting windows 87,89
FTM, refer to Flat Tire Monitor 71
Fuel 193
– gauge 57
– high-quality brands 193
– quality 193
– specifications 193
– tank capacity 244
Fuel c l
ock, refer to Fuel
gauge 57
Fuel consumption display
– average fuel consumption 58
Fuel display, refer to Fuel gauge 57
Fuel filler flap 192
– releasing in the event of electrical malfunction 192
Fuses 230
G
Garage door opener, refer to
Integrated universal remote
control 90
Gasoline
– refer to Average fuel
consumption 58
Gasoline, refer to Required fuel 193
Gasoline display, refer to Fuel gauge 57
Gear indicator
– automatic transmission with Steptronic 50
00320051004F004C00510048000300280047004C0057004C005200510003