key MINI Countryman 2011 (Mini Connected) User Guide
[x] Cancel search | Manufacturer: MINI, Model Year: 2011, Model line: Countryman, Model: MINI Countryman 2011Pages: 254, PDF Size: 3.84 MB
Page 49 of 254
DrivingCONTROLS
47
gas. Never leave an unattended vehicle with the
engine running; otherwise, such a vehicle repre-
sents a potential safety hazard.
Before leaving the car while the engine is run-
ning, place the transmission in neutral or move
the selector lever to position P and forcefully
apply the parking brake to prevent the car from
moving.<
Avoid frequent starting in quick succes-
sion or repeated start attempts in which
the engine does not start. Otherwise, the fuel is
not burned or inadequately burned and there is
a danger of overheating and damaging the cat-
alytic converter. <
Do not let the engine warm up with the vehicle
at a standstill. Move of f immediately at a moder-
ate engine speed.
When starting the engine, do not depress the
accelerator pedal.
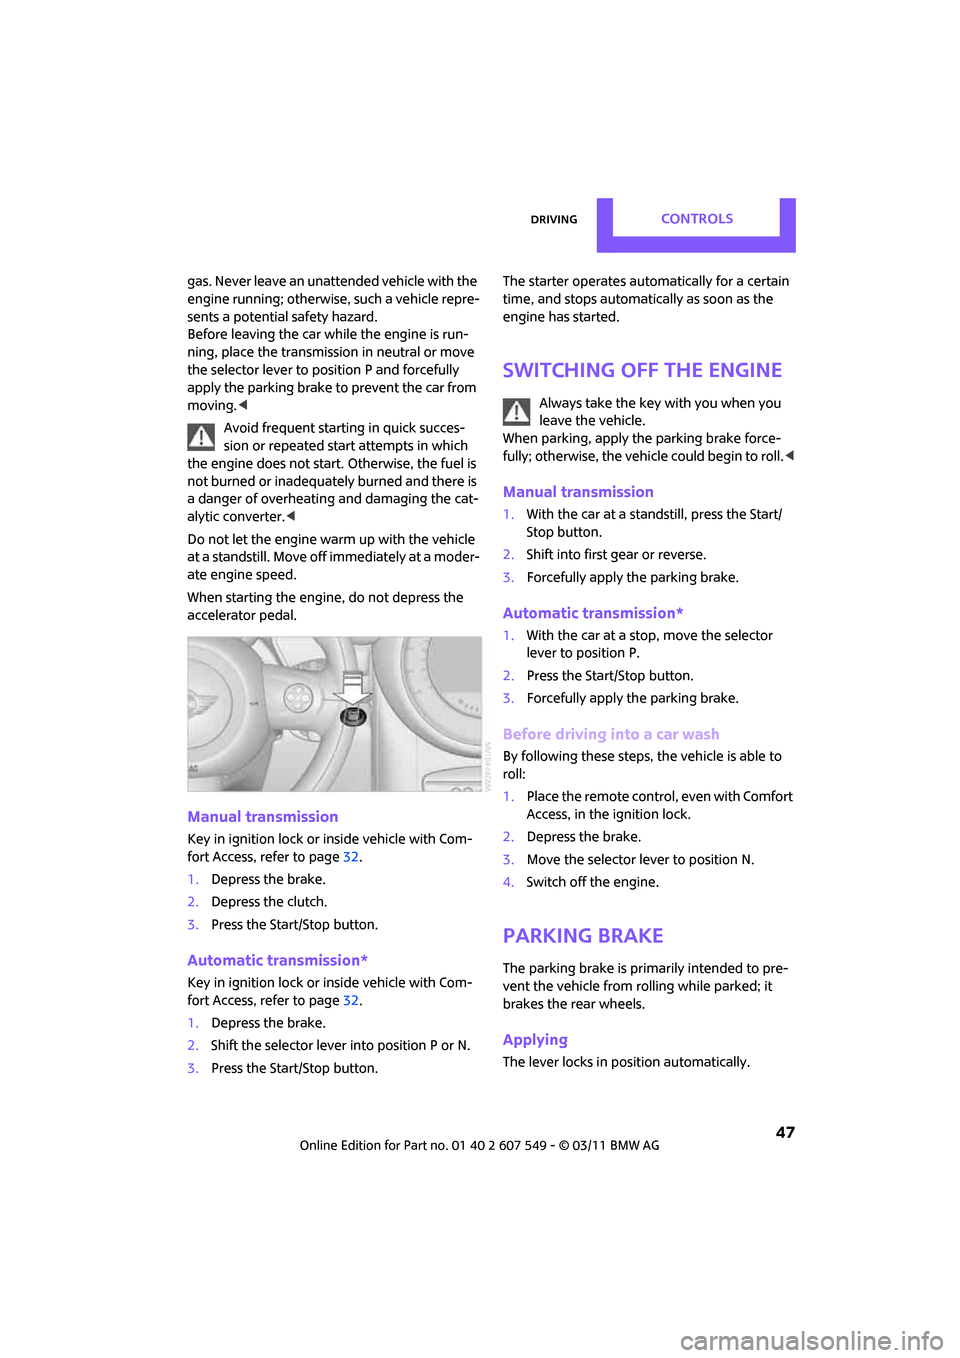
Manual transmission
Key in ignition lock or inside vehicle with Com-
fort Access, refer to page 32.
1. Depress the brake.
2. Depress the clutch.
3. Press the Start/Stop button.
Automatic transmission*
Key in ignition lock or inside vehicle with Com-
fort Access, refer to page 32.
1. Depress the brake.
2. Shift the selector lever into position P or N.
3. Press the Start/Stop button. The starter operates auto
matically for a certain
time, and stops automatically as soon as the
engine has started.
Switching off the engine
Always take the key with you when you
leave the vehicle.
When parking, apply the parking brake force-
fully; otherwise, the vehicle could begin to roll. <
Manual transmission
1.With the car at a standstill, press the Start/
Stop button.
2. Shift into first gear or reverse.
3. Forcefully apply the parking brake.
Automatic transmission*
1.With the car at a stop, move the selector
lever to position P.
2. Press the Start/Stop button.
3. Forcefully apply the parking brake.
Before driving into a car wash
By following these steps, the vehicle is able to
roll:
1.Place the remote control, even with Comfort
Access, in the ig nition lock.
2. Depress the brake.
3. Move the selector lever to position N.
4. Switch off the engine.
Parking brake
The parking brake is primarily intended to pre-
vent the vehicle from rolling while parked; it
brakes the rear wheels.
Applying
The lever locks in position automatically.
Page 50 of 254
CONTROLSDriving
48
Releasing
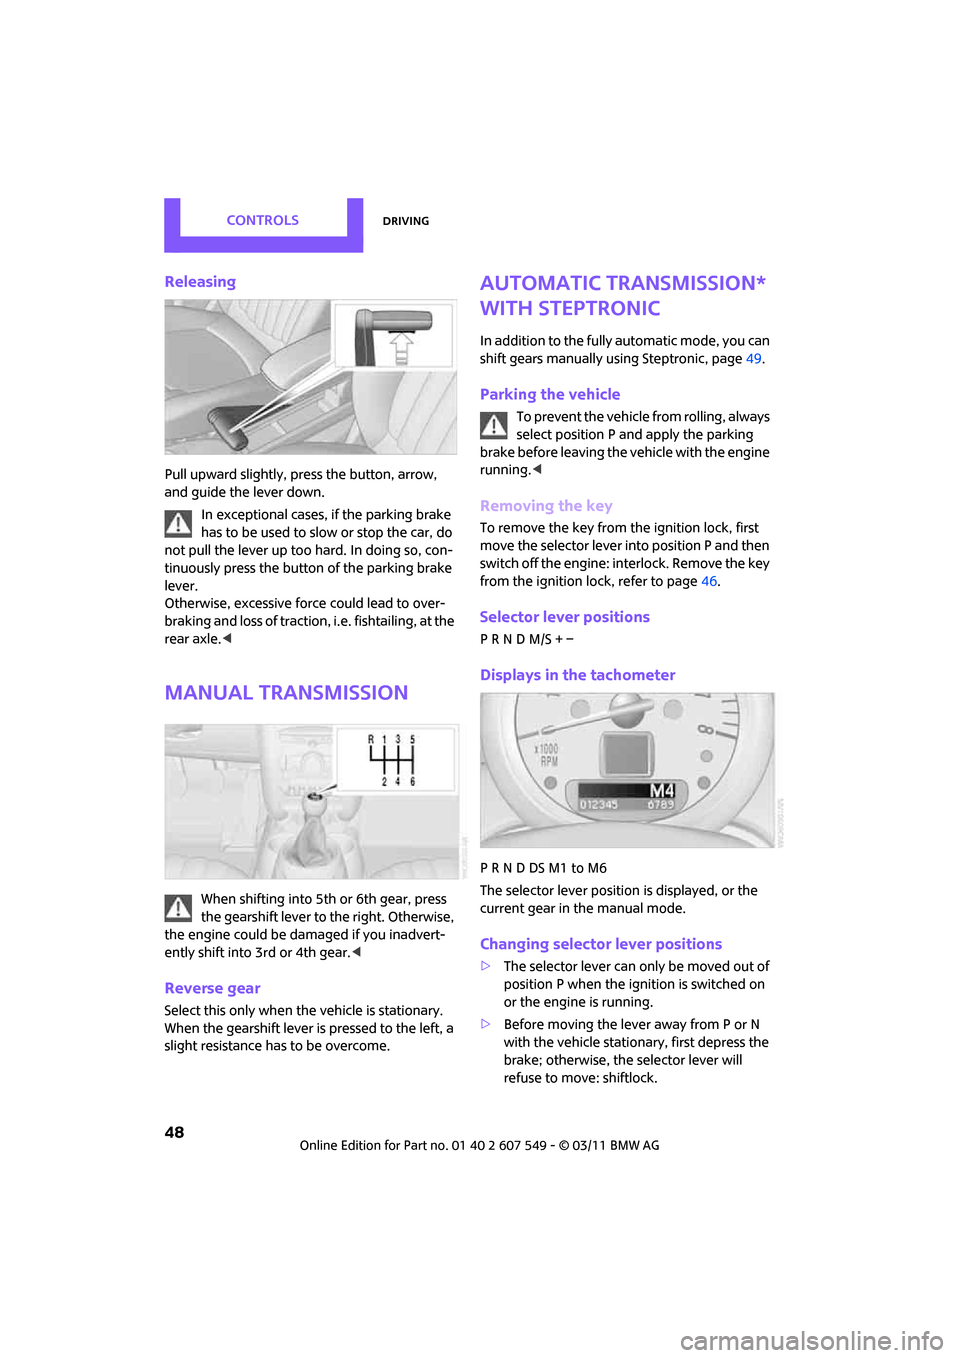
Pull upward slightly, press the button, arrow,
and guide the lever down.
In exceptional cases, if the parking brake
has to be used to slow or stop the car, do
not pull the lever up too hard. In doing so, con-
tinuously press the button of the parking brake
lever.
Otherwise, excessive force could lead to over-
braking and loss of traction, i.e. fishtailing, at the
rear axle. <
Manual transmission
When shifting into 5th or 6th gear, press
the gearshift lever to the right. Otherwise,
the engine could be damaged if yo u inadvert-
ently shift into 3rd or 4th gear. <
Reverse gear
Select this only when the vehicle is stationary.
When the gearshift lever is pressed to the left, a
slight resistance has to be overcome.
Automatic transmission*
with Steptronic
In addition to the fully automatic mode, you can
shift gears manually using Steptronic, page 49.
Parking the vehicle
To prevent the vehicle from rolling, always
select position P and apply the parking
brake before leaving the vehicle with the engine
running. <
Removing the key
To remove the key from the ignition lock, first
move the selector lever into position P and then
switch off the engine: in terlock. Remove the key
from the ignition lock, refer to page 46.
Selector lever positions
P R N D M/S + –
Displays in the tachometer
P R N D DS M1 to M6
The selector lever position is displayed, or the
current gear in the manual mode.
Changing selector lever positions
> The selector lever can only be moved out of
position P when the ignition is switched on
or the engine is running.
> Before moving the lever away from P or N
with the vehicle stationary, first depress the
brake; otherwise, the selector lever will
refuse to move: shiftlock.
Page 90 of 254
CONTROLSPractical interior accessories
88
Practical interior accessories
Integrated universal
remote control*
The concept
The integrated universal remote control can
replace as many as three hand-held transmitters
for various remote-controlled devices, such as
garage and gate openers and lighting systems.
The integrated universal remote control regis-
ters and stores signals from the original hand-
held transmitters.
The signal of an original hand-held transmitter
can be programmed on one of the three mem-
ory buttons 1. The system in question can then
be operated by means of the programmed
memory button 1. The LED 2 flashes to confirm
transmission of the signal.
If you decide to sell your vehicle one day, in the
interest of your own security, remember to clear
the stored programs before the vehicle leaves
your possession, page 89.
To prevent possible damage or injury,
before programming or using the inte-
grated universal remote control, always inspect
the immediate area to make certain that no
people, animals or object s are within the travel
range of the device. Comply also with the safety
instructions supplied with the original hand-held
transmitter. <
Checking compatibility
If this symbol a ppears on the package
or in the instructions supplied with the
original hand-held transmitter, you can
assume that the radio remote control device is
compatible with the integrated universal remote
control.
For additional informatio n, please contact your
MINI dealer or call: 1-800-355-3515. You can also obtain info
rmation on the Internet
at:
www.homelink.com
HomeLink is a registered trademark of Johnson
Controls, Inc.
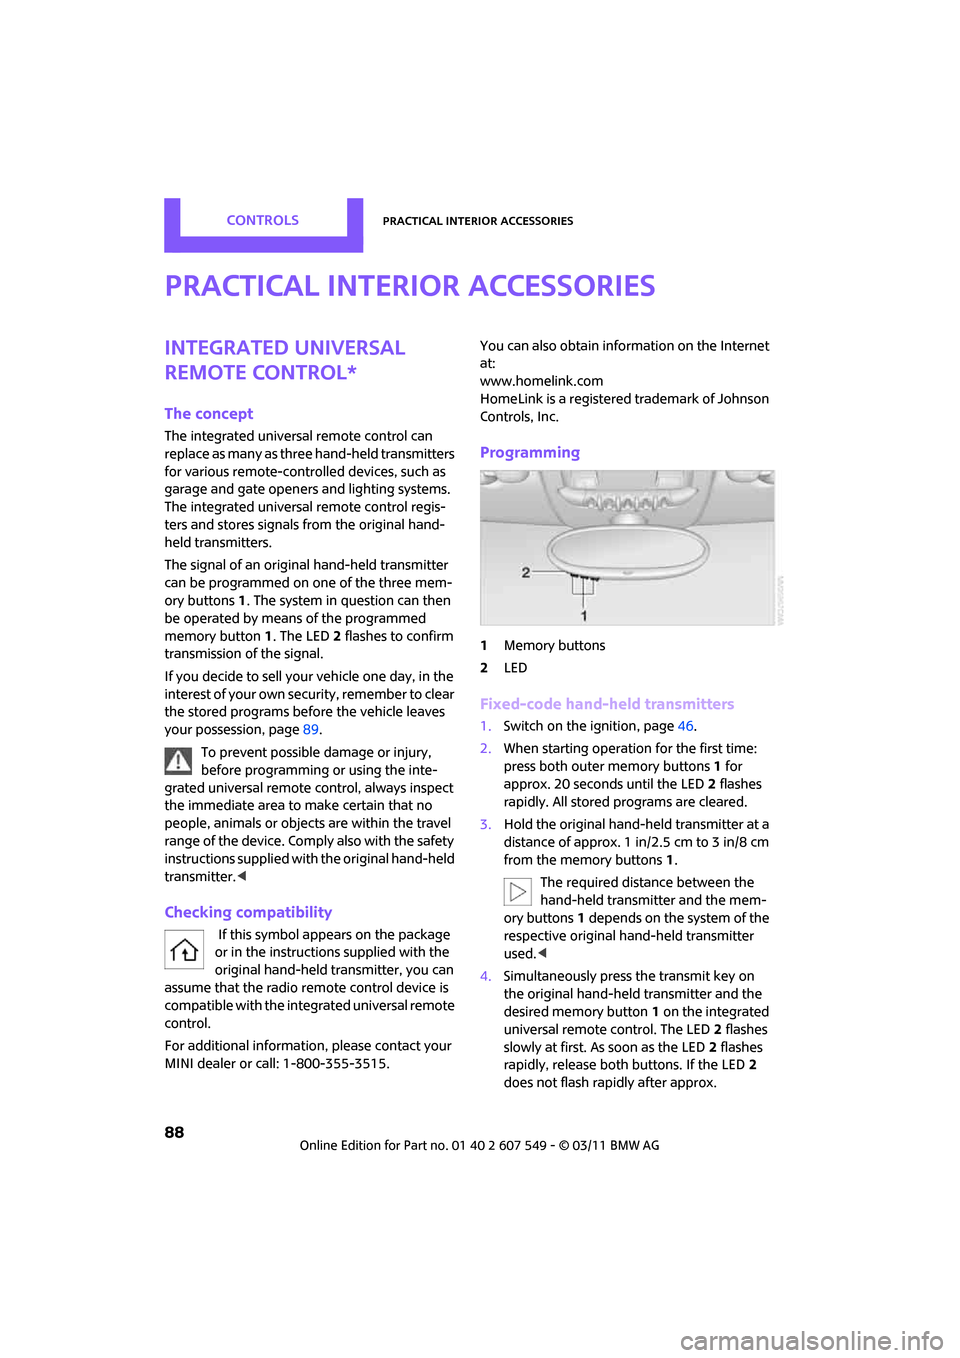
Programming
1 Memory buttons
2 LED
Fixed-code hand-held transmitters
1.Switch on the ignition, page 46.
2. When starting operation for the first time:
press both outer memory buttons 1 for
approx. 20 seconds until the LED 2 flashes
rapidly. All stored programs are cleared.
3. Hold the original hand-held transmitter at a
distance of approx. 1in/2.5cm to 3in/8cm
from the memory buttons 1.
The required distance between the
hand-held transmitter and the mem-
ory buttons 1 depends on the system of the
respective original hand-held transmitter
used. <
4. Simultaneously press the transmit key on
the original hand-hel d transmitter and the
desired memory button 1 on the integrated
universal remote control. The LED 2 flashes
slowly at first. As soon as the LED 2 flashes
rapidly, release both buttons. If the LED 2
does not flash rapidly after approx.
Page 91 of 254
Practical interior accessoriesCONTROLS
89
60 seconds, alter the distance and repeat
this step.
Canada: if the LED is not flashing rapidly
after 60 seconds, change the distance and
repeat the step or, if the programming was
interrupted by the hand-held transmitter,
press and hold the memory button and
press the button on the hand-held transmit-
ter for 2 seconds and release several times.
5. To program other original hand-held trans-
mitters, repeat steps 3 and 4.
The corresponding memory button 1 is now
programmed with the signal of the original
hand-held transmitter.
You can operate the system with the engine
running or with the ignition switched on.
If the system fails to function even after
repeated programming, check whether
the original hand-held transmitter uses an alter-
nating-code system. To do so, either read the
instructions for the original hand-held transmit-
ter or hold down the programmed memory
button 1 of the integrated universal remote con-
trol. If the LED 2 on the integrated universal
remote control flashes ra pidly and then remains
lit for about two seconds, then the original
hand-held transmitter uses an alternating-code
system. If it uses an alternating-code system,
program the memory buttons 1 as described
under Alternating-code hand-held transmit-
ters. <
Alternating-code hand-held
transmitters
To program the integrated universal remote
control, consult the operating instructions for
the device to be set. You will find information
there on the possibilities for synchronization or
programming of additional hand-held transmit-
ters.
When programming hand-held transmitters that
employ an alternating co de, please observe the
following supplementary instructions:
Programming will be easier with the aid of
a second person. < 1.
Park your vehicle within the range of the
remote-controlled device.
Do not exceed a distance of 164 ft/
50 m from the radio remote con-
trolled device. <
2. Program the integrated universal remote
control as described above in the section
Fixed-code hand-held transmitters.
3. Locate the button on the receiver of the
device to be set, e.g. on the drive unit.
4. Press the button on the receiver of the
device to be set. After step 4, you have
approx. 30 seconds for the next step 5.
5. Press and hold the programmed memory
button 1 on the integrated universal remote
control for approx. 3 seconds.
If necessary, repeat the step up to three
times.
The corresponding memory button1 is now
programmed with the signal of the original
hand-held transmitter.
Clearing stored programs
Press both oute r memory buttons 1 for approx.
20 seconds until the LED 2 flashes: all stored
programs are cleared.
It is not possible to cl ear individual programs.
Reassigning individual programs
1.Hold the original hand-held transmitter at a
distance of approx. 1 in/2.5 cm to 3 in/8 cm
from the memory buttons 1.
The required distance between the
hand-held transmitter and the mem-
ory buttons 1 depends on the system of the
respective original hand-held transmitter
used. <
2. Press the desired memory button 1 of the
integrated universal remote control.
If the LED 2 flashes slowly after approx.
20 seconds, press the transmit key of the
original hand-held tr ansmitter and release
both buttons as soon as the LED 2 flashes
Page 94 of 254
CONTROLSPractical interior accessories
92
Clothes hooks
There are clothes hooks on the grab handles in
the rear passenger compartment.Items of clothing hung from the hooks
must not obstruct the driver's view. Do not
hang heavy objects from the hooks; otherwise,
they could endanger the ca r's occupants, e.g. in
case of heavy braking or sudden swerving. <
In the cargo area
Depending on your vehicle's equipment, you
have the following storage options:
>Storage compartment under the flat load
floor
*
>Bag holder on the support for the cargo area
cover
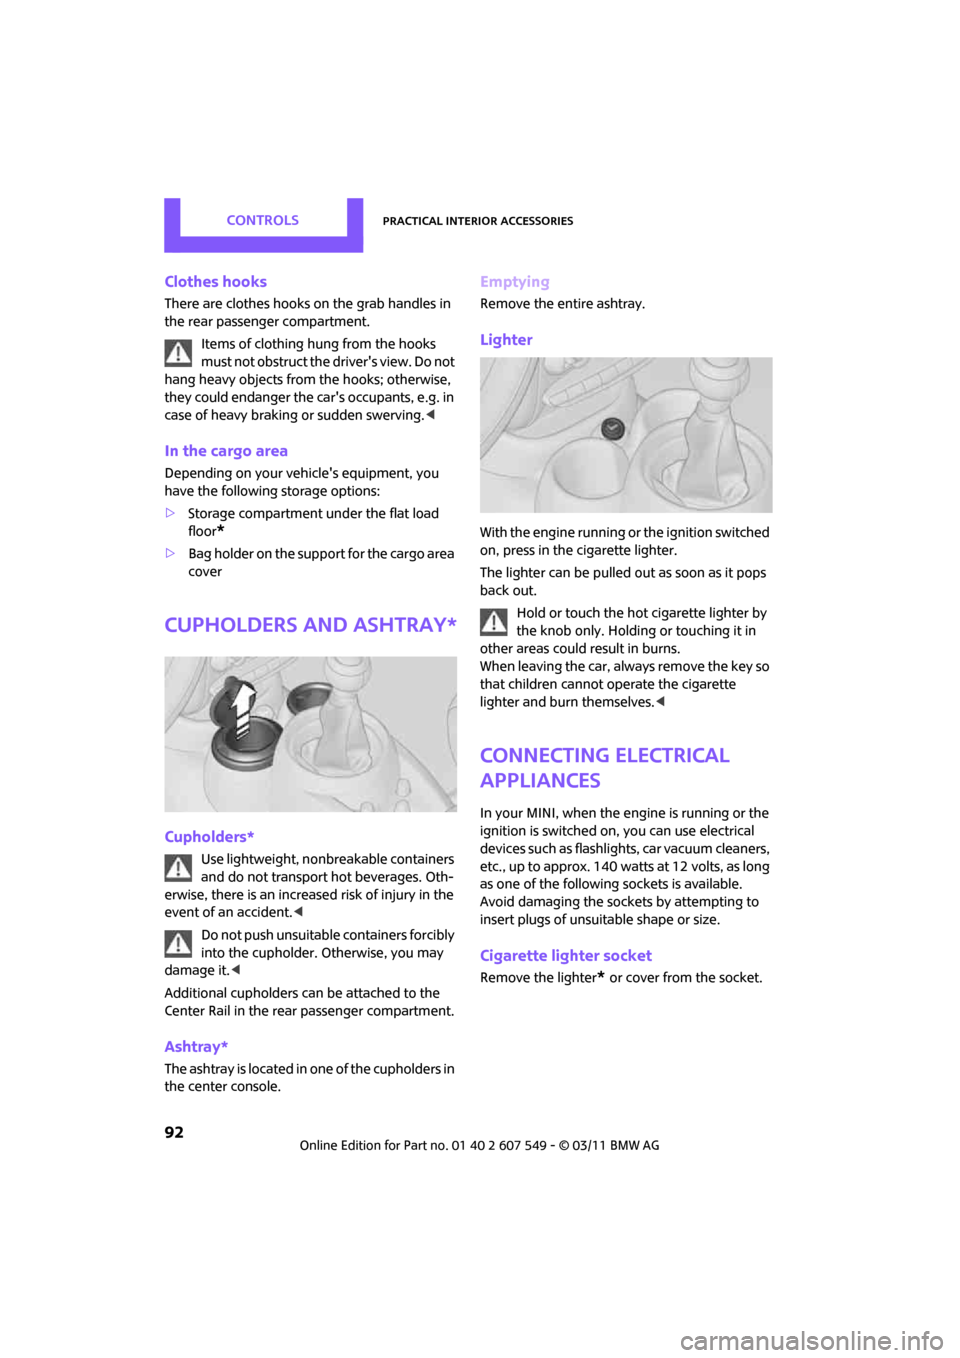
Cupholders and ashtray*
Cupholders*
Use lightweight, nonbreakable containers
and do not transport hot beverages. Oth-
erwise, there is an increased risk of injury in the
event of an accident. <
Do not push unsuitable containers forcibly
into the cupholder. Otherwise, you may
damage it. <
Additional cupholders can be attached to the
Center Rail in the rear passenger compartment.
Ashtray*
The ashtray is located in one of the cupholders in
the center console.
Emptying
Remove the entire ashtray.
Lighter
With the engine running or the ignition switched
on, press in the cigarette lighter.
The lighter can be pulled out as soon as it pops
back out.
Hold or touch the hot cigarette lighter by
the knob only. Holding or touching it in
other areas could result in burns.
When leaving the car, al ways remove the key so
that children cannot operate the cigarette
lighter and burn themselves. <
Connecting electrical
appliances
In your MINI, when the engine is running or the
ignition is switched on, you can use electrical
devices such as flashlights, car vacuum cleaners,
etc., up to approx. 140 watts at 12 volts, as long
as one of the following sockets is available.
Avoid damaging the sockets by attempting to
insert plugs of unsui table shape or size.
Cigarette lighter socket
Remove the lighter* or cover from the socket.
Page 115 of 254
Destination entryNAVIGATION
113
Accessing search for special
destinations
1."Navigation"
2. Select "Points of Interest"
search.
A-Z search
1."A-Z search"
2. "Town/City"
3. "Category"
4. "Category details"
For some special destin ations, it is possible
to select several catego ry details. Move the
MINI joystick to the left to exit category
details.
or
5. "Keyword"
6. Enter keyword.
A list of the special destinations is displayed.
7. Select the special destination.
8. Select the symbol.
9. "Start guidance" or "Add as another destina-
tion".
If several details are stored, then you can
scroll through the pages.
If a phone number is available, a connection
can be established, if desired.
Category search
1."Category search"
2. "Search destination"
3. Select or enter town/city.
4. "Category"
5. Select category.
6. "Category details"
For some special destin ations, it is possible
to select several catego ry details. Move the
MINI joystick to the left to exit category
details. 7.
"Start search"
A list of the special destinations is displayed.
8. Select the special destination.
Details are displayed.
9. Select the symbol.
10. "Start guidance" or "Add as another destina-
tion".
If several details are stored, then you can scroll
through the pages. If a phone number is avail-
able, a connection can be established, if desired.
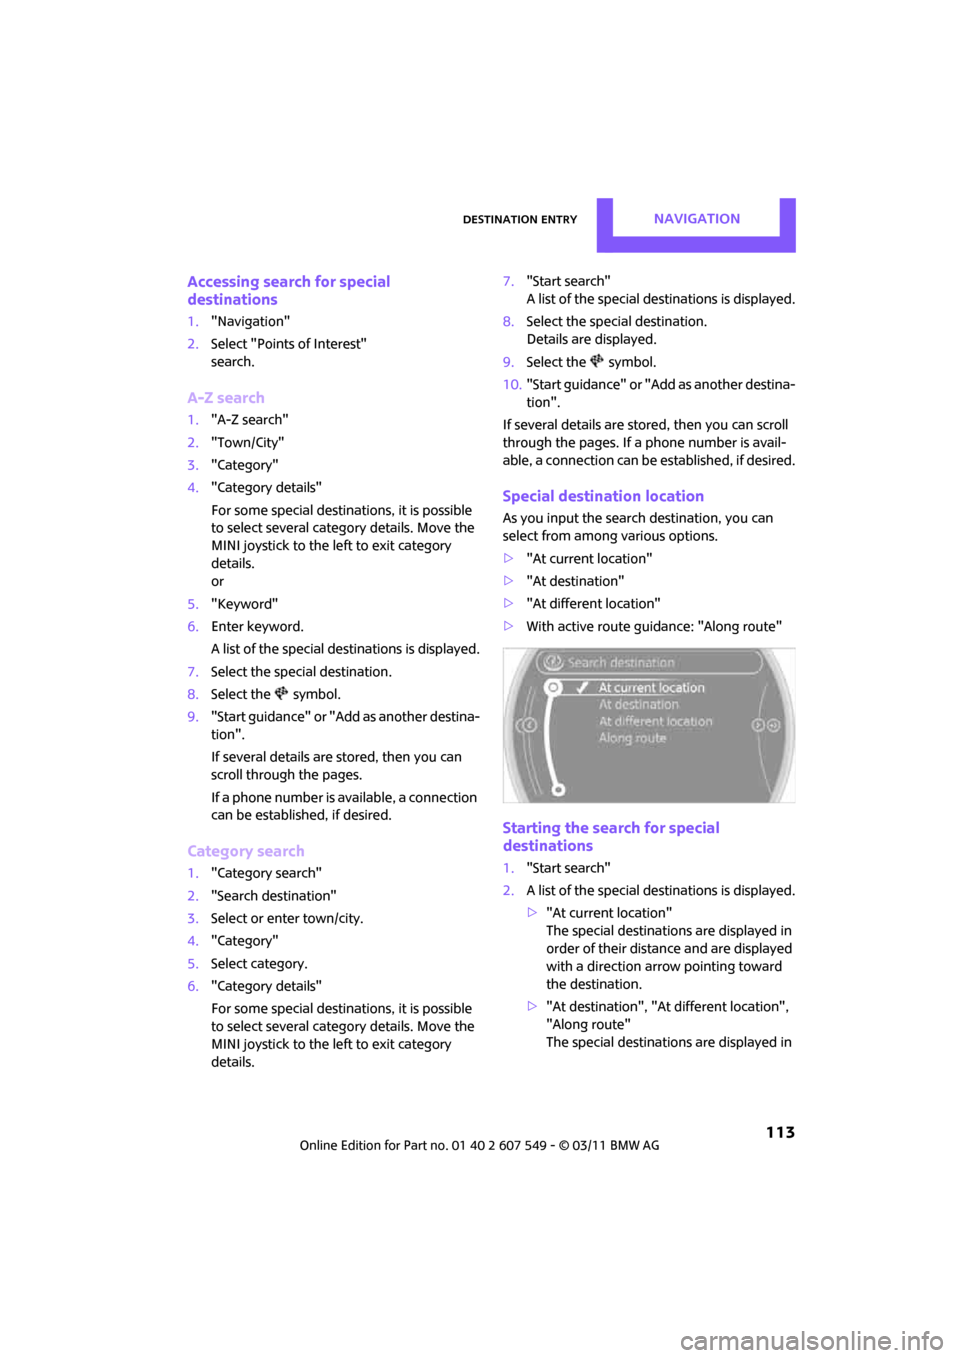
Special destination location
As you input the search destination, you can
select from among various options.
>"At current location"
> "At destination"
> "At different location"
> With active route gu idance: "Along route"
Starting the search for special
destinations
1."Start search"
2. A list of the special destinations is displayed.
>"At current location"
The special destinations are displayed in
order of their distance and are displayed
with a direction arro w pointing toward
the destination.
> "At destination", "At different location",
"Along route"
The special destinations are displayed in
Page 148 of 254
ENTERTAINMENTExternal devices
146
>Do not connect any devi ces, e.g. fans or
lamps, to the USB audio interface.
> Do not connect USB hard drives.
> Do not use the USB audio interface to
recharge external devices.
Bluetooth audio*
Overview
>It is possible to use Bluetooth to play music
files from external devices, e.g. audio
devices or mobile phones.
> Bluetooth® is a regi stered trademark of
Bluetooth® SIG, Inc.
> Sound is output over the vehicle speakers.
> The volume of the sound output depends on
the device. If necessary, change the volume
setting on the device.
> Up to four external devices can be paired
with the vehicle.
Requirements
> Suitable device. Information is available at
www.mini.com/connectivity.
> Device operational.
> Ignition switched on.
> Bluetooth activated in vehicle, refer to
page 164, and in the device.
> Bluetooth presets in the device are required,
e.g. connection not confirmed or visible,
refer to Owner's Manu al for the device.
> A number with at least 4 and at most
16 digits has been established as the Blue-
tooth passkey. Only required once for pair-
ing.
Pairing and connecting
Only pair the device when the vehicle is
stopped; otherwise, inattention may lead
to endangerment of passengers or other road
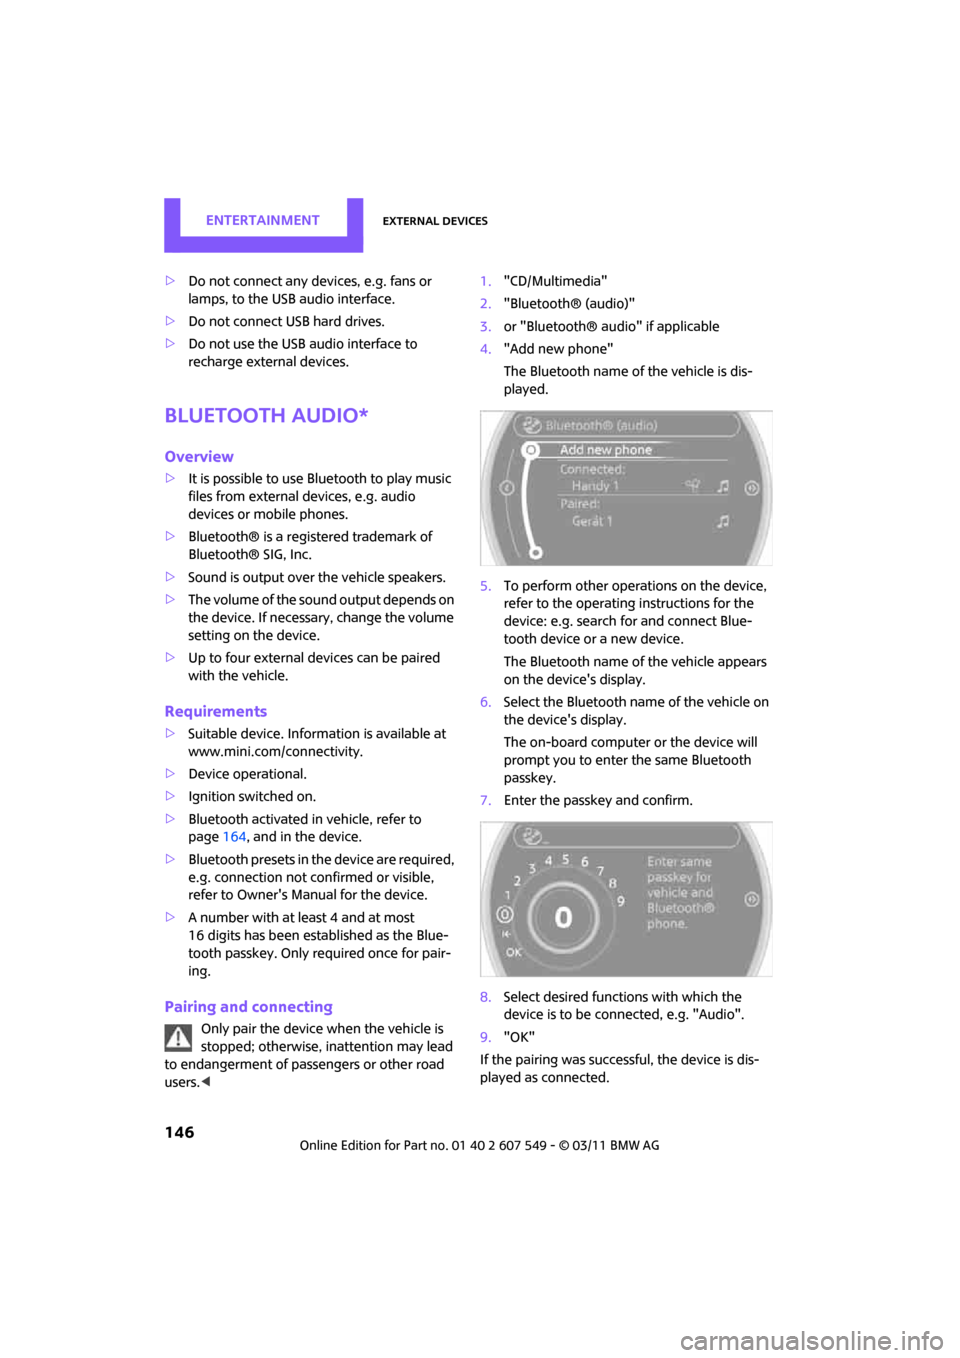
users. < 1.
"CD/Multimedia"
2. "Bluetooth® (audio)"
3. or "Bluetooth® audio" if applicable
4. "Add new phone"
The Bluetooth name of the vehicle is dis-
played.
5. To perform other operations on the device,
refer to the operating instructions for the
device: e.g. search for and connect Blue-
tooth device or a new device.
The Bluetooth name of the vehicle appears
on the device's display.
6. Select the Bluetooth name of the vehicle on
the device's display.
The on-board computer or the device will
prompt you to enter the same Bluetooth
passkey.
7. Enter the passkey and confirm.
8. Select desired functions with which the
device is to be conn ected, e.g. "Audio".
9. "OK"
If the pairing was successf ul, the device is dis-
played as connected.
Page 150 of 254
ENTERTAINMENTExternal devices
148
Track search*
Depending on the device, it is possible to search
by track.
1."CD/Multimedia"
2. "External devices"
3. Select the symbol.
4. "Search device content"
5. "A-Z search"
6. Select desired entry or directory.
Player program*
Depending on the device, there may be various
programs for playing music files.
1."CD/Multimedia"
2. "External devices"
3. Select the symbol.
4. Open "Options".
5. "Select player"
6. Select the desired program.
Disconnecting an audio connection
1."CD/Multimedia"
2. "Bluetooth® (audio)"
3. Select the desired device from the list of con-
nected devices.
4. Open "Options".
5. "Configure phone"
6. Deactivate "Audio".
7. "OK"
With a mobile phone, only the audio connection
is disconnected. All other connections remain
active.
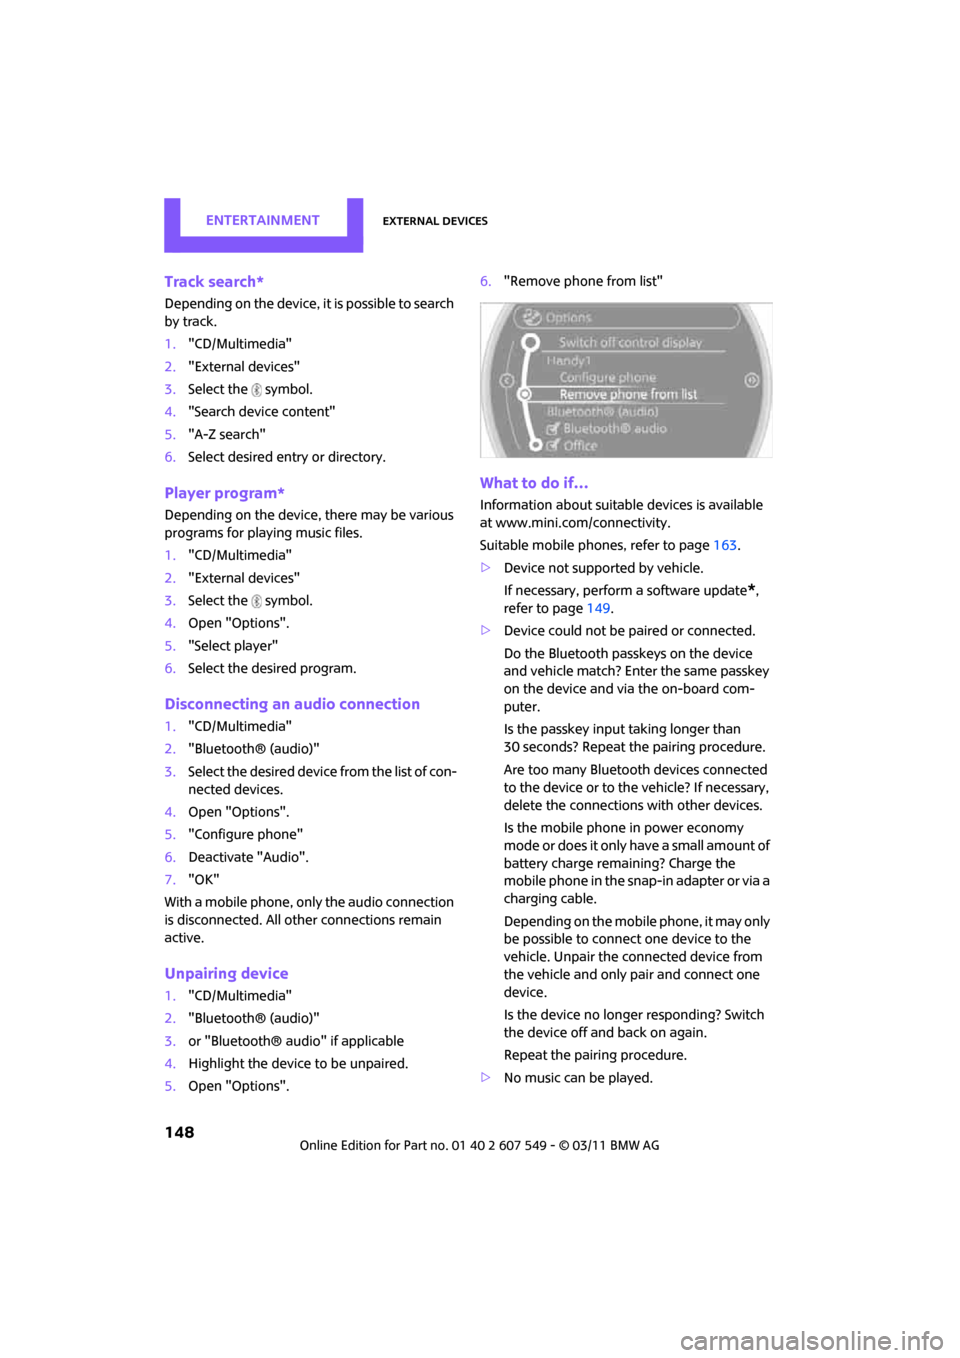
Unpairing device
1. "CD/Multimedia"
2. "Bluetooth® (audio)"
3. or "Bluetooth® audio" if applicable
4. Highlight the device to be unpaired.
5. Open "Options". 6.
"Remove phone from list"
What to do if…
Information about suitable devices is available
at www.mini.com /connectivity.
Suitable mobile phones, refer to page 163.
> Device not supported by vehicle.
If necessary, perform a software update
*,
refer to page 149.
> Device could not be paired or connected.
Do the Bluetooth passkeys on the device
and vehicle match? Enter the same passkey
on the device and via the on-board com-
puter.
Is the passkey input taking longer than
30 seconds? Repeat th e pairing procedure.
Are too many Bluetoot h devices connected
to the device or to the vehicle? If necessary,
delete the connections with other devices.
Is the mobile phone in power economy
m o d e o r d o e s i t o n l y have a small amount of
battery charge remaining? Charge the
mobile phone in the snap-in adapter or via a
charging cable.
Depending on the mobile phone, it may only
be possible to connect one device to the
vehicle. Unpair the connected device from
the vehicle and only pair and connect one
device.
Is the device no longer responding? Switch
the device off and back on again.
Repeat the pairing procedure.
> No music can be played.
Page 151 of 254
External devicesENTERTAINMENT
149
Start the program for playing music files on
the device and if necessary, select a track via
the device.
Activate and deactivate the radio mute on
the radio control panel.
> Music files only play quietly.
Adjust volume settings on the device.
> Videos cannot be play ed or can only be
played with a delayed audio output.
Check the device compatibility. Information
is available at www.mini.com/connectivity.
> Playback is interrupted by the press of a but-
ton or other messages on the device.
Switch off key tones an d other acoustic sig-
nal on the device.
> Playback is interrupted by a phone call or
traffic report and does not automatically
continue.
Activate and deactivate the radio mute on
the radio control panel.
> Playback is not possible when the mobile
phone is connected via Bluetooth audio and
at the same time via the extended connec-
tivity of the music player in the mobile
phone
*.
Disconnect one of the two connections, e.g.
the audio connection, refer to page 148,
and start playback again.
If you have gone through all items in the list and
still cannot activate the desired function please
contact the Hotline or your MINI dealer.
Software update*
The vehicle supports various external devices,
depending on the software it is currently using.
A software update can enable the vehicle to
support, for example, new mobile phones or
new external devices.
Software updates and associated, up-to-date
instructions are availa ble on the web page
www.mini.com/connectivity.
Displaying current version
The currently installed software is displayed.
1. "Settings"
2. "Software update"
3. "Show current version"
Select the desired version
* to display additional
information
*.
Updating software
The software update can only be performed
when stopped.
1. Save the file for the software update in the
main directory of a USB data storage device.
2. Connect the USB data storage device to the
USB interface of the USB audio interface in
the center console. It is not possible to per-
form the update using the USB interface in
the glove compartment.
3. "Settings"
4. "Software update"
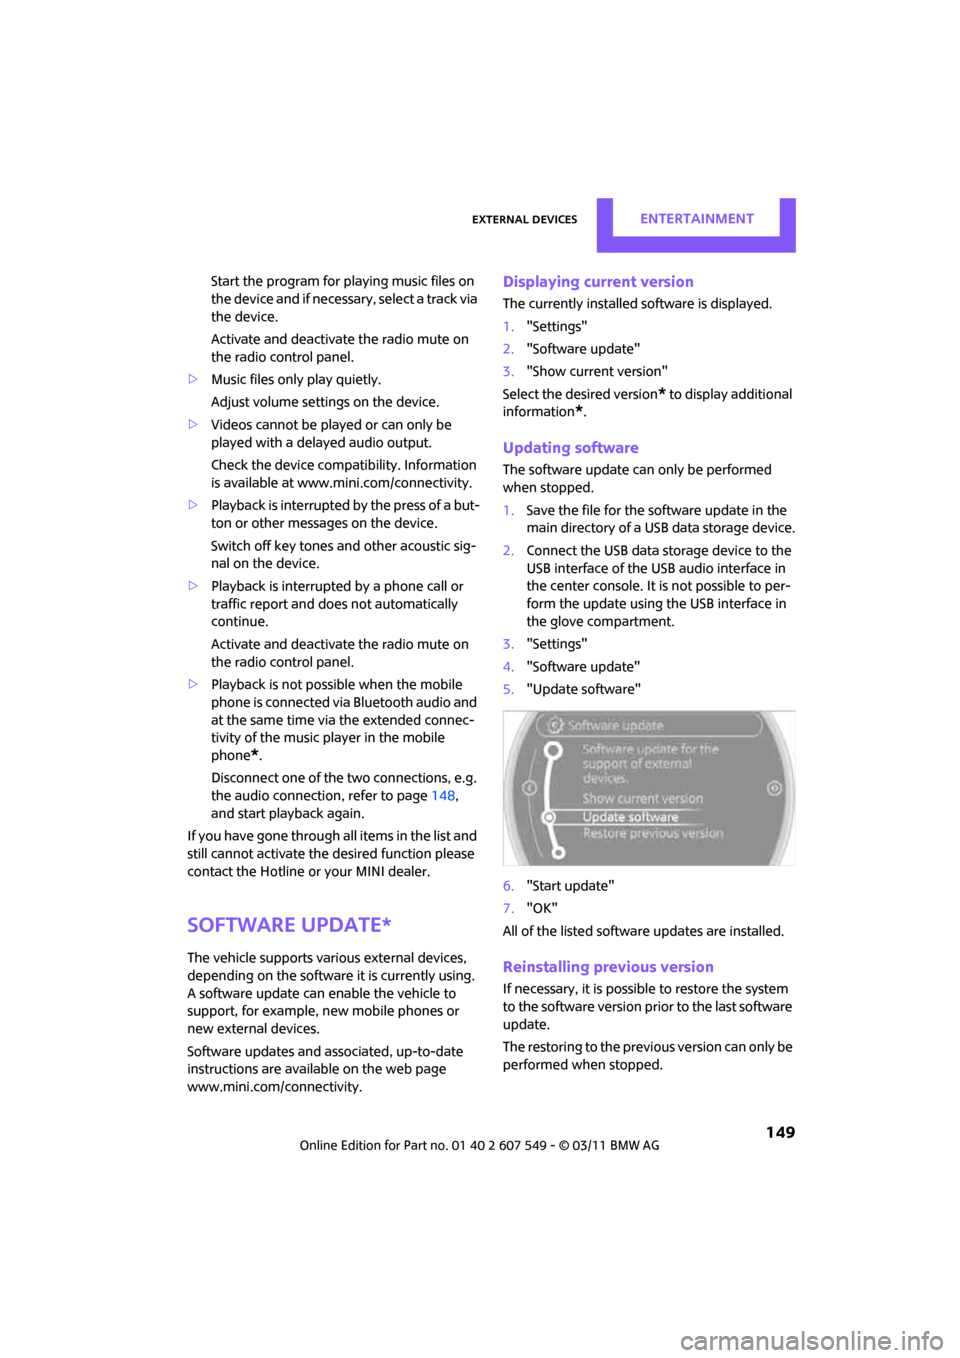
5. "Update software"
6. "Start update"
7. "OK"
All of the listed softwa re updates are installed.
Reinstalling previous version
If necessary, it is possible to restore the system
to the software version prior to the last software
update.
The restoring to the previous version can only be
performed when stopped.
Page 156 of 254
CommunicationsHands-free device Bluetooth
154
Hands-free device Bluetooth
Overview
The concept
Mobile phones can be connected to the vehicle
through Bluetooth.
Bluetooth® is a registered trademark of Blue-
tooth® SIG, Inc.
After being paired once, when the ignition is
switched on, these devices are automatically
detected as soon as they are present in the vehi-
cle and can be controlled via the on-board com-
puter, the buttons on the steering wheel, and by
voice
*.
Up to four mobile phones can be paired.
It may be necessary for some functions to be
activated by the mobile phone provider. Only make entries when traffic conditions
permit. Do not hold the mobile phone in
your hand while you are driving; use the hands-
free system instead. If you do not observe this
precaution, your being distracted can endanger
vehicle occupants and other road users. <
Suitable mobile phones
Precise information as to which mobile phones
and hands-free devices are supported can be
found at www.mini.com/connectivity.
With a certain software version, these suitable
mobile phones support the vehicle functions
described below.
With other mobile phones or software versions,
malfunctions may occur.
A mobile phone that is connected to the vehicle
should not be operated via the mobile phone
keypad; otherwise, ma lfunctions may occur.
Displaying vehicle identification number
and software part number
To check which mobile phones are supported by
the hands-free device, th e vehicle identification
number and the software part number will be
required. The software version of the mobile
phone may also be required.
1. "Telephone"
2. Open "Options".
3. "Bluetooth® info"
4. "Display system information"
Pairing/unpairing mobile
phone
Requirements
>Suitable mobile phone, refer to page 154.
> Mobile phone operational.
> Bluetooth activated in vehicle, refer to
page 154, and in the mobile phone.
> Bluetooth presets in the mobile phone are
required, e.g. connection not confirmed or
visible, refer to Ow ner's Manual for the
mobile phone.
> A number with at least 4 and at most
16 digits has been established as the Blue-
tooth passkey. Only required once for pair-
ing.
> Ignition switched on.
Activating/deactivating Bluetooth link
Bluetooth is not permitted everywhere. Comply
with all safety guidelines and regulations.
1."Telephone"
2. Open "Options".
*