warning MINI Coupe 2012 User Guide
[x] Cancel search | Manufacturer: MINI, Model Year: 2012, Model line: Coupe, Model: MINI Coupe 2012Pages: 218, PDF Size: 3.84 MB
Page 34 of 218
Opening and closingCONTROLS
33
The warning lamp lights up when the
engine is running: the remote control is
no longer inside the vehicle. After the
engine is switched off, the engine can only be
restarted within approx. 10 seconds.
The indicator lamp comes on: replace
the battery in the remote control.
Replacing the battery
The remote control for Comfort Access contains
a battery that will need to be replaced from time
to time.
1. Remove the cover.
2. Insert the new battery with the plus side
facing up.
3. Press the cover on to close.
Take the old battery to a recycling center
or to your MINI dealer. <
Windows
To prevent injuries, exercise care when
closing the windows.
Take the remote control with you when you
leave the car; otherwise, children could operate
the electric windows and possibly injure them-
selves. <
If, after a window is opened and closed
several times in close succession, the
window can only be closed and not opened, the
system is overheated. Let the system cool for
several minutes with the ignition switched on or
the engine running. <
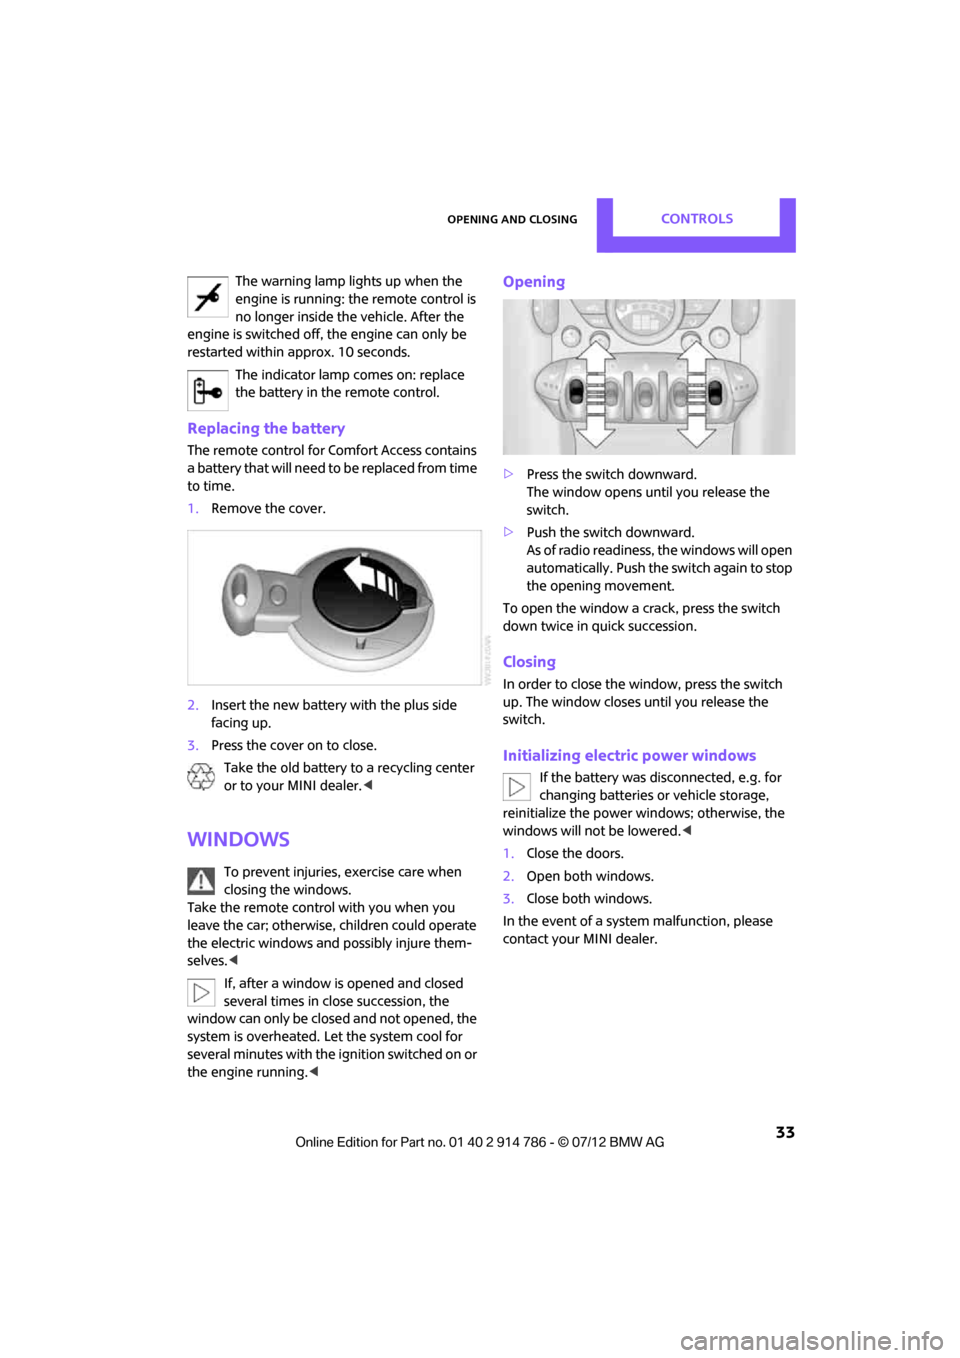
Opening
>Press the switch downward.
The window opens until you release the
switch.
> Push the switch downward.
As of radio readiness, the windows will open
automatically. Push the switch again to stop
the opening movement.
To open the window a crack, press the switch
down twice in quick succession.
Closing
In order to close the window, press the switch
up. The window closes until you release the
switch.
Initializing electric power windows
If the battery was disconnected, e.g. for
changing batteries or vehicle storage,
reinitialize the power wi ndows; otherwise, the
windows will not be lowered.<
1. Close the doors.
2. Open both windows.
3. Close both windows.
In the event of a system malfunction, please
contact your MINI dealer.
Online Edition for Part no. 01 40 2 914 786 - \251 07/12 BMW AG
Page 56 of 218
DrivingCONTROLS
55
Driving
Vehicle equipment
In this chapter, all production, country, and
optional equipment that is offered in the model
range is described. Equipment is also described
that is not available because of, for example,
selected options or count ry version. This also
applies to safety related functions and systems.
Ignition lock
Inserting the key into the ignition lock
Insert the key all the way into the ignition lock.
Radio readiness
Individual electrical consumers can operate.
Removing the key from the ignition lock
Press in the key briefly. It is ejected slightly.
At the same time:
> The ignition is switched off if it was on
beforehand.
Automatic transmission
The key can only be removed if the selector lever
is in position P: interlock.
Start/Stop button
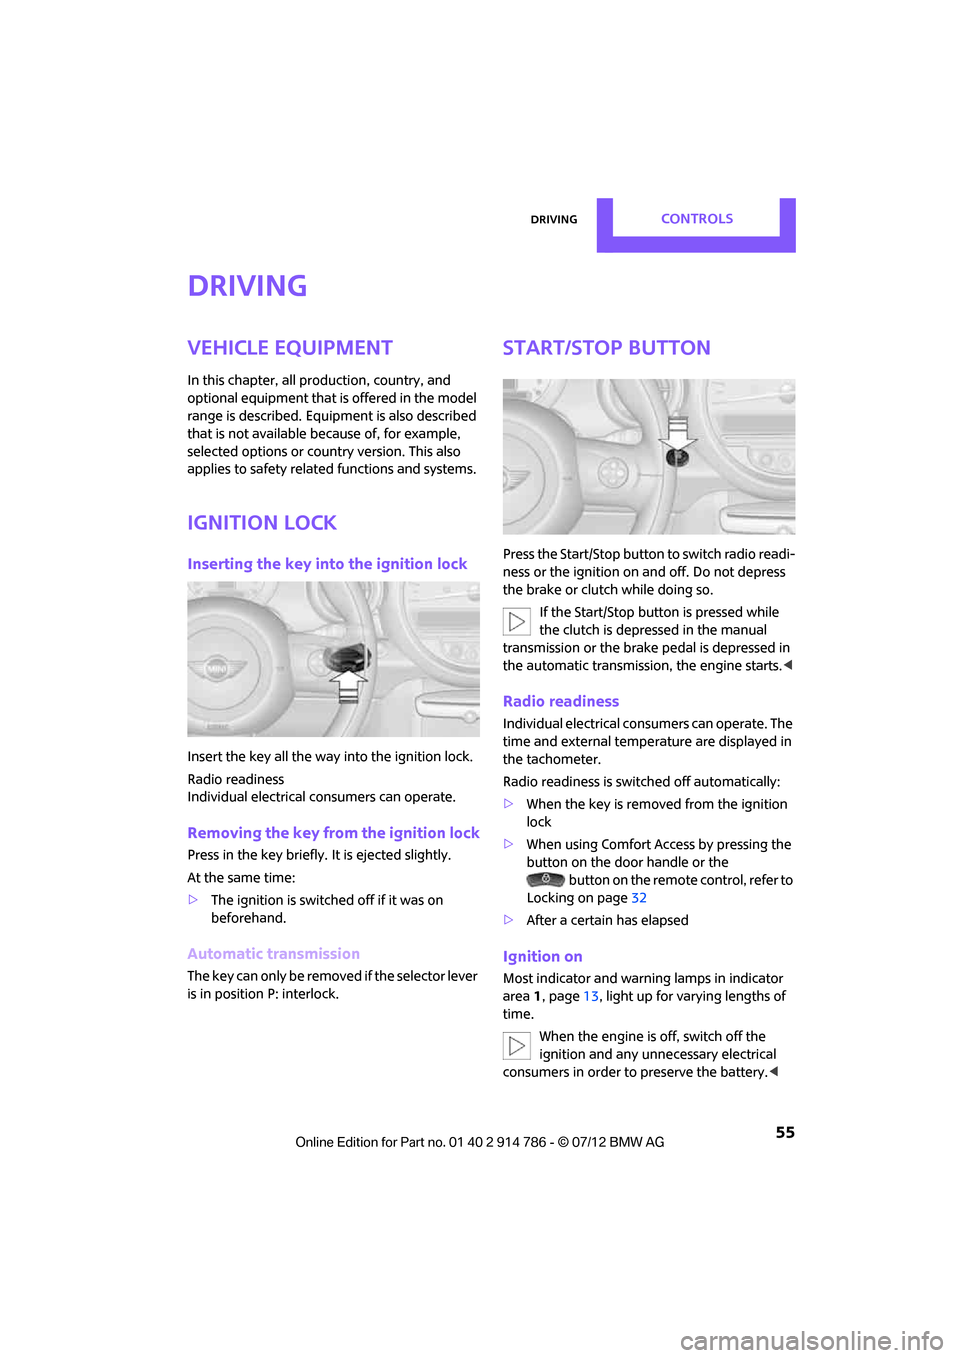
Press the Start/Stop button to switch radio readi-
ness or the ignition on and off. Do not depress
the brake or clutch while doing so.
If the Start/Stop button is pressed while
the clutch is depressed in the manual
transmission or the brak e pedal is depressed in
the automatic transmission, the engine starts. <
Radio readiness
Individual electrical consumers can operate. The
time and external temperature are displayed in
the tachometer.
Radio readiness is switched off automatically:
>When the key is removed from the ignition
lock
> When using Comfort Access by pressing the
button on the door handle or the
button on the remote control, refer to
Locking on page 32
> After a certain has elapsed
Ignition on
Most indicator and warning lamps in indicator
area 1, page 13, light up for va rying lengths of
time.
When the engine is off, switch off the
ignition and any unnecessary electrical
consumers in order to preserve the battery. <
Online Edition for Part no. 01 40 2 914 786 - \251 07/12 BMW AG
Page 57 of 218
CONTROLSDriving
56
Radio readiness and ignition off
All indicator and warning lamps in the displays
go out.
The ignition switches off automatically if the
driver's door is opened. Pressing the Start/Stop
button again switches the ignition back on.
The ignition is not switched off in situations such
as the following:
> The clutch or brake is depressed
> The low beams are switched on
Starting the engine
Do not allow the engine to run in enclosed
areas; otherwise, inha lation of the noxious
exhaust gases can lead to loss of consciousness
and death. Exhaust gases contain carbon
monoxide, an odorless and colorless, but highly
toxic gas. Never leave an unattended vehicle
with the engine running; otherwise, such a
vehicle represents a potential safety hazard.
Before leaving the car while the engine is run-
ning, place the transmission in neutral or move
the selector lever to position P and forcefully
apply the parking brake to prevent the car from
moving. <
Avoid frequent starting in quick succes-
sion or repeated start attempts in which
the engine does not start. Otherwise, the fuel is
not burned or inadequate ly burned and there is
a danger of overheating and damaging the
catalytic converter. <
Do not let the engine warm up with the vehicle
at a standstill. Move off immediately at a
moderate engine speed.
When starting the engi ne, do not depress the
accelerator pedal.
Manual transmission
Key in ignition lock or inside vehicle with
Comfort Access, refer to page 31.
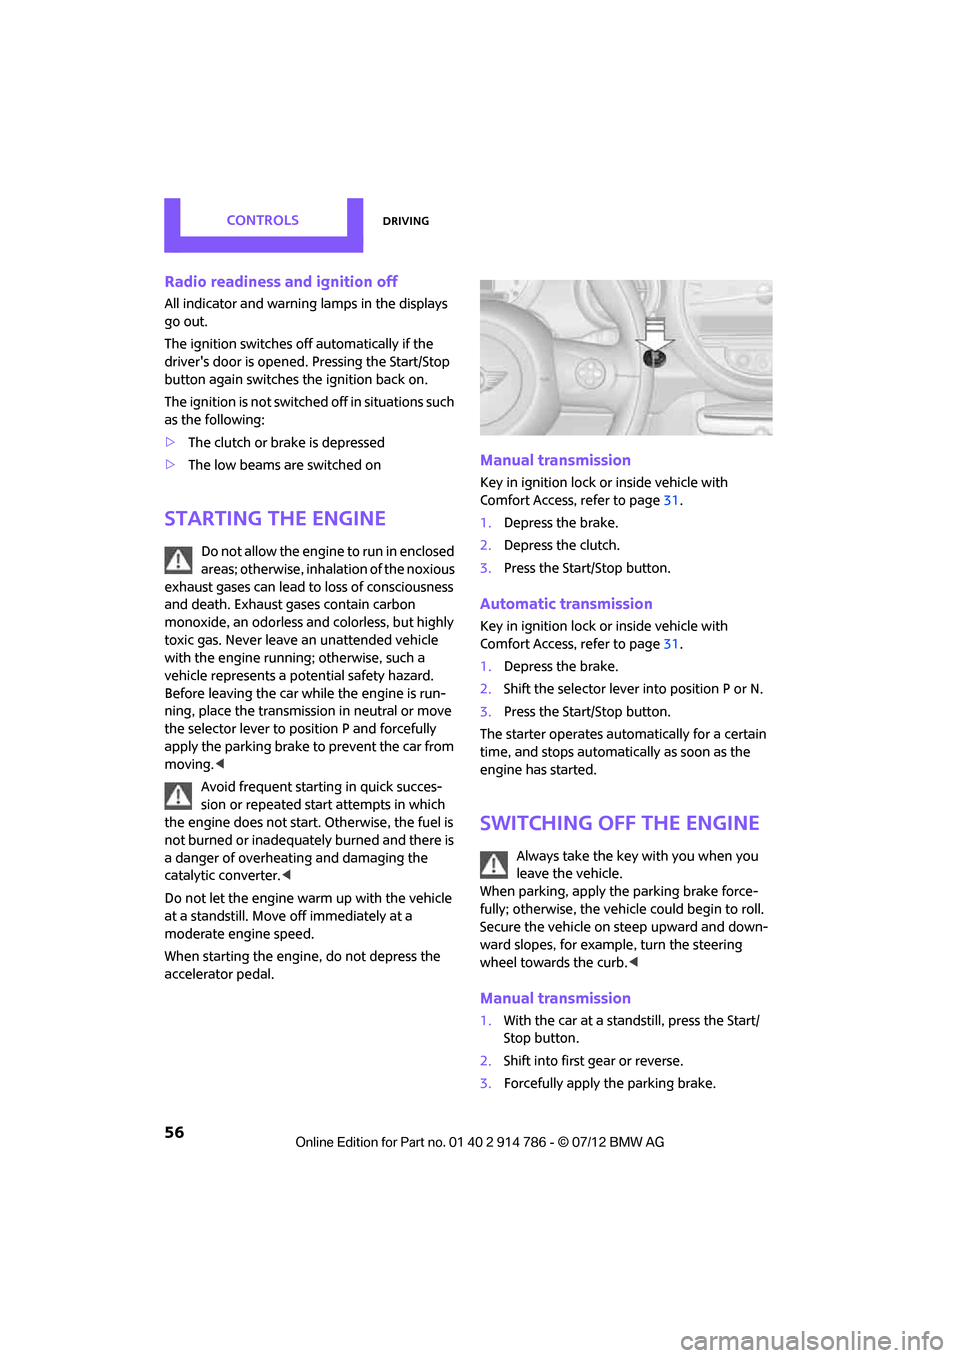
1. Depress the brake.
2. Depress the clutch.
3. Press the Start/Stop button.
Automatic transmission
Key in ignition lock or inside vehicle with
Comfort Access, refer to page 31.
1. Depress the brake.
2. Shift the selector lever into position P or N.
3. Press the Start/Stop button.
The starter operates auto matically for a certain
time, and stops automati cally as soon as the
engine has started.
Switching off the engine
Always take the key with you when you
leave the vehicle.
When parking, apply the parking brake force-
fully; otherwise, the vehicle could begin to roll.
Secure the vehicle on steep upward and down-
ward slopes, for example, turn the steering
wheel towards the curb. <
Manual transmission
1.With the car at a standstill, press the Start/
Stop button.
2. Shift into first gear or reverse.
3. Forcefully apply the parking brake.
Online Edition for Part no. 01 40 2 914 786 - \251 07/12 BMW AG
Page 65 of 218
CONTROLSDriving
64
Increasing speed
Press button1 repeatedly until the desired
speed is reached. Every time you press the
button, the speed increases by approx. 1 mph
or 1 km/h.
Accelerating using the button
Press and hold button 1.
The vehicle accelerates without pressure on the
accelerator pedal. After the button is released,
the driving speed is maintained and stored.
Decreasing speed
Press button 3 repeatedly until the desired
speed is reached.
The functions here are the same as for
increasing the speed or accelerating, except
that the speed will be decreased.
Resuming a speed stored beforehand
Press button 4.
The last speed stored is achieved again and
maintained.
The stored speed is cleared when the ignition is
switched off.
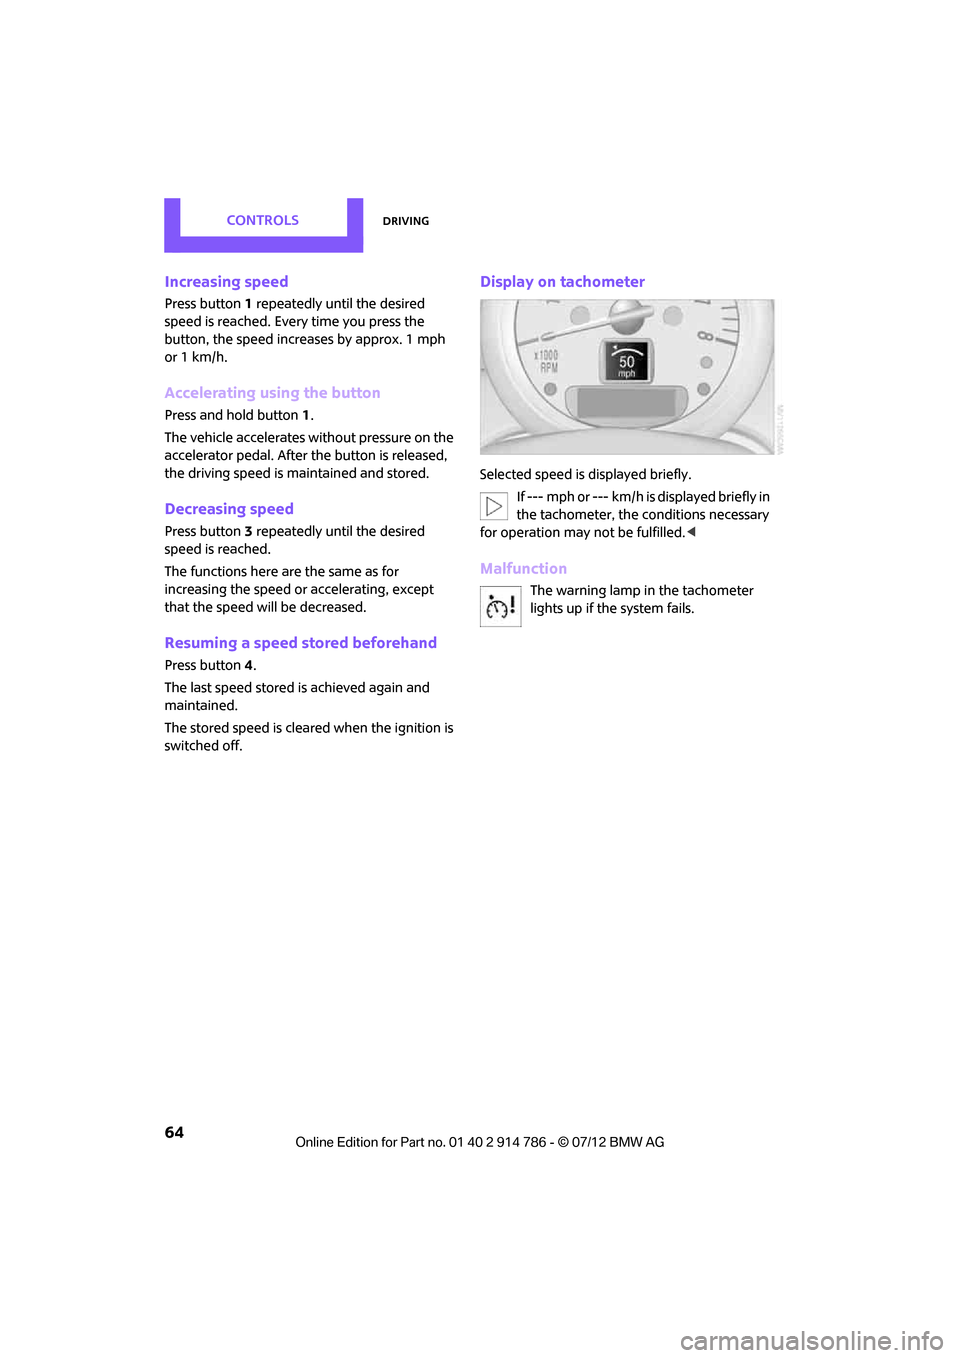
Display on tachometer
Selected speed is displayed briefly. If --- mph or --- km/h is displayed briefly in
the tachometer, the conditions necessary
for operation may not be fulfilled. <
Malfunction
The warning lamp in the tachometer
lights up if the system fails.
Online Edition for Part no. 01 40 2 914 786 - \251 07/12 BMW AG
Page 66 of 218
Controls overviewCONTROLS
65
Controls overview
Vehicle equipment
In this chapter, all production, country, and
optional equipment that is offered in the model
range is described. Equipment is also described
that is not available because of, for example,
selected options or count ry version. This also
applies to safety related functions and systems.
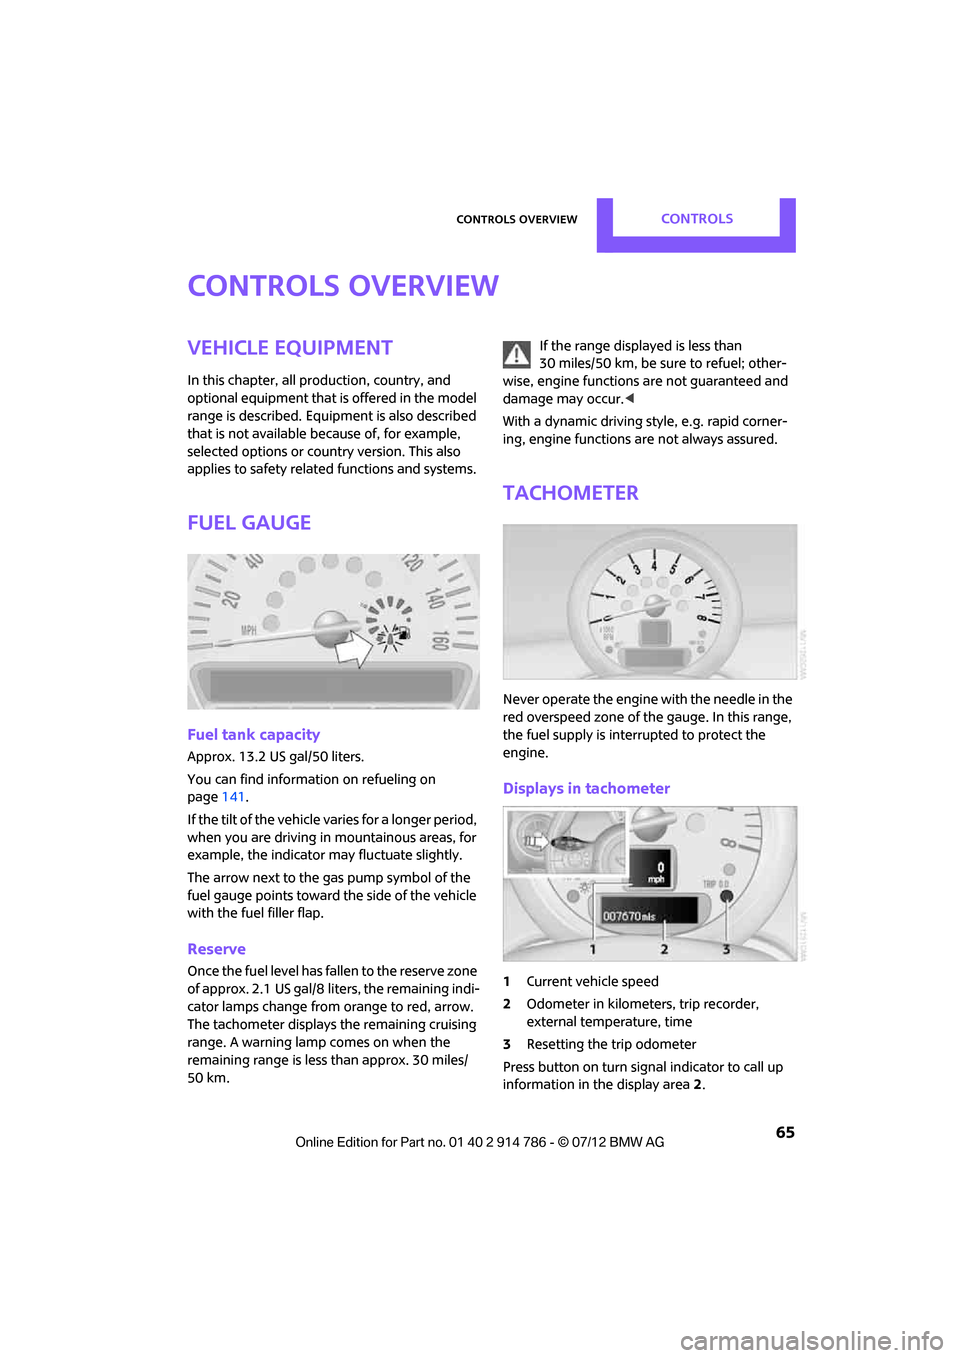
Fuel gauge
Fuel tank capacity
Approx. 13.2USgal/50liters.
You can find information on refueling on
page 141.
If the tilt of the vehicle varies for a longer period,
when you are driving in mountainous areas, for
example, the indicator may fluctuate slightly.
The arrow next to the gas pump symbol of the
fuel gauge points toward the side of the vehicle
with the fuel filler flap.
Reserve
Once the fuel level has fallen to the reserve zone
of approx. 2.1 US gal/8 liters, the remaining indi-
cator lamps change from orange to red, arrow.
The tachometer displays the remaining cruising
range. A warning lamp comes on when the
remaining range is less than approx. 30 miles/
50 km. If the range displayed is less than
30 miles/50 km, be sure to refuel; other-
wise, engine functions are not guaranteed and
damage may occur. <
With a dynamic driving st yle, e.g. rapid corner-
ing, engine functions are not always assured.
Tachometer
Never operate the engine with the needle in the
red overspeed zone of the gauge. In this range,
the fuel supply is interrupted to protect the
engine.
Displays in tachometer
1Current vehicle speed
2 Odometer in kilometers, trip recorder,
external temperature, time
3 Resetting the trip odometer
Press button on turn sign al indicator to call up
information in the display area 2.
Online Edition for Part no. 01 40 2 914 786 - \251 07/12 BMW AG
Page 67 of 218
CONTROLSControls overview
66
The following information is displayed sequen-
tially:
>Trip odometer
> Time
> External temperature
Trip odometer
To display trip recorder:
Briefly press button 3.
Resetting the trip odometer:
While the trip recorder is displayed and the
ignition is switched on, press button 3.
Time
To set time, see page 73.
External temperature, external
temperature warning
When the displayed temperature sinks to
approx. +37 7/+3 6, a signal sounds and a
warning lamp lights up. There is an increased
risk of black ice.
Even at temperatures above +37 7/+3 6
ice can form. Therefore, drive carefully,
e.g. on bridges and sect ions of road in the
shade; otherwise, there is an increased accident
risk. <
Units of measure
Select the respective units of measure, miles or
km for the odometer as well as 7 or 6 for the
external temperature, page 70.
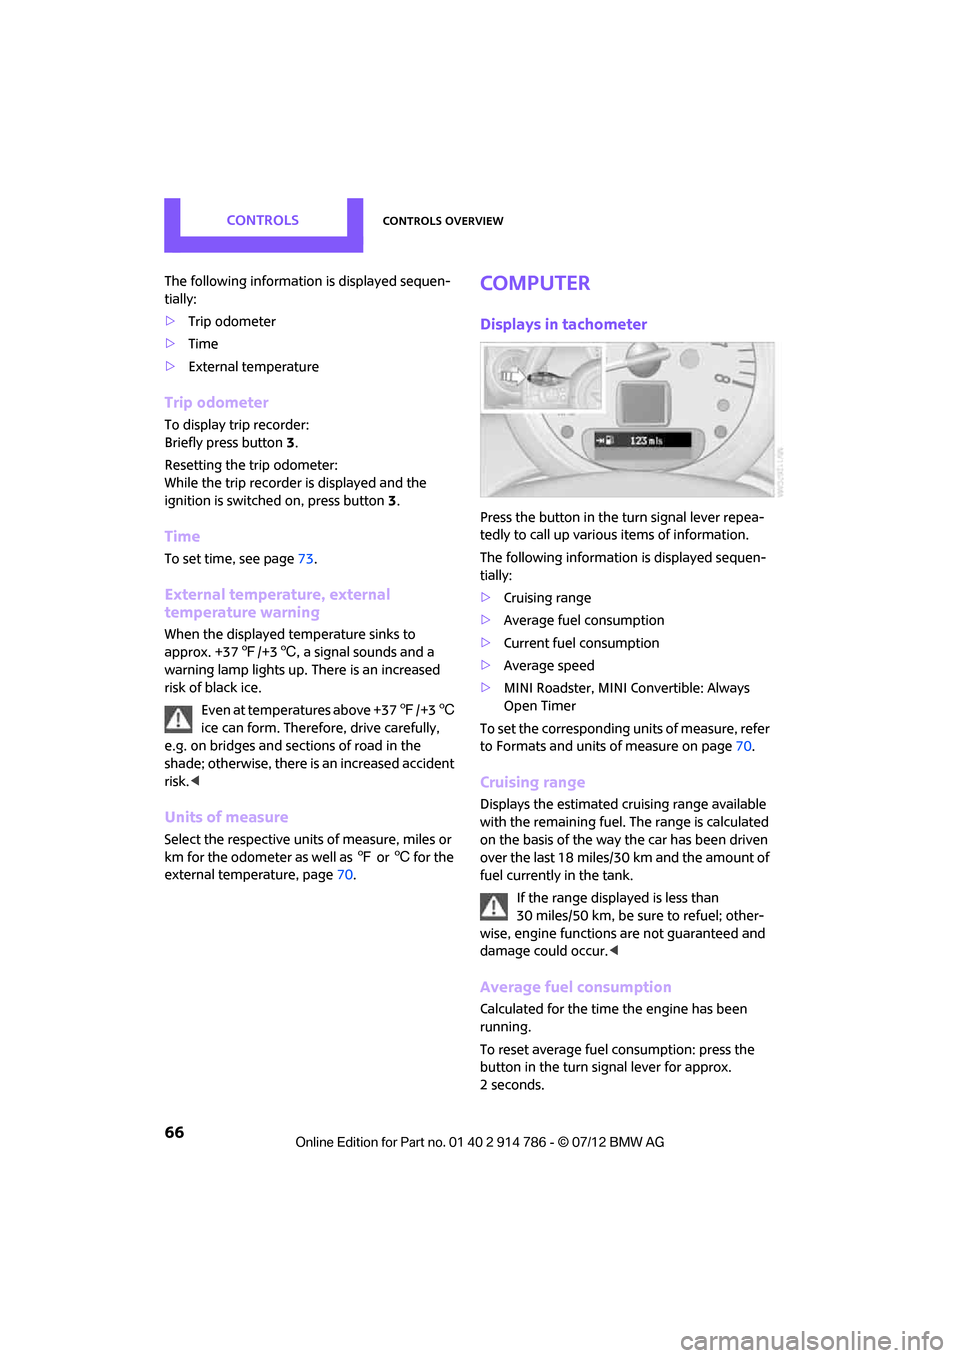
Computer
Displays in tachometer
Press the button in the turn signal lever repea-
tedly to call up variou s items of information.
The following information is displayed sequen-
tially:
> Cruising range
> Average fuel consumption
> Current fuel consumption
> Average speed
> MINI Roadster, MINI Convertible: Always
Open Timer
To set the corresponding units of measure, refer
to Formats and units of measure on page 70.
Cruising range
Displays the estimated cruising range available
with the remaining fuel. The range is calculated
on the basis of the way the car has been driven
over the last 18 miles/30 km and the amount of
fuel currently in the tank.
If the range displayed is less than
30 miles/50 km, be sure to refuel; other-
wise, engine functions are not guaranteed and
damage could occur. <
Average fuel consumption
Calculated for the time the engine has been
running.
To reset average fuel consumption: press the
button in the turn signal lever for approx.
2seconds.
Online Edition for Part no. 01 40 2 914 786 - \251 07/12 BMW AG
Page 74 of 218
Controls overviewCONTROLS
73
More information on the MINI Maintenance
System can be found on page 159.
Clock
Setting the time
Radio MINI Boost CD:
1.Press the MENU button.
2. Press the button.
3. Press the button.
4. Select the desired menu item, "FORMAT",
"HRS" or "MIN", and then press the button.
5. Turn the knob on the right to set values.
6. Press the knob on the right to store values.
7. Press the button to exit setting
values.
Date
Setting date
Radio MINI Boost CD:
1. Press the MENU button.
2. Press the button.
3. Press the button.
4. Select the desired menu item "DD", "MM" or
"YY".
5. Turn the knob on the right to set values.
6. Press the knob on the right to store values.
7. Press the button to exit setting
values.
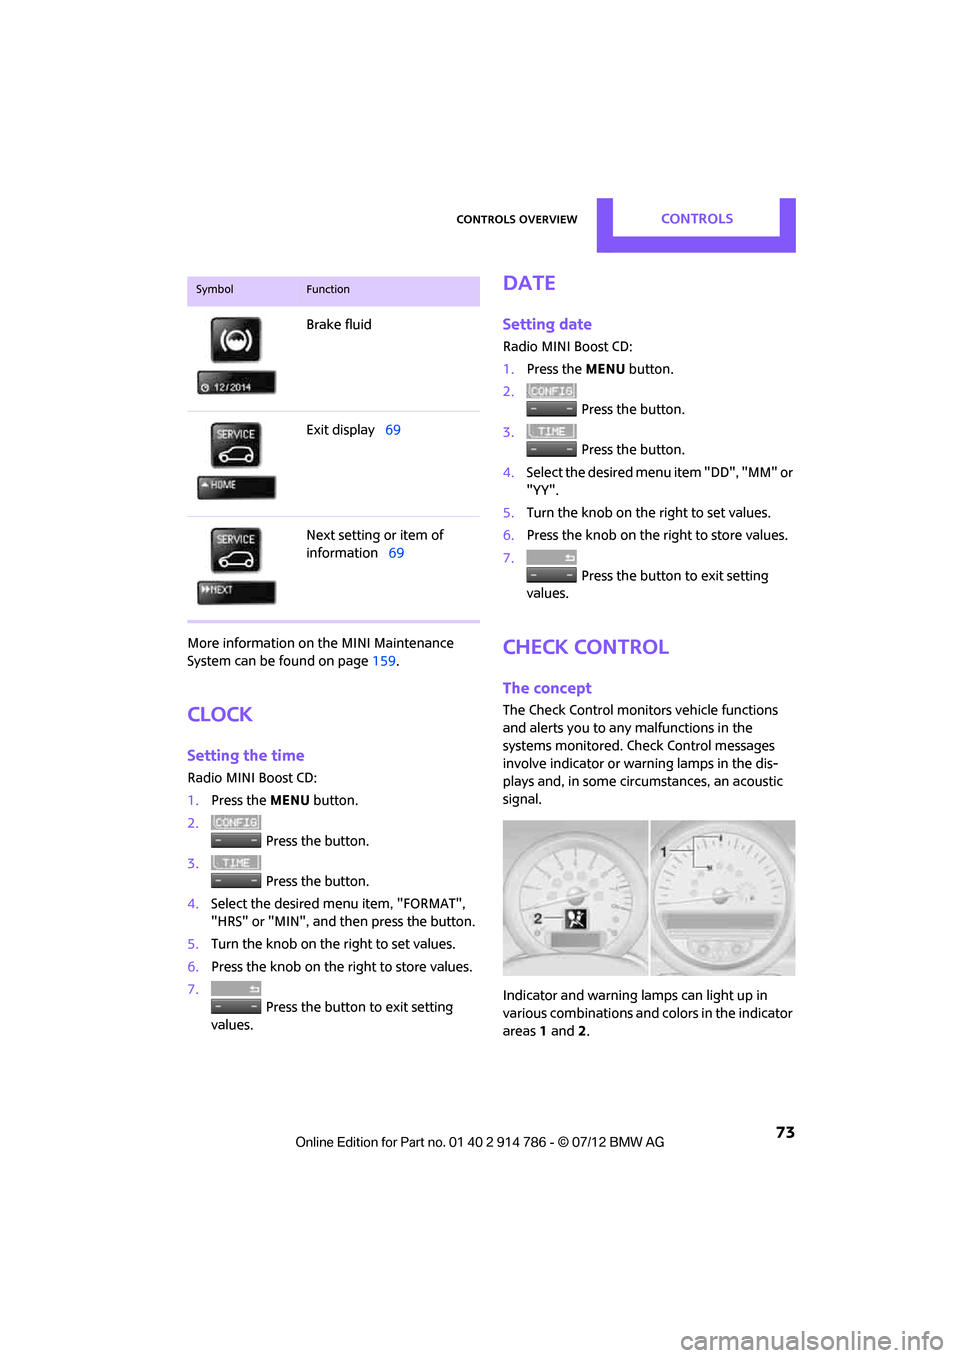
Check Control
The concept
The Check Control monitors vehicle functions
and alerts you to any malfunctions in the
systems monitored. Check Control messages
involve indicator or warning lamps in the dis-
plays and, in some circumstances, an acoustic
signal.
Indicator and warning lamps can light up in
various combinations and colors in the indicator
areas 1 and 2.
Brake fluid
Exit display
69
Next setting or item of
information 69
SymbolFunction
Online Edition for Part no. 01 40 2 914 786 - \251 07/12 BMW AG
Page 76 of 218
Technology for driving comfort and safetyCONTROLS
75
Technology for driving comfort and
safety
Vehicle equipment
In this chapter, all production, country, and
optional equipment that is offered in the model
range is described. Equipment is also described
that is not available because of, for example,
selected options or count ry version. This also
applies to safety related functions and systems.
Park Distance Control
PDC
The concept
PDC assists you with parking in reverse. Acoustic
signals warn you of the presence of an object
behind the vehicle. To measure the distance,
there are four ultrasonic sensors in either
bumper.
However, an acoustic warning does not sound
until an object is approx. 24 in/60 cm from the
corner sensors, or approx. 5 ft/1.50 m from the
center sensors.
PDC is a parking aid that can indicate
objects when they are approached slowly,
as is usually the case when parking. Avoid
approaching an object at high speed; otherwise,
physical circumstances ma y lead to the system
warning being issued too late.<
Automatic mode
With the engine running or the ignition switched
on, the system is activated automatically after
approx. 1 second when you engage reverse
gear or move the automatic transmission selec-
tor lever to position R. Wait this short period
before driving.
Acoustic signals
As the distance between vehicle and object
decreases, the intervals between the tones
become shorter. If the distance to the nearest
object falls to below roughly 1 ft/30 cm, then
a continuous tone sounds.
If the distance remains constant, e.g. when
driving parallel to a wall, the acoustic signal
stops after approx. 3 seconds.
Adjustments
The volume of the acoustic signals can be set,
refer to page 116.
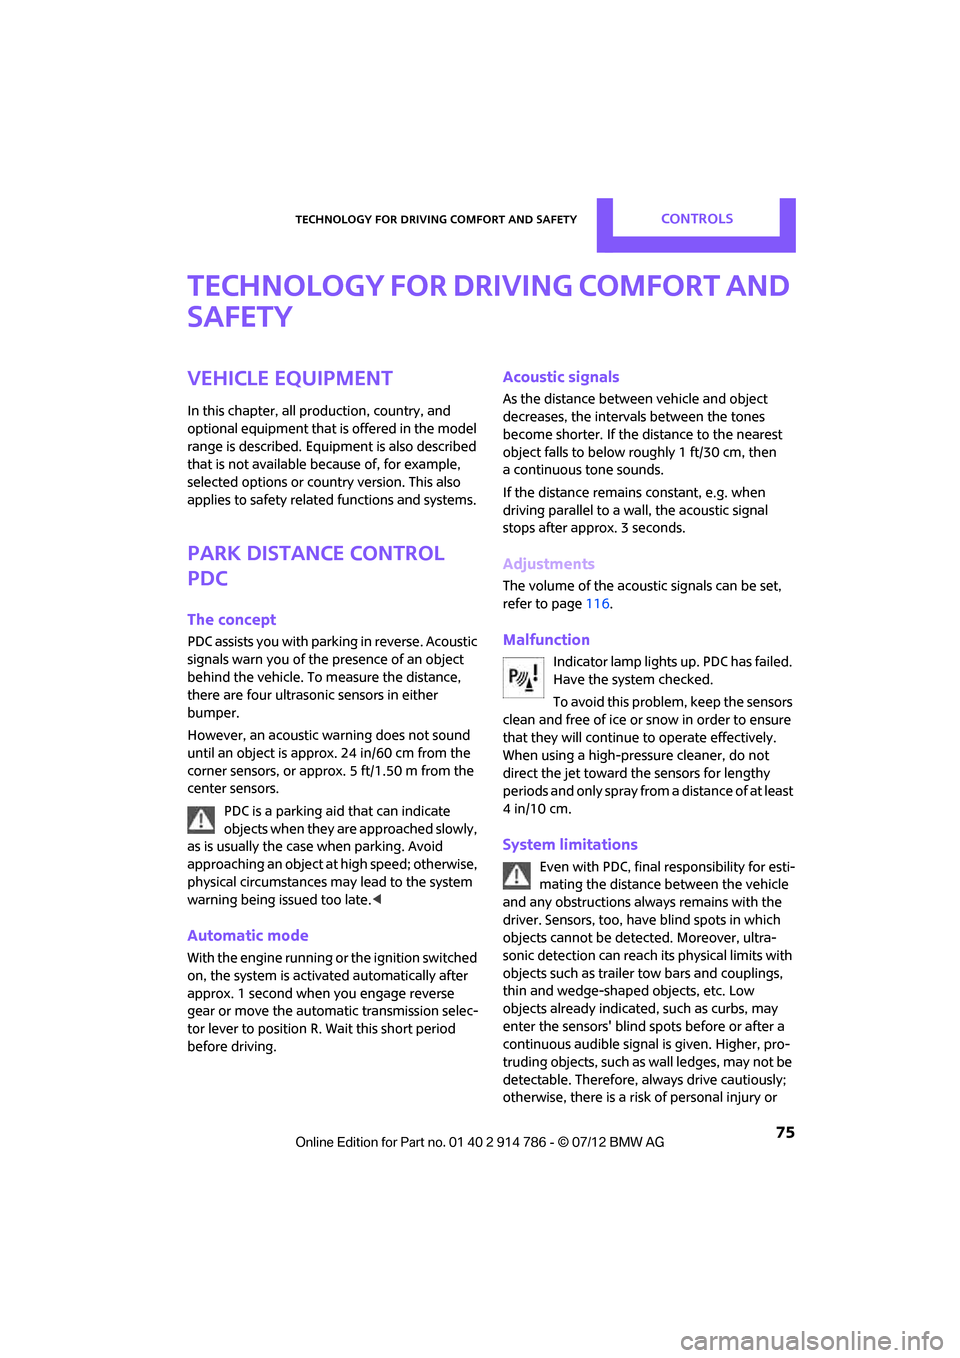
Malfunction
Indicator lamp lights up. PDC has failed.
Have the system checked.
To avoid this problem, keep the sensors
clean and free of ice or snow in order to ensure
that they will continue to operate effectively.
When using a high-pressure cleaner, do not
direct the jet toward the sensors for lengthy
periods and only spray from a distance of at least
4in/10cm.
System limitations
Even with PDC, final re sponsibility for esti-
mating the distance between the vehicle
and any obstructions always remains with the
driver. Sensors, too, ha ve blind spots in which
objects cannot be detected. Moreover, ultra-
sonic detection can reach its physical limits with
objects such as trailer tow bars and couplings,
thin and wedge-shaped objects, etc. Low
objects already indicated, such as curbs, may
enter the sensors' blind spots before or after a
continuous audible signal is given. Higher, pro-
truding objects, such as wall ledges, may not be
detectable. Therefore, al ways drive cautiously;
otherwise, there is a risk of personal injury or
Online Edition for Part no. 01 40 2 914 786 - \251 07/12 BMW AG
Page 80 of 218
Technology for driving comfort and safetyCONTROLS
79
For information on car washing facilities and
care, refer to page161 and following.
Automatic mode
When starting the engine, a retracted rear
spoiler is in the automa tic mode. It is possible
that there will be some noise for a short time
when driving off because of the initialization of
the system.
Automatic extension:
When driving at speeds in excess of approx.
50 mph/80 km/h.
Automatic retraction:
When driving at speeds below 38 mph/60 km/h.
In the automatic mode, the rear spoiler
can not be retracted manually at speeds
greater than 37 mph/60 km/h. <
Manual mode
The manual mode can, for example, be used
when cleaning the rear spoiler while the ignition
is on or the engine is running. LED on switch is
on.
If the rear spoiler stops in an intermediate
position after repeat edly being extended
and retracted, then the system has become
overheated. After a short cooling down time, the
rear spoiler can again be operated.<
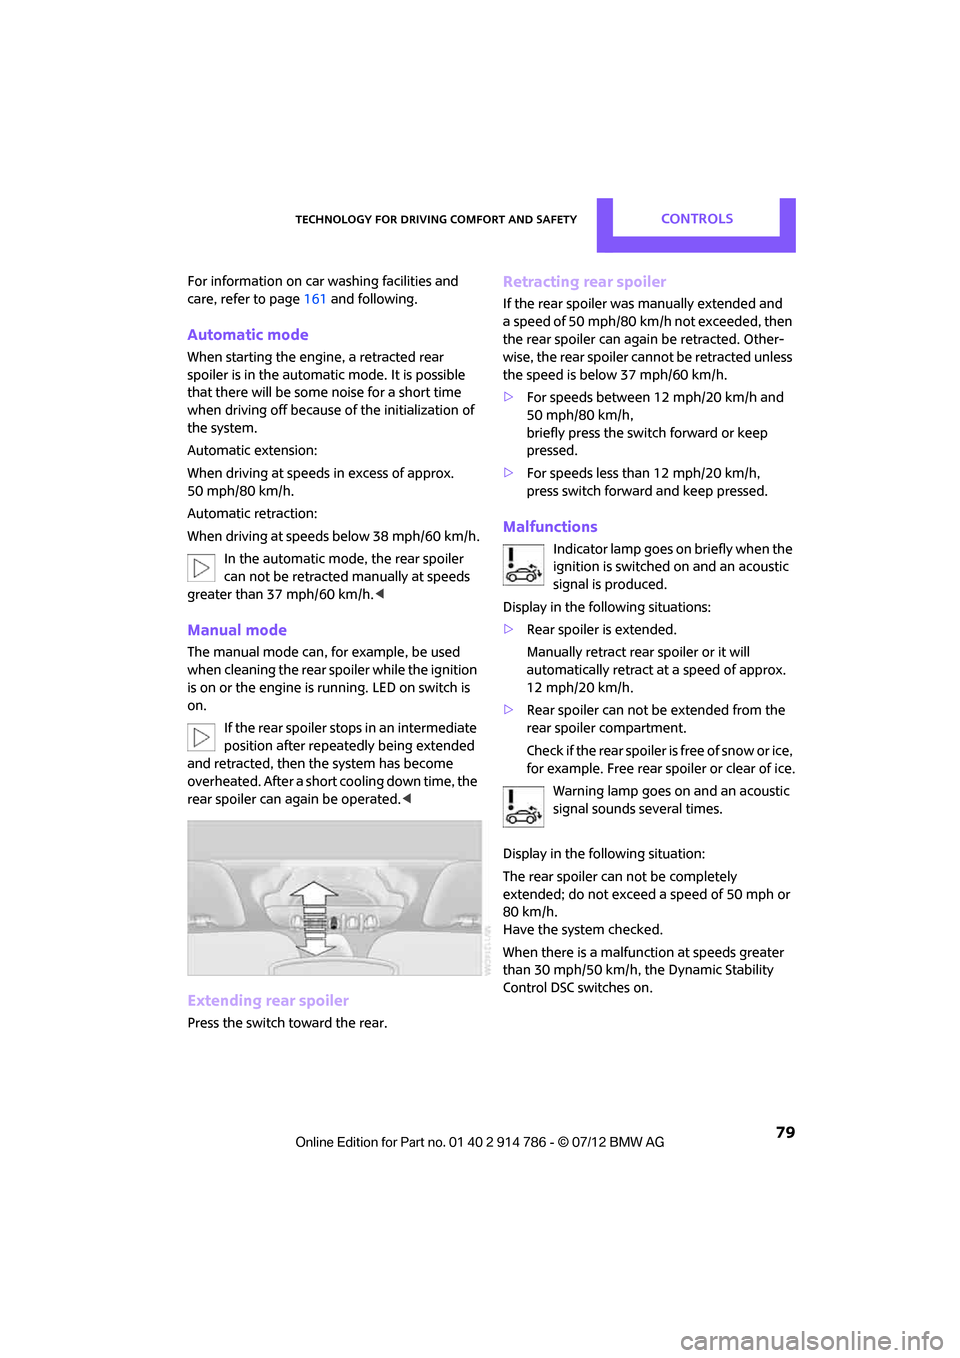
Extending rear spoiler
Press the switch toward the rear.
Retracting rear spoiler
If the rear spoiler was manually extended and
a speed of 50 mph/80 km/h not exceeded, then
the rear spoiler can again be retracted. Other-
wise, the rear spoiler cannot be retracted unless
the speed is below 37 mph/60 km/h.
> For speeds between 12 mph/20 km/h and
50 mph/80 km/h,
briefly press the switch forward or keep
pressed.
> For speeds less than 12 mph/20 km/h,
press switch forward and keep pressed.
Malfunctions
Indicator lamp goes on briefly when the
ignition is switched on and an acoustic
signal is produced.
Display in the following situations:
> Rear spoiler is extended.
Manually retract rear spoiler or it will
automatically retract at a speed of approx.
12 mph/20 km/h.
> Rear spoiler can not be extended from the
rear spoiler compartment.
Check if the rear spoiler is free of snow or ice,
for example. Free rear spoiler or clear of ice.
Warning lamp goes on and an acoustic
signal sounds several times.
Display in the following situation:
The rear spoiler can not be completely
extended; do not exceed a speed of 50 mph or
80 km/h.
Have the system checked.
When there is a malfunction at speeds greater
than 30 mph/50 km/h, the Dynamic Stability
Control DSC switches on.
Online Edition for Part no. 01 40 2 914 786 - \251 07/12 BMW AG
Page 82 of 218
Technology for driving comfort and safetyCONTROLS
81
Indication of a flat tire
The warning lamps come on in yellow
and red. An acoustic signal also sounds.
There is a flat tire or a major loss in tire
inflation pressure.
1. Reduce speed and stop the vehicle with
caution. Avoid sudden braking and steering
maneuvers.
2. Check whether the vehicle is equipped with
normal tires or with run-flat tires.
Run-flat tires, refer to page 152, are identi-
fied by a circular symbol containing the
letters RSC on the tire sidewall.
If the vehicle is not equipped with run-flat
tires, do not continue driving; continuing
to drive can result in serious accidents. <
When a flat tire is repo rted, the Dynamic Stability
Control DSC is activated.
Actions in the event of a flat tire
Normal tires
1. Identify the damaged tire.
To do so, check the inflation pressure in all
four tires.
The inflation pressure di splay of the Mobility
Kit, page 171, can be used for this purpose.
If the inflation pressure in all four tires is
correct, the Flat Tire Monitor might not have
been initialized. The system must then be
initialized.
If it is not possible to identify the damaged
tire, contact your MINI dealer.
2. Use the Mobility Kit to remedy the flat tire on
the damaged wheel, refer to page 170, or to
replace the damaged wheel, refer to
page 173.
Run-flat tires
You can continue driving with a damaged tire at
speeds up to 50 mph or 80 km/h.
Continued driving with a flat tire
When driving with a damaged tire: 1.
Avoid sudden braking and steering maneu-
vers.
2. Do not exceed a speed of 50 mph or
80 km/h.
3. At the next opportunity, check the air
pressure in all four tires.
If the inflation pressure in all four tires is
correct, the Flat Tire Monitor might not have
been initialized. The system must then be
initialized.
Possible driving distance with complete loss of
tire inflation pressure:
The distance it is possible to drive with a flat tire
depends on the load and the stress on the
vehicle while driving.
With an average load, it may be possible to drive
for approx. 50 miles/80 km.
When driving with damage d tires, the handling
characteristics change, e.g. the vehicle will skid
sooner when braking, braking distances will be
longer, or self-steering response will change.
Adapt your driving style accordingly. Avoid
turning abruptly and driv ing over obstacles such
as curbs, potholes, etc.
Since the possible driving distance depends to a
considerable degree on the strain exerted on
the vehicle while driving, it can be shorter or,
with a gentle dr iving style, can also be longer,
depending on the speed, road condition, exter-
nal temperature, vehicle load, etc.
Drive cautiously and do not exceed a
speed of 50 mph/80 km/h.
A loss of tire inflation pressure results in a
change in the handling characteristics, e.g.
reduced lane stability during braking, a longer
braking distance and altered self-steering
properties. <
Vibrations or loud noises while driving can
indicate final failure of the tire. Reduce
your speed and bring the vehicle to a stop;
otherwise, pieces of tire may come off, which
could result in an accident. Do not continue
driving and contact your MINI dealer.<
Online Edition for Part no. 01 40 2 914 786 - \251 07/12 BMW AG