engine MINI Hardtop 2 Door 2004 User Guide
[x] Cancel search | Manufacturer: MINI, Model Year: 2004, Model line: Hardtop 2 Door, Model: MINI Hardtop 2 Door 2004Pages: 152, PDF Size: 1.41 MB
Page 48 of 152
46
CONTINUOUSLY VARIABLE AUTOMATIC TRANSMISSION (CVT)
*
PPark
Select P only when the vehicle is completely
stopped. The transmission locks to prevent
the rear wheels from turning.RReverse Select P only when the vehicle is completely
stopped.NNeutral: idleSelect N only if your journey is interrupted
for a long period.DDrive: CVT driving positionThis position is designed for driving under
all normal operating conditions. KickdownIn 'kickdown' mode, you achieve maximum
acceleration and maximum speed in
position D.
Press the accelerator pedal past the
increased resistance point at the full-throt-
tle position.
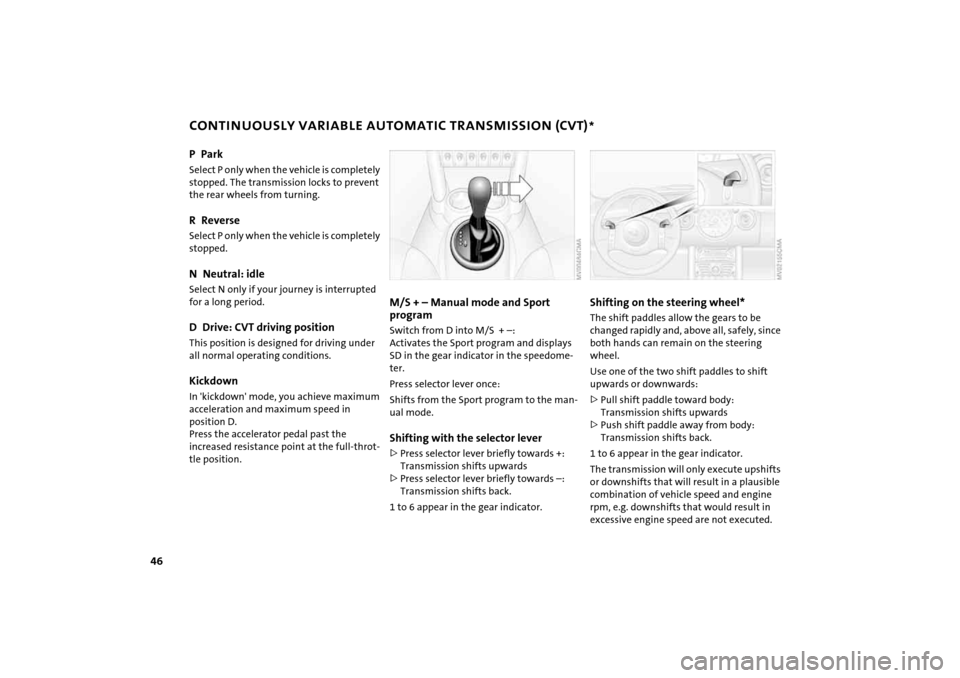
M/S + – Manual mode and Sport
program Switch from D into M/S + –:
Activates the Sport program and displays
SD in the gear indicator in the speedome-
ter.
Press selector lever once:
Shifts from the Sport program to the man-
ual mode.Shifting with the selector lever>Press selector lever briefly towards +:
Transmission shifts upwards
>Press selector lever briefly towards –:
Transmission shifts back.
1 to 6 appear in the gear indicator.
Shifting on the steering wheel*The shift paddles allow the gears to be
changed rapidly and, above all, safely, since
both hands can remain on the steering
wheel.
Use one of the two shift paddles to shift
upwards or downwards:
>Pull shift paddle toward body:
Transmission shifts upwards
>Push shift paddle away from body:
Transmission shifts back.
1 to 6 appear in the gear indicator.
The transmission will only execute upshifts
or downshifts that will result in a plausible
combination of vehicle speed and engine
rpm, e.g. downshifts that would result in
excessive engine speed are not executed.
Page 49 of 152
47
OVERVIEW REPAIRS OPERATIONCONTROLS DATA INDEX
CONTINUOUSLY VARIABLE AUTOMATIC TRANSMISSION (CVT)
*
In order to accelerate rapidly in the
M/S + – Manual mode and in the
Sport program, e.g. when passing, shift
downwards manually or by kickdown.<
Whenever you want to return to automatic
shifting, just move the selector lever
toward the left to position D.
Switching from M/S + – Manual mode into
the selector lever positions P, R and N is
only possible via D.
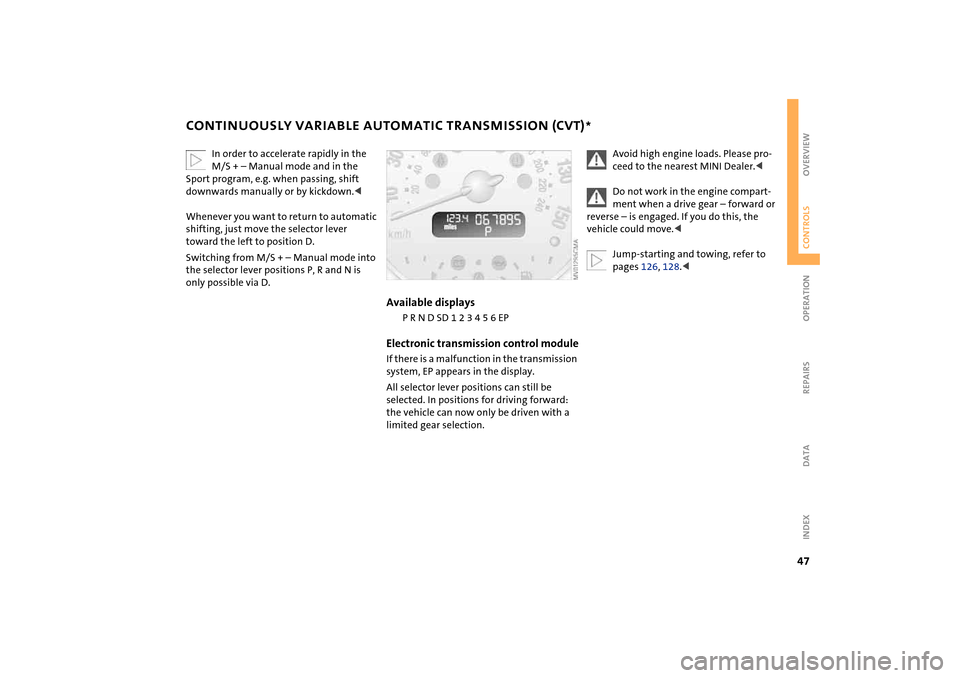
Available displays
P R N D SD 1 2 3 4 5 6 EP
Electronic transmission control moduleIf there is a malfunction in the transmission
system, EP appears in the display.
All selector lever positions can still be
selected. In positions for driving forward:
the vehicle can now only be driven with a
limited gear selection.
Avoid high engine loads. Please pro-
ceed to the nearest MINI Dealer.<
Do not work in the engine compart-
ment when a drive gear – forward or
reverse – is engaged. If you do this, the
vehicle could move.<
Jump-starting and towing, refer to
pages 126, 128.<
Page 50 of 152

48
PARKING LAMPS/LOW BEAMS Switching on the parking lamps Turn to the first position. The front, rear
and side vehicle lighting is switched on.
Parking light on one side, refer to following
column.Switching on the low beamsTurn to the second position. With the low
beams on and with the ignition switched
off, only the parking lamps will remain on.
'Follow me home' lampsIf you activate the headlamp flasher after
having switched off the engine and the
lights, the low beams will stay lit for a pre-
set period of time.
You can have this function set by
your MINI Dealer.
1. Turn the ignition key to position 0 or
remove the key
2. Switch on the low beams
3. Move the lever to the adequate turn sig-
nal indicator position.'Lights on' warningIf the lights have not been switched off and
the ignition key is in position 0, an acoustic
signal sounds for a few seconds when you
open the driver's door to remind you that
the lights have not been switched off.
Daytime driving lamps* If you desire, the light switch can be left in
position 2.
When the ignition is switched off, the car's
exterior lights go out.
The automatic headlamp range con-
trol for xenon lamps only operates
with the light switch in position 1 or 2.<
You can have the daytime driving
lamp function activated/deactivated
by your MINI Dealer.<
Page 54 of 152

52
CRUISE CONTROL
*
On the multifunction steering wheel
and sports steering wheel
The vehicle maintains and stores any
desired speed when driving above approx.
20 mph / 30 km/h. Vehicles with manual
transmission must be driving in 3rd gear or
higher.
Do not use cruise control on twisting
roads, when high traffic density pre-
vents driving at a constant speed, or when
the road surface does not permit driving at
a constant speed, e.g. due to snow, rain, ice,
loose surfaces.<
To activate via the multifunction
steering wheelFrom ignition key position 1:
Press button 2.
The indicator lamp in the instrument clus-
ter lights up.
Cruise control is active.To activate via the sports steering
wheel1. Start the engine
2. Press button 2.
The indicator lamp in the instrument clus-
ter lights up.
Cruise control is active.
To deactivate Press button 2 repeatedly until the indica-
tor lamp goes out.
The cruise control is deactivated when the
ignition key is turned to position 0.
The stored speed is cleared.
Page 55 of 152
53
OVERVIEW REPAIRS OPERATIONCONTROLS DATA INDEX
CRUISE CONTROL
*
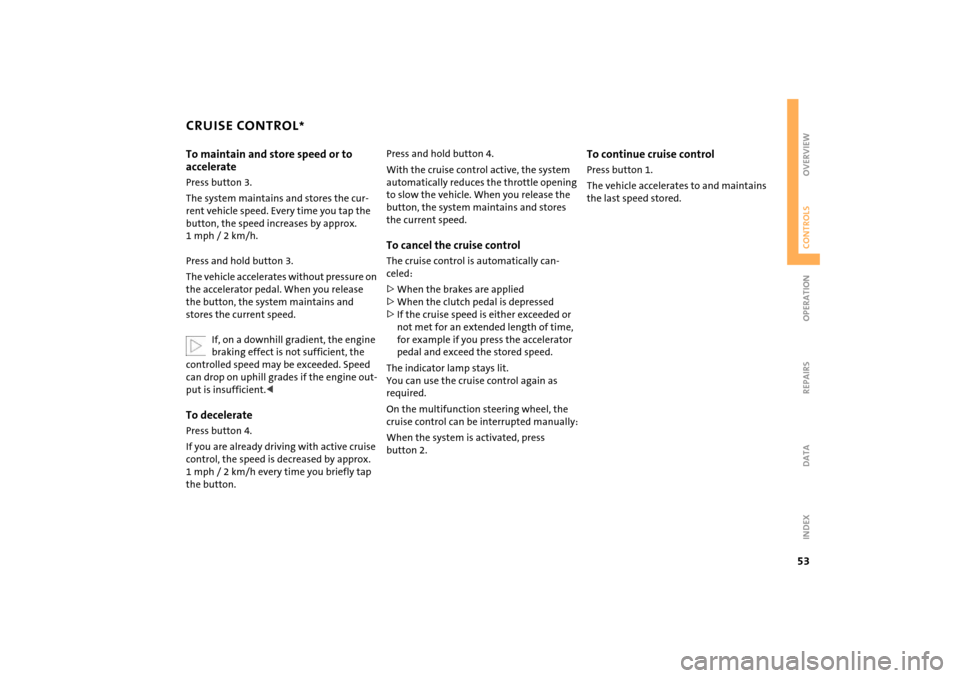
To maintain and store speed or to
accelerate
Press button 3.
The system maintains and stores the cur-
rent vehicle speed. Every time you tap the
button, the speed increases by approx.
1 mph / 2 km/h.
Press and hold button 3.
The vehicle accelerates without pressure on
the accelerator pedal. When you release
the button, the system maintains and
stores the current speed.
If, on a downhill gradient, the engine
braking effect is not sufficient, the
controlled speed may be exceeded. Speed
can drop on uphill grades if the engine out-
put is insufficient.
control, the speed is decreased by approx.
1 mph / 2 km/h every time you briefly tap
the button.
Press and hold button 4.
With the cruise control active, the system
automatically reduces the throttle opening
to slow the vehicle. When you release the
button, the system maintains and stores
the current speed.To cancel the cruise controlThe cruise control is automatically can-
celed:
>When the brakes are applied
>When the clutch pedal is depressed
>If the cruise speed is either exceeded or
not met for an extended length of time,
for example if you press the accelerator
pedal and exceed the stored speed.
The indicator lamp stays lit.
You can use the cruise control again as
required.
On the multifunction steering wheel, the
cruise control can be interrupted manually:
When the system is activated, press
button 2.
To continue cruise controlPress button 1.
The vehicle accelerates to and maintains
the last speed stored.
Page 56 of 152
54
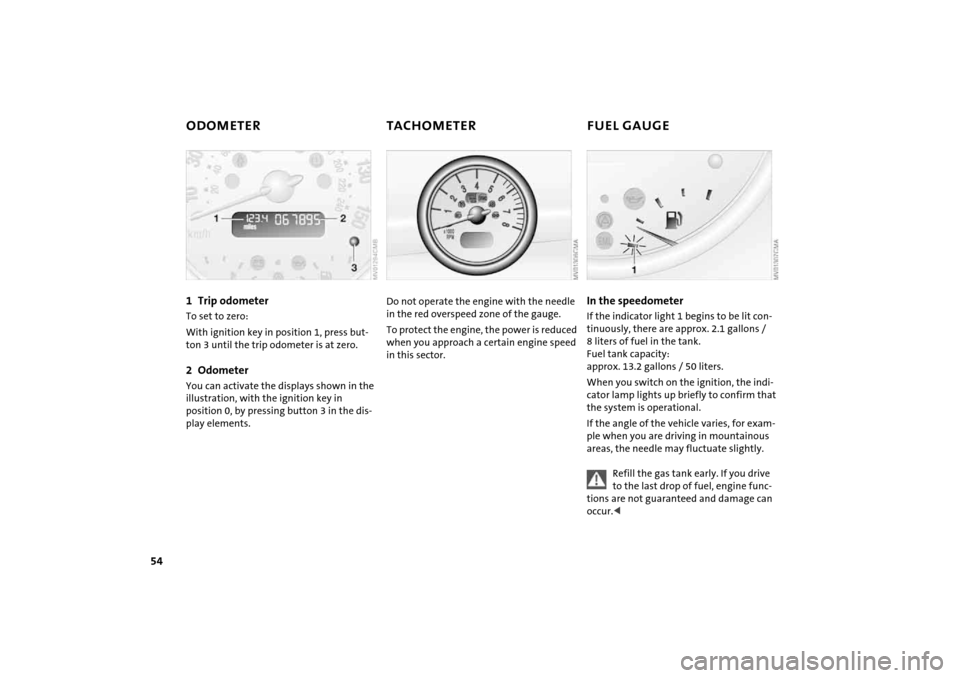
ODOMETER TACHOMETER FUEL GAUGE 1Trip odometer To set to zero:
With ignition key in position 1, press but-
ton 3 until the trip odometer is at zero.2OdometerYou can activate the displays shown in the
illustration, with the ignition key in
position 0, by pressing button 3 in the dis-
play elements.
Do not operate the engine with the needle
in the red overspeed zone of the gauge.
To protect the engine, the power is reduced
when you approach a certain engine speed
in this sector.
In the speedometer If the indicator light 1 begins to be lit con-
tinuously, there are approx. 2.1 gallons /
8 liters of fuel in the tank.
Fuel tank capacity:
approx. 13.2 gallons / 50 liters.
When you switch on the ignition, the indi-
cator lamp lights up briefly to confirm that
the system is operational.
If the angle of the vehicle varies, for exam-
ple when you are driving in mountainous
areas, the needle may fluctuate slightly.
Refill the gas tank early. If you drive
to the last drop of fuel, engine func-
tions are not guaranteed and damage can
occur.<
Page 57 of 152

55
OVERVIEW REPAIRS OPERATIONCONTROLS DATA INDEX
FUEL GAUGE COOLANT TEMPERATURE GAUGEIn the navigation system
Please also comply with the instruc-
tions in the previous section.<
If the indicator light 1 changes from orange
to red, there are approx. 2.1 gallons /
8 liters of fuel in the tank.
Low temperature The needle is at the bottom or on the right
of the range.
The engine is still cold. Drive at moderate
engine and vehicle speeds.Center positionNormal operating temperature of the
engine.High temperatureAs soon as there is a deviation from the
center position upwards or to the left:
Drive moderately and at low engine speed.
If necessary, switch off the engine and
allow it to cool down.
Checking coolant level, refer to page 100.
1Red indicator lampWhen you switch on the ignition, warning
lamp 1 comes on briefly to confirm that the
system is operational.
Lights up while driving:
Engine is too hot. Switch off the engine
immediately and allow it to cool down.Navigation system option
Coolant temperature warning
lamp in the speedometer lights up
while driving:
Engine is too hot. Switch off the engine
immediately and allow it to cool down.
Page 58 of 152
56
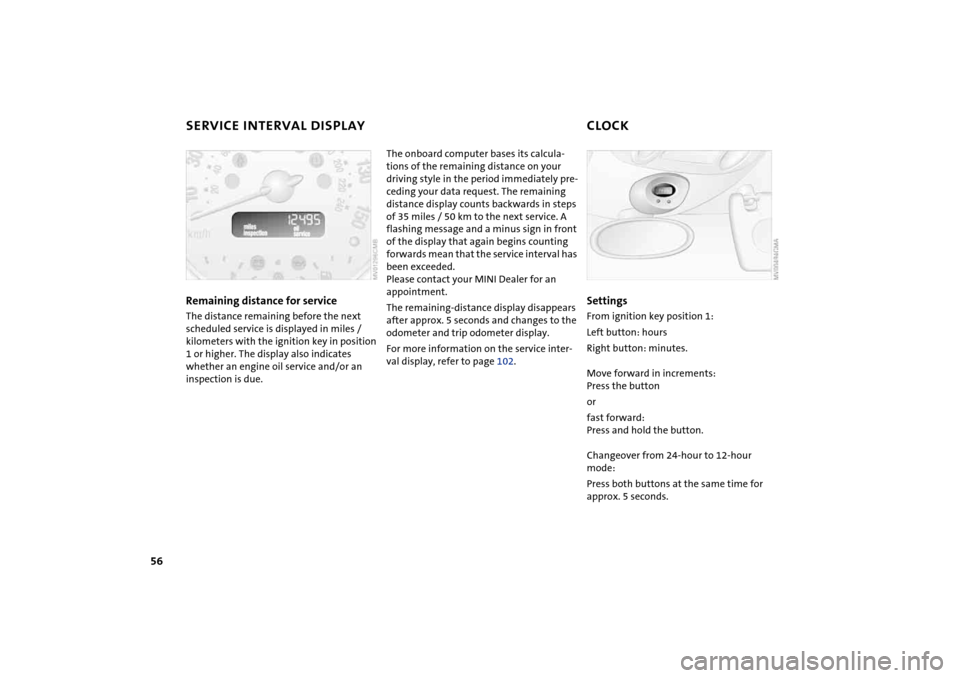
SERVICE INTERVAL DISPLAY CLOCKRemaining distance for serviceThe distance remaining before the next
scheduled service is displayed in miles /
kilometers with the ignition key in position
1 or higher. The display also indicates
whether an engine oil service and/or an
inspection is due.
The onboard computer bases its calcula-
tions of the remaining distance on your
driving style in the period immediately pre-
ceding your data request. The remaining
distance display counts backwards in steps
of 35 miles / 50 km to the next service. A
flashing message and a minus sign in front
of the display that again begins counting
forwards mean that the service interval has
been exceeded.
Please contact your MINI Dealer for an
appointment.
The remaining-distance display disappears
after approx. 5 seconds and changes to the
odometer and trip odometer display.
For more information on the service inter-
val display, refer to page 102.
SettingsFrom ignition key position 1:
Left button: hours
Right button: minutes.
Move forward in increments:
Press the button
or
fast forward:
Press and hold the button.
Changeover from 24-hour to 12-hour
mode:
Press both buttons at the same time for
approx. 5 seconds.
Page 60 of 152

58
ONBOARD COMPUTER
*
Range
The onboard computer bases its calcula-
tions for the cruising range on the driving
style and on the remaining fuel in the tank.
If the range displayed is less than
35 miles / 50 km, be sure to refuel;
otherwise engine functions are not guaran-
teed and damage could occur.
lever for a longer period.
The displayed average speed value and
consumption value are recalculated.
Any time spent when the vehicle is station-
ary and the engine is shut off is ignored for
the calculation.
You can have an other unit of mea-
surement set by your MINI Dealer.<
Current fuel consumption The current consumption value is calcu-
lated and displayed on the basis of your
driving style.
You can have a different unit of mea-
surement set by your MINI Dealer.<
Page 61 of 152
59
OVERVIEW REPAIRS OPERATIONCONTROLS DATA INDEX
ALL SEASON TRACTION CONTROL (ASC)
*
The concept
This system optimizes driving stability and
traction, especially when just starting off,
when accelerating or when cornering.
ASC recognizes the danger present in trac-
tion loss and will increase driving stability
and traction by reducing the engine's out-
put and, if necessary, by applying the
brakes to the front wheels.
ASC is operational each time you start the
engine. It contains the following functions:
>Antilock Brake System (ABS)
>Cornering Brake Control (CBC)
>Electronic Brake Force Distribution (EBD).
The laws of physics cannot be
repealed, even with ASC. An appropri-
ate driving style always remains the
responsibility of the driver. Avoid using the
additional safety margin provided by the
system as an excuse for taking unnecessary
risks.
Do not make any modifications to the ASC
system. Allow only authorized technicians
to perform service procedures on the
ASC.<
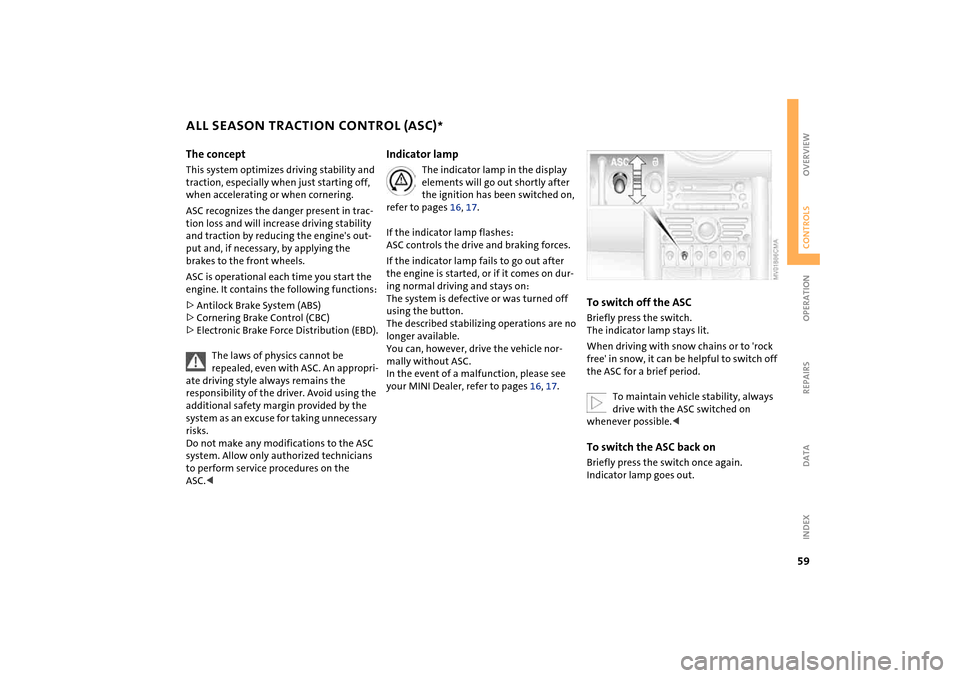
Indicator lamp
The indicator lamp in the display
elements will go out shortly after
the ignition has been switched on,
refer to pages 16, 17.
If the indicator lamp flashes:
ASC controls the drive and braking forces.
If the indicator lamp fails to go out after
the engine is started, or if it comes on dur-
ing normal driving and stays on:
The system is defective or was turned off
using the button.
The described stabilizing operations are no
longer available.
You can, however, drive the vehicle nor-
mally without ASC.
In the event of a malfunction, please see
your MINI Dealer, refer to pages 16, 17.
To switch off the ASCBriefly press the switch.
The indicator lamp stays lit.
When driving with snow chains or to 'rock
free' in snow, it can be helpful to switch off
the ASC for a brief period.
To maintain vehicle stability, always
drive with the ASC switched on
whenever possible.