display MINI Hardtop 2 Door 2005 Owner's Manual
[x] Cancel search | Manufacturer: MINI, Model Year: 2005, Model line: Hardtop 2 Door, Model: MINI Hardtop 2 Door 2005Pages: 165, PDF Size: 2.32 MB
Page 4 of 165
CONTENTS
2
© 2004 Bayerische Motoren Werke
Aktiengesellschaft
Munich, Germany
Reprinting, including excerpts, only with the
written consent of BMW AG, Munich.
Order No. 01 41 0 158 427
US English VI/04
Printed in Germany
Printed on environmentally friendly paper,
bleached without chlorine, suitable for recycling.NOTES About this Owner's Manual
6
Additional sources of information
6
Symbols used
6
Your individual vehicle
6
Editorial notice
7
For your own safety
7
Symbol on vehicle parts
8
Service and warranty
8
Reporting safety defects
9
OVERVIEWCockpit
12
Display elements
13
Display elements with navigation system
or Cockpit Chrono Pack
14
Indicator and warning lamps
16
Multifunction steering wheels
20
CONTROLSOpening and closing:Keys
24
Central locking system
24
Opening and closing: from outside
25
Opening and closing: from inside
28
Tailgate
29
Electric power windows
31
Glass sunroof, electric
33
Roller sun blind
34
Folding roof
35
Convertible top
35
Wind deflector
39
Adjustments:Safe seating position
41
Seat adjustment
42
Head restraints
43
Entry to the rear
44
Safety belts
45
Seat heating
46
Steering wheel
46
Mirrors
46
Vehicle Memory
47
Transporting children safely
48
Page 5 of 165
3OVERVIEW REPAIRS OPERATION CONTROLS DATA INDEX
Driving:Ignition lock
51
Starting the engine
51
Switching off the engine
52
Parking brake
53
Manual transmission
53
Continuously Variable automatic
Transmission (CVT)
54
Parking lamps/Low beams
57
signal/Headlamp flasher
58
Instrument lighting
58
Fog lamps
58
Interior lamps
59
Washer/wiper system
59
Cruise control
61
Everything under control:Odometer
63
Clock
63
Fuel gauge
63
Coolant temperature gauge
64
Tachometer
65
Service interval display
65
Onboard computer
66
Technology for safety and driving
convenience:All Season traction Control (ASC)
68
Dynamic Stability Control (DSC)
69
Antilock Brake System (ABS)
70
Flat Tire Monitor
71
Airbags
72
Park Distance Control (PDC)
74
Controlling the climate for pleasant
driving:Air conditioning system
75
Automatic climate control
78
Interior conveniences:Glove compartment
81
Ashtray, drinks holders
81
Cigarette lighter, 12 V power supply
82
Integrated universal remote control
83
Loading and transporting cargo:Luggage compartment in the MINI
85
Luggage compartment in the MINI Convertible
86
Loading cargo
86
Roof-mounted luggage rack
89
OPERATION, CARE, MAINTENANCESpecial operating instructions:Break-in procedures
92
General driving notes
93
Refueling
94
Brake system
96
Wheels and tires:Tire inflation pressure
97
Tire coding
99
Tire condition
100
Run Flat tires
101
New wheels and tires
102
Snow chains
104
Page 15 of 165
13
OVERVIEW REPAIRS OPERATION CONTROLS DATA INDEX
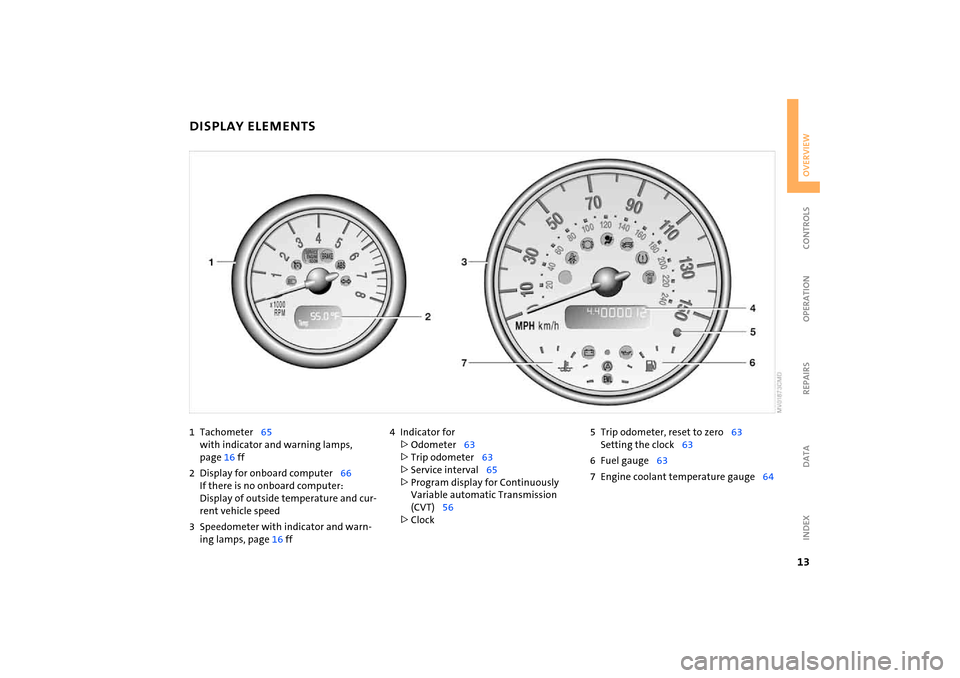
1 Tachometer
65
with indicator and warning lamps,
page
16 ff
2 Display for onboard computer
66
If there is no onboard computer:
Display of outside temperature and cur
-
rent vehicle speed3 Speedometer with indicator and warn
-
ing lamps, page
16 ff
4 Indicator for>Odometer
63
>Trip odometer
63
>Service interval
65
>Program display for Continuously
Variable automatic Transmission
(CVT)
56
>Clock
5 Trip odometer, reset to zero
63
Setting the clock
63
6 Fuel gauge
63
7 Engine coolant temperature gauge
64
DISPLAY ELEMENTS
Page 16 of 165
14
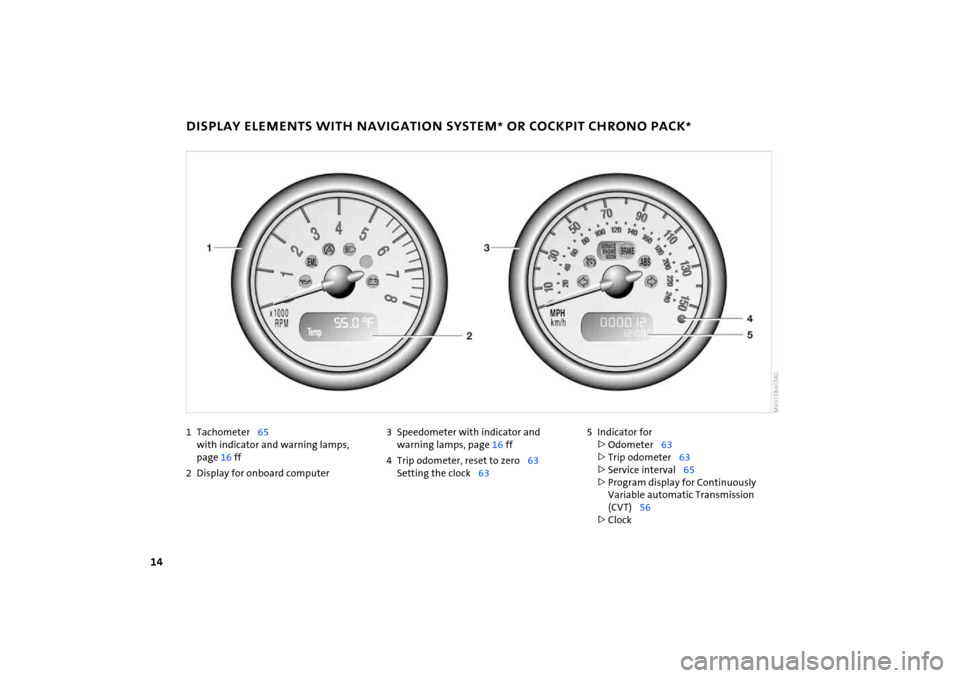
1Tachometer
65
with indicator and warning lamps,
page
16 ff
2 Display for onboard computer
3 Speedometer with indicator and
warning lamps, page
16 ff
4 Trip odometer, reset to zero
63
Setting the clock
63
5 Indicator for>Odometer
63
>Trip odometer
63
>Service interval
65
>Program display for Continuously
Variable automatic Transmission
(CVT)
56
>Clock
DISPLAY ELEMENTS WITH NAVIGATION SYSTEM
* OR COCKPIT CHRONO PACK
*
Page 17 of 165
15
OVERVIEW REPAIRS OPERATION CONTROLS DATA INDEX
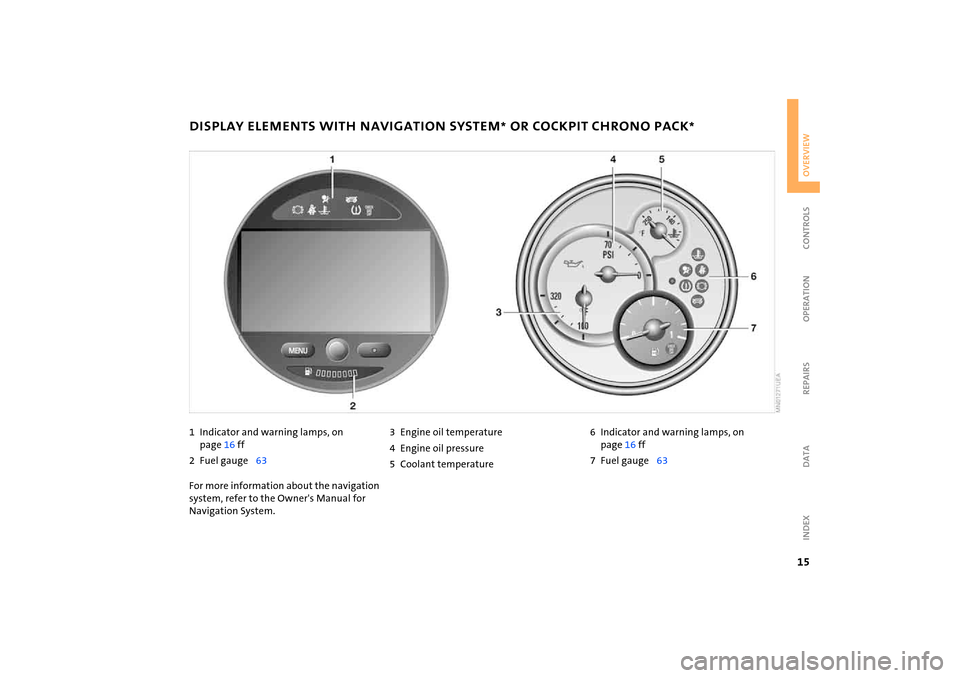
DISPLAY ELEMENTS WITH NAVIGATION SYSTEM
* OR COCKPIT CHRONO PACK
*
1 Indicator and warning lamps, on
page
16 ff
2 Fuel gauge
63
For more information about the navigation
system, refer to the Owner's Manual for
Navigation System.
3 Engine oil temperature4 Engine oil pressure5 Coolant temperature
6 Indicator and warning lamps, on
page
16 ff
7 Fuel gauge
63
Page 18 of 165
16
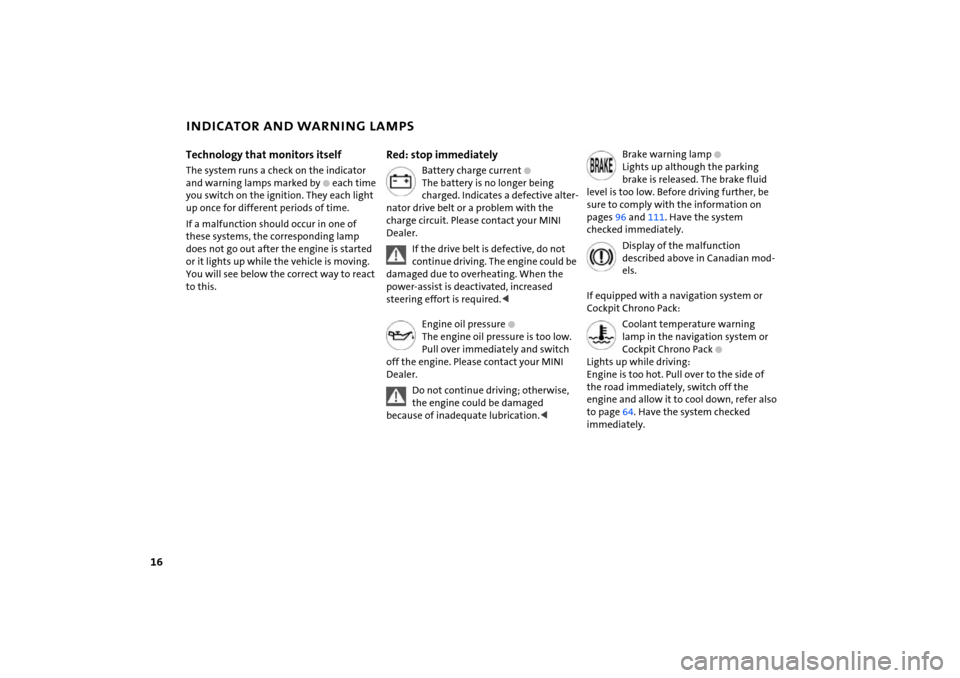
INDICATOR AND WARNING LAMPS Technology that monitors itselfThe system runs a check on the indicator
and warning lamps marked by
+ each time
you switch on the ignition. They each light
up once for different periods of time.
If a malfunction should occur in one of
these systems, the corresponding lamp
does not go out after the engine is started
or it lights up while the vehicle is moving.
You will see below the correct way to react
to this.
Red: stop immediately
Battery charge current
+
The battery is no longer being
charged. Indicates a defective alter
-
nator drive belt or a problem with the
charge circuit. Please contact your MINI
Dealer.
If the drive belt is defective, do not continue driving. The engine could be
damaged due to overheating. When the
power-assist is deactivated, increased
steering effort is required.
The engine oil pressure is too low.
Pull over immediately and switch
off the engine. Please contact your MINI
Dealer.Do not continue driving; otherwise, the engine could be damaged
because of inadequate lubrication.<
Brake warning lamp
+
Lights up although the parking
brake is released. The brake fluid
level is too low. Before driving further, be
sure to comply with the information on
pages 96 and
111
. Have the system
checked immediately.
Display of the malfunction described above in Canadian mod
-
els.
If equipped with a navigation system or
Cockpit Chrono Pack:
Coolant temperature warning lamp in the navigation system or
Cockpit Chrono Pack
+
Lights up while driving:
Engine is too hot. Pull over to the side of
the road immediately, switch off the
engine and allow it to cool down, refer also
to page
64. Have the system checked
immediately.
Page 19 of 165
17
OVERVIEW REPAIRS OPERATION CONTROLS DATA INDEX
INDICATOR AND WARNING LAMPSYellow: stop immediately
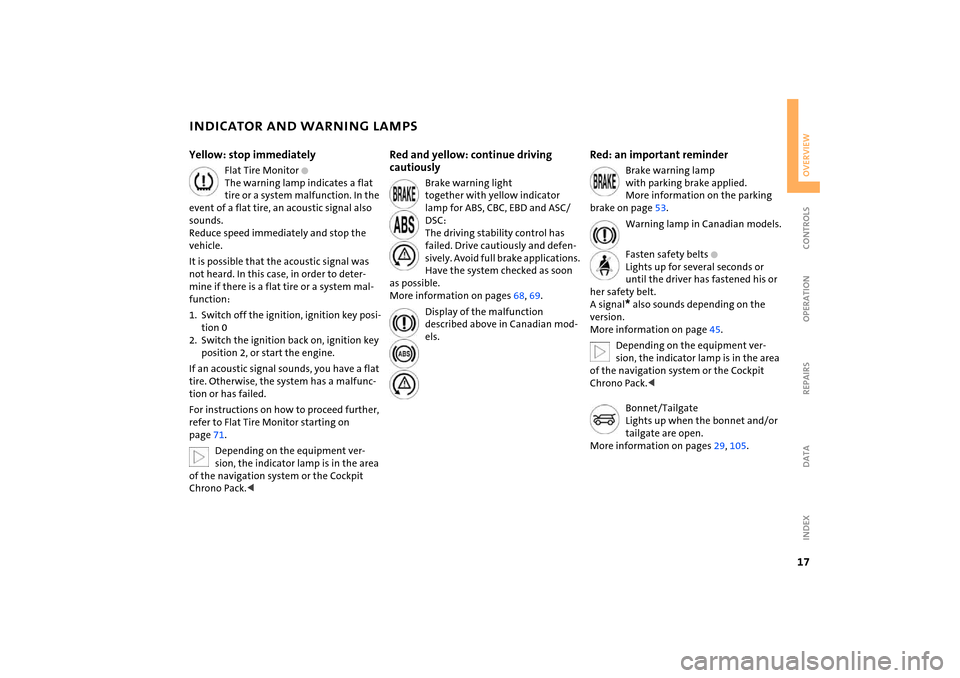
Flat Tire Monitor
+
The warning lamp indicates a flat
tire or a system malfunction. In the
event of a flat tire, an acoustic signal also
sounds.
Reduce speed immediately and stop the
vehicle.It is possible that the acoustic signal was
not heard. In this case, in order to deter
-
mine if there is a flat tire or a system mal
-
function:1. Switch off the ignition, ignition key posi
-
tion 0
2. Switch the ignition back on, ignition key
position 2, or start the engine.If an acoustic signal sounds, you have a flat
tire. Otherwise, the system has a malfunc
-
tion or has failed.For instructions on how to proceed further,
refer to Flat Tire Monitor starting on
page
71.Depending on the equipment ver
-
sion, the indicator lamp is in the area
of the navigation system or the Cockpit
Chrono Pack.<
Red and yellow: continue driving
cautiously
Brake warning light
together with yellow indicator
lamp for ABS, CBC, EBD and ASC/
DSC:
The driving stability control has
failed. Drive cautiously and defen
-
sively. Avoid full brake applications.
Have the system checked as soon
as possible.
More information on pages
68, 69
.
Display of the malfunction described above in Canadian mod
-
els.
Red: an important reminder
Brake warning lamp
with parking brake applied.
More information on the parking
brake on page
53.
Warning lamp in Canadian models.
Fasten safety belts
+
Lights up for several seconds or
until the driver has fastened his or
her safety belt.
A signal
* also sounds depending on the
version.
More information on page
45.
Depending on the equipment ver
-
sion, the indicator lamp is in the area
of the navigation system or the Cockpit
Chrono Pack.
Lights up when the bonnet and/or
tailgate are open.
More information on pages
29, 105
.
Page 20 of 165
18
INDICATOR AND WARNING LAMPSRed: check as soon as possible
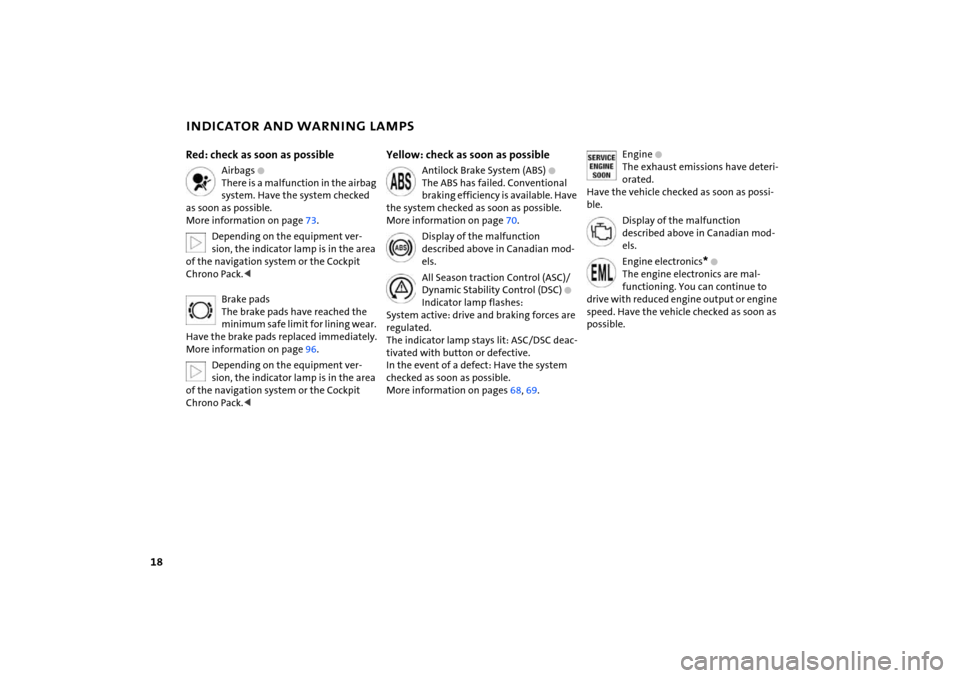
Airbags
+
There is a malfunction in the airbag
system. Have the system checked
as soon as possible.
More information on page
73.
Depending on the equipment ver
-
sion, the indicator lamp is in the area
of the navigation system or the Cockpit
Chrono Pack.
The brake pads have reached the
minimum safe limit for lining wear.
Have the brake pads replaced immediately.
More information on page
96.
Depending on the equipment ver
-
sion, the indicator lamp is in the area
of the navigation system or the Cockpit
Chrono Pack.<
Yellow: check as soon as possible
Antilock Brake System (ABS)
+
The ABS has failed. Conventional
braking efficiency is available. Have
the system checked as soon as possible.
More information on page
70.
Display of the malfunction described above in Canadian mod
-
els.All Season traction Control (ASC)/Dynamic Stability Control (DSC)
+
Indicator lamp flashes:
System active: drive and braking forces are
regulated.
The indicator lamp stays lit: ASC/DSC deac
-
tivated with button or defective.
In the event of a defect: Have the system
checked as soon as possible.
More information on pages
68, 69
.
Engine
+
The exhaust emissions have deteri
-
orated.
Have the vehicle checked as soon as possi
-
ble.
Display of the malfunction described above in Canadian mod
-
els.Engine electronics
* +
The engine electronics are mal
-
functioning. You can continue to
drive with reduced engine output or engine
speed. Have the vehicle checked as soon as
possible.
Page 50 of 165
48
VEHICLE MEMORY
TRANSPORTING CHILDREN SAFELY
>Setting units for outside temperature
and fuel consumption display, refer to
page
66
>Setting units for display of temperatures
specified for automatic climate control
system, refer to page
80
>Volume control PDC, refer to page
74
>Acoustic alarm for starting PDC activa
-
tion, refer to page
74.
This symbol alerts you to Vehicle Memory functions in the Owner's
Manual.
ate slightly differently from the descrip
-
tions used in this Owner's Manual. If you
decide to sell your vehicle one day, please
remember to have the memory functions
reset to their default configuration.<
The proper place for childrenChildren should always sit in the rear:Accident research shows that the safest
place for children in a vehicle is in the rear
seat.Older children should be tightly secured
with a safety belt, after they have out
-
grown a booster seat that is appropriate for
their age, height and weight.
A child sitting in the rear seat and not properly restrained may place his or
her head on or near the airbag, if so
equipped. For example, a child – even
though belted in – may fall asleep with his
or her head against the side airbag. It may
be difficult for a driver to ensure that chil
-
dren in the rear seat will remain properly
positioned at all times and do not place
their heads on or near the side airbag.
Therefore, we recommend that the rear
side airbags, if provided, be deactivated if
you plan to transport children in the rear
seat.
years of age and
children less than 5
ft / 150
cm tall
should always ride in the rear and the
restraint systems should be secured with
the vehicle's safety belts.
system that has first been properly
restrained. We strongly urge you to care
-
fully read and comply with the instructions
for installation and use provided by the
child-restraint's manufacturer whenever
you use such a device.All rear seating positions in your vehicle
meet the recommendations of SAE
J1819,
an industry-recommended practice for
securing child-restraint systems in motor
vehicles.
Exception for the front passenger seat
Should it one day be necessary to use a child-restraint system on the front
passenger seat, the airbags on the front
passenger side must be deactivated. Other
-
wise, there is a significant risk of injury to
children if the airbags deploy, even if they
are seated in a child-restraint system. Have
the front passenger airbags permanently
deactivated only by your MINI Dealer or a
workshop that has specially trained per
-
sonnel working in accordance with the
specifications of the MINI manufacturer.<
Page 57 of 165
55
OVERVIEW REPAIRS OPERATIONCONTROLS DATA INDEX
CONTINUOUSLY VARIABLE AUTOMATIC TRANSMISSION (CVT)
*
selector lever to position
P and engage the
parking brake before getting out of your
vehicle with the engine running.
Do not leave the vehicle unattended with
the engine running. This is a safety haz
-
ard.<
If the selector lever is not placed in position
P when the vehicle is parked,
the position display of the selector lever
stays on. This can lead to battery dis
-
charge.<
P Park
Select only when the vehicle is completely
stopped. The transmission locks to prevent
the rear wheels from turning.R Reverse
Select only when the vehicle is completely
stopped.N Neutral Idle
Engage this gear, for example, when you
are in a car wash. The vehicle can roll.D Drive: CVT driving position
This position is designed for driving under
all normal operating conditions. Kickdown Kickdown can be used to achieve maxi
-
mum vehicle performance.
Press the accelerator pedal past the
increased resistance point at the full-throt
-
tle position.
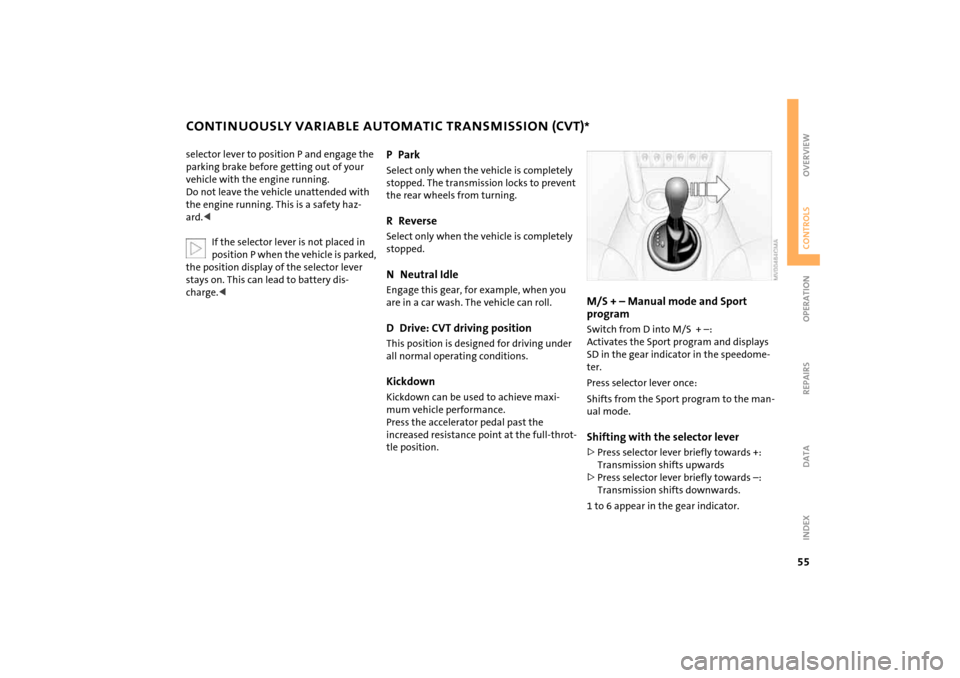
M/S
+ – Manual mode and Sport
program Switch from D into M/S
+ –:
Activates the Sport program and displays
SD in the gear indicator in the speedome
-
ter. Press selector lever once:Shifts from the Sport program to the man
-
ual mode.Shifting with the selector lever>Press selector lever briefly towards +:
Transmission shifts upwards>Press selector lever briefly towards –:
Transmission shifts downwards.1 to 6 appear in the gear indicator.