USB MINI Paceman 2013 User Guide
[x] Cancel search | Manufacturer: MINI, Model Year: 2013, Model line: Paceman, Model: MINI Paceman 2013Pages: 275, PDF Size: 4.23 MB
Page 187 of 275

COMMUNICATIONSMobile phone preparation Bluetooth
186
Installation location
In the center armrest.
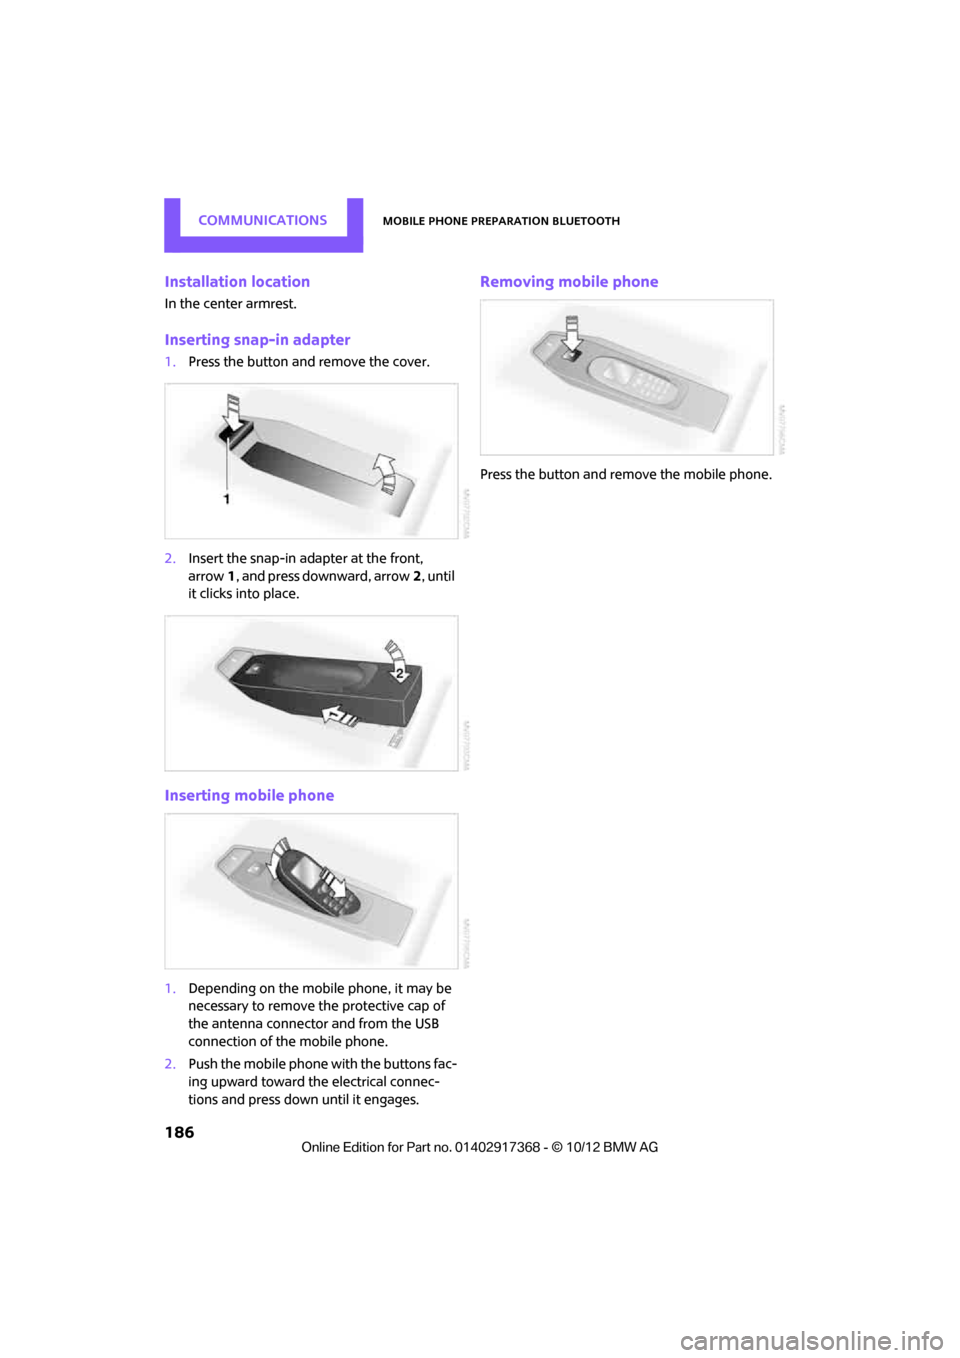
Inserting snap-in adapter
1.Press the button and remove the cover.
2. Insert the snap-in ad apter at the front,
arrow 1, and press downward, arrow 2, until
it clicks into place.
Inserting mobile phone
1. Depending on the mobile phone, it may be
necessary to remove the protective cap of
the antenna connector and from the USB
connection of the mobile phone.
2. Push the mobile phone with the buttons fac-
ing upward toward the electrical connec-
tions and press down until it engages.
Removing mobile phone
Press the button and remove the mobile phone.
00320051004F004C00510048000300280047004C0057004C005200510003
Page 196 of 275

MINI ConnectedCOMMUNICATIONS
195
MINI Connected
Vehicle equipment
In this chapter, all production, country, and
optional equipment that is offered in the model
range is described. Equipment is also described
that is not available because of, for example,
selected options or count ry version. This also
applies to safety related functions and systems.
Overview
The concept
You can use MINI Connected to integrate certain
software applications of a suitable mobile phone
into your MINI. These software applications are
displayed on the Control Display. They are oper-
ated using the MINI joystick.
The range of software applications can be coun-
try-specific.
Requirements
The following requirements must be met for the
function of MINI Connected:
> The operating system of the mobile phone
must support the software applications of
MINI Connected.
> The software applications are installed on
the mobile phone and are operational.
> Suitable mobile phone.
> Appropriate mobile phone contract.
Possible additional costs incurred are not
included with MINI Connected.
Only make entries when the traffic situa-
tion allows you to do so. If you do not
observe this precaution, your being distracted
can endanger vehicle occupants and other road
users.
For safety reasons, some software applications
can only be used when the vehicle is stopped.
wise, malfunctions may result. <
Notes
For information on suitable mobile phones,
available software applic ations, and their instal-
lation:
> At: www.mini.com/connectivity
> At your MINI dealer.
Connecting a mobile
phone
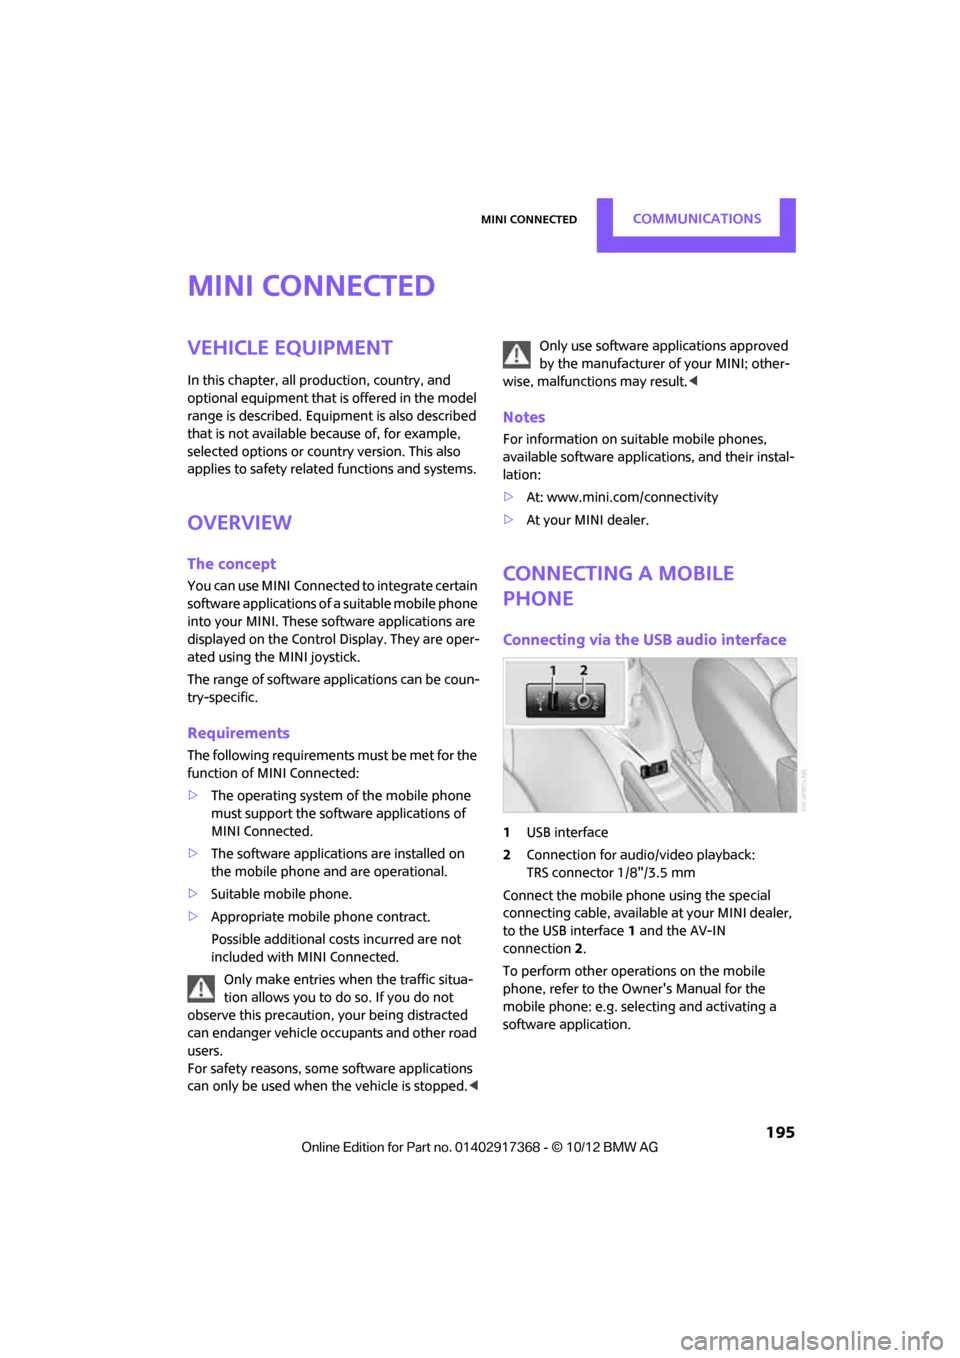
Connecting via the USB audio interface
1USB interface
2 Connection for audi o/video playback:
TRS connector 1/8"/3.5 mm
Connect the mobile phone using the special
connecting cable, available at your MINI dealer,
to the USB interface 1 and the AV-IN
connection 2.
To perform other operations on the mobile
phone, refer to the Owner's Manual for the
mobile phone: e.g. selecting and activating a
software application.
00320051004F004C00510048000300280047004C0057004C005200510003
Page 197 of 275

COMMUNICATIONSMINI Connected
196
Connecting via the snap-in adapter
The mobile phone can also be connected using
the snap-in adapter, refer to page185.
Using MINI Connected
After successful connection of the mobile phone
to the vehicle and activation of MINI Connected,
the applications are di splayed on the Control
Display and can be operated using the MINI joy-
stick.
Volume adjustments can be made using the
buttons on the steering wheel, refer to page 10,
or using the volume control knob on the radio,
refer to page 141.
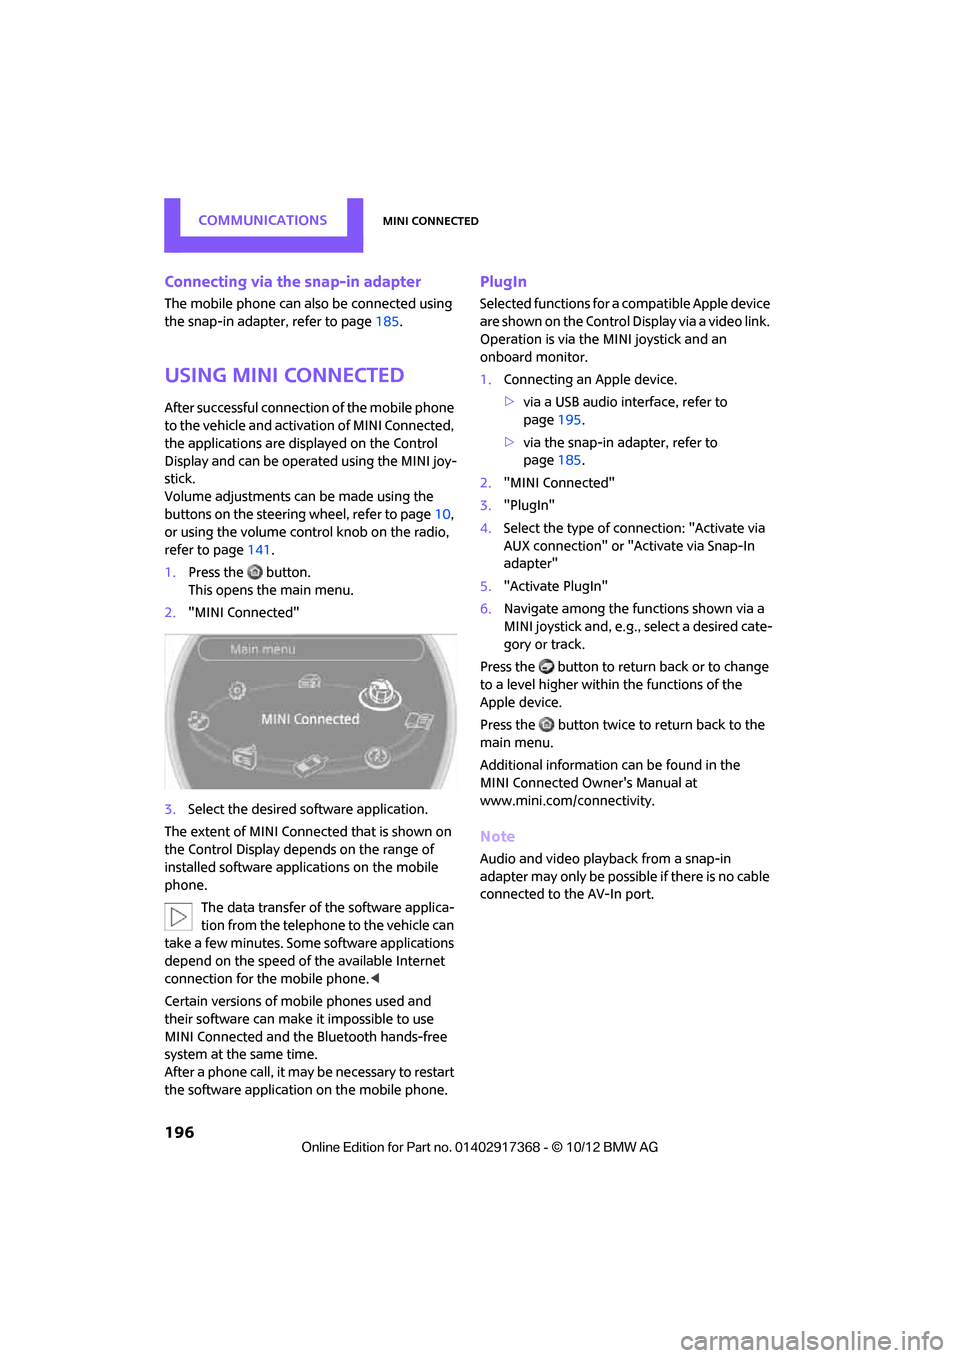
1. Press the button.
This opens the main menu.
2. "MINI Connected"
3. Select the desired so ftware application.
The extent of MINI Connected that is shown on
the Control Display depends on the range of
installed software applic ations on the mobile
phone.
The data transfer of the software applica-
tion from the telephone to the vehicle can
take a few minutes. Some software applications
depend on the speed of the available Internet
connection for the mobile phone. <
Certain versions of mobile phones used and
their software can make it impossible to use
MINI Connected and the Bluetooth hands-free
system at the same time.
After a phone call, it may be necessary to restart
the software application on the mobile phone.
PlugIn
Selected functions for a compatible Apple device
are shown on the Control Display via a video link.
Operation is via the MINI joystick and an
onboard monitor.
1. Connecting an Apple device.
>via a USB audio interface, refer to
page 195.
> via the snap-in adapter, refer to
page 185.
2. "MINI Connected"
3. "PlugIn"
4. Select the type of connection: "Activate via
AUX connection" or "Activate via Snap-In
adapter"
5. "Activate PlugIn"
6. Navigate among the functions shown via a
MINI joystick and, e.g., select a desired cate-
gory or track.
Press the button to return back or to change
to a level higher within the functions of the
Apple device.
Press the button twice to return back to the
main menu.
Additional information can be found in the
MINI Connected Owner's Manual at
www.mini.com/c onnectivity.
Note
Audio and video playba ck from a snap-in
adapter may only be possible if there is no cable
connected to the AV-In port.
00320051004F004C00510048000300280047004C0057004C005200510003
Page 273 of 275

REFERENCEEverything from A to Z
272
Turning circle, refer to Dimensions 246
Turn signal
– front, replacing bulb 226
– indicator lamp 12,13
– rear, replacing bulb 228
– side, replacing bulb 227
Turn signals 55
Tying down load s, refer to
Cargo loading 112
U
Uniform Tire Quality Grading
UTQR 210
Units
– average fuel consumption 64
– temperature 64
Universal garage door opener,
refer to Integrated universal
remote control 93
Universal remote control 93
Unlatching, refer to Unlocking 33
Unlocking
– from inside 30
– from outside 27
– setting unlocking
behavior 27
– tailgate 34
– without remote control, refer to Comfort Access 33
Updating the navigation
data 118
Upholstery, care 222
USB audio interface 154
USB interface 97
Using contact data 193
V
Vehicle
– battery233
– breaking in 104
– cargo loading 106
– dimensions 246
– identification number, refer to Engine compartment 214
– parking 51
– storage 223
– weight 249
Vehicle jack
– jacking points 232
Ventilation
– air conditioner 92
Ventilation, refer to Climate control 88
Vents, refer to Ventilation 92
Voice commands
– overview 21
– short commands 252
– telephone 183
Voice instructions for navigation system 133
– repeating 133
– switching on/off 133
– volume 133
Voice phone book 184
Volume 140
– audio sources 140
– mobile phone 167,179
– voice instructions 133
Volume balance, tone setting 141
Volume of cargo area 249
W
Warning and indicator
lamps 13
Warning messages, refer to
Check Control 67
Warning triangle 236
Washer/wiper system
– washer fluid 57 Washer fluid
57
– capacity of reservoir 58
Washer fluid reservoir 57
Waste tray, refer to
Ashtray 100
Waterfall lighti ng, refer to
Ambient lighting 87
Water on roads, refer to Driving through water 105
Waveband for radio 143
Wear indicators in tires, refer to Minimum tread depth 211
Weights 249
Welcome lamps 85
Wheelbase, refer to Dimensions 246
Wheels, new 212
Wheels and tires 203
Width, refer to
Dimensions 246
Windows 36
– closing 36
– convenience operation 28
– opening 36
– pinch protection system 37
– safety switch 37
Windows, indicator on Control Display 16
Window washer, refer to Washer fluid 57
Window washer reservoir, refer to Washer fluid
– volume, refer to
Capacities 251
Window washer system 55
– washer fluid 57
– washer jets 57
Windshield
– cleaning 57
– defrosting and removing condensation 89,91
Windshield wiper blades,
changing 224
Windshield wipers, refer to Wiper system 55
00320051004F004C00510048000300280047004C0057004C005200510003