display MINI Paceman 2013 Repair Manual
[x] Cancel search | Manufacturer: MINI, Model Year: 2013, Model line: Paceman, Model: MINI Paceman 2013Pages: 275, PDF Size: 4.23 MB
Page 137 of 275
NAVIGATIONRoute guidance
136
With particular hazards, e.g. objects on the road-
way, a message is displayed without a possible
alternate route.
It is also possible to take alternate routes can
also be taken if the traffic reports are accessed
via the list:
1. "Navigation"
2. "Map"
3. "Traffic Info"
4. "Detour information"
5. "Detour"
Dynamic route guidance
The route is automatically changed in the event
of traffic obstructions.
>The system will not point out traffic obstruc-
tions on the original route.
> Traffic information will continue to be dis-
played on the map.
> Depending on the type of road and the
nature and length of the traffic obstruction,
the route can also be calculated so that you
travel through the traffic obstruction.
> Certain hazards are displayed regardless of
the setting.
To activate dynami c route guidance:
1. "Navigation"
2. Open "Options".
3. "Dynamic guidance"
00320051004F004C00510048000300280047004C0057004C005200510003
Page 138 of 275
What to do if…NAVIGATION
137
What to do if…
What to do if…
>The current position cannot be displayed?
The position is in an unrecognized region, in
a poor reception area, or the system is in the
process of determining the position. Recep-
tion is best when you have an unobstructed
view to the sky.
> The route guidance does not accept an
address without the street name?
A downtown area cannot be determined for
the town or city that has been entered. Input
any street in the select ed town/city and start
route guidance.
> The route guidance does not accept a desti-
nation?
The destination data is not contained in the
navigation data. Select a destination that is
as close as possible to the original.
> The letters for a de stination cannot be
selected during destination entry?
Stored data do not contain the data of the
destination. Select a de stination that is as
close as possible to the original.
> The map view is displayed in grayscale?
When the traffic info map is activated, the
picture on the Control Display is switched to
a grayscale. This permits an optimized
depiction of traf fic information.
> Voice instructions ar e no longer issued
before intersections du ring route guidance?
The area has not been fully recorded yet, or
you have left the recommended route and
the system requires a few seconds to calcu-
late a new route suggestion.
> The navigation system does not react to
entries?
If the battery was disconnected, it takes
about 10 minutes before the system is once
again operational.
00320051004F004C00510048000300280047004C0057004C005200510003
Page 141 of 275
EntertainmentOn/off and tone
140
On/off and tone
Vehicle equipment
In this chapter, all production, country, and
optional equipment that is offered in the model
range is described. Equipment is also described
that is not available because of, for example,
selected options or coun try version. This also
applies to safety relate d functions and systems.
General information
The following audio source s have shared control
elements and setting options:
> Radio
> CD player
> External devices, e.g. MP3 player
Controls
The audio sources can be operated using:
>Buttons near the CD player
> Onboard computer
> Buttons on the steering wheel, refer to
page 10
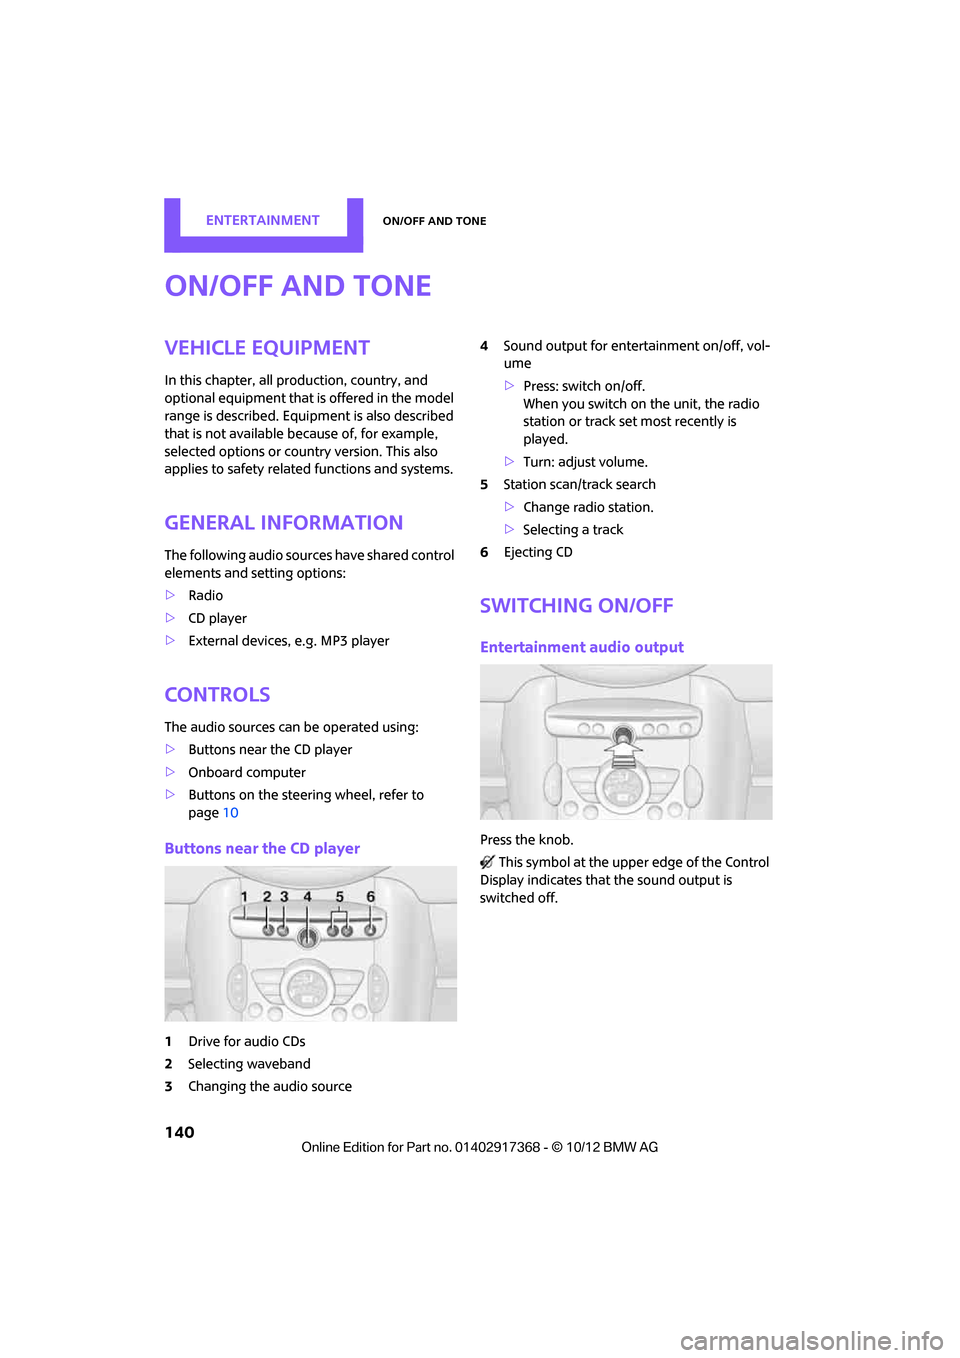
Buttons near the CD player
1Drive for audio CDs
2 Selecting waveband
3 Changing the audio source 4
Sound output for ente rtainment on/off, vol-
ume
> Press: switch on/off.
When you switch on the unit, the radio
station or track set most recently is
played.
> Turn: adjust volume.
5 Station scan/track search
>Change radi o station.
> Selecting a track
6 Ejecting CD
Switching on/off
Entertainment audio output
Press the knob.
This symbol at the upper edge of the Control
Display indicates that the sound output is
switched off.
00320051004F004C00510048000300280047004C0057004C005200510003
Page 145 of 275
EntertainmentRadio
144
4.Select the frequency: turn the MINI joystick.
To store the station: press the MINI joystick.
Storing stations
1."Radio"
2. "FM" or "AM"
3. Select the desired station.
4. Press the MINI joystick.
5. Select the desired memory location.
Press and hold the MINI joystick to save a radio
station that appears in the list of stations, but is
not being listened to.
The stations are stored for the remote control
currently in use.
RDS – Radio Data System
In the FM frequency rang e, additional informa-
tion is transmitted via RDS. If the reception con-
ditions are good, the st ation names are shown
on the Control Display. If the reception is weak
or disrupted, it can take some time before the
station names are displayed.
Switching the RDS on/off
1. "Radio"
2. "FM"
3. Open "Options".
4. "RDS"
The setting is stored fo r the remote control cur-
rently in use.
HD Radio™ reception
Many radio stations tran smit analog and digital
signals. If a digital radio network is available,
these stations can be rece ived digitally and thus
with improved sound quality.
License conditions
HD Radio technology is manufactured under
U.S. and Foreign Patents licensed from iBiquity
Digital Corp. HD Radio™ and the HD and HD
Radio logos are proprietary trademarks of iBiq-
uity Digital Corp.
Activating/deactivating digital radio
reception
1. "Radio"
2. "FM" or "AM"
3. Open "Options".
4. "HD Radio Reception"
The setting is stored fo r the remote control cur-
rently in use.
This symbol is displa yed when a station is
being received digitally.
00320051004F004C00510048000300280047004C0057004C005200510003
Page 146 of 275
RadioEntertainment
145
When setting a station with a digital signal, it
may be a few seconds until the station is repro-
duced in digital quality.
In areas in which the station is not continuously
received in digital mode, playback switches
between analog and digita l reception. In this
case, switch off digi tal radio reception.
Displaying additional information
Some stations broadcast additional information
on the current track, such as the name of the art-
ist.
1.Select the desired station.
2. Open "Options".
3. "Station info"
Selecting a substation
The symbol indicates that a main station also
broadcasts additional su bstations. The station
name of the main station ends in HD1. The sta-
tion names of the substations end in HD2, HD3,
etc.
1. Select the desired station.
2. Press the MINI joystick.
3. Select the substation.
When reception is poor, the substation is muted
for several seconds.
Stored stations
It is possible to store up to 40 stations.
Selecting a station
1. "Radio"
2. "Presets"
3. Select the desired station.
Storing a station
The station curre ntly selected is stored.
1. "Radio"
2. "Presets" 3.
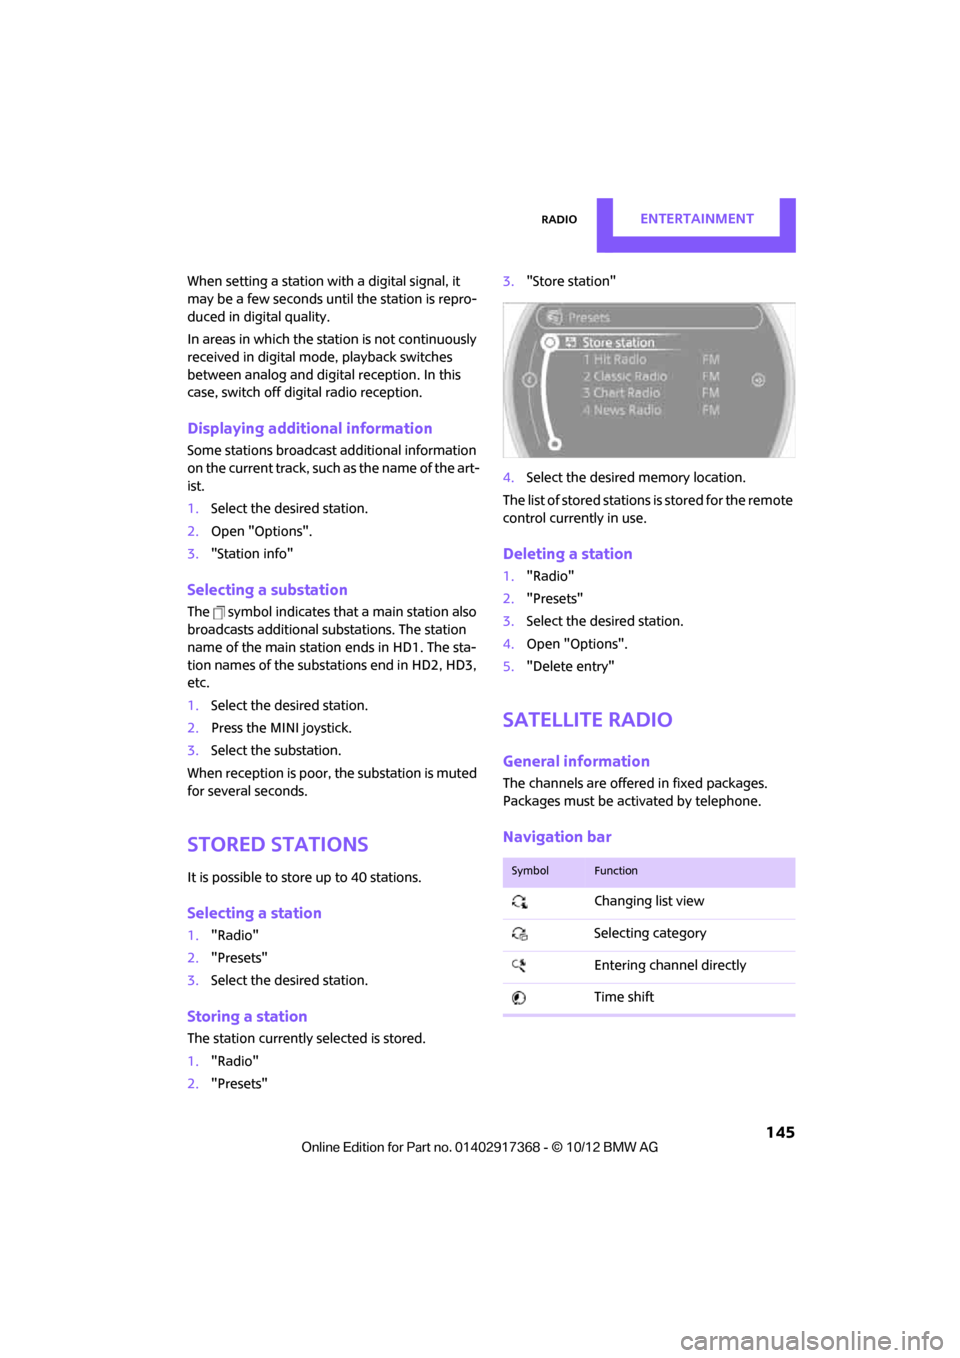
"Store station"
4. Select the desired memory location.
The list of stored stations is stored for the remote
control current ly in use.
Deleting a station
1."Radio"
2. "Presets"
3. Select the desired station.
4. Open "Options".
5. "Delete entry"
Satellite radio
General information
The channels are offered in fixed packages.
Packages must be activated by telephone.
Navigation bar
SymbolFunction
Changing list view
Selecting category
Entering channel directly
Time shift
00320051004F004C00510048000300280047004C0057004C005200510003
Page 147 of 275
EntertainmentRadio
146
Managing subscription
Clear reception is required for activating and
deactivating channels. Reception is best when
you have an unobstructed view to the sky. The
channel name is displayed in the status line.
Activating channels
The category 'Unsubscribed Channels' includes
all channels that are not activated.
1."Radio"
2. "Satellite radio"
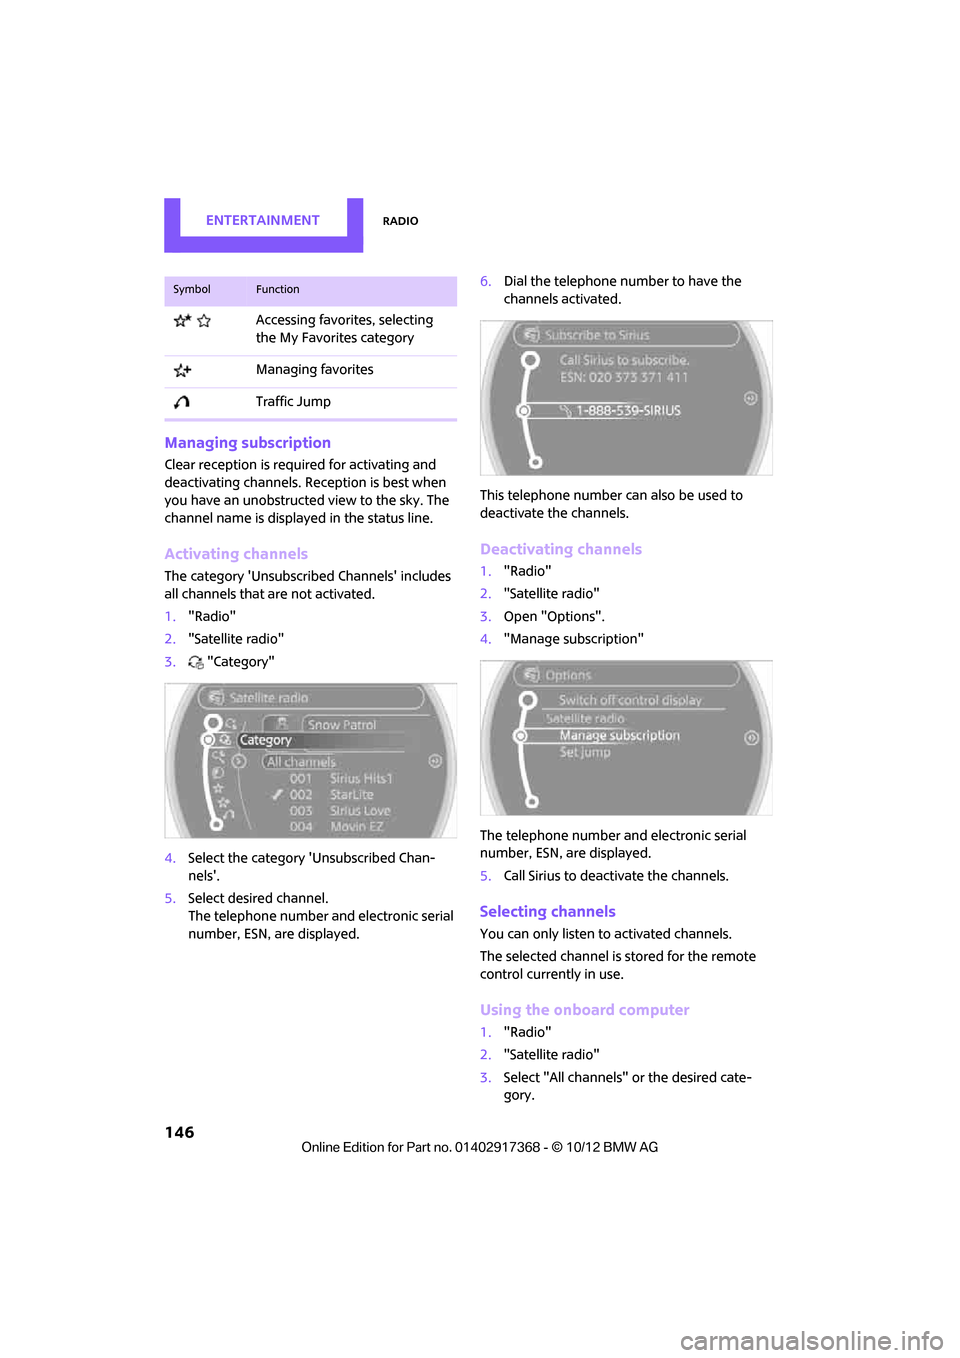
3. "Category"
4. Select the ca tegory 'Unsubscribed Chan-
nels'.
5. Select desired channel.
The telephone number and electronic serial
number, ESN, are displayed. 6.
Dial the telephone number to have the
channels activated.
This telephone number can also be used to
deactivate the channels.
Deactivating channels
1. "Radio"
2. "Satellite radio"
3. Open "Options".
4. "Manage subscription"
The telephone number and electronic serial
number, ESN, are displayed.
5. Call Sirius to deactivate the channels.
Selecting channels
You can only listen to activated channels.
The selected channel is stored for the remote
control currently in use.
Using the onboard computer
1."Radio"
2. "Satellite radio"
3. Select "All channels" or the desired cate-
gory.
Accessing favorites, selecting
the My Favorites category
Managing favorites
Traffic Jump
SymbolFunction
00320051004F004C00510048000300280047004C0057004C005200510003
Page 148 of 275
RadioEntertainment
147
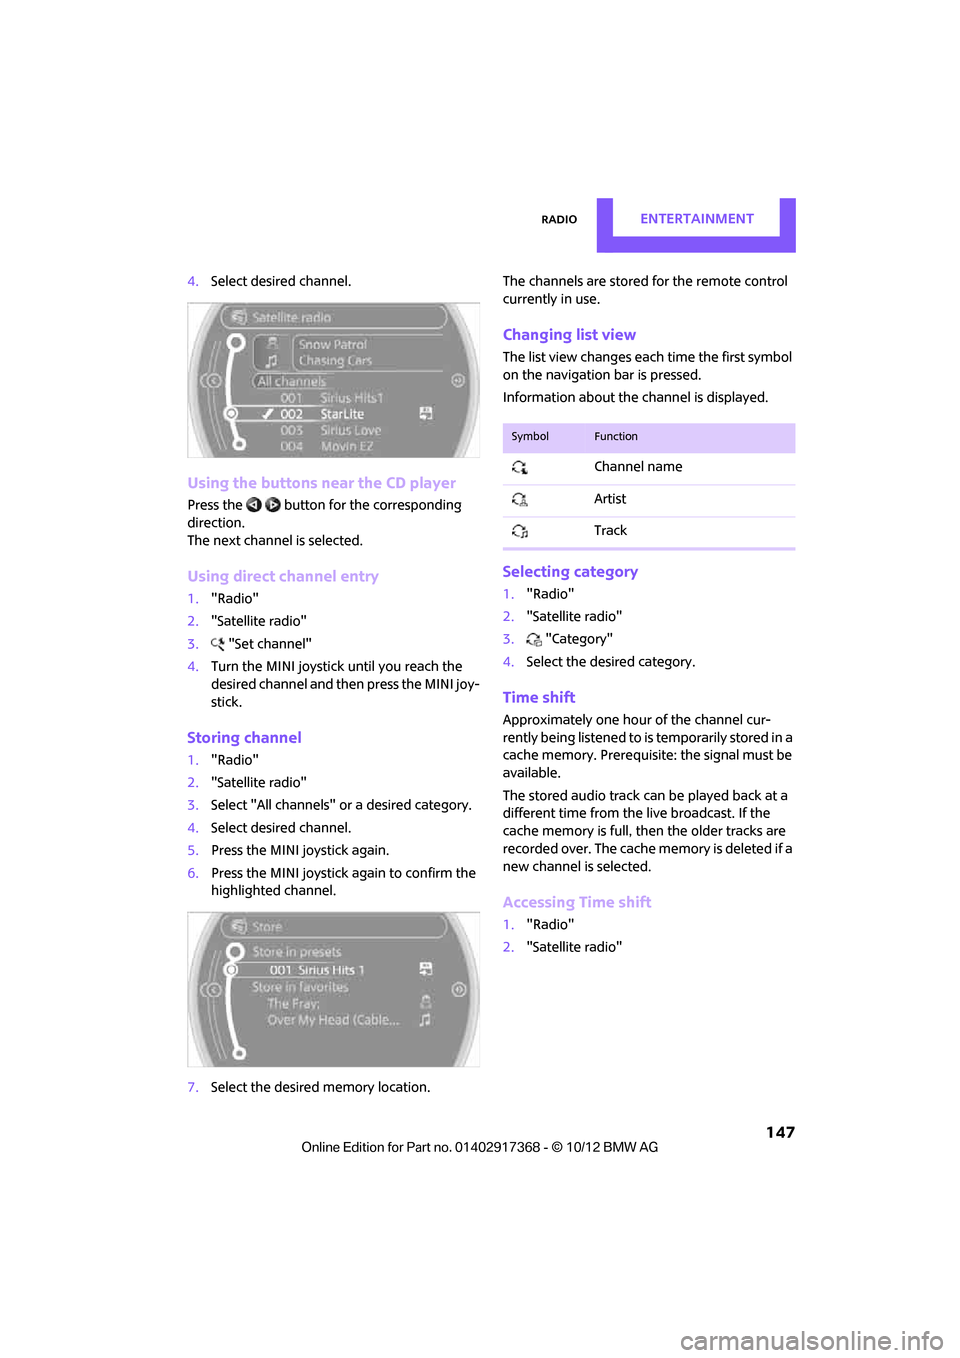
4.Select desired channel.
Using the buttons near the CD player
Press the button for the corresponding
direction.
The next channel is selected.
Using direct channel entry
1."Radio"
2. "Satellite radio"
3. "Set channel"
4. Turn the MINI joystick until you reach the
desired channel and then press the MINI joy-
stick.
Storing channel
1."Radio"
2. "Satellite radio"
3. Select "All channels" or a desired category.
4. Select desired channel.
5. Press the MINI joystick again.
6. Press the MINI joystick again to confirm the
highlighted channel.
7. Select the desired memory location. The channels are stored for the remote control
currently in use.
Changing list view
The list view changes each time the first symbol
on the navigation bar is pressed.
Information about the channel is displayed.
Selecting category
1.
"Radio"
2. "Satellite radio"
3. "Category"
4. Select the desired category.
Time shift
Approximately one hour of the channel cur-
rently being listened to is temporarily stored in a
cache memory. Prerequisite: the signal must be
available.
The stored audio track ca n be played back at a
different time from the live broadcast. If the
cache memory is full, then the older tracks are
recorded over. The cache memory is deleted if a
new channel is selected.
Accessing Time shift
1. "Radio"
2. "Satellite radio"
SymbolFunction
Channel name
Artist
Track
00320051004F004C00510048000300280047004C0057004C005200510003
Page 149 of 275
EntertainmentRadio
148
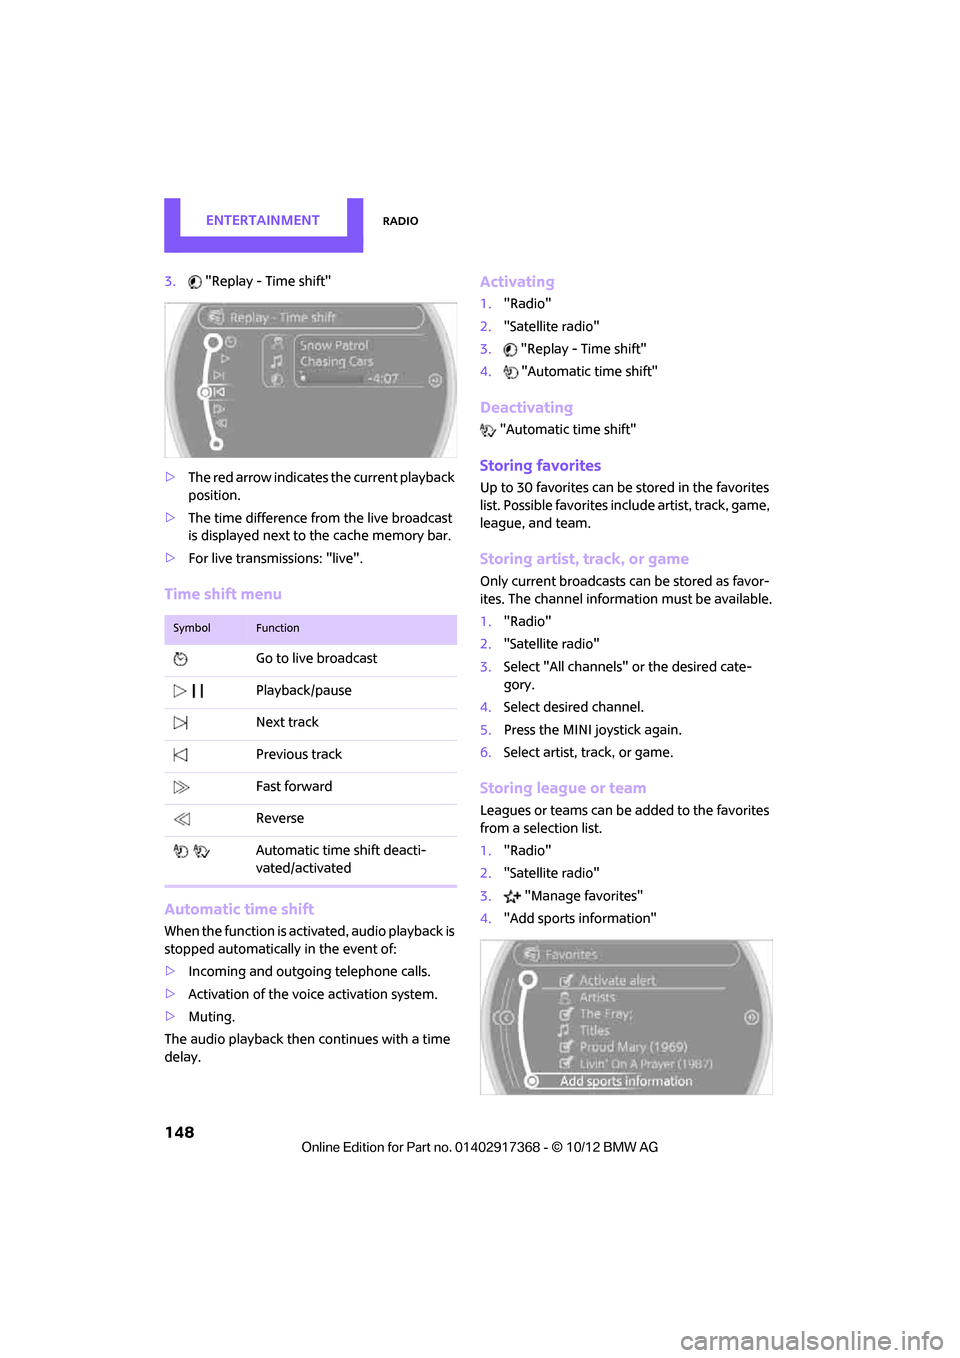
3."Replay - Time shift"
> The red arrow indicates the current playback
position.
> The time difference from the live broadcast
is displayed next to the cache memory bar.
> For live transmissions: "live".
Time shift menu
Automatic time shift
When the function is acti vated, audio playback is
stopped automatically in the event of:
> Incoming and outgoing telephone calls.
> Activation of the voice activation system.
> Muting.
The audio playback then continues with a time
delay.
Activating
1. "Radio"
2. "Satellite radio"
3. "Replay - Time shift"
4. "Automatic time shift"
Deactivating
"Automatic time shift"
Storing favorites
Up to 30 favorites can be stored in the favorites
list. Possible favorites incl ude artist, track, game,
league, and team.
Storing artist, track, or game
Only current broadcasts can be stored as favor-
ites. The channel informat ion must be available.
1. "Radio"
2. "Satellite radio"
3. Select "All channels" or the desired cate-
gory.
4. Select desired channel.
5. Press the MINI joystick again.
6. Select artist, track, or game.
Storing league or team
Leagues or teams can be added to the favorites
from a selection list.
1. "Radio"
2. "Satellite radio"
3. "Manage favorites"
4. "Add sports information"
SymbolFunction
Go to live broadcast
Playback/pause
Next track
Previous track
Fast forward
Reverse
Automatic time shift deacti-
vated/activated
00320051004F004C00510048000300280047004C0057004C005200510003
Page 150 of 275
RadioEntertainment
149
5.Select the desired league.
6. Select "Add all teams" or a desired team.
Accessing favorites
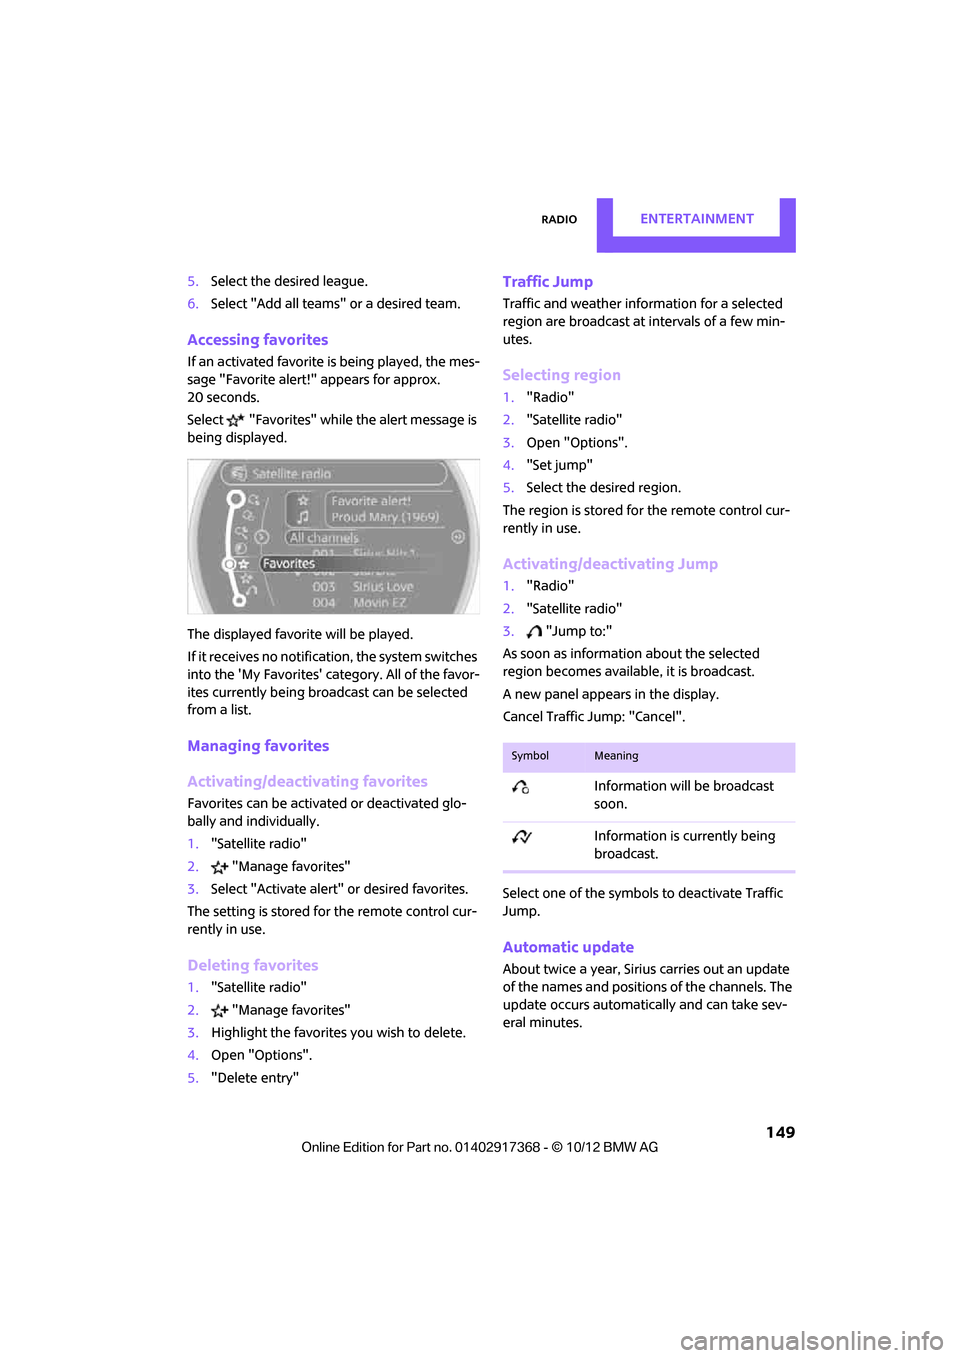
If an activated favorite is being played, the mes-
sage "Favorite alert!" appears for approx.
20 seconds.
Select "Favorites" while the alert message is
being displayed.
The displayed favorite will be played.
If it receives no notification, the system switches
into the 'My Favorites' category. All of the favor-
ites currently being broadcast can be selected
from a list.
Managing favorites
Activating/deactivating favorites
Favorites can be activated or deactivated glo-
bally and individually.
1. "Satellite radio"
2. "Manage favorites"
3. Select "Activate alert" or desired favorites.
The setting is stored for the remote control cur-
rently in use.
Deleting favorites
1. "Satellite radio"
2. "Manage favorites"
3. Highlight the favorites you wish to delete.
4. Open "Options".
5. "Delete entry"
Traffic Jump
Traffic and weather information for a selected
region are broadcast at intervals of a few min-
utes.
Selecting region
1."Radio"
2. "Satellite radio"
3. Open "Options".
4. "Set jump"
5. Select the desired region.
The region is stored fo r the remote control cur-
rently in use.
Activating/deactivating Jump
1. "Radio"
2. "Satellite radio"
3. "Jump to:"
As soon as information about the selected
region becomes available, it is broadcast.
A new panel appears in the display.
Cancel Traffic Jump: "Cancel".
Select one of the symbols to deactivate Traffic
Jump.
Automatic update
About twice a year, Sirius carries out an update
of the names and position s of the channels. The
update occurs automatically and can take sev-
eral minutes.
SymbolMeaning
Information will be broadcast
soon.
Information is currently being
broadcast.
00320051004F004C00510048000300280047004C0057004C005200510003
Page 152 of 275
CD playerEntertainment
151
CD player
Vehicle equipment
In this chapter, all production, country, and
optional equipment that is offered in the model
range is described. Equipment is also described
that is not available because of, for example,
selected options or count ry version. This also
applies to safety related functions and systems.
General information
Inserting CD
Insert the CD into the drive with the labeled side
up. Die CD is automatically pulled in.
Playback starts automatically if the sound out-
put is on. For CDs with compressed audio files, it
can take several minutes to the data, depending
on the folder structure.
Playable formats
CD player
> CD: CD-ROM, CD-R, CD-RW, CD-DA
> Compressed audio file s: MP3, WMA, AAC
Ejecting CD
Press the button on the CD player.
The CD will be slid a short distance out from the
drive.
Audio playback
Selecting the track using the button
Press the button for the corresponding
direction repeatedly until you reach the desired
track.
Selecting the track using the onboard
computer
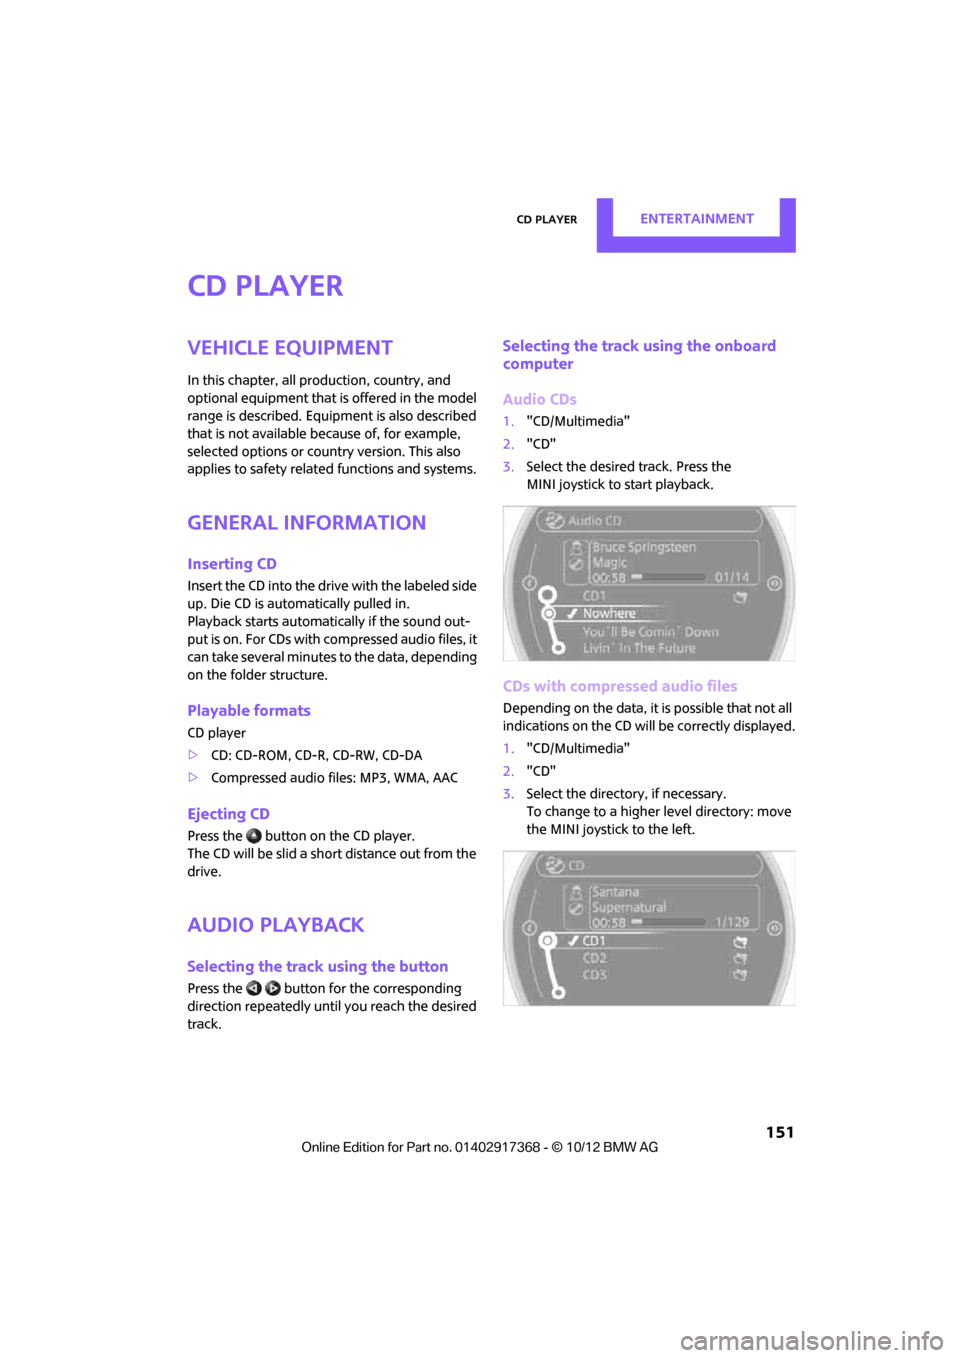
Audio CDs
1. "CD/Multimedia"
2. "CD"
3. Select the desired track. Press the
MINI joystick to start playback.
CDs with compressed audio files
Depending on the data, it is possible that not all
indications on the CD will be correctly displayed.
1."CD/Multimedia"
2. "CD"
3. Select the director y, if necessary.
To change to a higher level directory: move
the MINI joystick to the left.
00320051004F004C00510048000300280047004C0057004C005200510003