change language MINI Paceman 2013 Owner's Manual
[x] Cancel search | Manufacturer: MINI, Model Year: 2013, Model line: Paceman, Model: MINI Paceman 2013Pages: 275, PDF Size: 4.23 MB
Page 24 of 275
Voice activation systemAT A GLANCE
23
Setting the voice dialog
You can set whether the system uses the stan-
dard dialog or a short version.
With the short version of the spoken dialog, a
shortened version of the requests and responses
of the voice activation system are played aloud.
1. "Settings"
2. "Language/Units"
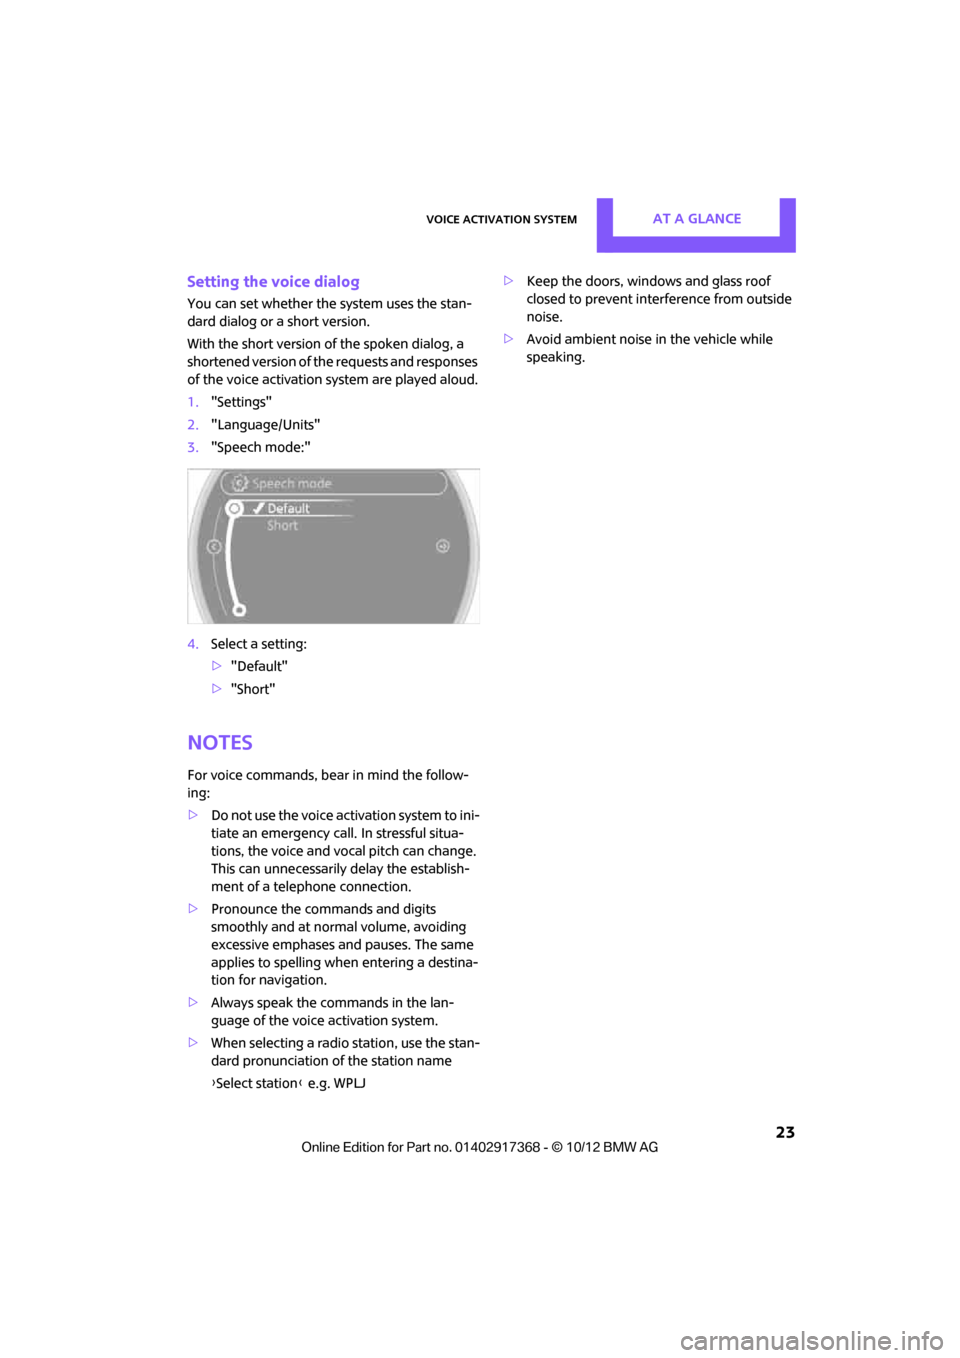
3. "Speech mode:"
4. Select a setting:
>"Default"
> "Short"
Notes
For voice commands, bear in mind the follow-
ing:
> Do not use the voice activation system to ini-
tiate an emergency call. In stressful situa-
tions, the voice and vocal pitch can change.
This can unnecessarily delay the establish-
ment of a telephone connection.
> Pronounce the commands and digits
smoothly and at norm al volume, avoiding
excessive emphases and pauses. The same
applies to spelling wh en entering a destina-
tion for navigation.
> Always speak the commands in the lan-
guage of the voice activation system.
> When selecting a radio station, use the stan-
dard pronunciation of the station name
{ Select station } e.g. WPLJ >
Keep the doors, windows and glass roof
closed to prevent interference from outside
noise.
> Avoid ambient noise in the vehicle while
speaking.
00320051004F004C00510048000300280047004C0057004C005200510003
Page 71 of 275
CONTROLSControls overview
70
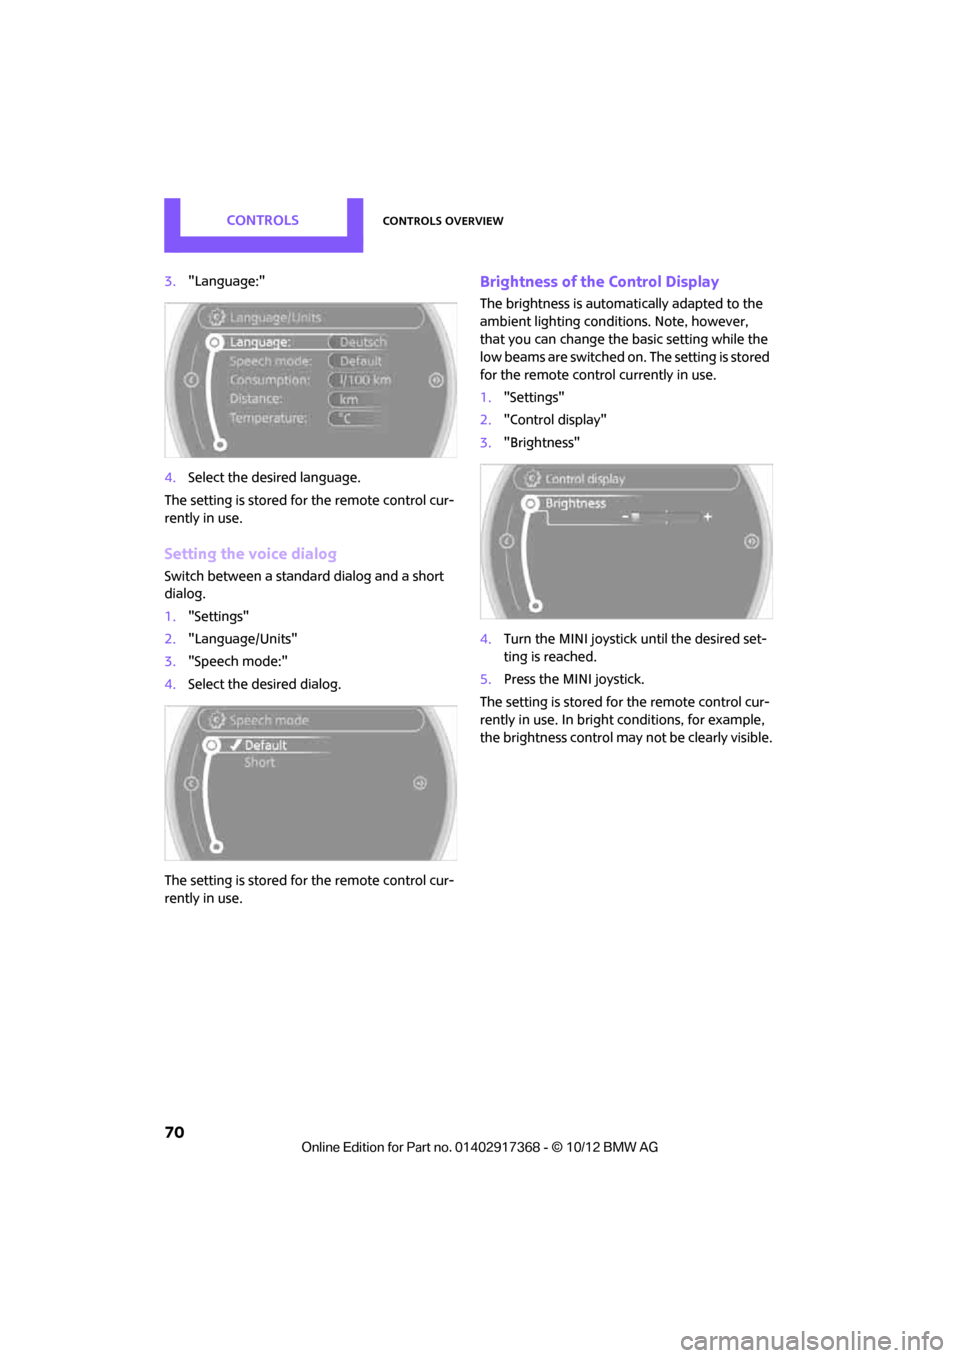
3."Language:"
4. Select the desired language.
The setting is stored fo r the remote control cur-
rently in use.
Setting the voice dialog
Switch between a standa rd dialog and a short
dialog.
1. "Settings"
2. "Language/Units"
3. "Speech mode:"
4. Select the desired dialog.
The setting is stored fo r the remote control cur-
rently in use.
Brightness of the Control Display
The brightness is automa tically adapted to the
ambient lighting conditions. Note, however,
that you can change the basic setting while the
low beams are switched on. The setting is stored
for the remote control currently in use.
1. "Settings"
2. "Control display"
3. "Brightness"
4. Turn the MINI joystick until the desired set-
ting is reached.
5. Press the MINI joystick.
The setting is stored fo r the remote control cur-
rently in use. In bright conditions, for example,
the brightness control may not be clearly visible.
00320051004F004C00510048000300280047004C0057004C005200510003
Page 96 of 275
Practical interior accessoriesCONTROLS
95
press the button on the hand-held transmit-
ter for 2 seconds and release several times.
Operation
Before using the integrated universal
remote control, always inspect the imme-
diate area to make certain that no people, ani-
mals or objects are within the travel range of the
device.
Comply also with the safe ty instructions supplied
with the original hand-held transmitter. <
The device, for example a garage door, can be
operated while the engine is running or when
the ignition is on by using the button on the
rearview mirror. In addi tion, while within the
reception range of the device, press the button
until the function is deleted. The LED on the
rearview mirror is constant ly on while the signal
is being transmitted.
Deleting stored functions
Press and hold the right and left buttons on the
rearview mirror for approx. 20 seconds until the
LED on the rearview mirror starts flashing
quickly. All stored functions are deleted. The
functions can not be deleted individually.
Digital compass
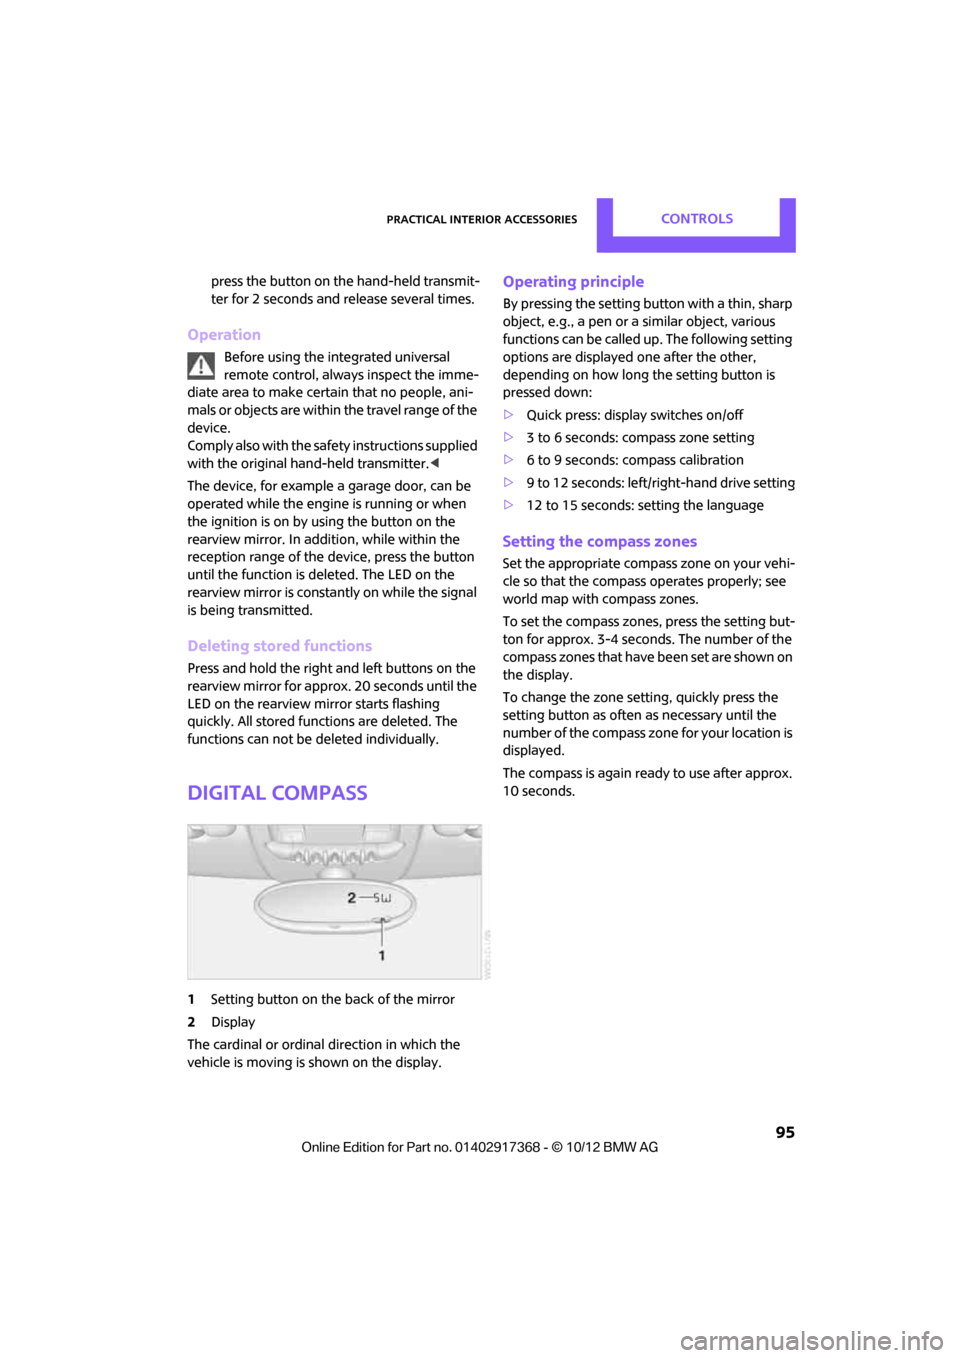
1 Setting button on the back of the mirror
2 Display
The cardinal or ordinal direction in which the
vehicle is moving is shown on the display.
Operating principle
By pressing the setting button with a thin, sharp
object, e.g., a pen or a similar object, various
functions can be called up. The following setting
options are displayed one after the other,
depending on how long the setting button is
pressed down:
> Quick press: display switches on/off
> 3 to 6 seconds: compass zone setting
> 6 to 9 seconds: compass calibration
> 9 to 12 seconds: left/right-hand drive setting
> 12 to 15 seconds: setting the language
Setting the compass zones
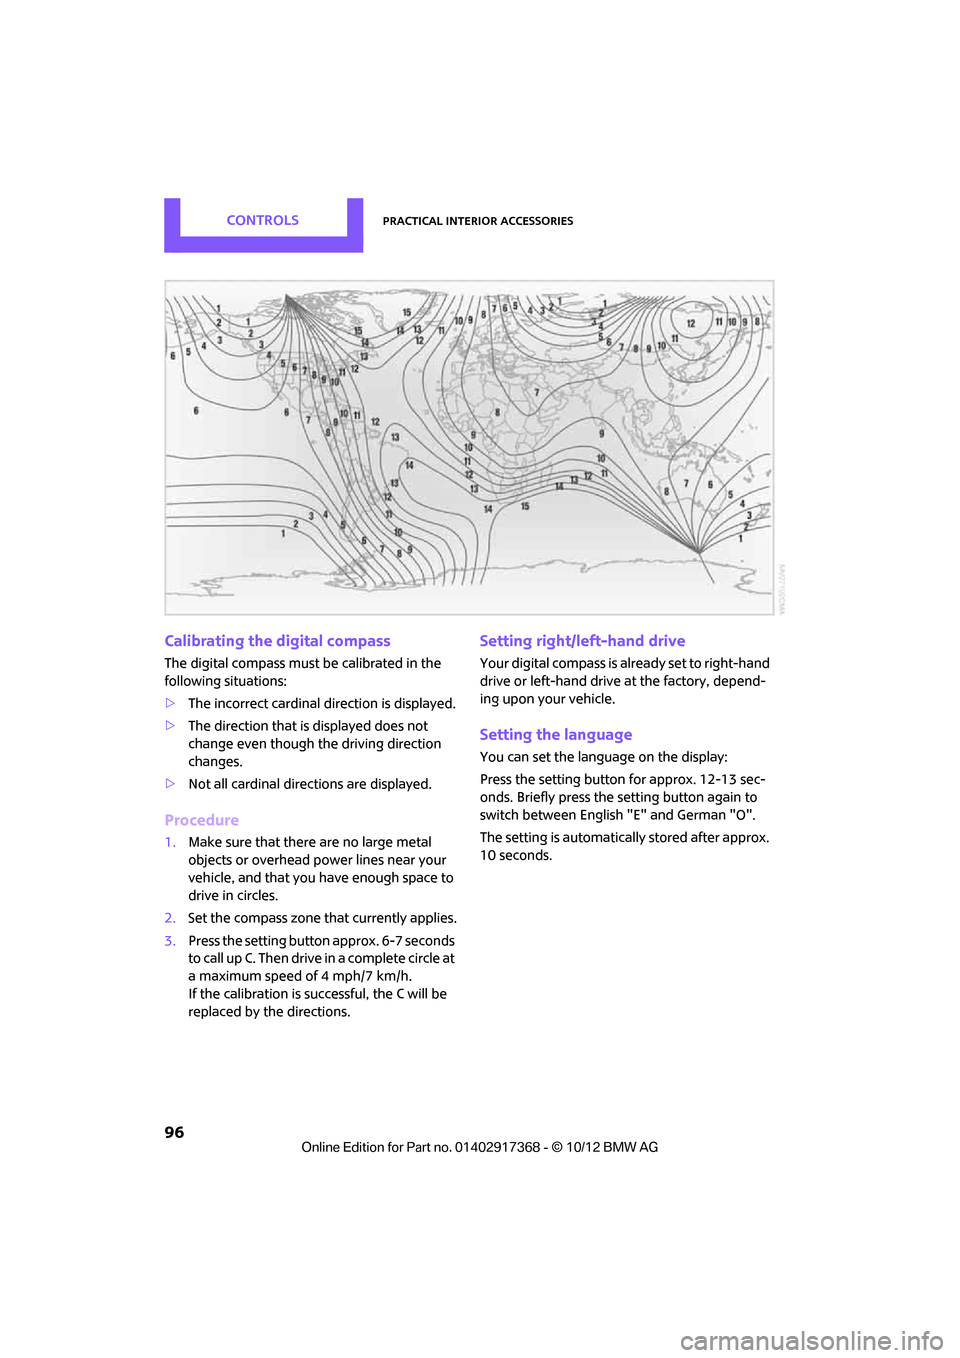
Set the appropriate compass zone on your vehi-
cle so that the compass operates properly; see
world map with compass zones.
To set the compass zones, press the setting but-
ton for approx. 3-4 seconds. The number of the
compass zones that have been set are shown on
the display.
To change the zone se tting, quickly press the
setting button as often as necessary until the
number of the compass zone for your location is
displayed.
The compass is again ready to use after approx.
10 seconds.
00320051004F004C00510048000300280047004C0057004C005200510003
Page 97 of 275
CONTROLSPractical interior accessories
96
Calibrating the digital compass
The digital compass must be calibrated in the
following situations:
>The incorrect cardinal direction is displayed.
> The direction that is displayed does not
change even though the driving direction
changes.
> Not all cardinal directions are displayed.
Procedure
1.Make sure that there are no large metal
objects or overhead power lines near your
vehicle, and that you have enough space to
drive in circles.
2. Set the compass zone th at currently applies.
3. Press the setting button approx. 6-7 seconds
to call up C. Then drive in a complete circle at
a maximum speed of 4 mph/7 km/h.
If the calibration is successful, the C will be
replaced by the directions.
Setting right/left-hand drive
Your digital compass is already set to right-hand
drive or left-hand drive at the factory, depend-
ing upon your vehicle.
Setting the language
You can set the language on the display:
Press the setting button for approx. 12-13 sec-
onds. Briefly press the setting button again to
switch between English "E" and German "O".
The setting is automatically stored after approx.
10 seconds.
00320051004F004C00510048000300280047004C0057004C005200510003
Page 186 of 275
Mobile phone preparation BluetoothCOMMUNICATIONS
185
The entries must be entered by voice and are
independent of the mobile phone's memory. Up
to 50 entries can be set up.
Storing the entry
Deleting the entry
Deleting all entries
Reading and selecting the entries
Selecting an entry
Adjusting volume
Turn knob during announcement.
>The volume remains the same, even if the
volume of other audio sources is changed.
> The volume is stored for the remote control
currently in use.
Notes
Do not use the voice operation system to initiate
an emergency call. In stressful situations, the
voice and vocal pitch can change. This can
unnecessarily delay the establishment of a tele-
phone connection.
Ambient conditions
>Say the commands, numbers and letters
smoothly and with normal volume, empha-
sis and speed.
> Always say the commands in the language
of the system. The language for voice oper-
ation system is pres et and can not be
changed via the Control Display.
> Keep doors, windows, glass sunroof/pan-
oramic sunroof, or convertible top closed to
avoid noise interference.
> Avoid ambient noise in the vehicle while
speaking.
Snap-in adapter
The concept
The snap-in adapter makes it possible to do the
following:
>Accommodate the mobile phone.
> Recharge its battery.
> Connect to the outside antenna of the vehi-
cle.
This assures a better network connection and
constant sound quality.
General information
Detailed information on snap-in adapters that
compatibly support mobile phone functions can
be found at your MINI dealer.
Do not expose your mobile phone to extreme
ambient conditions, for example, very high tem-
peratures; otherwise, functions on your mobile
phone may not work. Follow the operating
instructions for your mobile phone.
1.
{Save name }.
2. Say the name aloud. Do not exceed a
speaking duration of about 2 seconds.
3. Say the phone number after being
prompted to do so by the system.
4. {Save }.
1. {Delete name }.
2. Say the name when prompted.
3. Confirm prompt with {Yes }.
1. {Delete phonebook }.
The dialog for deleti ng phone book is
opened.
2. Confirm prompt with {Yes }.
3. Confirm repeated prompt with {Yes }.
1. {Read phonebook }.
The dialog for reading phone book is
opened.
2. {Dial number } when the desired entry is
read aloud.
1. {Dial name }.
2. Say the name when prompted.
3. Confirm prompt with {Yes }.
00320051004F004C00510048000300280047004C0057004C005200510003