ECO mode MITSUBISHI ASX 2015 (in English) Owner's Guide
[x] Cancel search | Manufacturer: MITSUBISHI, Model Year: 2015, Model line: ASX, Model: MITSUBISHI ASX 2015Pages: 452, PDF Size: 20.1 MB
Page 59 of 452
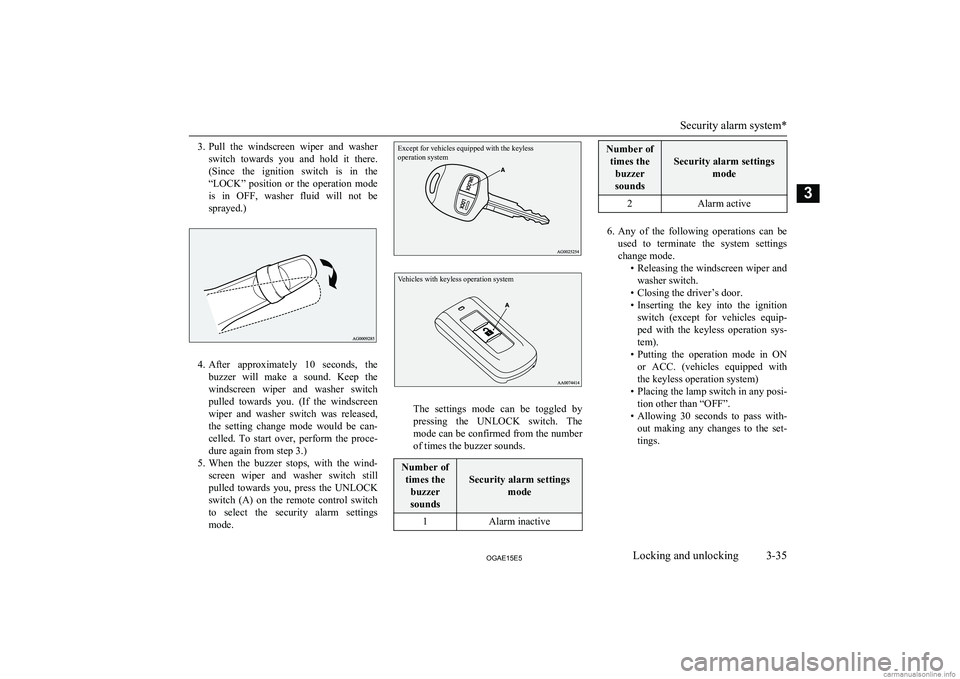
3.Pull the windscreen wiper and washer
switch towards you and hold it there. (Since the ignition switch is in the
“LOCK” position or the operation mode
is in OFF, washer fluid will not be
sprayed.)
4. After approximately 10 seconds, the
buzzer will make a sound. Keep the windscreen wiper and washer switch
pulled towards you. (If the windscreen
wiper and washer switch was released,
the setting change mode would be can-
celled. To start over, perform the proce- dure again from step 3.)
5. When the buzzer stops, with the wind-
screen wiper and washer switch still
pulled towards you, press the UNLOCK switch (A) on the remote control switch to select the security alarm settings
mode.
Except for vehicles equipped with the keyless
operation systemVehicles with keyless operation system
The settings mode can be toggled by
pressing the UNLOCK switch. The mode can be confirmed from the number
of times the buzzer sounds.
Number of
times the buzzer
sounds
Security alarm settings mode
1Alarm inactiveNumber oftimes the buzzer
sounds
Security alarm settings mode
2Alarm active
6.Any of the following operations can be
used to terminate the system settings change mode. •Releasing the windscreen wiper and
washer switch.
• Closing the driver’s door.
• Inserting the key into the ignition
switch (except for vehicles equip-
ped with the keyless operation sys- tem).
• Putting the operation mode in ON
or ACC. (vehicles equipped with the keyless operation system)
• Placing the lamp switch in any posi-
tion other than “OFF”.
• Allowing 30 seconds to pass with-
out making any changes to the set-
tings.
Security alarm system*
3-35OGAE15E5Locking and unlocking3
Page 61 of 452
NOTElThe system preparation mode is not activa-
ted when the doors and the tailgate havebeen locked using a method other than the
keyless entry system or the keyless operation
function (namely a key, the inside lock knob or the central door lock switch).
l If the bonnet is open, the security indicator
illuminates, and the system does not enter the system preparation mode.
When the bonnet is closed, the system enters the system preparation mode, and after ap- proximately 20 seconds the system enters
the system armed mode.
4. After approximately 20 seconds, the
buzzer stops, and when the blinking of the security indicator starts to slow
down, the system armed mode goes into effect.
The security indicator continues to blink
during the system armed mode.
NOTEl The security alarm system can be activated
when people are riding inside the vehicle or when the windows are open. To prevent ac-cidental activation of the alarm, do not set
the system to the system armed mode while people are riding in the vehicle.NOTEl Avoid leaving valuable items inside the ve-
hicle even when the security alarm system
has been set to the “active” mode.To deactivate the vehicle incli-
nation detection function and the interior intrusion detectionfunction
E00312100116
The vehicle inclination detection function and the interior intrusion detection function
can be deactivated when parking in automa-
ted car parks, when leaving pets in the vehi- cle or when leaving the vehicle with the win-
dows slightly open. 1. Except for vehicles equipped with the
keyless operation system, remove the
key from the ignition switch. For vehi- cles equipped with the keyless operation
system, put the operation mode in OFF.
2. Raise and hold the wiper and washer
switch to the “MIST” position for ap- proximately 3 seconds. The buzzer will
sound once and the function will be de- activated.
To activate the function again, raise and hold
the wiper and washer switch to the “MIST” position for approximately 3 seconds.
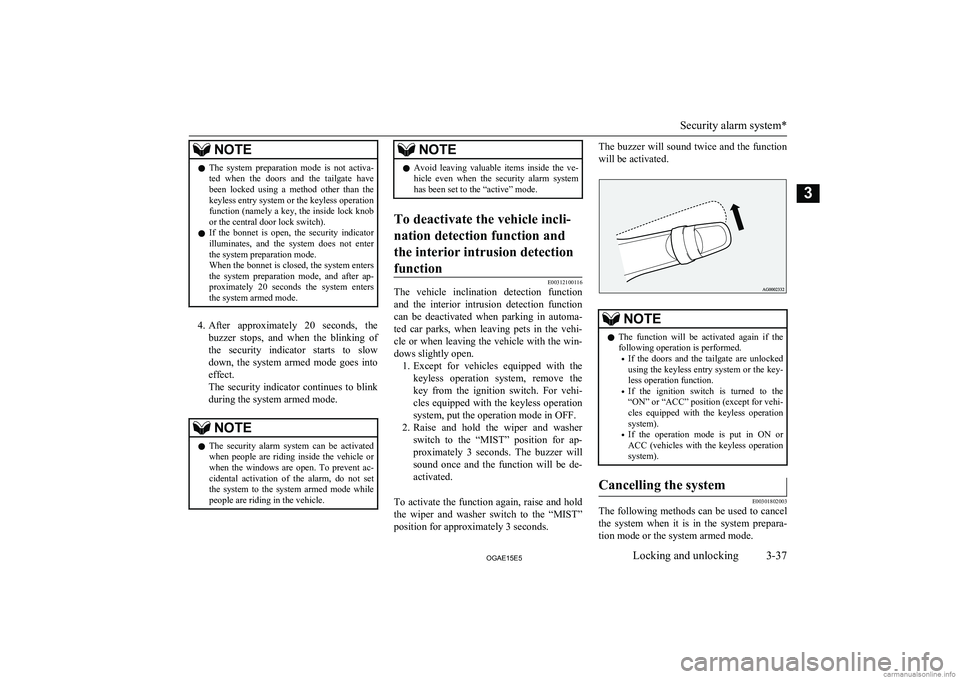
The buzzer will sound twice and the function
will be activated.NOTEl The function will be activated again if the
following operation is performed.
• If the doors and the tailgate are unlocked
using the keyless entry system or the key-
less operation function.
• If the ignition switch is turned to the
“ON” or “ACC” position (except for vehi-
cles equipped with the keyless operation system).
• If the operation mode is put in ON or
ACC (vehicles with the keyless operation system).Cancelling the system
E00301802003
The following methods can be used to cancel
the system when it is in the system prepara- tion mode or the system armed mode.
Security alarm system*
3-37OGAE15E5Locking and unlocking3
Page 62 of 452
lPressing the UNLOCK switch on the re-
mote control switch.
l Turning the ignition switch to the “ON”
position (except for vehicles equipped
with the keyless operation system).
l Putting the operation mode in ON (vehi-
cles equipped with the keyless operation
system).
l Opening any one of the doors or the tail-
gate, or inserting the key into the igni- tion switch (except for vehicles equipped
with the keyless operation system) when
the system is in the system preparation
mode.
l Holding the keyless operation key and
pressing the driver’s or front passenger’s door lock/unlock switch, or the tailgateOPEN switch to unlock the doors and
the tailgate (vehicles equipped with the
keyless operation system).NOTEl If the bonnet is opened during the system
preparation mode, the system preparationcondition is suspended.
The system returns to the system preparation mode when the bonnet is closed.
l If the battery terminals are disconnected
while the system is in the system preparation mode, the memory will be erased.NOTEl It is possible to register up to 8 remote con-
trol switches for the keyless entry system
and 4 remote control switches for the key-
less operation system.
As long as they are registered, any of the re- mote control switches, other than the one
used to activate the system, can be used to cancel the system.
If you want to register additional remote control switches, please contact aMITSUBISHI MOTORS Authorized Serv-
ice Point.
l The activation distance for the keyless entry
system is approximately 4 m.
If it is not possible to lock or unlock the ve-
hicle by pressing the switch at the correct distance or the security alarm system cannot
be set or cancelled using the switch, the bat-
tery may need to be replaced.
For further information, please consult a MITSUBISHI MOTORS Authorized Serv-
ice Point.
If you replace the battery yourself, refer to “Procedure for replacing the remote control
switch battery” on pages 3-06, 3-24.
l If the UNLOCK switch on the remote con-
trol switch, or the driver’s or front passen-ger’s door lock/unlock switch is pressed and no door or the tailgate is opened within 30 seconds, the doors and the tailgate will auto-
matically relock. In this case as well, the system preparation mode will go into effect.NOTEl The time between pressing the UNLOCK
switch on the remote control switch, or thedriver’s or front passenger’s door lock/ unlock switch and automatic locking can be
adjusted. Please consult a MITSUBISHI
MOTORS Authorized Service Point.Alarm activation
E00301900635
When the system is in the system armed
mode, the alarm will be activated as follows
if the vehicle is unlocked or if any of the doors, tailgate or bonnet is opened using a
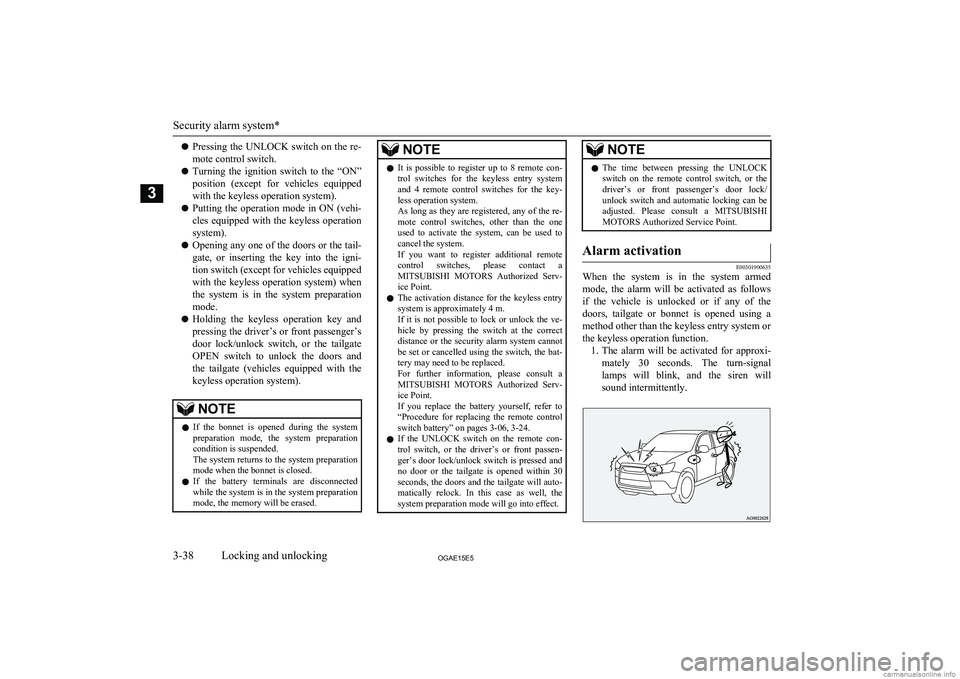
method other than the keyless entry system or the keyless operation function. 1. The alarm will be activated for approxi-
mately 30 seconds. The turn-signal lamps will blink, and the siren will
sound intermittently.
Security alarm system*
3-38OGAE15E5Locking and unlocking3
Page 66 of 452
CAUTIONlDo not place heavy luggage on the panoram-
ic glass roof. Doing so could damage the glass roof.
l Do not hang heavy luggage from, allow a
person to hang onto, or apply any other strong force to the opening of the sunshade receptacle or the parts between the ceiling
and the sunshade opening on either side. Do- ing so could damage the sunshade.NOTEl Release the switch as soon as the sunshade
reaches the fully open or fully closed posi-
tion.
l If the sunshade does not operate when the
sunshade switch is operated, release the
switch and check whether something is trap- ped by the sunshade. If nothing is trapped,
we recommend you to have the sunshade checked.
l Operating the sunshade repeatedly with the
engine stationary will run down the battery.
Operate the sunshade while the engine is running.
l Close the sunshade when parking the vehicle
for a long time. Parking in the hot sun with
the sunshade open will make the vehicle in-
side extremely hot.The sunshade can only be operated with the
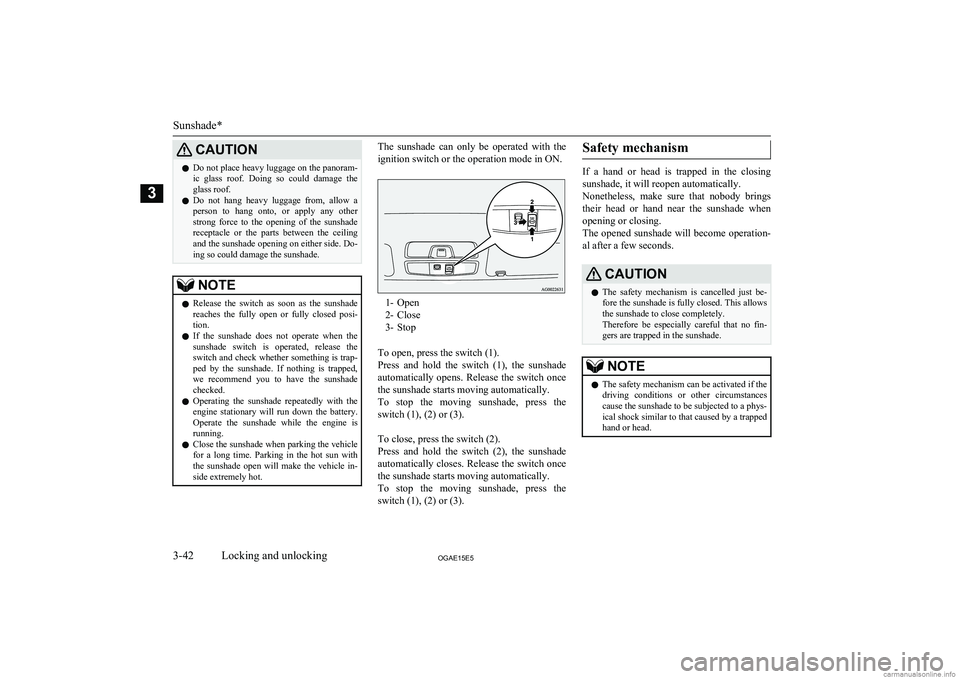
ignition switch or the operation mode in ON.
1- Open
2- Close
3- Stop
To open, press the switch (1).
Press and hold the switch (1), the sunshade automatically opens. Release the switch once
the sunshade starts moving automatically.
To stop the moving sunshade, press the
switch (1), (2) or (3).
To close, press the switch (2).
Press and hold the switch (2), the sunshade automatically closes. Release the switch once
the sunshade starts moving automatically.
To stop the moving sunshade, press the
switch (1), (2) or (3).
Safety mechanism
If a hand or head is trapped in the closing
sunshade, it will reopen automatically.
Nonetheless, make sure that nobody brings
their head or hand near the sunshade when opening or closing.
The opened sunshade will become operation-
al after a few seconds.
CAUTIONl The safety mechanism is cancelled just be-
fore the sunshade is fully closed. This allows
the sunshade to close completely.
Therefore be especially careful that no fin-
gers are trapped in the sunshade.NOTEl The safety mechanism can be activated if the
driving conditions or other circumstancescause the sunshade to be subjected to a phys-
ical shock similar to that caused by a trapped
hand or head.
Sunshade*
3-42OGAE15E5Locking and unlocking3
Page 72 of 452
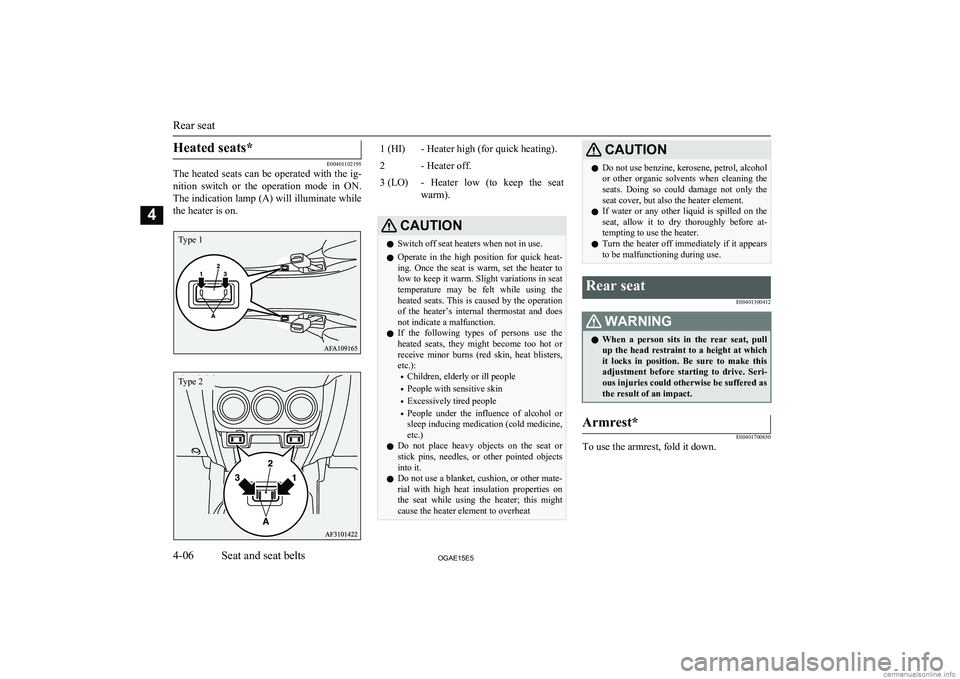
Heated seats*
E00401102195
The heated seats can be operated with the ig-
nition switch or the operation mode in ON.
The indication lamp (A) will illuminate while the heater is on.
1 (HI)- Heater high (for quick heating).2- Heater off.3 (LO)- Heater low (to keep the seat
warm).CAUTIONl Switch off seat heaters when not in use.
l Operate in the high position for quick heat-
ing. Once the seat is warm, set the heater to low to keep it warm. Slight variations in seat
temperature may be felt while using the heated seats. This is caused by the operation
of the heater’s internal thermostat and does not indicate a malfunction.
l If the following types of persons use the
heated seats, they might become too hot or receive minor burns (red skin, heat blisters,
etc.):
• Children, elderly or ill people
• People with sensitive skin
• Excessively tired people
• People under the influence of alcohol or
sleep inducing medication (cold medicine, etc.)
l Do not place heavy objects on the seat or
stick pins, needles, or other pointed objects into it.
l Do not use a blanket, cushion, or other mate-
rial with high heat insulation properties on the seat while using the heater; this might
cause the heater element to overheatCAUTIONl Do not use benzine, kerosene, petrol, alcohol
or other organic solvents when cleaning the seats. Doing so could damage not only the seat cover, but also the heater element.
l If water or any other liquid is spilled on the
seat, allow it to dry thoroughly before at-tempting to use the heater.
l Turn the heater off immediately if it appears
to be malfunctioning during use.Rear seat
E00401300412WARNINGlWhen a person sits in the rear seat, pull
up the head restraint to a height at which it locks in position. Be sure to make thisadjustment before starting to drive. Seri-
ous injuries could otherwise be suffered as the result of an impact.Armrest*
E00401700650
To use the armrest, fold it down.
Rear seat
4-06OGAE15E5Seat and seat belts4Type 1 Type 2
Page 77 of 452
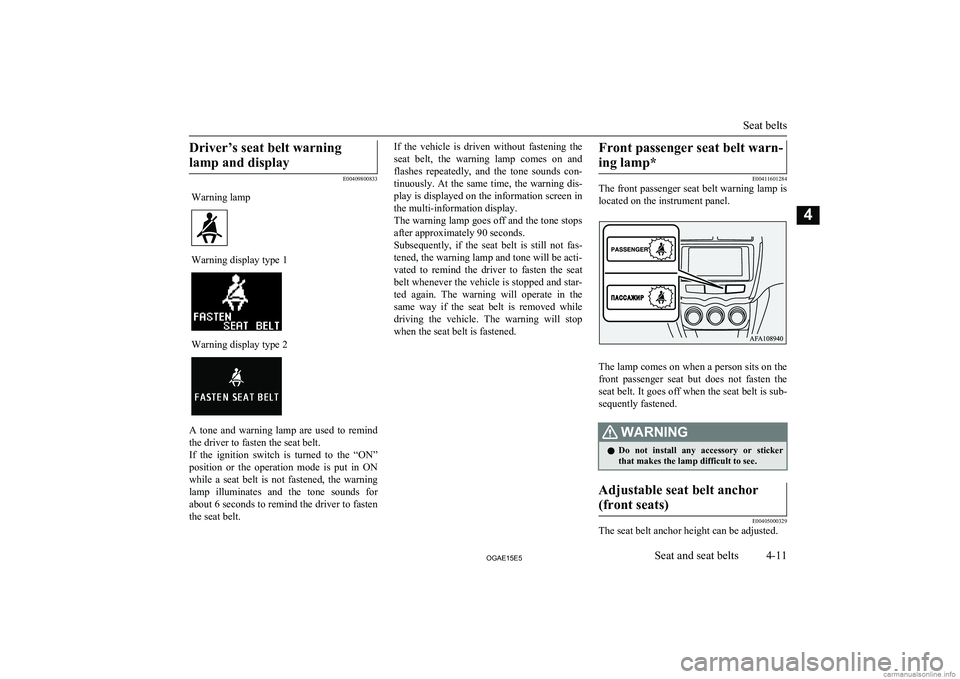
Driver’s seat belt warninglamp and display
E00409800833
Warning lampWarning display type 1Warning display type 2
A tone and warning lamp are used to remind
the driver to fasten the seat belt.
If the ignition switch is turned to the “ON” position or the operation mode is put in ON
while a seat belt is not fastened, the warning lamp illuminates and the tone sounds for about 6 seconds to remind the driver to fasten
the seat belt.
If the vehicle is driven without fastening the
seat belt, the warning lamp comes on and
flashes repeatedly, and the tone sounds con-
tinuously. At the same time, the warning dis-
play is displayed on the information screen in the multi-information display.
The warning lamp goes off and the tone stops after approximately 90 seconds.
Subsequently, if the seat belt is still not fas-
tened, the warning lamp and tone will be acti-
vated to remind the driver to fasten the seat belt whenever the vehicle is stopped and star-ted again. The warning will operate in the
same way if the seat belt is removed while driving the vehicle. The warning will stop
when the seat belt is fastened.Front passenger seat belt warn-
ing lamp*
E00411601284
The front passenger seat belt warning lamp is
located on the instrument panel.
The lamp comes on when a person sits on the front passenger seat but does not fasten the
seat belt. It goes off when the seat belt is sub- sequently fastened.
WARNINGl Do not install any accessory or sticker
that makes the lamp difficult to see.Adjustable seat belt anchor
(front seats)
E00405000329
The seat belt anchor height can be adjusted.
Seat belts
4-11OGAE15E5Seat and seat belts4
Page 80 of 452
Pregnant women restraintE00405600077WARNINGlSeat belts work for everyone, including
pregnant women. Pregnant women should
use the available seat belts. This will re- duce the likelihood of injury to both thewoman and the unborn child. The lap belt
should be worn across the thighs and as snug against the hips as possible, but not
across the waist. Consult your doctor if you have any additional questions or con-
cerns.Seat belt pretensioner
system and force limiter
system E00405700166
The driver’s seat and front passenger’s seateach have a seat belt equipped with a preten- sioner system.
Pretensioner system
E00405801135
When the ignition switch or the operation
mode is under the following conditions, if there is a frontal impact or a side impact (ve-
hicles equipped with SRS side airbags and SRS curtain airbags) severe enough to injure
the driver and/or front passenger, the preten-
sioner system will retract their respective seat belts instantaneously, thus maximizing the
seat belt’s effectiveness.
[Except for vehicles equipped with keyless operation system]
The ignition switch is in the “ON” or
“START” position.
[Vehicles equipped with keyless operation system]
The operation mode is in ON.
WARNINGl To obtain the best results from your pre-
tensioner seat belt, make sure you have adjusted your seat correctly and wear your seat belt properly.CAUTIONl Installation of audio equipment or repairs in
the vicinity of the pretensioner seat belts or
floor console must be performed in line with MITSUBISHI MOTORS guidelines. It is
important to do so because the work could affect the pretensioner systems.
l If you need to scrap the vehicle, please con-
sult a MITSUBISHI MOTORS Authorized
Service Point.
It is important to do so because unexpected activation of the pretensioner seat belts
could cause injuries.NOTEl The pretensioner seat belts will be activated
if the vehicle suffers a severe frontal impact or a severe side impact (vehicles equipped
with SRS side airbags and SRS curtain air- bags), even if the seat belts are not worn.
l The pretensioner seat belts are designed to
work only once. After the pretensioner seat belts have been activated, we recommend
you have it replaced by a MITSUBISHI
MOTORS Authorized Service Point.SRS warning
E00405900243
The same warning lamp/display is shared by
the SRS airbags and the pretensioner seat
belts.
Refer to “SRS warning lamp/display” on page 4-36.
Pregnant women restraint
4-14OGAE15E5Seat and seat belts4
Page 90 of 452
3.Use the locking clip to completely elimi-
nate any slackness.
4. Push and pull the child restraint in all di-
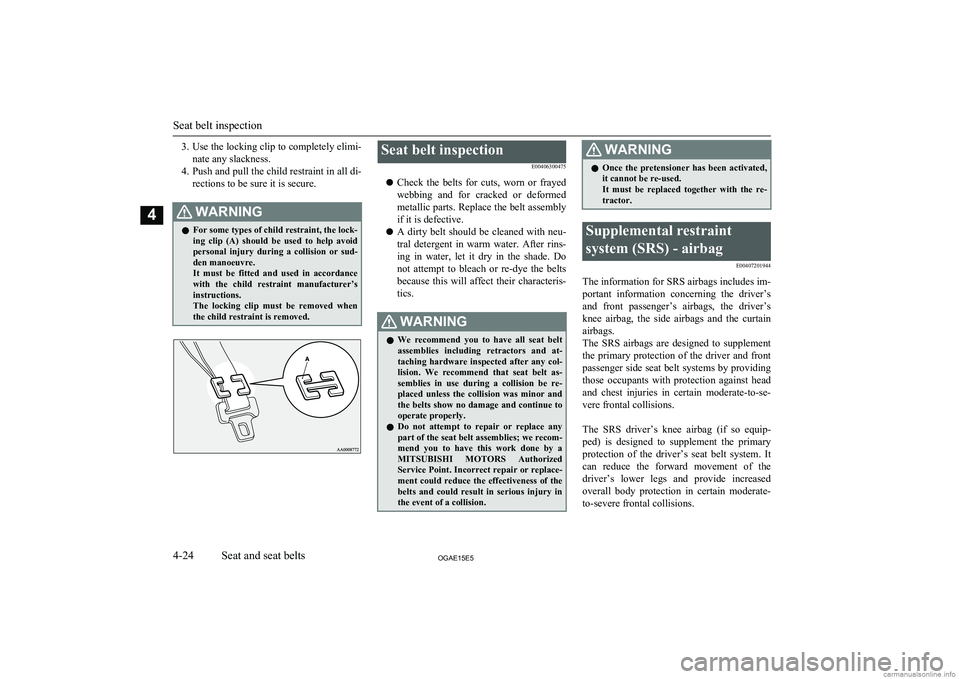
rections to be sure it is secure.WARNINGl For some types of child restraint, the lock-
ing clip (A) should be used to help avoid personal injury during a collision or sud-den manoeuvre.
It must be fitted and used in accordance
with the child restraint manufacturer’s instructions.
The locking clip must be removed when the child restraint is removed.Seat belt inspection
E00406300475
l Check the belts for cuts, worn or frayed
webbing and for cracked or deformed metallic parts. Replace the belt assembly
if it is defective.
l A dirty belt should be cleaned with neu-
tral detergent in warm water. After rins-
ing in water, let it dry in the shade. Do
not attempt to bleach or re-dye the belts
because this will affect their characteris-
tics.WARNINGl We recommend you to have all seat belt
assemblies including retractors and at- taching hardware inspected after any col- lision. We recommend that seat belt as-
semblies in use during a collision be re- placed unless the collision was minor and
the belts show no damage and continue to operate properly.
l Do not attempt to repair or replace any
part of the seat belt assemblies; we recom- mend you to have this work done by aMITSUBISHI MOTORS Authorized
Service Point. Incorrect repair or replace- ment could reduce the effectiveness of the
belts and could result in serious injury in
the event of a collision.WARNINGl Once the pretensioner has been activated,
it cannot be re-used.
It must be replaced together with the re- tractor.Supplemental restraint
system (SRS) - airbag E00407201944
The information for SRS airbags includes im-
portant information concerning the driver’s and front passenger’s airbags, the driver’s knee airbag, the side airbags and the curtain
airbags.
The SRS airbags are designed to supplement the primary protection of the driver and frontpassenger side seat belt systems by providingthose occupants with protection against head
and chest injuries in certain moderate-to-se- vere frontal collisions.
The SRS driver’s knee airbag (if so equip-
ped) is designed to supplement the primary
protection of the driver’s seat belt system. It can reduce the forward movement of the
driver’s lower legs and provide increased overall body protection in certain moderate-
to-severe frontal collisions.
Seat belt inspection
4-24OGAE15E5Seat and seat belts4
Page 94 of 452
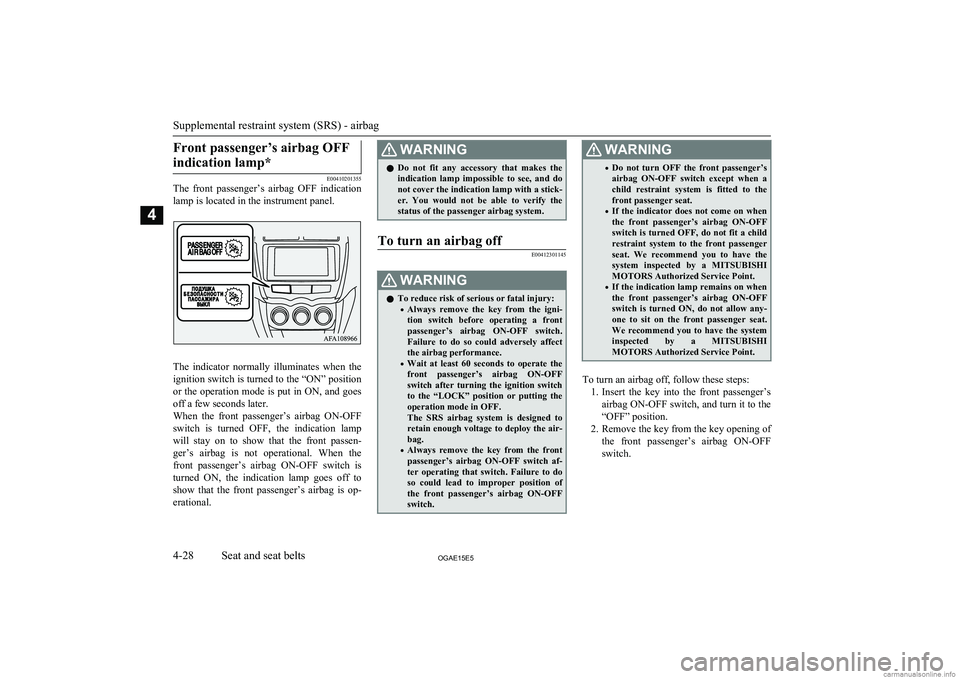
Front passenger’s airbag OFFindication lamp*
E00410201355
The front passenger’s airbag OFF indication
lamp is located in the instrument panel.
The indicator normally illuminates when the
ignition switch is turned to the “ON” position
or the operation mode is put in ON, and goes off a few seconds later.
When the front passenger’s airbag ON-OFF switch is turned OFF, the indication lamp
will stay on to show that the front passen-
ger’s airbag is not operational. When the
front passenger’s airbag ON-OFF switch is
turned ON, the indication lamp goes off to show that the front passenger’s airbag is op-
erational.
WARNINGl Do not fit any accessory that makes the
indication lamp impossible to see, and do
not cover the indication lamp with a stick- er. You would not be able to verify thestatus of the passenger airbag system.To turn an airbag off
E00412301145WARNINGl To reduce risk of serious or fatal injury:
• Always remove the key from the igni-
tion switch before operating a front
passenger’s airbag ON-OFF switch. Failure to do so could adversely affect
the airbag performance.
• Wait at least 60 seconds to operate the
front passenger’s airbag ON-OFF switch after turning the ignition switch
to the “LOCK” position or putting the
operation mode in OFF.
The SRS airbag system is designed to retain enough voltage to deploy the air-
bag.
• Always remove the key from the front
passenger’s airbag ON-OFF switch af-ter operating that switch. Failure to do
so could lead to improper position of the front passenger’s airbag ON-OFF switch.WARNING• Do not turn OFF the front passenger’s
airbag ON-OFF switch except when a child restraint system is fitted to the
front passenger seat.
• If the indicator does not come on when
the front passenger’s airbag ON-OFF switch is turned OFF, do not fit a childrestraint system to the front passenger
seat. We recommend you to have the system inspected by a MITSUBISHI
MOTORS Authorized Service Point.
• If the indication lamp remains on when
the front passenger’s airbag ON-OFF switch is turned ON, do not allow any-
one to sit on the front passenger seat. We recommend you to have the systeminspected by a MITSUBISHI
MOTORS Authorized Service Point.
To turn an airbag off, follow these steps:
1. Insert the key into the front passenger’s
airbag ON-OFF switch, and turn it to the “OFF” position.
2. Remove the key from the key opening of
the front passenger’s airbag ON-OFF switch.
Supplemental restraint system (SRS) - airbag
4-28OGAE15E5Seat and seat belts4
Page 102 of 452
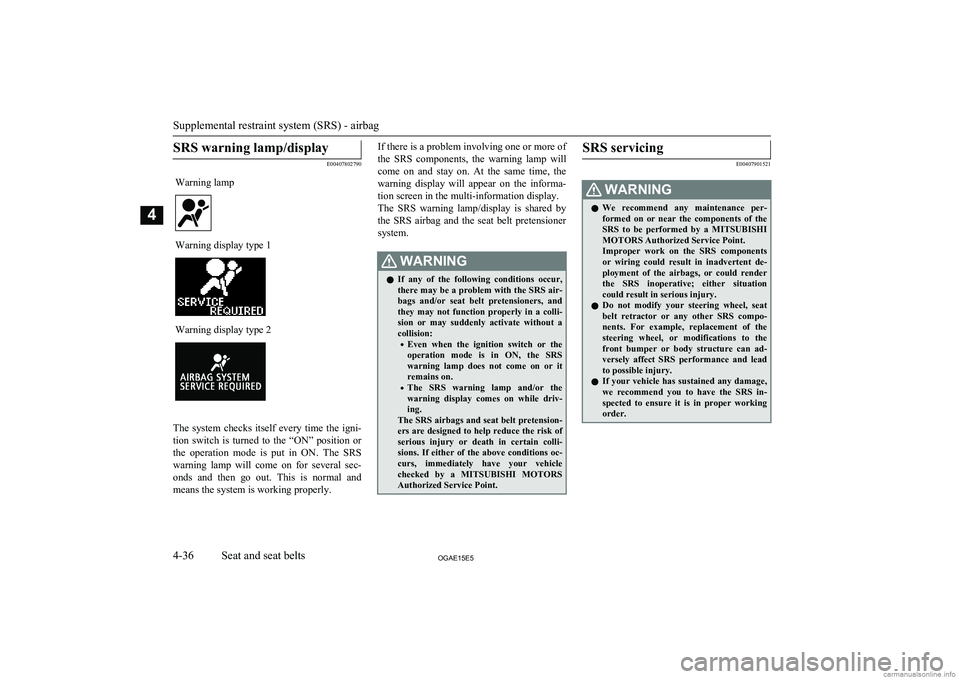
SRS warning lamp/display
E00407802790
Warning lampWarning display type 1Warning display type 2
The system checks itself every time the igni-
tion switch is turned to the “ON” position or the operation mode is put in ON. The SRSwarning lamp will come on for several sec-
onds and then go out. This is normal and
means the system is working properly.
If there is a problem involving one or more of
the SRS components, the warning lamp will come on and stay on. At the same time, thewarning display will appear on the informa-
tion screen in the multi-information display.
The SRS warning lamp/display is shared by
the SRS airbag and the seat belt pretensioner system.WARNINGl If any of the following conditions occur,
there may be a problem with the SRS air- bags and/or seat belt pretensioners, and they may not function properly in a colli-
sion or may suddenly activate without a
collision:
• Even when the ignition switch or the
operation mode is in ON, the SRS
warning lamp does not come on or it
remains on.
• The SRS warning lamp and/or the
warning display comes on while driv-ing.
The SRS airbags and seat belt pretension-
ers are designed to help reduce the risk of serious injury or death in certain colli-sions. If either of the above conditions oc-
curs, immediately have your vehicle
checked by a MITSUBISHI MOTORS
Authorized Service Point.SRS servicing
E00407901521
WARNINGl We recommend any maintenance per-
formed on or near the components of the
SRS to be performed by a MITSUBISHI
MOTORS Authorized Service Point.
Improper work on the SRS components or wiring could result in inadvertent de-
ployment of the airbags, or could render
the SRS inoperative; either situation could result in serious injury.
l Do not modify your steering wheel, seat
belt retractor or any other SRS compo-
nents. For example, replacement of the
steering wheel, or modifications to the
front bumper or body structure can ad- versely affect SRS performance and lead
to possible injury.
l If your vehicle has sustained any damage,
we recommend you to have the SRS in- spected to ensure it is in proper workingorder.
Supplemental restraint system (SRS) - airbag
4-36OGAE15E5Seat and seat belts4