brake light MITSUBISHI L200 2018 (in English) User Guide
[x] Cancel search | Manufacturer: MITSUBISHI, Model Year: 2018, Model line: L200, Model: MITSUBISHI L200 2018Pages: 466, PDF Size: 28.42 MB
Page 346 of 466

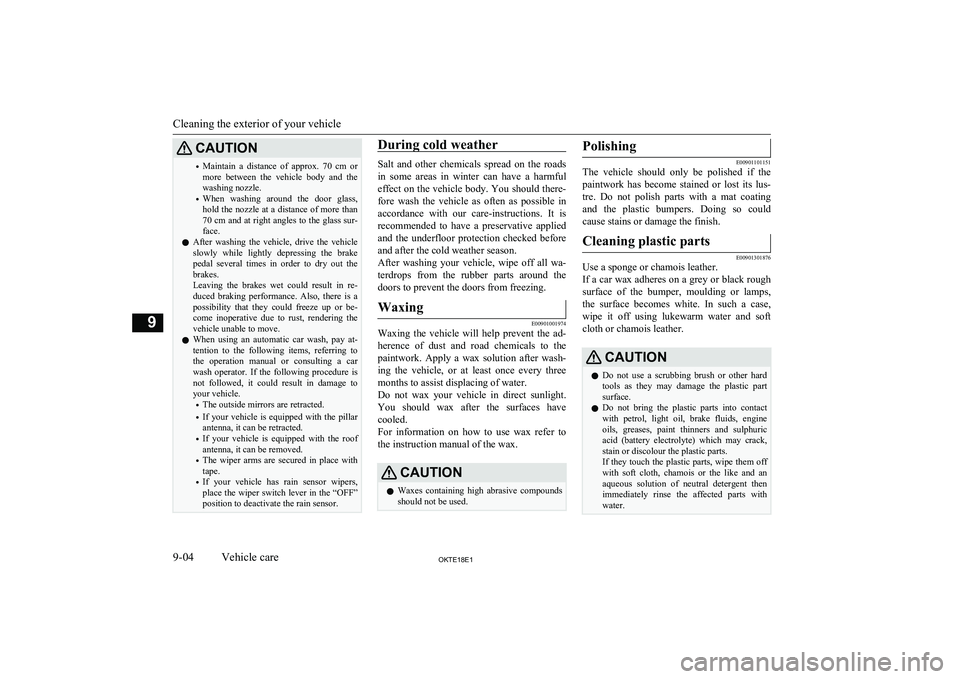
CAUTION•Maintain a distance of approx. 70 cm
or
more between the vehicle body and the washing nozzle.
• When washing around the door glass,
hold the nozzle at a distance of more than
70 cm and at right angles to the glass sur- face.
l After washing the vehicle, drive the vehicle
slowly while lightly depressing the brake
pedal several times in order to dry out the
brakes.
Leaving the brakes wet could result in re- duced braking performance. Also, there is a
possibility that they could freeze up or be- come inoperative due to rust, rendering the vehicle unable to move.
l When using an automatic car wash, pay at-
tention to the following items, referring to the operation manual or consulting a car
wash operator. If the following procedure is not followed, it could result in damage to
your vehicle.
• The outside mirrors are retracted.
• If your vehicle is equipped with the pillar
antenna, it can be retracted.
• If your vehicle is equipped with the roof
antenna, it can be removed.
• The wiper arms are secured in place with
tape.
• If your vehicle has rain sensor wipers,
place the wiper switch lever in the “OFF” position to deactivate the rain sensor.During cold weather
Salt and other chemicals spread on the roads
in some areas in winter can have a harmful effect on the vehicle body. You should there-
fore wash the vehicle as often as possible in accordance with our care-instructions. It is
recommended to have a preservative applied
and the underfloor protection checked before and after the cold weather season.
After washing your vehicle, wipe off all wa- terdrops from the rubber parts around the
doors to prevent the doors from freezing.
Waxing
E00901001974
Waxing the vehicle will help prevent the ad-
herence of dust and road chemicals to the paintwork. Apply a wax solution after wash- ing the vehicle, or at least once every three
months to assist displacing of water.
Do not wax your vehicle in direct sunlight.
You should wax after the surfaces have
cooled.
For information on how to use wax refer to the instruction manual of the wax.
CAUTIONl Waxes containing high abrasive compounds
should not be used.Polishing
E00901101151
The vehicle should only be polished if the
paintwork has become stained or lost its lus- tre. Do not polish parts with a mat coating
and the plastic bumpers. Doing so could cause stains or damage the finish.
Cleaning plastic parts
E00901301876
Use a sponge or chamois leather.
If a car wax adheres on a grey or black rough surface of the bumper, moulding or lamps, the surface becomes white. In such a case,
wipe it off using lukewarm water and soft cloth or chamois leather.
CAUTIONl Do not use a scrubbing brush or other hard
tools as they may damage the plastic part surface.
l Do not bring the plastic parts into contact
with petrol, light oil, brake fluids, engine oils, greases, paint thinners and sulphuric
acid (battery electrolyte) which may crack, stain or discolour the plastic parts.
If they touch the plastic parts, wipe them off with soft cloth, chamois or the like and anaqueous solution of neutral detergent then
immediately rinse the affected parts with
water.
Cleaning the exterior of your vehicle
9-04OKTE18E1Vehicle care9
Page 356 of 466

During cold weather
If the temperatures in your area drop belowfreezing, there is the danger that the coolant
in the engine or radiator could freeze and
cause severe damage to the engine and/or ra- diator. Add a sufficient amount of anti-freeze to the coolant to prevent it from freezing.The concentration should be checked before the start of cold weather and anti-freeze add-
ed to the system if necessary.
Washer fluid
E01000702113
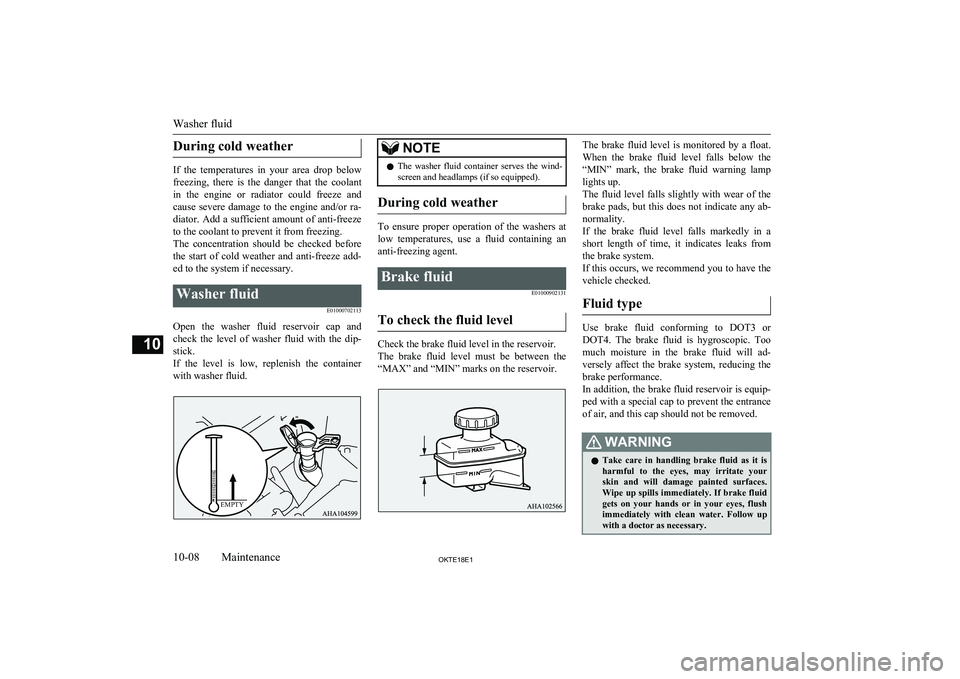
Open the washer fluid reservoir cap andcheck the level of washer fluid with the dip- stick.
If the level is low, replenish the container with washer fluid.
NOTEl The washer fluid container serves the wind-
screen and headlamps (if so equipped).
During cold weather
To ensure proper operation of the washers at
low temperatures, use a fluid containing ananti-freezing agent.
Brake fluid
E01000902131
To check the fluid level
Check the brake fluid level in the reservoir.
The brake fluid level must be between the “MAX” and “MIN” marks on the reservoir.
The brake fluid level is monitored by a float.
When the brake fluid level falls below the “MIN” mark, the brake fluid warning lamp
lights up.
The fluid level falls slightly with wear of the brake pads, but this does not indicate any ab-
normality.
If the brake fluid level falls markedly in a short length of time, it indicates leaks from
the brake system.
If this occurs, we recommend you to have the vehicle checked.
Fluid type
Use brake fluid conforming to DOT3 or
DOT4. The brake fluid is hygroscopic. Too
much moisture in the brake fluid will ad- versely affect the brake system, reducing the brake performance.
In addition, the brake fluid reservoir is equip-
ped with a special cap to prevent the entrance
of air, and this cap should not be removed.
WARNINGl Take care in handling brake fluid as it is
harmful to the eyes, may irritate your
skin and will damage painted surfaces.
Wipe up spills immediately. If brake fluid gets on your hands or in your eyes, flushimmediately with clean water. Follow up
with a doctor as necessary.
Washer fluid
10-08OKTE18E1Maintenance10EMPTY
Page 368 of 466

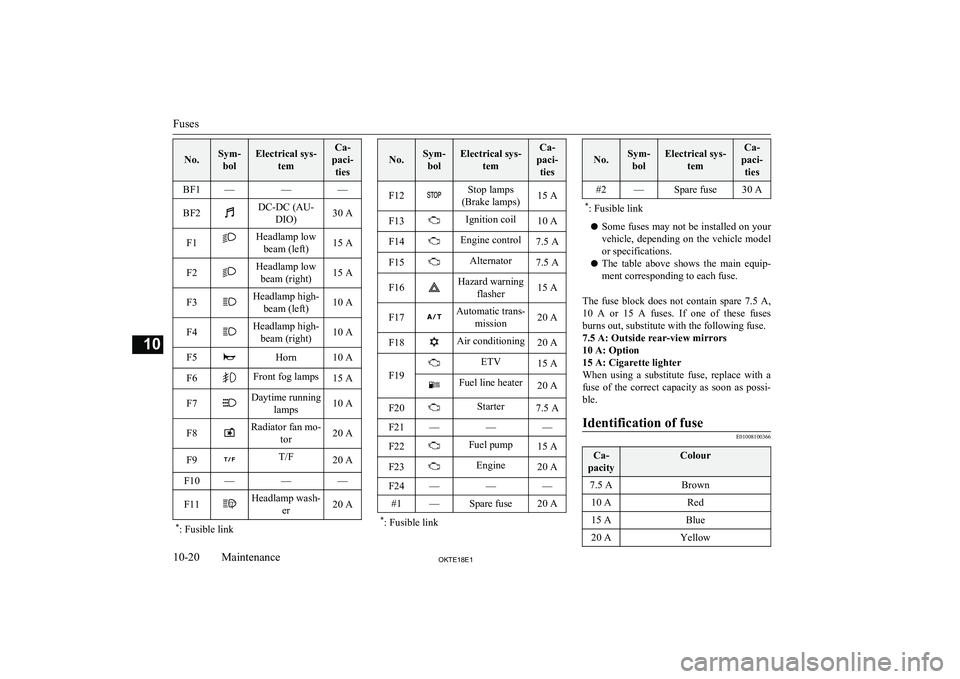
No.Sym-bolElectrical sys- temCa-
paci- tiesBF1———BF2DC-DC (AU- DIO)30 AF1Headlamp lowbeam (left)15 AF2Headlamp lowbeam (right)15 AF3Headlamp high- beam (left)10 AF4Headlamp high-beam (right)10 AF5Horn10 AF6Front fog lamps15 AF7Daytime running lamps10 AF8Radiator fan mo- tor20 AF9T/F20 AF10———F11Headlamp wash- er20 A*: Fusible link
No.Sym-
bolElectrical sys- temCa-
paci- tiesF12Stop lamps
(Brake lamps)15 AF13Ignition coil10 AF14Engine control7.5 AF15Alternator7.5 AF16Hazard warning flasher15 AF17Automatic trans-mission20 AF18Air conditioning20 A
F19
ETV15 AFuel line heater20 AF20Starter7.5 AF21———F22Fuel pump15 AF23Engine20 AF24———#1—Spare fuse20 A*: Fusible link
No.Sym-
bolElectrical sys- temCa-
paci- ties#2—Spare fuse30 A* : Fusible link
l Some fuses may not be installed on your
vehicle, depending on the vehicle model
or specifications.
l The table above shows the main equip-
ment corresponding to each fuse.
The fuse block does not contain spare 7.5 A ,
10 A or 15 A fuses. If one of these fuses burns out, substitute with the following fuse.7.5 A: Outside rear-view mirrors
10 A: Option
15 A: Cigarette lighter
When using a substitute fuse, replace with a
fuse of the correct capacity as soon as possi- ble.
Identification of fuse
E01008100366
Ca-
pacityColour7.5 ABrown10 ARed15 ABlue20 AYellow
Fuses
10-20OKTE18E1Maintenance10