first page MITSUBISHI OUTLANDER PHEV 2017 Owner's Manual (in English)
[x] Cancel search | Manufacturer: MITSUBISHI, Model Year: 2017, Model line: OUTLANDER PHEV, Model: MITSUBISHI OUTLANDER PHEV 2017Pages: 548, PDF Size: 25.5 MB
Page 48 of 548
WARNINGlTo reduce the risk of electric shock or fire
due to electric leak, always use an earthed
outlet protected by a residual current de-
tector, rated for amperage equal to or greater than the value specified by MITSUBISHI MOTORS , and that is con-
nected to a dedicated branch circuit. If
the circuit is shared, and another electri- cal device is being used at the same time
the vehicle is charging, the circuit may heat abnormally, the breaker may trip
and the circuit may cause adverse inter-
ference on the household electrical appli- ances such as TVs and audio systems.
l It is possible to charge even in rain or
snow. However, be sure to pay attention
to the following:
• Do not touch normal charge port, nor-
mal charge connector, outlet and plug with wet hands.
• Keep away from water when connect-
ing the normal charge port, normal
charge connector, outlet and plug.
• Do not perform the charging in the out
of doors when heavy rain, heavy snow, strong winds, and when bad weather is
expected.
• Do not charge if there is possibility a
lightning strike. When thunder rum-
bling begins suddenly during normal charging, do not touch the vehicle andthe EV charging cable and turn off the
breaker.WARNINGl If water goes into the normal charge port
or the normal charge connector, it couldcause a short circuit, a fire and an electric shock.
Be sure to completely close the charging
lid and the inner lid and do not leave the EV charging cable in an outdoors.
l If the connected part of the charging plug
has been buried in snow while charging, turn off the hand switch or the breaker
connected with the outlet first, then re- move the snow and disconnect the charg-
ing plug. If your vehicle body has been buried in snow while charging, remove
the snow and then disconnect the charge connector.
l When you perform the normal charging
at away from home, some normal charg-
ers may not correspond to your vehicle. Consult an administrator or a maker of
the normal charger that it corresponds to your vehicle before using it. Also perform
normal charging according to the operat-
ing procedure indicated on the body of
normal charger.
l Do not open the charging lid for anything
other than charging and using the exter-
nal power feed.CAUTIONl Do not attempt to perform a jump start on
the auxiliary battery at the same time that the
drive battery is being charged. Doing so may
damage the vehicle or charging cable and
could cause injury.
Refer to “Emergency starting” on page 9-07.NOTEl If you open the charging lid with the opera-
tion mode of the power switch is ON, a buz- zer sounds approximately 10 minutes inter-mittently to alert the charging cannot be star- ted. If you close the charging lid or put theoperation mode in OFF, the buzzer stops.
l If you insert the charge connector to the
charge port with the operation mode is ON,
a buzzer sounds continuously approximately
10 minutes to alert the charging cannot be started.
If you pull the charge connector out or put the operation mode in OFF, the buzzer stops.
l Repeatedly performing only quick charging
may reduce the battery capacity.
In usual charge, normal charging is recom-
mended.
l To maintain the capacity of the drive battery,
the following is recommended:
• If you repeatedly perform only the quick
charging, fully charge the vehicle in nor- mal charging every 2 weeks.
Basic knowledge for charging
3-05OGGE17E1Charging3
Page 135 of 548
NOTElIf it is difficult to latch the tether strap hook
in the rear seat, turn the hook sideways.
6. Push and pull the child restraint system in
all directions to be sure it is secure.
To remove
Remove the child restraint system in accord-ance with the instructions provided by the
child restraint system’s manufacturer.
Installing a child restraint sys-
tem to a 3-point type seat belt (with emergency locking mech-anism)
E00408701816
Installation:
1. Put a child restraint system on the seat in
which you wish to install it, and remove
the head restraint from the seat.
Refer to “Head restraints” on page 5-05.
2. When installing a child restraint system
in the front passenger seat, adjust seat slide to its most rearward position and
adjust the front seatback angle to 2 steps
rearward from the first locking position.
3. Route the belt through the child restraint
according to the child restraint system manufacturer’s instructions, then insert
the latch plate into the buckle.
4. Remove all slack of a lap belt by pulling
the webbing through the belt’s adjust-
ment feature.
3-point type seat belt requires no length adjustment, remove all slack by usingthe locking clip.
5. If your child restraint system has a sup-
port leg, make sure that there is a sup-
port leg at the stable position on the
floor.
6. Before putting the child in the restraint,
push and pull the restraint in all direc- tions to be sure it is secure. Do this be-
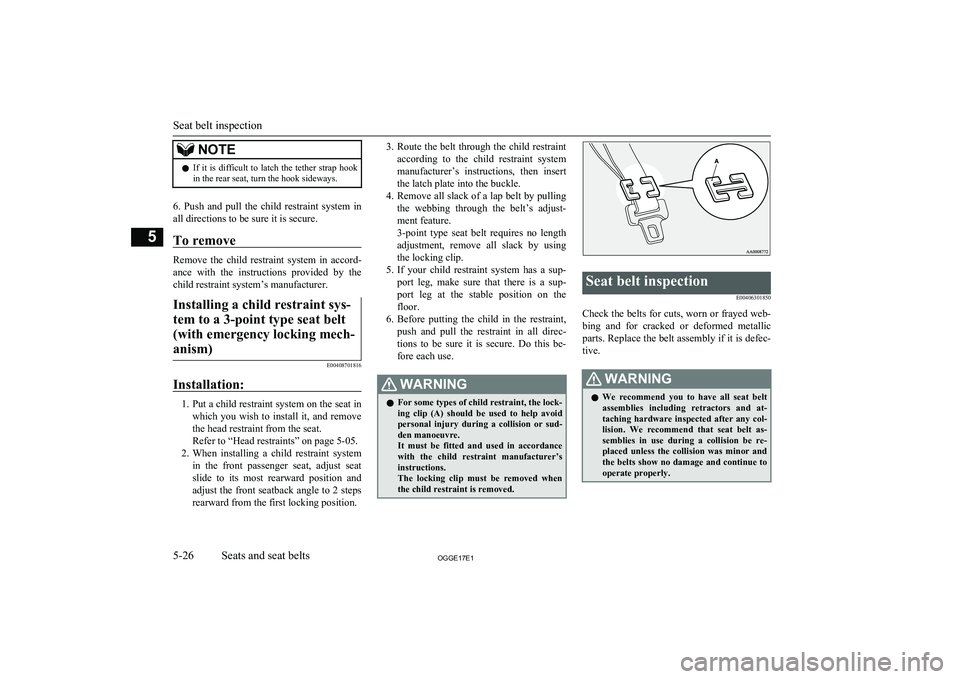
fore each use.WARNINGl For some types of child restraint, the lock-
ing clip (A) should be used to help avoid
personal injury during a collision or sud- den manoeuvre.
It must be fitted and used in accordance with the child restraint manufacturer’s
instructions.
The locking clip must be removed when the child restraint is removed.Seat belt inspection
E00406301850
Check the belts for cuts, worn or frayed web-bing and for cracked or deformed metallic
parts. Replace the belt assembly if it is defec-
tive.
WARNINGl We recommend you to have all seat belt
assemblies including retractors and at-
taching hardware inspected after any col- lision. We recommend that seat belt as-
semblies in use during a collision be re- placed unless the collision was minor and
the belts show no damage and continue to operate properly.
Seat belt inspection
5-26OGGE17E1Seats and seat belts5
Page 222 of 548
Seat belts
Before starting the vehicle, make sure that
you and your passengers have fastened your seat belts.
Floor mats
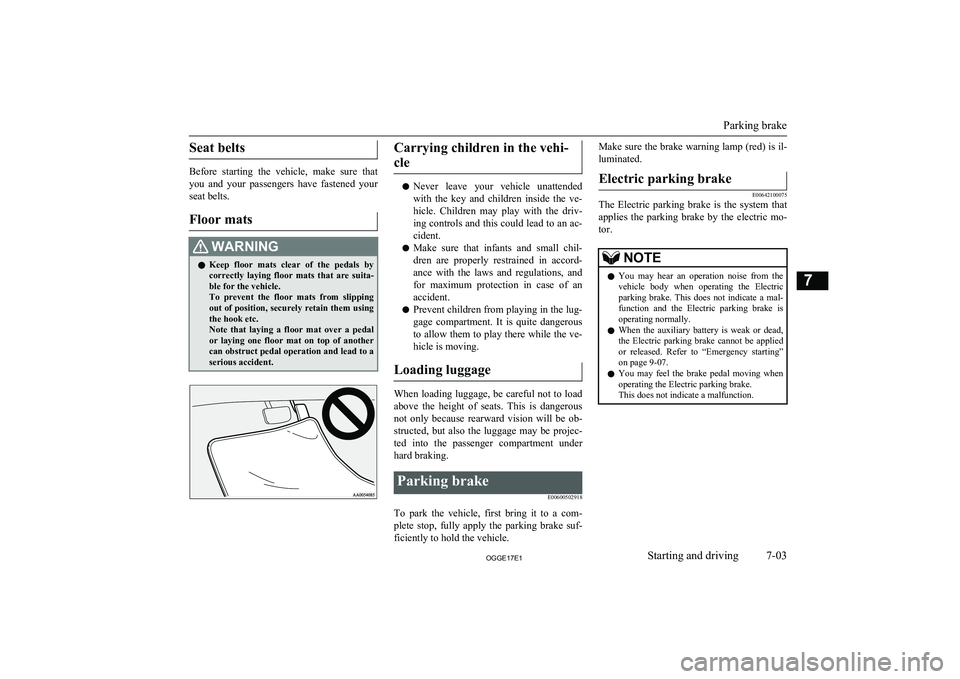
WARNINGl Keep floor mats clear of the pedals by
correctly laying floor mats that are suita-
ble for the vehicle.
To prevent the floor mats from slipping out of position, securely retain them usingthe hook etc.
Note that laying a floor mat over a pedal
or laying one floor mat on top of another can obstruct pedal operation and lead to a
serious accident.Carrying children in the vehi-
cle
l Never leave your vehicle unattended
with the key and children inside the ve-hicle. Children may play with the driv-
ing controls and this could lead to an ac- cident.
l Make sure that infants and small chil-
dren are properly restrained in accord-
ance with the laws and regulations, and
for maximum protection in case of an accident.
l Prevent children from playing in the lug-
gage compartment. It is quite dangerous
to allow them to play there while the ve- hicle is moving.
Loading luggage
When loading luggage, be careful not to load above the height of seats. This is dangerous
not only because rearward vision will be ob- structed, but also the luggage may be projec-ted into the passenger compartment underhard braking.
Parking brake
E00600502918
To park the vehicle, first bring it to a com-plete stop, fully apply the parking brake suf-
ficiently to hold the vehicle.
Make sure the brake warning lamp (red) is il-
luminated.Electric parking brake
E00642100075
The Electric parking brake is the system that
applies the parking brake by the electric mo- tor.
NOTEl You may hear an operation noise from the
vehicle body when operating the Electric
parking brake. This does not indicate a mal-
function and the Electric parking brake is operating normally.
l When the auxiliary battery is weak or dead,
the Electric parking brake cannot be applied
or released. Refer to “Emergency starting” on page 9-07.
l You may feel the brake pedal moving when
operating the Electric parking brake.
This does not indicate a malfunction.
Parking brake
7-03OGGE17E1Starting and driving7
Page 242 of 548
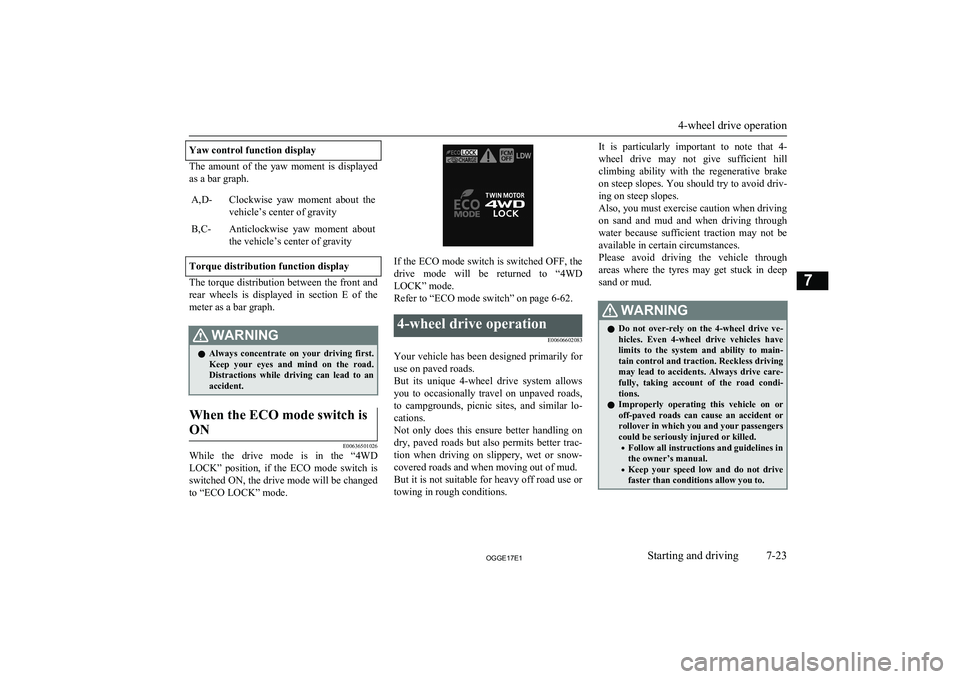
Yaw control function display
The amount of the yaw moment is displayed
as a bar graph.
A,D-Clockwise yaw moment about the vehicle’s center of gravityB,C-Anticlockwise yaw moment about
the vehicle’s center of gravity
Torque distribution function display
The torque distribution between the front and rear wheels is displayed in section E of the
meter as a bar graph.
WARNINGl Always concentrate on your driving first.
Keep your eyes and mind on the road.
Distractions while driving can lead to an accident.When the ECO mode switch is
ON
E00636501026
While the drive mode is in the “4WD
LOCK” position, if the ECO mode switch is switched ON, the drive mode will be changed to “ECO LOCK” mode.
If the ECO mode switch is switched OFF, the
drive mode will be returned to “4WD LOCK” mode.
Refer to “ECO mode switch” on page 6-62.
4-wheel drive operation
E00606602083
Your vehicle has been designed primarily foruse on paved roads.
But its unique 4-wheel drive system allows
you to occasionally travel on unpaved roads, to campgrounds, picnic sites, and similar lo-
cations.
Not only does this ensure better handling on
dry, paved roads but also permits better trac-
tion when driving on slippery, wet or snow- covered roads and when moving out of mud.
But it is not suitable for heavy off road use or
towing in rough conditions.
It is particularly important to note that 4-
wheel drive may not give sufficient hill
climbing ability with the regenerative brake on steep slopes. You should try to avoid driv- ing on steep slopes.
Also, you must exercise caution when driving on sand and mud and when driving through
water because sufficient traction may not be
available in certain circumstances.
Please avoid driving the vehicle through
areas where the tyres may get stuck in deep sand or mud.WARNINGl Do not over-rely on the 4-wheel drive ve-
hicles. Even 4-wheel drive vehicles have
limits to the system and ability to main- tain control and traction. Reckless driving may lead to accidents. Always drive care-
fully, taking account of the road condi-
tions.
l Improperly operating this vehicle on or
off-paved roads can cause an accident or
rollover in which you and your passengers
could be seriously injured or killed.
• Follow all instructions and guidelines in
the owner’s manual.
• Keep your speed low and do not drive
faster than conditions allow you to.
4-wheel drive operation
7-23OGGE17E1Starting and driving7
Page 251 of 548
CAUTIONlEffectiveness of the regenerative brake be-
comes weak when the drive battery is close
to full charge and loses its effect at the full
charge.
In this case, since the foot brake is effective,
use the foot brake and slow down your vehi-
cle speed beforehand.
The energy usage indicator stops swaying in the charge zone closer to full charge.
Refer to “Energy usage indicator” on page 6-02
In such case, drive at low speed in advance.
And if needed use the foot brake to slow
down the vehicle speed before the vehicle speed increases.
The regenerative brake comes to be effective if the drive battery remaining power is con-
sumed.
Brake pad
l Avoid hard braking situations.
New brakes need to be broken-in by
moderate use for the first 200 km
(124 miles).
l The disc brakes are provided with a
warning device which emits a shrieking
metallic sound while braking if the brake pads have reached their wear limit. Ifyou hear this sound, have the brake padsreplaced immediately.
WARNINGl Driving with worn brake pads will make
it harder to stop, and can cause an acci-
dent.Brake auto hold
E00652000051
When the vehicle is stopped at traffic signalsetc., the vehicle can be held stationary with
the brake auto hold system even if you re-
lease your foot from the brake pedal. When the accelerator pedal is depressed, the brakes are released.
WARNINGl Do not overly rely on the brake auto hold
system. On a steep slope, depress the brake pedal firmly because the systemmay not hold the vehicle stationary.
l Never leave the vehicle while it is being
stopped by the brake auto hold system.
When leaving the vehicle, apply the park- ing brake and put the select position to
the “P” (PARK) position.
l Do not use the brake auto hold system
when driving on slippery roads. The sys- tem may not hold the vehicle stationary
and an accident could occur.NOTEl While operating the brake auto hold system,
you may hear an operation noise to increasebraking force when the system detected the
movement of the vehicle. This does not indi- cate a malfunction.
How to use brake auto hold
To turn on brake auto hold
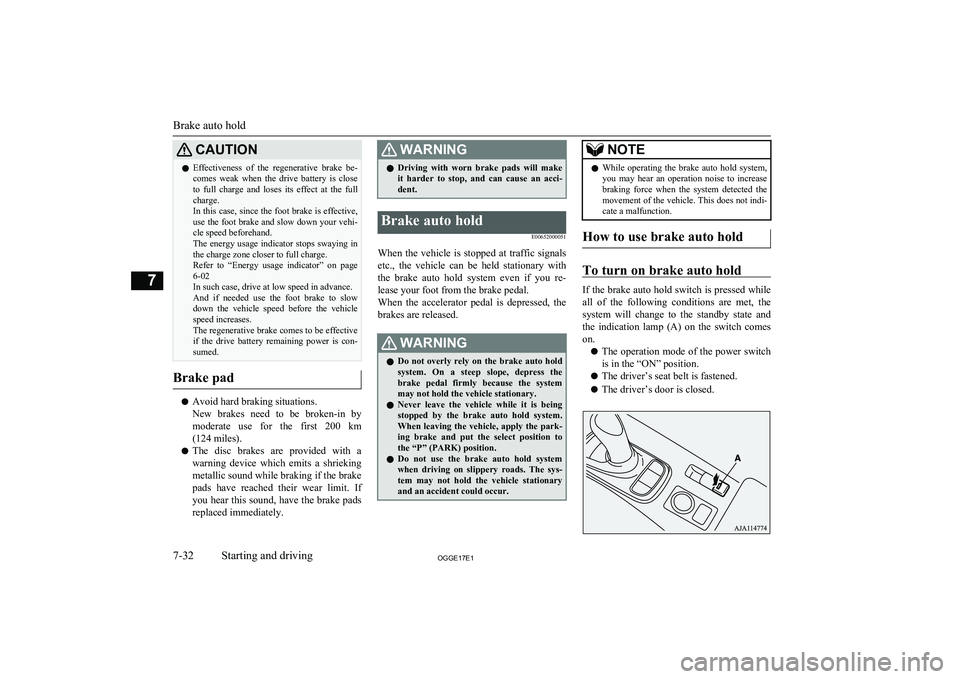
If the brake auto hold switch is pressed while
all of the following conditions are met, the system will change to the standby state and
the indication lamp (A) on the switch comes on.
l The operation mode of the power switch
is in the “ON” position.
l The driver’s seat belt is fastened.
l The driver’s door is closed.
Brake auto hold
7-32OGGE17E1Starting and driving7
Page 336 of 548
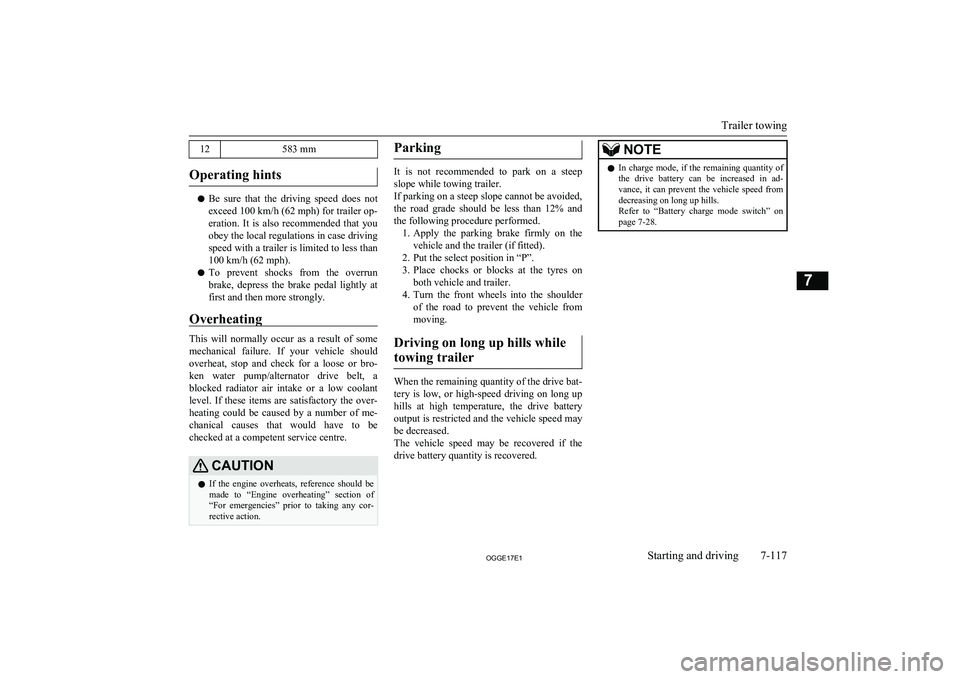
12583 mm
Operating hints
lBe sure that the driving speed does not
exceed 100 km/h (62 mph) for trailer op-
eration. It is also recommended that you obey the local regulations in case driving speed with a trailer is limited to less than
100 km/h (62 mph).
l To prevent shocks from the overrun
brake, depress the brake pedal lightly at first and then more strongly.
Overheating
This will normally occur as a result of some
mechanical failure. If your vehicle should overheat, stop and check for a loose or bro-ken water pump/alternator drive belt, a
blocked radiator air intake or a low coolant level. If these items are satisfactory the over-
heating could be caused by a number of me-
chanical causes that would have to be
checked at a competent service centre.
CAUTIONl If the engine overheats, reference should be
made to “Engine overheating” section of
“For emergencies” prior to taking any cor- rective action.Parking
It is not recommended to park on a steep
slope while towing trailer.
If parking on a steep slope cannot be avoided,
the road grade should be less than 12% and
the following procedure performed. 1. Apply the parking brake firmly on the
vehicle and the trailer (if fitted).
2. Put the select position in “P”.
3. Place chocks or blocks at the tyres on
both vehicle and trailer.
4. Turn the front wheels into the shoulder
of the road to prevent the vehicle from moving.
Driving on long up hills while towing trailer
When the remaining quantity of the drive bat-tery is low, or high-speed driving on long up
hills at high temperature, the drive battery
output is restricted and the vehicle speed may be decreased.
The vehicle speed may be recovered if the
drive battery quantity is recovered.
NOTEl In charge mode, if the remaining quantity of
the drive battery can be increased in ad-
vance, it can prevent the vehicle speed from
decreasing on long up hills.
Refer to “Battery charge mode switch” on page 7-28.
Trailer towing
7-117OGGE17E1Starting and driving7
Page 367 of 548
Switch Playback Mode
Repeat playback, random playback, and scan
playback are possible.
Repeat Playback (RPT)
Press the 1RPT key.
Repeat playback of the track currently being
played.
NOTEl Pressing again will cancel.
l Selecting a track, ejecting, fast forwarding,
or rewinding will cancel.
Random Playback (RDM)
Press the 2RDM key.
Play the tracks on the disc in a random order.
NOTEl Pressing again will cancel.
l Ejecting will cancel this.
Scan Playback (SCAN)
Press the PTY/SCAN key.
Play the first 10 seconds of each of the tracks
on the whole disc in order.NOTEl Press this button again during playback if
you wish to hear that track, and that trackwill play normally.Listen to MP3s
E00737900034
This explains how to listen to audio files on a
disc.
CAUTIONl CD-ROM and CD-R/RW media can only
play back MP3 format audio files.
To Listen to MP3s
Insert the disc.
Insert a disc to automatically start playback.
→ “Insert/Eject Discs” on page 8-24
If a disc is already within the product, press the MEDIA key to switch to CD as the
source.
NOTEl Depending on the file structure, it may take
some time to read the contents of the disc.
Select the Track (File)
Press the key or key to select the
track.
This enables selection of the next or previous
track.
Fast Forward or Rewind
Hold down the 3 key or the 4 key.
Fast forward/rewind is possible.
Switch Playback Mode
Repeat playback, random playback, and scan
playback are possible.
Repeat Playback (RPT)
Press the 1RPT key.
Repeat playback of the track currently being
played.
Listen to MP3s
8-30OGGE17E1For pleasant driving8
Page 369 of 548
CAUTIONlDepending on how the devices are handled,
audio files being damaged or lost, therefore
it is recommended that data be backed up.NOTEl Depending on the generation, model, or soft-
ware version of the iPod/iPhone, playback
on this product may not be possible. (→8-14 ) Additionally, playback as ex-
plained in this document may not be possi- ble.
l For vehicles with a Bluetooth ®
2.0 interface,
the types of devices that can be connected
may vary.
For details, access the MITSUBISHI
MOTORS website.
Please read and agree to the “Warning about
Links to the Web Sites of Other Compa- nies”. The websites mentioned above may
connect you to websites other than the MITSUBISHI MOTORS website.
http://www.mitsubishi-motors.com/en/prod-
ucts/index.html
l Usage of iPod/iPhone hardware with the lat-
est software version is recommended.
l Regarding how to connect the iPod/iPhone,
refer to “How to connect an iPod” on page
8-71.
l When connecting the iPod/iPhone, use a
commercially available iPod connection ca- ble.NOTEl Set up the device in order that no unsafe ac-
tions, such as plugging in the connection ca-ble are taken while driving.
l When inserting and removing the iPod/
iPhone, for safety’s sake first stop the vehi- cle.
l Depending on the status of the iPod/iPhone,
it may take some time until the device is rec- ognized, or playback starts.
l Depending on the iPod/iPhone, the button
functions on the product may not operatewhile the iPod/iPhone is connected.
l iPod/iPhone specifications and settings may
mean that connection is not possible, or re- sult in differences in operation or display.
l Depending on audio data in the iPod/iPhone,
track information may not be displayed cor- rectly.
l Depending on the status of the vehicle and
device, the iPod/iPhone may not play back after starting the Plug-in Hybrid EV system.
l Data containing copyright information may
not play back.
l It is recommended that the iPod/iPhone
equaliser settings be set to flat.
l Operate the iPod/iPhone while connected to
this product.
l If the iPod/iPhone is connected via Blue-
tooth as a Bluetooth- capable audio device,
then do not connect the iPod/iPhone using
an iPod cable. Connection using both meth- ods will result in erroneous operation.NOTEl If an iPod/iPhone does not operate correctly,
then remove the iPod/iPhone from the prod- uct, reset, then reconnect.
Play iPod
Press the MEDIA key to set the iPod as the
source.
The selected source is indicated on the dis-
play.
Select the Track (File)
Press the key or key to select the
track.
This enables selection of the next or previous
track.
Fast Forward or Rewind
Hold down the 3 key or the 4 key.
Fast forward/rewind is possible.
Switch Playback Mode
Repeat playback and shuffle playback are
possible.
Listen to an iPod
8-32OGGE17E1For pleasant driving8
Page 371 of 548
CAUTIONlDepending on how the devices are handled,
audio files being damaged or lost, therefore
it is recommended that data be backed up.NOTEl Digital audio players that support the mass
storage class specifications can be connec- ted.
l For details regarding the types of USB devi-
ces that can be connected and the types of files that can be played back in vehicles with
a Bluetooth ®
2.0 interface, refer to “Types
of connectable devices and supported file specifications” on page 8-72.
l Regarding how to connect USB devices, re-
fer to “How to connect a USB memory de-vice” on page 8-70.
l When connecting a USB device, use a con-
nection cable. Failure to use a connection ca-
ble when connecting may place undue load on, or damage the USB connector.
l Set up the device in order that no unsafe ac-
tions, such as plugging in the connection ca-ble are taken while driving.
l When inserting and removing the USB de-
vice, for safety’s sake first stop the vehicle.
l Do not insert other than audio devices into
the USB port. Damage to the device or equipment may result.
l Depending on the status of the USB device,
it may take some time until the device is rec-
ognized, or playback starts.NOTEl Depending on the USB device, the button
functions on the product may not operatewhile the USB device is connected.
l USB device specifications and settings may
mean that connection is not possible, or re-
sult in differences in operation or display.
l Depending on audio data in the USB device,
track information may not be displayed cor- rectly.
l Depending on the status of the vehicle and
device, the iPod/iPhone may not play back after starting the Plug-in Hybrid EV system.
l Data containing copyright information may
not play back.
l This product can play back MP3, WMA, and
AAC format audio files.
l Depending on the type of USB device, usage
may not be possible, or functions that can beused may be restricted.
l The recommended file system for USB
memory is FAT32.
l The maximum supported capacity for USB
memory is 32GB.
l Operate the USB device containing recorded
audio files while connected to this product.
Play Back of Audio Files on a
USB Device
Press the MEDIA key to set
USB as the source. The selected source is in- dicated on the display.
Select the Track (File)
Press the key or key to select the
track.
This enables selection of the next or previous
track.
Fast Forward or Rewind
Hold down the 3 key or the 4 key.
Fast forward/rewind is possible.
Switch Playback Mode
Repeat playback, random playback, and scan
playback are possible.
Repeat Playback (RPT)
Press the 1RPT key.
Repeat playback of the track currently being
played.
NOTEl Pressing again will cancel.
l Selecting a file will cancel this.
Folder Repeat Playback
Hold down the 1RPT key.
Listen to Audio Files on a USB Device
8-34OGGE17E1For pleasant driving8
Page 373 of 548
To play iPod/USB memorydevice tracks via voice
operation (vehicles with
Bluetooth ®
2.0 interface)
E00748700029
Desired tracks on the iPod/USB memory de-
vice which is connected to the USB input ter-
minal can be selected and played via voice operation.
For information concerning the voice recog- nition function or speaker registration func-
tion, refer to “Bluetooth®
2.0 interface” on
page 8-50.
The following explains how to prepare for voice operation and play the tracks.Preparation for voice operation
E00748800059
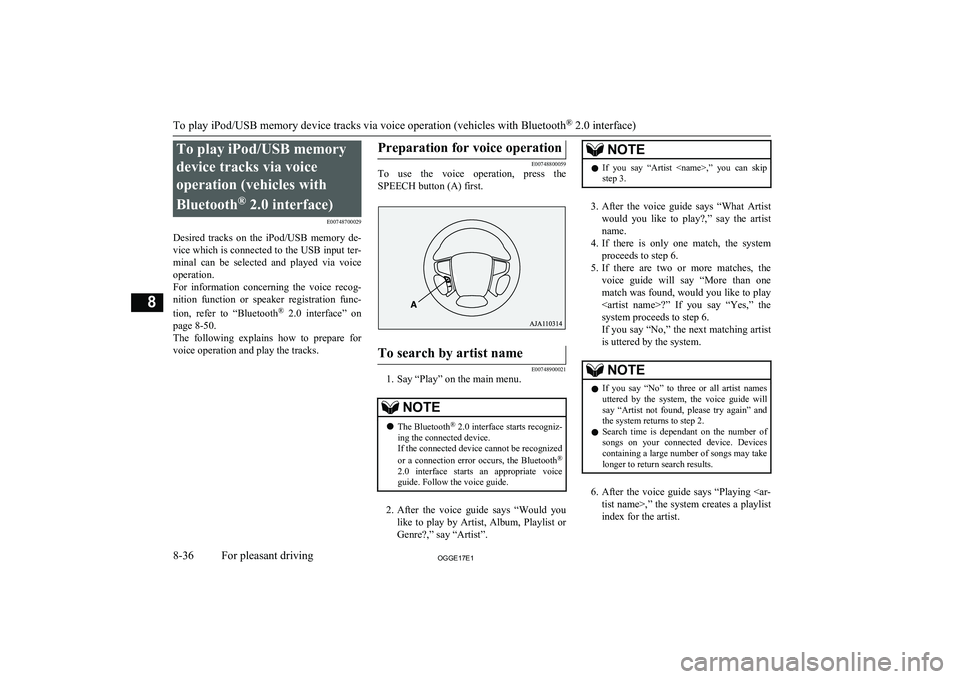
To use the voice operation, press the
SPEECH button (A) first.
To search by artist name
E00748900021
1. Say “Play” on the main menu.
NOTEl The Bluetooth ®
2.0 interface starts recogniz-
ing the connected device.
If the connected device cannot be recognized
or a connection error occurs, the Bluetooth ®
2.0 interface starts an appropriate voice
guide. Follow the voice guide.
2. After the voice guide says “Would you
like to play by Artist, Album, Playlist or Genre?,” say “Artist”.
NOTEl If you say “Artist
step 3.
3. After the voice guide says “What Artist
would you like to play?,” say the artist name.
4. If there is only one match, the system
proceeds to step 6.
5. If there are two or more matches, the
voice guide will say “More than one
match was found, would you like to play
system proceeds to step 6.
If you say “No,” the next matching artist
is uttered by the system.
NOTEl If you say “No” to three or all artist names
uttered by the system, the voice guide will say “Artist not found, please try again” and
the system returns to step 2.
l Search time is dependant on the number of
songs on your connected device. Devices containing a large number of songs may take
longer to return search results.
6. After the voice guide says “Playing
index for the artist.
To play iPod/USB memory device tracks via voice operation (vehicles with Bluetooth ®
2.0 interface)
8-36OGGE17E1For pleasant driving8