heater MITSUBISHI OUTLANDER SPORT 2015 3.G Owners Manual
[x] Cancel search | Manufacturer: MITSUBISHI, Model Year: 2015, Model line: OUTLANDER SPORT, Model: MITSUBISHI OUTLANDER SPORT 2015 3.GPages: 384, PDF Size: 61.37 MB
Page 27 of 384
Front seats 4-6 Seat and restraint systems
4
N00402300069
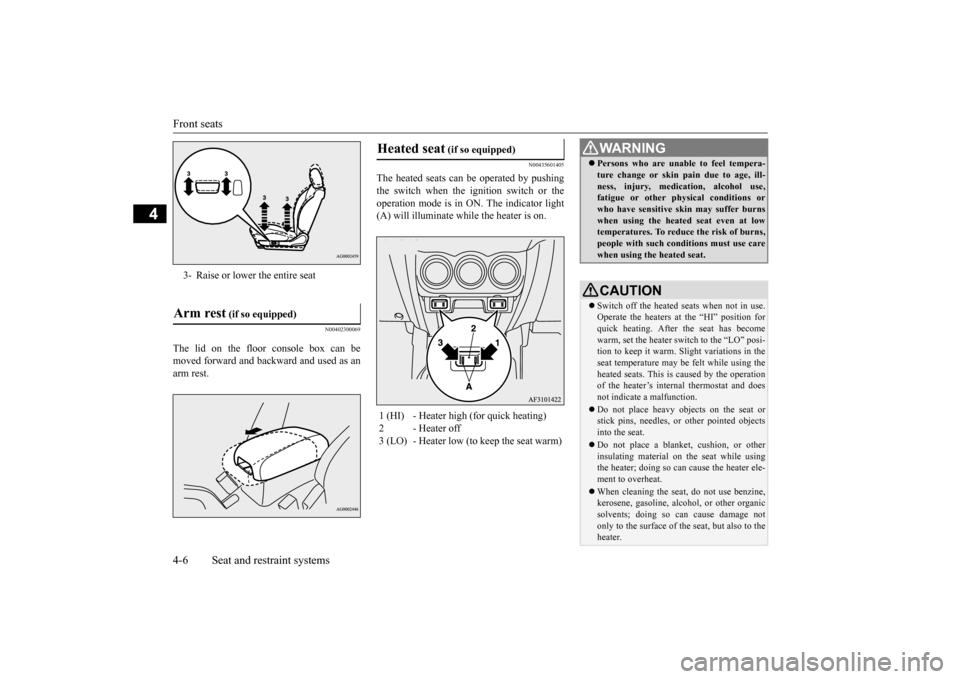
The lid on the floor console box can be moved forward and backward and used as an arm rest.
N00435601405
The heated seats can be operated by pushingthe switch when the ignition switch or theoperation mode is in ON. The indicator light (A) will illuminate while
the heater is on.
3- Raise or lower the entire seatArm rest
(if so equipped)
Heated seat
(if so equipped)
1 (HI) - Heater high (for quick heating) 2 - Heater off3 (LO) - Heater low (to keep the seat warm)
WA R N I N G Persons who are unable to feel tempera- ture change or skin pain due to age, ill- ness, injury, medication, alcohol use, fatigue or other physical conditions or who have sensitive skin may suffer burnswhen using the heated seat even at low temperatures. To reduce the risk of burns, people with such conditions must use carewhen using the heated seat.CAUTION Switch off the heated seats when not in use. Operate the heaters at the “HI” position forquick heating. After the seat has become warm, set the heater switch to the “LO” posi- tion to keep it warm. Slight variations in theseat temperature may be felt while using the heated seats. This is caused by the operation of the heater’s internal thermostat and doesnot indicate a malfunction. Do not place heavy objects on the seat or stick pins, needles, or other pointed objects into the seat. Do not place a blanket,
cushion, or other
insulating material on the seat while using the heater; doing so can cause the heater ele- ment to overheat. When cleaning the seat, do not use benzine, kerosene, gasoline, alcohol, or other organic solvents; doing so can cause damage notonly to the surface of th
e seat, but also to the
heater.
BK0206700US.bo
ok 6 ページ 2014年3月25日 火曜日 午後4時42分
Page 28 of 384
Rear seats
Seat and restraint systems 4-7
4
N00402500191 N00403000308
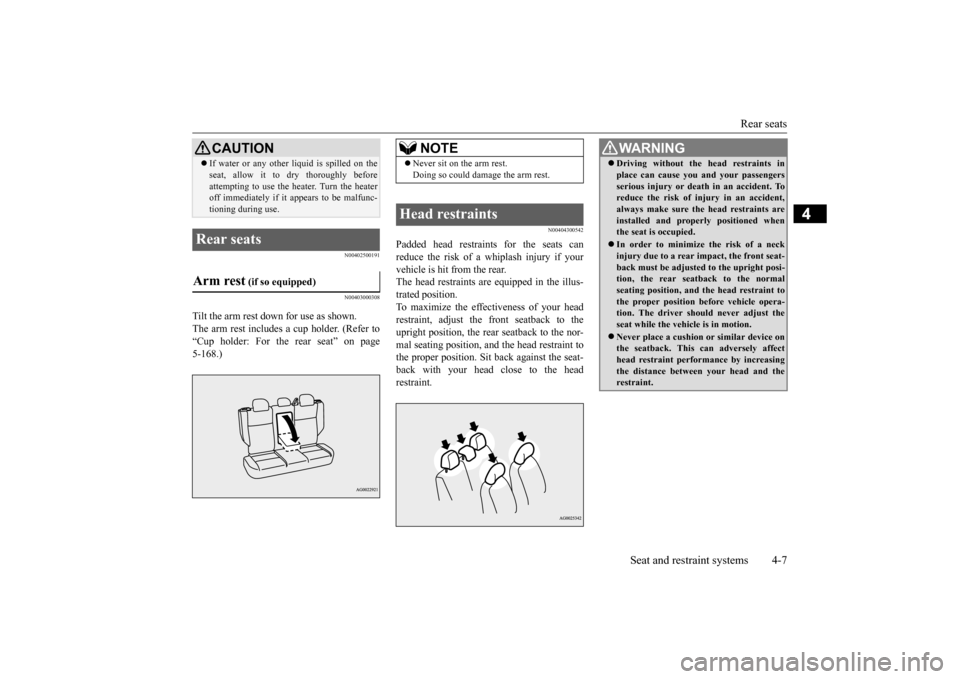
Tilt the arm rest down for use as shown. The arm rest includes a cup holder. (Refer to “Cup holder: For the rear seat” on page 5-168.)
N00404300542
Padded head restraints for the seats can reduce the risk of a whiplash injury if your vehicle is hit from the rear.The head restraints are equipped in the illus-trated position. To maximize the effectiveness of your head restraint, adjust the front seatback to theupright position, the rear seatback to the nor- mal seating position, and the head restraint to the proper position. Sit
back against the seat-
back with your head close to the head restraint.
If water or any other li
quid is spilled on the
seat, allow it to dry thoroughly before attempting to use the heater. Turn the heater off immediately if it appears to be malfunc- tioning during use.
Rear seats Arm rest
(if so equipped)
CAUTION
NOTE
Never sit on the arm rest. Doing so could damage the arm rest.
Head restraints
WA R N I N G Driving without the head restraints in place can cause you and your passengers serious injury or death in an accident. To reduce the risk of injury in an accident, always make sure the head restraints areinstalled and properly positioned when the seat is occupied. In order to minimize the risk of a neck injury due to a rear impact, the front seat- back must be adjusted to the upright posi-tion, the rear seatback to the normal seating position, and the head restraint to the proper position before vehicle opera-tion. The driver should never adjust the seat while the vehicle is in motion. Never place a cushion or similar device on the seatback. This can adversely affect head restraint performance by increasingthe distance between your head and the restraint.
BK0206700US.bo
ok 7 ページ 2014年3月25日 火曜日 午後4時42分
Page 107 of 384
Ignition switch 5-44 Features and controls
5
N00549200086
The outside mirror can be folded in towards the side window to prevent damage when parking in tight locations.
N00549300191
When the rear window defogger switch ispressed with the engine running, the outside rearview mirrors are defogged or defrosted. Current will flow through the heater elementinside the mirrors, thus clearing away frost or condensation.
The indicator light (A) will illuminate while the defogger is on. The heater will be turned off automatically in about 20 minutes.
N00512400673
[For vehicles equipped with the Free-hand Advanced Security Transmitter (F.A.S.T.- key)]For information on operations for vehicles equipped with the Free-hand Advanced Secu- rity Transmitter (F.A.S.T.-key), refer to“Free-hand Advanced Security Transmitter (F.A.S.T.-key): Engine switch”on page 5-16.
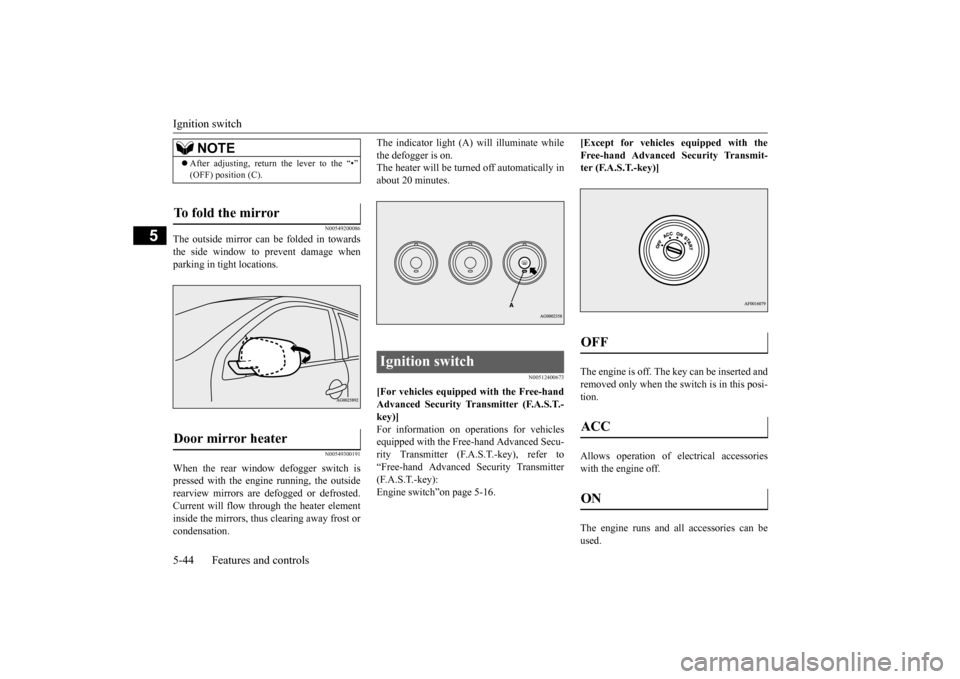
[Except for vehicles equipped with the Free-hand Advanced Security Transmit- ter (F.A.S.T.-key)] The engine is off. The key can be inserted and removed only when the switch is in this posi- tion. Allows operation of electrical accessories with the engine off. The engine runs and all accessories can be used.
NOTE
After adjusting, return the lever to the “•” (OFF) position (C).
To fold the mirror Door mirror heater
Ignition switch
OFF ACC ON
BK0206700US.bo
ok 44 ページ 2014年3月25日 火曜日 午後4時42分
Page 197 of 384
Electric rear window defogger switch 5-134 Features and controls
5
N00523700373
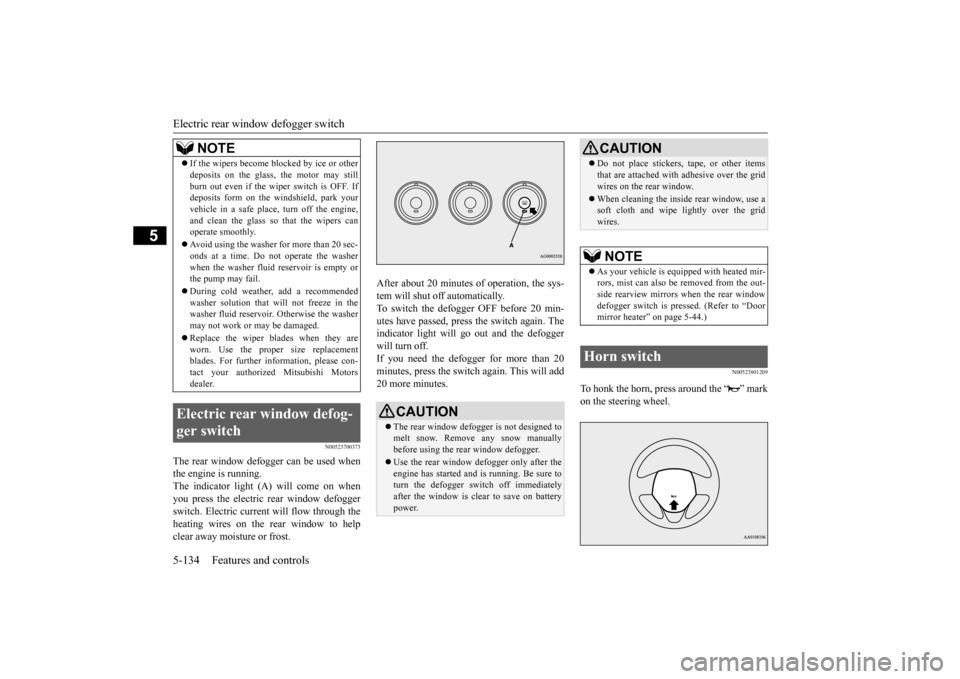
The rear window defogger can be used when the engine is running.The indicator light (A) will come on when you press the electric rear window defogger switch. Electric current will flow through theheating wires on the rear window to help clear away moisture or frost.
After about 20 minutes of operation, the sys- tem will shut off automatically. To switch the defogger OFF before 20 min-utes have passed, press the switch again. The indicator light will go out and the defogger will turn off.If you need the defogger for more than 20minutes, press the switch again. This will add 20 more minutes.
N00523801209
To honk the horn, press around the “ ” mark on the steering wheel.
If the wipers become blocked by ice or other deposits on the glass, the motor may still burn out even if the wiper switch is OFF. If deposits form on the windshield, park your vehicle in a safe place, turn off the engine,and clean the glass so that the wipers can operate smoothly. Avoid using the washer for more than 20 sec- onds at a time. Do not operate the washer when the washer fluid reservoir is empty orthe pump may fail. During cold weather, add a recommended washer solution that will not freeze in the washer fluid reservoir. Otherwise the washer may not work or may be damaged. Replace the wiper blades when they are worn. Use the proper size replacementblades. For further information, please con- tact your authorized Mitsubishi Motors dealer.
Electric rear window defog- ger switch
NOTE
CAUTION The rear window defogger is not designed to melt snow. Remove any snow manuallybefore using the rear window defogger. Use the rear window defogger only after the engine has started and is running. Be sure to turn the defogger switch off immediately after the window is clear to save on batterypower.
Do not place stickers, tape, or other items that are attached with adhesive over the grid wires on the rear window. When cleaning the inside rear window, use a soft cloth and wipe lightly over the grid wires.NOTE
As your vehicle is equipped with heated mir- rors, mist can also be removed from the out-side rearview mirrors when the rear window defogger switch is pressed. (Refer to “Door mirror heater” on page 5-44.)
Horn switch
CAUTION
BK0206700US.book
134 ページ 2014年3月25日 火曜日 午後4時42分
Page 240 of 384
Loading information Driving safety 6-7
6
More effort could be required to turn the steering wheel.Refer to “Electric power steering system (EPS)” on page 5-67. Always remove the key from the ignition switch and lock all doors and the liftgate when leaving the vehicle unattended.Always try to park your vehicle in a well lit area.
N00629900408
It is very importan
t to know how much
weight your vehicle can carry. This weight is called the vehicle capacity weight andincludes the weight of all occupants, cargo (including the roof load), non-factory-
installed options, if any, being towed. The tire and loading information placard located on the driver’s door sill of your vehicle will show how much weight it may properly carry. It is important to fami
liarize yourself with the
following terms before loading your vehicle: Vehicle maximum load on the tire: load on an individual tire that is determined by distributing to each axle its share of the maximum loaded vehicle weight anddividing by two. Vehicle normal load on the tire: load on an individual tire that is determined by dis-tributing to each axle its share of the curb weight, accessory weight, and normal occupant weight and dividing by two. Maximum loaded vehicle weight: the sum of - (a) Curb weight;(b) Accessory weight; (c) Vehicle capacity weight; and (d) Production options weight.
Curb weight: the weight of a motor vehi- cle with standard equipment including the maximum capacity of fuel, oil, and cool- ant. Accessory weight: the combined weight (in excess of those standard items which may be replaced) of automatic transmis-sion, power steering, power brakes, power windows, power seats, radio, and heater, to the extent that these items are availableas factory- installed equipment (whetherinstalled or not). Vehicle capacity weight: the rated cargo and luggage load plus 150 lbs (68 kg)
*
times the vehicle’s designated seating capacity. Production options weight: the combined weight of those installed regular produc- tion options weighing over 5 lbs (2.3 kg) in excess of those standard items whichthey replace, not previously considered in curb weight or accessory weight, includ- ing heavy duty brakes, ride levelers, roofrack, heavy duty battery, and special trim. Normal occupant weight: 150 lbs (68 kg)
* times the number of specified
occupants. (In your vehicle the number is 3)
WA R N I N G Do not park your vehicle in areas where combustible materials such as dry grass or leaves can come in contact with a hot exhaust, since a fire could occur.
Do not keep the steering wheel fully turned for a long time When leaving the vehicle Loading information
WA R N I N G Never overload your vehicle. Overloading can damage your vehicle, adversely affectvehicle performance, including handling and braking, cause tire failure, and result in an accident.
BK0206700US.bo
ok 7 ページ 2014年3月25日 火曜日 午後4時42分
Page 251 of 384
Manual air conditioning-T
ype 1 (if so equipped)
7-4 Comfort controls
7
N00730300331 N00730500258
N00736500175
When the ignition switch or the operation mode is in ON, select the blower speed byturning the blower speed selection dial. Turning the dial clockwise will increase the blower speed; turning the dial counterclock-wise will decrease it. When the dial is set to the “OFF” position, all fan-driven airflow will stop.
N00736600222
Turn the temperature control dial clockwiseto make the air warmer. Turn it counterclock-wise to make the air cooler.
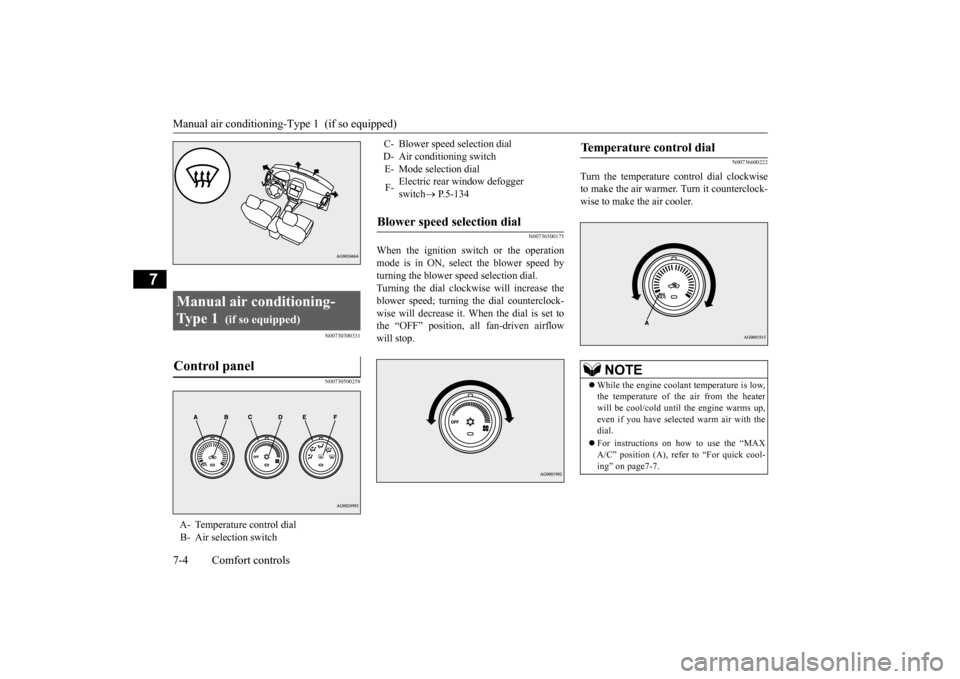
Manual air conditioning- Ty p e 1
(if so equipped)
Control panel
A- Temperature control dial B- Air selection switch
C- Blower speed selection dial D- Air conditioning switchE- Mode selection dial F-
Electric rear window defogger switch
P.5-134
Blower speed selection dial
Temperature control dial
NOTE
While the engine coolant temperature is low, the temperature of the air from the heater will be cool/cold until the engine warms up, even if you have selected warm air with thedial. For instructions on how to use the “MAX A/C” position (A), refer to “For quick cool- ing” on page7-7.
BK0206700US.bo
ok 4 ページ 2014年3月25日 火曜日 午後4時42分
Page 257 of 384
Manual air conditioning-T
ype 2 (if so equipped)
7-10 Comfort controls
7
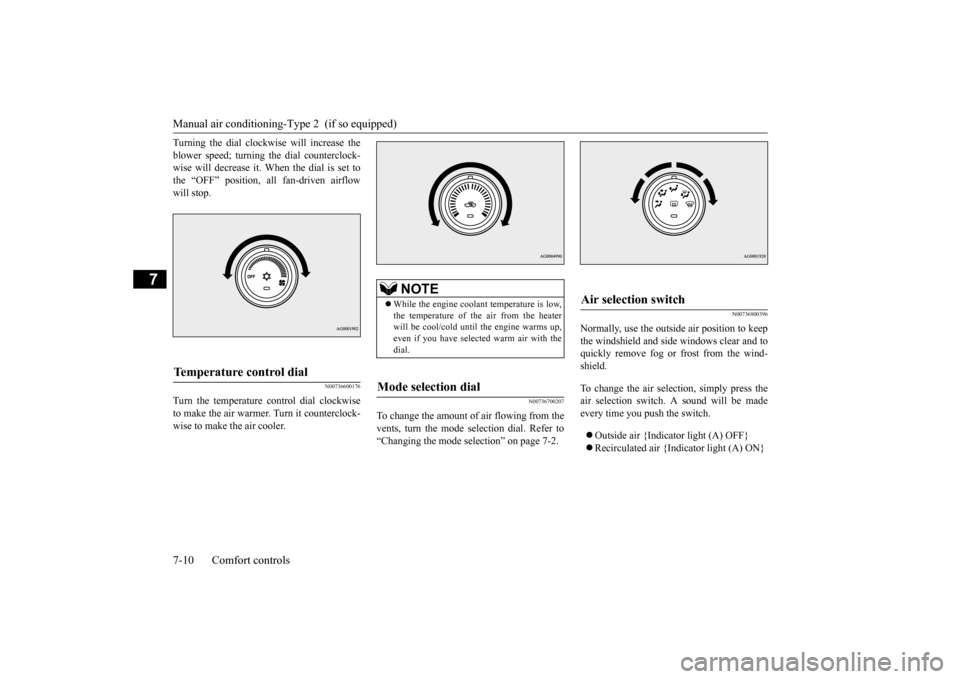
Turning the dial clockwise will increase the blower speed; turning the dial counterclock- wise will decrease it. When the dial is set to the “OFF” position, all fan-driven airflowwill stop.
N00736600176
Turn the temperature control dial clockwiseto make the air warmer. Turn it counterclock-wise to make the air cooler.
N00736700207
To change the amount of
air flowing from the
vents, turn the mode selection dial. Refer to “Changing the mode selection” on page 7-2.
N00736800396
Normally, use the outside air position to keepthe windshield and side windows clear and toquickly remove fog or frost from the wind- shield. To change the air selection, simply press the air selection switch. A sound will be made every time you push the switch. Outside air {Indicator light (A) OFF} Recirculated air {Indicator light (A) ON}
Temperature control dial
NOTE
While the engine coolant temperature is low, the temperature of the air from the heater will be cool/cold until the engine warms up,even if you have selected warm air with the dial.
Mode selection dial
Air selection switch
BK0206700US.bo
ok 10 ページ 2014年3月25日 火曜日 午後4時42分
Page 262 of 384
Automatic air conditioning-Type1 (if so equipped)
Comfort controls 7-15
7
N00736900153
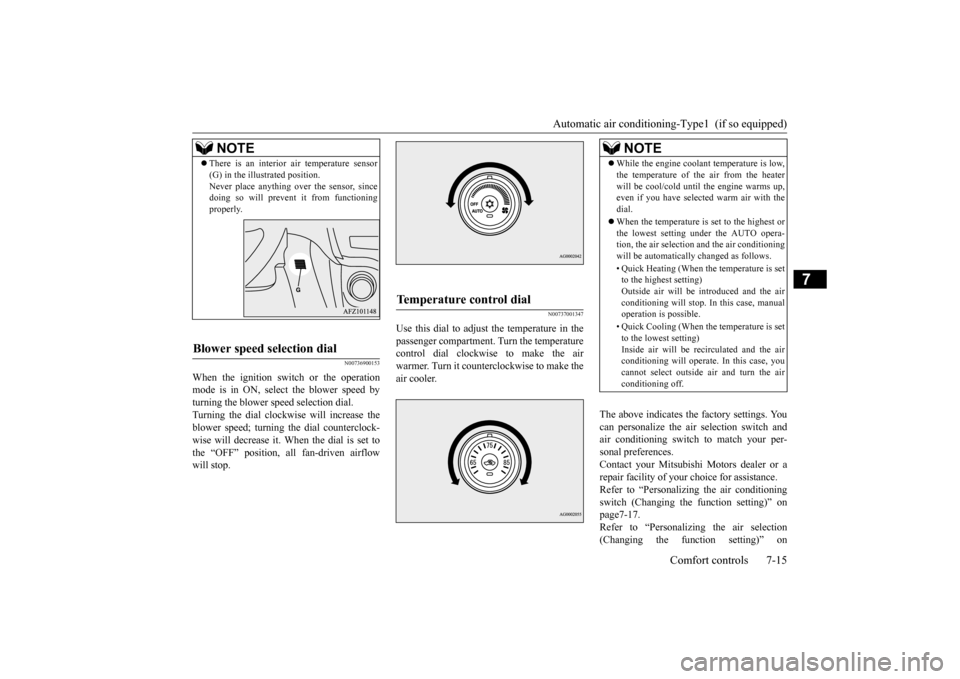
When the ignition switch or the operation mode is in ON, select the blower speed by turning the blower speed selection dial.Turning the dial clockwise will increase the blower speed; turning the dial counterclock- wise will decrease it. When the dial is set tothe “OFF” position, all fan-driven airflow will stop.
N00737001347
Use this dial to adjust the temperature in the passenger compartment. Turn the temperaturecontrol dial clockwise to make the air warmer. Turn it counterclockwise to make the air cooler.
The above indicates the factory settings. You can personalize the air selection switch and air conditioning switch to match your per-sonal preferences. Contact your Mitsubishi Motors dealer or a repair facility of your choice for assistance.Refer to “Personalizing the air conditioning switch (Changing the function setting)” on page7-17.Refer to “Personalizing the air selection (Changing the function setting)” on
NOTE
There is an interior air temperature sensor (G) in the illustrated position. Never place anything over the sensor, since doing so will prevent it from functioning properly.
Blower speed selection dial
Temperature control dial
NOTE
While the engine coolant temperature is low, the temperature of the air from the heater will be cool/cold until the engine warms up, even if you have selected warm air with the dial. When the temperature is set to the highest or the lowest setting under the AUTO opera-tion, the air selection and the air conditioning will be automatically changed as follows. • Quick Heating (When the temperature is set to the highest setting) Outside air will be introduced and the airconditioning will stop. In this case, manual operation is possible. • Quick Cooling (When the temperature is set to the lowest setting) Inside air will be recirculated and the airconditioning will operate. In this case, you cannot select outside air and turn the air conditioning off.
BK0206700US.bo
ok 15 ページ 2014年3月25日 火曜日 午後4時42分
Page 265 of 384
Automatic air conditioning
-Type1 (if so equipped)
7-18 Comfort controls
7
Enable automatic air conditioning control: When the mode selection dial or blower speed selection dial has been set to the “AUTO” position or when the tempera-ture control dial has been set to the mini- mum temperature, the air conditioning switch is automatically controlled. Disable automatic air conditioning con- trol: The air conditioning switch is not auto- matically controlled, unless the air condi-tioning switch is used. Changing the settings Press the air conditioning switch for about 10 seconds or longer. When the setting has changed, the systemwill beep and the indicator light will flash. • When the setting has changed from enabled to disabled,the system will beep three times and the indicator will flash three times. • When the setting has changed from dis-abled to enabled, the system will beep two times and the indicator light will flash three times.
N00731700260
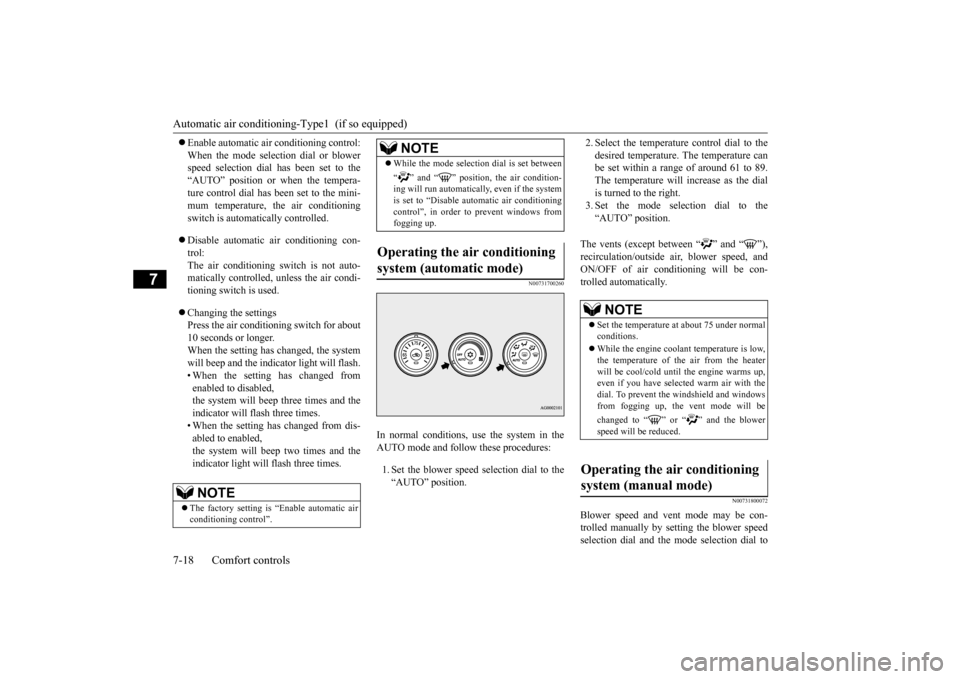
In normal conditions, use the system in theAUTO mode and follow these procedures: 1. Set the blower speed selection dial to the “AUTO” position.
2. Select the temperature control dial to the desired temperature. The temperature can be set within a range of around 61 to 89. The temperature will increase as the dialis turned to the right. 3. Set the mode selection dial to the “AUTO” position.
The vents (except between “ ” and “ ”), recirculation/outside air, blower speed, andON/OFF of air conditioning will be con-trolled automatically.
N00731800072
Blower speed and vent mode may be con- trolled manually by setting the blower speed selection dial and the mode selection dial to
NOTE
The factory setting is “Enable automatic air conditioning control”.
While the mode selection dial is set between “ ” and “ ” position, the air condition- ing will run automatically, even if the system is set to “Disable automatic air conditioningcontrol”, in order to prevent windows from fogging up.
Operating the air conditioning system (automatic mode)
NOTE
NOTE
Set the temperature at about 75 under normal conditions. While the engine coolant temperature is low, the temperature of the air from the heater will be cool/cold until the engine warms up, even if you have selected warm air with thedial. To prevent the windshield and windows from fogging up, the vent mode will be changed to “ ” or “ ” and the blower speed will be reduced.
Operating the air conditioning system (manual mode)
BK0206700US.bo
ok 18 ページ 2014年3月25日 火曜日 午後4時42分
Page 268 of 384
Automatic air conditioning-Type2 (if so equipped)
Comfort controls 7-21
7
The above indicates the factory settings. You can personalize the air selection switch and air conditioning switch to match your per-sonal preferences. Contact your Mitsubishi Motors dealer or a repair facility of your choice for assistance.Refer to “Personalizing the air conditioning switch (Changing the function setting)” on page7-23.Refer to “Personalizing the air selection (Changing the function setting)” on
page7-22.
N00737100136
To change the amount of air flowing from the vents, turn the mode selection dial. Refer to“Changing the mode selection” on page 7-2.
N00737200342
Normally, use the outside air position to keepthe windshield and side windows clear and toquickly remove fog or frost from the wind- shield. To change the air selection, simply press the air selection switch. A sound will be madeevery time you press the switch.
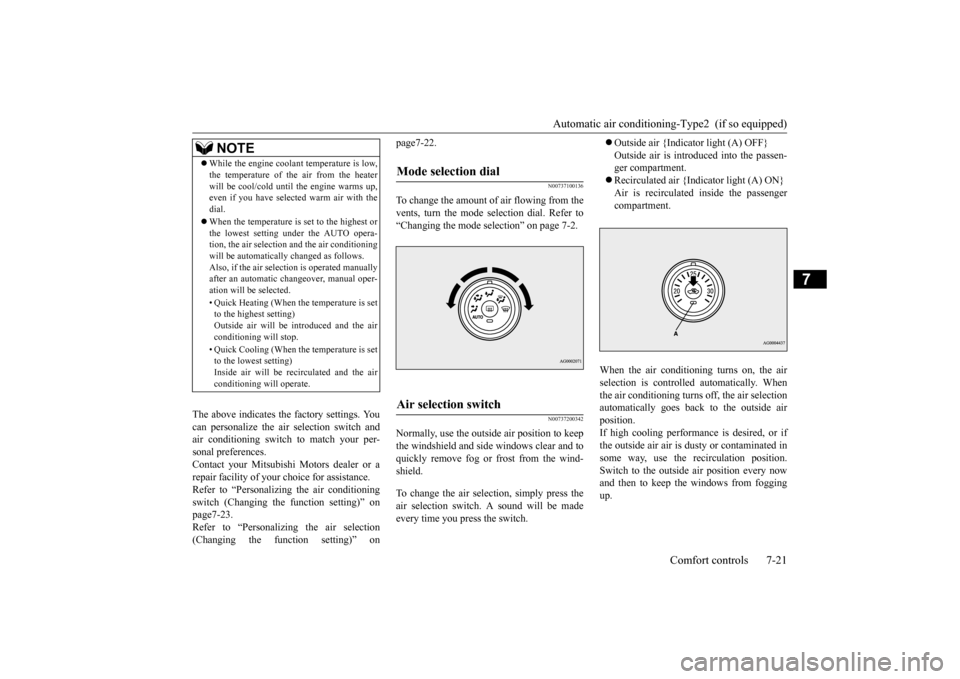
Outside air {Indicator light (A) OFF} Outside air is introduced into the passen- ger compartment. Recirculated air {Indicator light (A) ON} Air is recirculated inside the passenger compartment.
When the air conditioning turns on, the air selection is controll
ed automatically. When
the air conditioning turns off, the air selection automatically goes back to the outside air position.If high cooling performance is desired, or if the outside air air is dusty or contaminated in some way, use the recirculation position.Switch to the outside air position every now and then to keep th
e windows from fogging
up.
NOTE
While the engine coolant temperature is low, the temperature of the air from the heater will be cool/cold until the engine warms up, even if you have selected warm air with the dial. When the temperature is set to the highest or the lowest setting under the AUTO opera-tion, the air selection and the air conditioning will be automatically changed as follows. Also, if the air selection is operated manuallyafter an automatic changeover, manual oper- ation will be selected. • Quick Heating (When the temperature is set to the highest setting) Outside air will be introduced and the airconditioning will stop. • Quick Cooling (When the temperature is set to the lowest setting) Inside air will be recirculated and the air conditioning will operate.
Mode selection dial
Air selection switch
BK0206700US.bo
ok 21 ページ 2014年3月25日 火曜日 午後4時42分