steering wheel MITSUBISHI SHOGUN 2017 (in English) User Guide
[x] Cancel search | Manufacturer: MITSUBISHI, Model Year: 2017, Model line: SHOGUN, Model: MITSUBISHI SHOGUN 2017Pages: 394, PDF Size: 19 MB
Page 144 of 394
Apply the parking brake and place the selec-tor lever into the “P” (PARK) position.
If necessary, apply chocks to wheels.NOTEl Be sure to apply the parking brake before
moving the selector lever to the “P” (PARK)
position. If you move the selector lever to the “P” (Park) position before applying the
parking brake, it may be difficult to disen-
gage the selector lever from the “P” (Park) position when next you drive the vehicle, re-quiring application of a strong force to the
selector lever to move from the “P” (Park) position.
Parking with the engine run-
ning
Never leave the engine running while you
take a short sleep/rest, or you open or close a gate or garage door, etc. Also, never leave the
engine running in a closed or poorly ventila-
ted place.
WARNINGl Leaving the engine running risks injury
or death from accidentally moving the se- lector lever or the accumulation of toxic
exhaust fumes in the passenger compart-
ment.Where you parkWARNINGl Do not park your vehicle in areas where
combustible materials such as dry grass
or leaves can come in contact with a hot exhaust, since a fire could occur.
When leaving the vehicle
Always remove the key from the ignition
switch and lock all doors (including the back-
door) when leaving the vehicle unattended. Always try to park your vehicle in a well lit area.
Steering wheel height
adjustment E00600700222
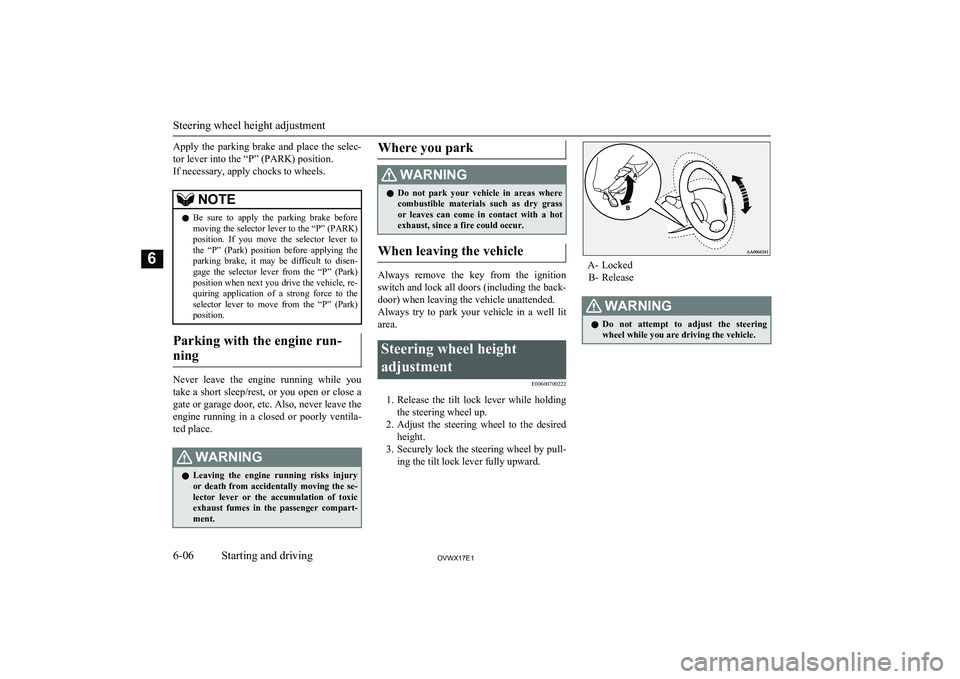
1.Release the tilt lock lever while holding
the steering wheel up.
2. Adjust the steering wheel to the desired
height.
3. Securely lock the steering wheel by pull-
ing the tilt lock lever fully upward.
A- Locked
B- Release
WARNINGl Do not attempt to adjust the steering
wheel while you are driving the vehicle.
Steering wheel height adjustment
6-06OVWX17E1Starting and driving6
Page 148 of 394
NOTElBe careful not to get your hands trapped
while a mirror is moving.
l If you move a mirror by hand or it moves af-
ter hitting a person or object, you may not be
able to return it to its original position using the mirror retractor switch. If this happens,
push the mirror retractor switch to place the mirror in its retracted position and then push
the switch again to return the mirror to its original position.
l If the battery voltage is low and you start the
engine while extending the mirrors, the mir- rors may stop part-way. If this happens, push
the mirror retractor switch to retract the mir- rors and then push the switch again to extend
them.
l When freezing has occurred and mirrors fail
to operate as intended, please refrain from
repeated pushing of the retractor switch as
this action can result in burn-out of the mir- ror motor circuits.
Automatic extension of mirrors
If the engine is stopped and started with the
mirrors retracted, the mirrors automatically
extend for safety when the vehicle speed rea-
ches 30 km/h (19 mph).
Heated mirror*
E00601200312
To demist or defrost the outside rear-view
mirrors, press the rear window demister
switch.
The indication lamp (C) will illuminate while
the demister is on.
The heater will be turned off automatically in about 20 minutes.Ignition switch
E00601403399LOCK
The engine is stopped and the steering wheel
locked. The key can only be inserted and re- moved in this position.
ACC
The engine is stopped, but the electrical devi-
ces such as the radio and cigarette lighter can be operated.
ON
The engine is running, and all the vehicle’s
electrical devices can be operated.
START
The starter motor operates. After the engine has started, release the key and it will auto- matically return to the “ON” position.
NOTEl Your vehicle is equipped with an electronic
immobilizer. To start the engine, the ID codetransmitted by the transponder inside the key must match the code registered in the immo-bilizer computer.
Refer to “Electronic immobilizer” on page
3-03.
Ignition switch
6-10OVWX17E1Starting and driving6
Page 150 of 394
Steering wheel lockE00601500298
To lock
Remove the key at the “LOCK” position.
Turn the steering wheel until it is locked.
To unlock
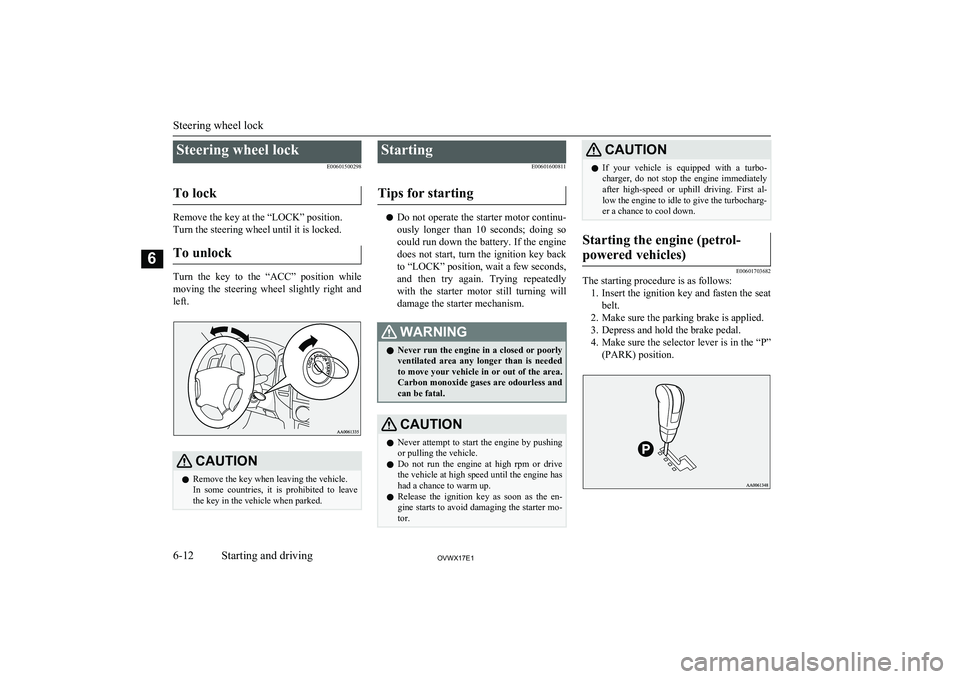
Turn the key to the “ACC” position while
moving the steering wheel slightly right and left.
CAUTIONl Remove the key when leaving the vehicle.
In some countries, it is prohibited to leave the key in the vehicle when parked.Starting
E00601600811
Tips for starting
l Do not operate the starter motor continu-
ously longer than 10 seconds; doing so
could run down the battery. If the engine
does not start, turn the ignition key back to “LOCK” position, wait a few seconds,and then try again. Trying repeatedly with the starter motor still turning will
damage the starter mechanism.
WARNINGl Never run the engine in a closed or poorly
ventilated area any longer than is needed to move your vehicle in or out of the area.Carbon monoxide gases are odourless and
can be fatal.CAUTIONl Never attempt to start the engine by pushing
or pulling the vehicle.
l Do not run the engine at high rpm or drive
the vehicle at high speed until the engine has had a chance to warm up.
l Release the ignition key as soon as the en-
gine starts to avoid damaging the starter mo-
tor.CAUTIONl If your vehicle is equipped with a turbo-
charger, do not stop the engine immediately
after high-speed or uphill driving. First al-
low the engine to idle to give the turbocharg-
er a chance to cool down.Starting the engine (petrol-
powered vehicles)
E00601703682
The starting procedure is as follows: 1. Insert the ignition key and fasten the seat
belt.
2. Make sure the parking brake is applied.
3. Depress and hold the brake pedal.
4. Make sure the selector lever is in the “P”
(PARK) position.
Steering wheel lock
6-12OVWX17E1Starting and driving6
Page 158 of 394

Operation of the A/T
E00604200560
CAUTIONlBefore selecting a gear with the engine run-
ning and the vehicle stationary, fully depressthe brake pedal to prevent the vehicle from
creeping.
The vehicle will begin to move as soon as the gear is engaged, especially when the en-
gine speed is high, at fast idle or with the air conditioning operating, the brakes should
only be released when you are ready to drive
away.
l Depress the brake pedal with the right foot at
all times.
Using the left foot could cause driver move- ment delay in case of an emergency.
l Operating the accelerator pedal while the
other foot is resting on the brake pedal will affect braking efficiency and may cause pre-
mature wear of brake pads.
l To prevent sudden acceleration, never race
the engine when shifting from the “P”
(PARK) or “N” (NEUTRAL) position.
l Use the selector lever in the correct shift po-
sition in accordance with driving conditions. Never coast downhill backward with the se- lector lever in the “D” (DRIVE) or sportsmode position or coast forward with the se-
lector lever in the “R” (REVERSE) position. The engine may stop and the unexpected in- crease in brake pedal effort and steering
wheel weight could lead to an accident.CAUTIONl Do not race the engine with brake pedal
pressed when the vehicle is stationary.
This can damage the A/T.
Also, when you depress the accelerator ped- al while holding down the brake pedal withthe selector lever in the “P” (PARK), “N”
(NEUTRAL) or “D” (DRIVE) position, the
increase in engine revolutions may be limi-
ted.Passing acceleration
E00604500156
To gain extra acceleration in “D” (DRIVE)
position, push the accelerator to the floor.The automatic transmission will automatical- ly downshift.
NOTEl In “Sports mode”, downshifts do not take
place when the accelerator is depressed all
the way to the floor.Uphill/downhill driving
E00610500177
DRIVING UPHILL
The transmission prevents unnecessary up-
shifts even when the accelerator pedal is re- leased and ensures smooth driving.
DRIVING DOWNHILL
According to the conditions, the transmission
will automatically shift to a lower gear ratio to achieve stronger engine braking. This mayhelp reduce your need to use the service brake.
Waiting
E00604600245
For short waiting periods, such as at trafficsignals, the vehicle can be left in gear and held stationary with the service brake.
For longer waiting periods with the engine
running, place the selector lever in the “N” (NEUTRAL) position and apply the parking
brake, while holding the vehicle stationary with the service brake.
CAUTIONl Never hold the vehicle stationary on a hill
using the accelerator pedal (without using
the brake pedal). Always apply the parking brake and/or service brakes.Parking
E00604700161
To park the vehicle, first bring it to a com-
plete stop, fully engage the parking brake,and then move the selector lever to the “P”
(PARK) position.
Automatic transmission INVECS-II Sports Mode 5A/T (Intelligent & Innovative Vehicle Electronic Control System II)
6-20OVWX17E1Starting and driving6
Page 163 of 394
NOTElThe 2WD/4WD operation indication lamp
blinks while the selection is in process. Takethe following precautions when the indica-tion lamp is blinking.
• Keep the steering wheel in the straight
ahead position while making range selec- tions. If you attempt to drive forward with
the steering wheel turned, gear rattling may occur and the desired range may notactually be selected.
• If the front wheel and/or centre differen-
tial lock lamps continue blinking after a“2H” ↔ “4H” ↔ “4HLc” selection has
been made with the vehicle moving, hold the steering wheel in the straight ahead
position and slowly depress the accelera-
tor pedal several times.
• If, after a “4HLc” ↔ “4LLc” selection
has been made, the front and rear wheel
lamps continue blinking and the desired range is not actually selected, return the
transfer shift lever to its previous position.
Place the steering wheel in the straight
ahead position, drive the vehicle forward, and release the accelerator pedal. Next,
place the selector lever in the “N” (NEU- TRAL) position and make the range se-
lection again.NOTEl If the front and rear wheel lamps blink rapid-
ly (twice per second) when you attempt to make a “4HLc” ↔ “4LLc” selection, the se- lection cannot be made. Stop the vehicle and
release the accelerator pedal. Next, place the selector lever in the “N” (NEUTRAL) posi-
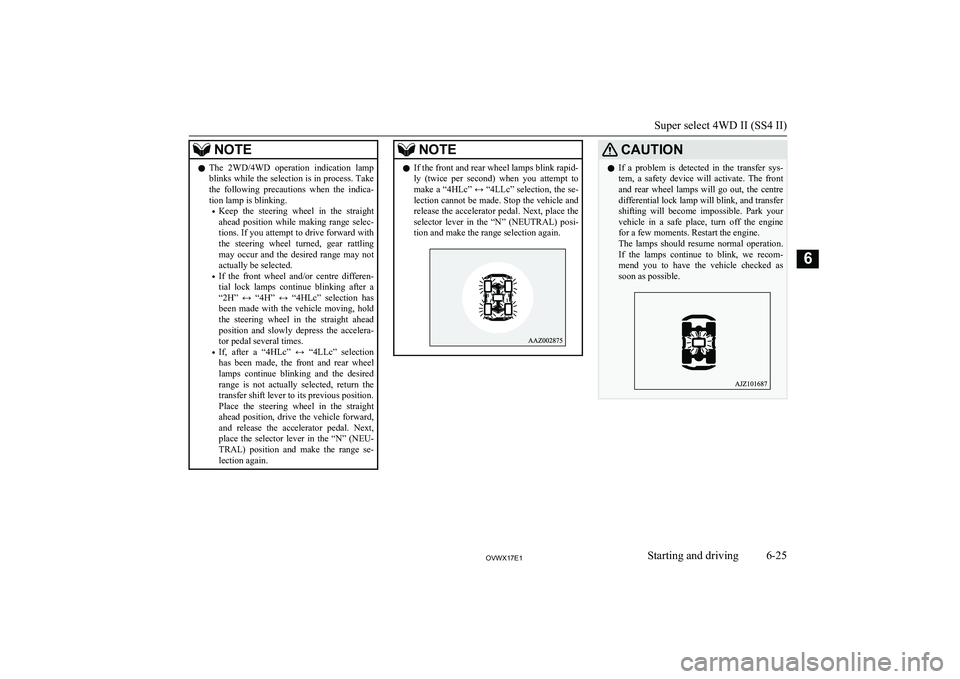
tion and make the range selection again.CAUTIONl If a problem is detected in the transfer sys-
tem, a safety device will activate. The front and rear wheel lamps will go out, the centre
differential lock lamp will blink, and transfer shifting will become impossible. Park your vehicle in a safe place, turn off the engine
for a few moments. Restart the engine.
The lamps should resume normal operation. If the lamps continue to blink, we recom-
mend you to have the vehicle checked as soon as possible.
Super select 4WD II (SS4 II)
6-25OVWX17E1Starting and driving6
Page 165 of 394
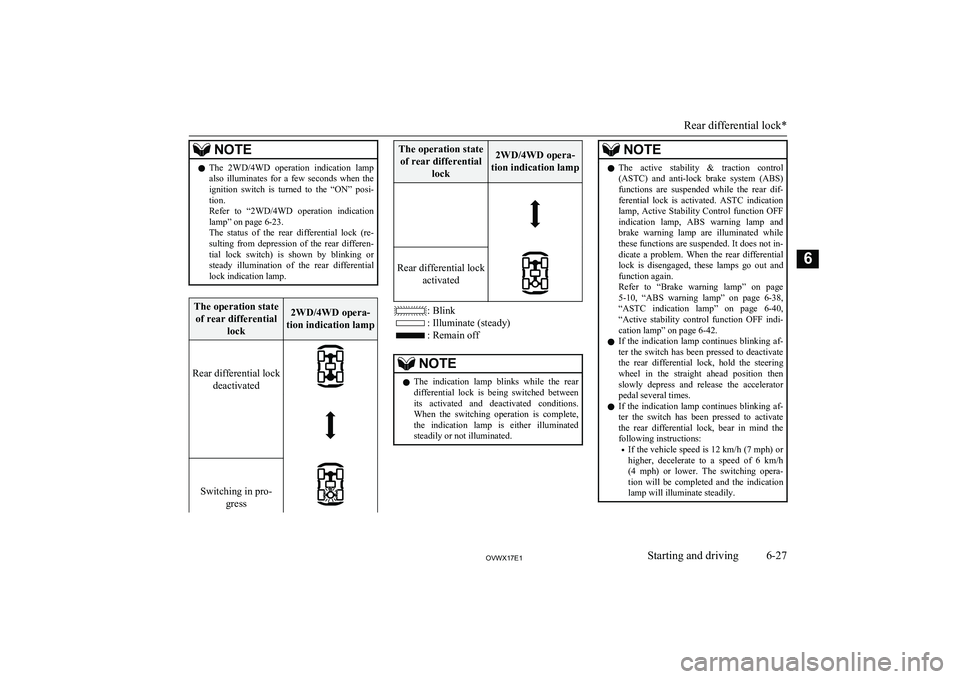
NOTElThe 2WD/4WD operation indication lamp
also illuminates for a few seconds when the
ignition switch is turned to the “ON” posi- tion.
Refer to “2WD/4WD operation indication
lamp” on page 6-23.
The status of the rear differential lock (re- sulting from depression of the rear differen-
tial lock switch) is shown by blinking or steady illumination of the rear differential
lock indication lamp.The operation state
of rear differential lock2WD/4WD opera-
tion indication lamp
Rear differential lock deactivated Switching in pro- gress
The operation stateof rear differential lock2WD/4WD opera-
tion indication lamp
Rear differential lock activated
: Blink
: Illuminate (steady)
: Remain off
NOTElThe indication lamp blinks while the rear
differential lock is being switched between
its activated and deactivated conditions. When the switching operation is complete,
the indication lamp is either illuminated steadily or not illuminated.NOTEl The active stability & traction control
(ASTC) and anti-lock brake system (ABS)
functions are suspended while the rear dif- ferential lock is activated. ASTC indication
lamp, Active Stability Control function OFF indication lamp, ABS warning lamp and
brake warning lamp are illuminated while
these functions are suspended. It does not in- dicate a problem. When the rear differential lock is disengaged, these lamps go out and
function again.
Refer to “Brake warning lamp” on page
5-10 , “ABS warning lamp” on page 6-38,
“ASTC indication lamp” on page 6-40,
“Active stability control function OFF indi- cation lamp” on page 6-42.
l If the indication lamp continues blinking af-
ter the switch has been pressed to deactivate the rear differential lock, hold the steering
wheel in the straight ahead position then
slowly depress and release the accelerator pedal several times.
l If the indication lamp continues blinking af-
ter the switch has been pressed to activate the rear differential lock, bear in mind thefollowing instructions:
• If the vehicle speed is
12 km/h (7 mph) or
higher, decelerate to a speed of 6 km/h (4 mph) or lower. The switching opera-tion will be completed and the indication lamp will illuminate steadily.
Rear differential lock*
6-27OVWX17E1Starting and driving6
Page 166 of 394
NOTE•If the vehicle speed is
12 km/h (7 mph) or
lower, turn the steering wheel from side to
side until the indication lamp illuminates steadily. If the vehicle is stuck in softground, make sure the area around the ve-
hicle is clear then repeatedly attempt to
drive forward and backward. The switch- ing operation will be completed and the
indication lamp will illuminate steadily.CAUTIONl If a problem is detected in the rear differen-
tial lock system, a safety device will acti- vate. The centre differential lock lamp, front and rear wheel lamps will go out, the reardifferential lock indication lamp will blink,
and the rear differential lock will deactivate.
Park your vehicle in a safe place, turn off the engine for a few moments. Restart the en-gine.
It is safe to continue driving if the lamps re- sume normal operation. If the rear differen-
tial lock indication lamp blinks when the rear differential lock is reactivated, we rec-
ommend you to have the vehicle checked as soon as possible.Examples of effective use of the
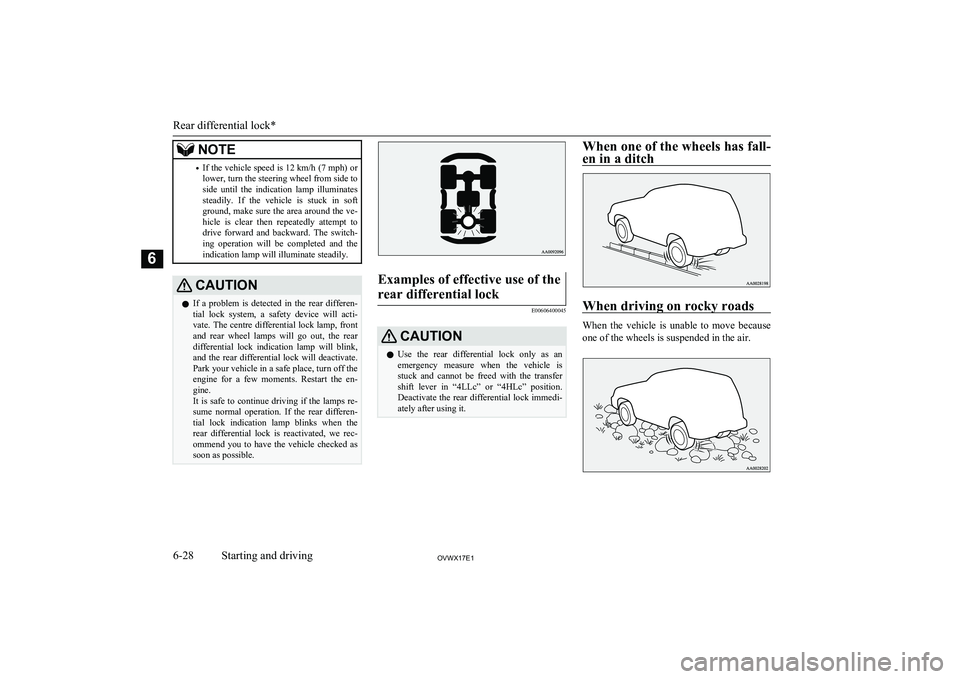
rear differential lock
E00606400045
CAUTIONl Use the rear differential lock only as an
emergency measure when the vehicle is stuck and cannot be freed with the transfer
shift lever in “4LLc” or “4HLc” position.
Deactivate the rear differential lock immedi- ately after using it.When one of the wheels has fall-
en in a ditch
When driving on rocky roads
When the vehicle is unable to move because
one of the wheels is suspended in the air.
Rear differential lock*
6-28OVWX17E1Starting and driving6
Page 167 of 394

When getting out of snow
When the vehicle is unable to get going be-cause one of the wheels is on the snow and
the other on a paved road.
Examples of incorrect use of
the rear differential lock
E00606500046
WARNINGl If the “4LLc” or “4HLc” position is selec-
ted along with the rear differential lock,the following phenomena appear and it is
very dangerous.
Please be sure to release the rear differen-
tial lock on normal roads.WARNING• If the rear differential lock is used by
mistake when driving on a paved road: With the rear differential lock on, thepower to drive the vehicle straight
ahead becomes very strong, which may
make it difficult to turn the steering
wheel.WARNINGl If the rear differential lock is used by mis-
take when turning a curve or making a
right or left turn at a crossing or the like:
The vehicle is unable to make a turn and may go straight ahead.WARNINGl If the rear differential lock is used by mis-
take except when making an emergencyescape on snow or frozen road: It be-
comes difficult to make a steady turn.
l In the case where the condition of the
road is different for the right tyre to drive from the left tyre (such as one tyre on a
paved road and the other on ice), direc- tion of the vehicle may change abruptly
when engine braking or accelerating.
Do not use the rear differential lock ex- cept when making an emergency escape
on a snow or frozen road, but drive with 4WD.
Rear differential lock*
6-29OVWX17E1Starting and driving6
Page 168 of 394
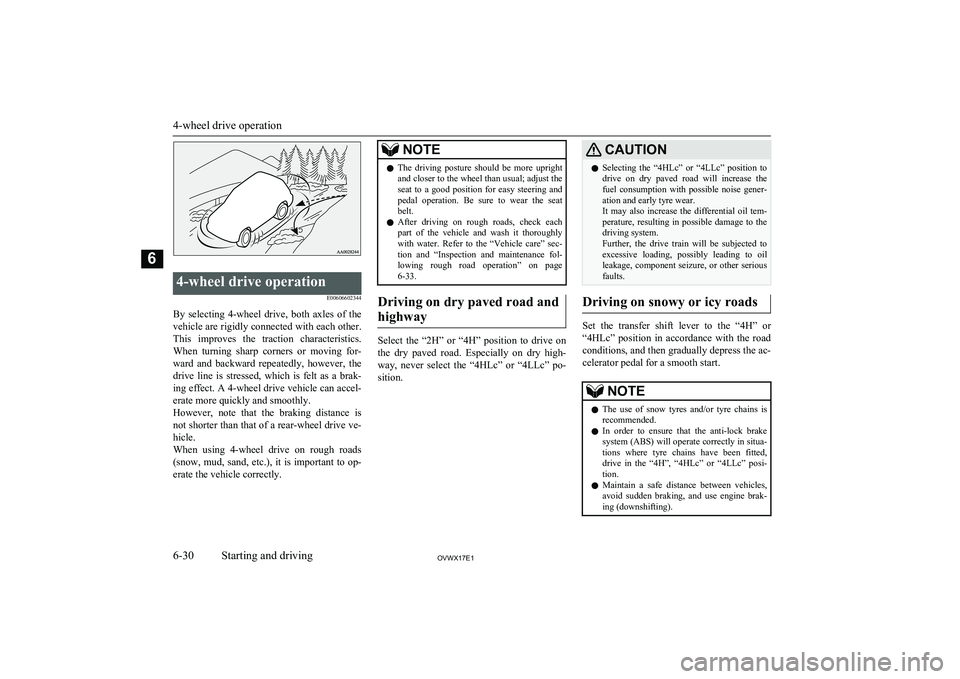
4-wheel drive operationE00606602344
By selecting 4-wheel drive, both axles of the
vehicle are rigidly connected with each other. This improves the traction characteristics. When turning sharp corners or moving for-
ward and backward repeatedly, however, the drive line is stressed, which is felt as a brak-
ing effect. A 4-wheel drive vehicle can accel-
erate more quickly and smoothly.
However, note that the braking distance is not shorter than that of a rear-wheel drive ve-hicle.
When using 4-wheel drive on rough roads
(snow, mud, sand, etc.), it is important to op- erate the vehicle correctly.
NOTEl The driving posture should be more upright
and closer to the wheel than usual; adjust the
seat to a good position for easy steering and pedal operation. Be sure to wear the seatbelt.
l After driving on rough roads, check each
part of the vehicle and wash it thoroughlywith water. Refer to the “Vehicle care” sec-
tion and “Inspection and maintenance fol-
lowing rough road operation” on page 6-33.
Driving on dry paved road and
highway
Select the “2H” or “4H” position to drive on
the dry paved road. Especially on dry high- way, never select the “4HLc” or “4LLc” po-sition.
CAUTIONl Selecting the “4HLc” or “4LLc” position to
drive on dry paved road will increase the
fuel consumption with possible noise gener- ation and early tyre wear.
It may also increase the differential oil tem-
perature, resulting in possible damage to the driving system.
Further, the drive train will be subjected to
excessive loading, possibly leading to oil leakage, component seizure, or other serious faults.
Driving on snowy or icy roads
Set the transfer shift lever to the “4H” or
“4HLc” position in accordance with the road conditions, and then gradually depress the ac-
celerator pedal for a smooth start.
NOTEl The use of snow tyres and/or tyre chains is
recommended.
l In order to ensure that the anti-lock brake
system (ABS) will operate correctly in situa-tions where tyre chains have been fitted, drive in the “4H”, “4HLc” or “4LLc” posi-tion.
l Maintain a safe distance between vehicles,
avoid sudden braking, and use engine brak- ing (downshifting).
4-wheel drive operation
6-30OVWX17E1Starting and driving6
Page 169 of 394

CAUTIONlAvoid sudden braking, sudden acceleration,
and sharp turning; such operations could
cause skidding and spinouts.
Driving on sandy or muddy
roads
Set the transfer shift lever to the “4HLc” or “4LLc” position and then gradually depress
the accelerator pedal for a smooth start. Keep
the pressure on the accelerator pedal as con- stant as possible, and drive at low speed.
CAUTIONl Do not force the vehicle or drive recklessly
on sandy surfaces. In comparison with nor-
mal road surfaces, the engine and other
drive-system components are put under ex- cessive strain when driving on such a sur-
face, and this could lead to accidents.
l If any of following conditions occur while
the vehicle is being driven, immediately park your vehicle in a safe place and follow these procedures:
• The needle in the temperature gauge ap-
proaches the overheating zone.
Refer to “Engine overheating” on page
8-04.CAUTION• A/T fluid temperature warning lamp illu-
minates.
Refer to “When the A/T fluid temperature
warning lamp comes on” on page 6-19.WARNINGl When attempting to rock your vehicle out
of a stuck position, be sure that the area
around the vehicle is clear of people and physical objects. The rocking motion may
cause the vehicle to suddenly launch for- ward or backward, causing injury or damage to nearby people or objects.NOTEl Avoid sudden braking, acceleration, and
turning; such operations could result in thevehicle becoming stuck.
l If the vehicle becomes stuck in sandy or
muddy roads, it can often be moved with a
rocking motion. Move the selector lever rhythmically between the “D” (DRIVE) and
“R” (REVERSE) position, while applying slight pressure to the accelerator pedal.
l It is recommended to start the vehicle with
parking brake partially, but not completely, applied by slightly pulling the parking brake
lever.
After the vehicle has become free, do not forget to release the parking brake.NOTEl If it is necessary to drive in extremely mud-
dy conditions, the use of tyre chains is rec-
ommended. Because the extent of muddy conditions is difficult to judge and the vehi- cle could become bogged down very deeply,
operation should be at a low speed. If possi-
ble, get out of the vehicle and check the con-
ditions ahead before proceeding.
l Driving over roads in coastal areas or roads
on which anti-skid preparations have been
spread can cause rust on the vehicle; wash
the vehicle thoroughly as soon as possible after such use.
Climbing sharp grades
Set the transfer shift lever to the “4LLc” po-
sition to maximize the engine torque.
WARNINGl Go straight up. Do not try to traverse
across a steep slope.
l If you begin to lose traction, ease off the
accelerator pedal and gently turn the steering wheel alternatively left and right
to regain adequate traction again.NOTEl Choose as smooth a slope as possible with
few stones or other obstacles.
4-wheel drive operation
6-31OVWX17E1Starting and driving6