ECU NISSAN ALTIMA HYBRID 2008 L32A / 4.G User Guide
[x] Cancel search | Manufacturer: NISSAN, Model Year: 2008, Model line: ALTIMA HYBRID, Model: NISSAN ALTIMA HYBRID 2008 L32A / 4.GPages: 351, PDF Size: 4.14 MB
Page 48 of 351

4. For child restraints that are equipped with
webbing mounted attachments, remove any
additional slack from the anchor attach-
ments. Press downward and rearward firmly
in the center of the child restraint with your
knee to compress the vehicle seat cushion
and seatback while tightening the webbing
of the anchor attachments.
5. If the child restraint is equipped with a top
tether strap, route the top tether strap and
secure the tether strap to the tether anchor
point. See “Top tether strap child restraint” in
this section.6. Before placing the child in the child restraint,
hold the child restraint near the LATCH at-
tachment and use force to push the child
restraint from side to side, and tug it forward
to make sure that it is securely held in place.
It should not move more than 1 in (25 mm) . If
it does move more than 1 in (25 mm) , pull
again on the anchor attachments to further
tighten the child restraint. If you are unable to
properly secure the restraint, move the re-
straint to another seating position and try
again, or try a different child restraint. Not all
child restraints fit in all types of vehicles.7. Check to make sure the child restraint is
properly secured prior to each use. If the
child restraint is loose, repeat steps 3
through 6.
Rear-facing
Follow these steps to install a rear-facing child
restraint using LATCH System:
1. Position the child restraint on the seat. Al-
ways follow the child restraint manufactur-
er’s instructions.
Front facing – step 4
LRS0671
Front facing – step 6
WRS0697
Safety—Seats, seat belts and supplemental restraint system1-21
ZREVIEW COPYÐ2008 Altima Hybrid Electric
(ahv)
Owners ManualÐUSA_English(nna)
06/01/07Ðtbrooks
X
Page 49 of 351

2. Secure the child restraint anchor attach-
ments to the LATCH lower anchors. Check
to make sure the LATCH attachment is prop-
erly attached to the lower anchors.3. For child restraints that are equipped with
webbing mounted attachments, remove any
additional slack from the anchor attach-
ments. Press downward and rearward firmly
in the center of the child restraint with your
hand to compress the vehicle seat cushion
and seatback while tightening the webbing
of the anchor attachments.
Rear facing web-mounted – step 2
WRS0801
Rear facing rigid-mounted – step 2
WRS0802
Rear facing – step 3
LRS0673
1-22Safety—Seats, seat belts and supplemental restraint system
ZREVIEW COPYÐ2008 Altima Hybrid Electric
(ahv)
Owners ManualÐUSA_English(nna)
06/01/07Ðtbrooks
X
Page 50 of 351

4. Before placing the child in the child restraint,
hold the child restraint near the LATCH at-
tachment and use force to push the child
restraint from side to side, and tug it forward
to make sure that it is securely held in place.
It should not move more than 1 in (25 mm) . If
it does move more than 1 in (25 mm) , pull
again on the anchor attachments to further
tighten the child restraint. If you are unable to
properly secure the restraint, move the re-
straint to another seating position and try
again, or try a different child restraint. Not all
child restraints fit in all types of vehicles.5. Check to make sure the child restraint is
properly secured prior to each use. If the
child restraint is loose, repeat steps 2
through 4.CHILD RESTRAINT INSTALLATION
USING THE SEAT BELTS
WARNING
cEven with the NISSAN Advanced Air
Bag System, never install a rear-facing
child restraint in the front passenger
seat. Supplemental front air bags in-
flate with great force. A rear-facing
child restraint could be struck by the
supplemental front air bag in a crash
and could seriously injure or kill your
child.
Rear facing – step 4
LRS0674WRS0256
Safety—Seats, seat belts and supplemental restraint system1-23
ZREVIEW COPYÐ2008 Altima Hybrid Electric
(ahv)
Owners ManualÐUSA_English(nna)
06/01/07Ðtbrooks
X
Page 51 of 351

cNISSAN recommends that child re-
straints be installed in the rear seat.
However, if you must install a forward
facing child restraint in the front pas-
senger seat, move the passenger seat
to the rearmost position. Also, be sure
the front passenger air bag status light
is illuminated to indicate the passenger
air bag is OFF. See “Front passenger air
bag and status light” later in this sec-
tion for details.
cThe three-point seat belt in your vehicle
is equipped with an Automatic Locking
Retractor (ALR) which must be used
when installing a child restraint.
c
Failure to use the ALR mode will result in
the child restraint not being properly se-
cured. The restraint could tip over or oth-
erwise be unsecured and cause injury to
the child in a sudden stop or collision.
Also, it can change the operation of the
front passenger air bag. See “Front pas-
senger air bag status” later in this section.
cA child restraint with a top tether strap
should not be used in the front passen-
ger seat.
The instructions in this section apply to child
restraint installation using the vehicle seat belts in
the rear seat or the front passenger seat.
Front-facing
Follow these steps to install a front-facing child
restraint using the vehicle seat belt in the rear
seats or in the front passenger seat:
1.If you must install a child restraint in
the front seat, it should be placed in a
front-facing direction only. Move the
seat to the rearmost position. Child
restraints for infants must be used in
the rear-facing direction and therefore
must not be used in the front seat.2. Position the child restraint on the seat. Al-
ways follow the child restraint manufactur-
er’s instructions
The back of the child restraint should be secured
against the vehicle seatback. If necessary, adjust
or remove the head restraint to obtain the correct
child restraint fit. See “Head restraint adjust-
ment” in this section.
If the head restraint is removed, store it in a
secure place. Be sure to install the head restraint
when the child restraint is removed. If the seating
position does not have an adjustable head re-
straint and it is interfering with the proper child
restraint fit, try another seating position or a dif-
ferent child restraint.
Front-facing (front passenger seat) – step 1
WRS0699
1-24Safety—Seats, seat belts and supplemental restraint system
ZREVIEW COPYÐ2008 Altima Hybrid Electric
(ahv)
Owners ManualÐUSA_English(nna)
06/01/07Ðtbrooks
X
Page 53 of 351

6. Remove any additional slack from the seat
belt; press downward and rearward firmly in
the center of the child restraint with your
knee to compress the vehicle seat cushion
and seatback while pulling up on the seat
belt.7. If the child restraint is equipped with a top
tether strap, route the top tether strap and
secure the tether strap to the tether anchor
point (rear seat installation only) . See “Top
tether strap child restraint” in this section.
Do not install child restraints that require the
use of a top tether strap to seating positions
that do not have a top tether anchor.8. Before placing the child in the child restraint,
hold the child restraint near the seat belt
path and use force to push the child restraint
from side to side, and tug it forward to make
sure that it is securely held in place. It should
not move more than 1 in (25 mm) . If it does
move more than 1 in (25 mm) , pull again on
the shoulder belt to further tighten the child
restraint. If you are unable to properly secure
the restraint, move the restraint to another
seating position and try again, or try a differ-
ent child restraint. Not all child restraints fit in
all types of vehicles.
9. Check that the retractor is in the Automatic
Locking Retractor mode by trying to pull
more seat belt out of the retractor. If you
cannot pull any more belt webbing out of the
retractor, the retractor is in the Automatic
Locking Retractor mode.
10. Check to make sure the child restraint is
properly secured prior to each use. If the
seat belt is not locked, repeat steps 3
through 9.
Front facing – step 6
WRS0681
Front facing – step 8
WRS0698
1-26Safety—Seats, seat belts and supplemental restraint system
ZREVIEW COPYÐ2008 Altima Hybrid Electric
(ahv)
Owners ManualÐUSA_English(nna)
05/31/07Ðdebbie
X
Page 56 of 351

6. Before placing the child in the child restraint,
hold the child restraint near the seat belt
path and use force to push the child restraint
from side to side, and tug it forward to make
sure that it is securely held in place. It should
not move more than 1 in (25 mm) . If it does
move more than 1 in (25 mm) , pull again on
the shoulder belt to further tighten the child
restraint. If you are unable to properly secure
the restraint, move the restraint to another
rear seating position and try again, or try a
different child restraint. Not all child re-
straints fit in all types of vehicles.7. Check that the retractor is in the Automatic
Locking Retractor mode by trying to pull
more seat belt out of the retractor. If you
cannot pull any more seat belt webbing out
of the retractor, the retractor is in the Auto-
matic Locking Retractor mode
8. Check to make sure that the child restraint is
properly secured prior to each use. If the belt
is not locked, repeat steps 3 through 7.
After the child restraint is removed and the seat
belt fully retracted, the Automatic Locking Re-
tractor mode (child restraint mode) is canceled.PRECAUTIONS ON BOOSTER
SEATS
WARNING
cInfants and small children should al-
ways be placed in an appropriate child
restraint while riding in the vehicle.
Failure to use a child restraint or
booster seat can result in serious injury
or death.
Rear facing – step 6
WRS0763ARS1098
BOOSTER SEATS
Safety—Seats, seat belts and supplemental restraint system1-29
ZREVIEW COPYÐ2008 Altima Hybrid Electric
(ahv)
Owners ManualÐUSA_English(nna)
05/31/07Ðdebbie
X
Page 57 of 351

cInfants and small children should never
be carried on your lap. It is not possible
for even the strongest adult to resist the
forces of a severe accident. The child
could be crushed between the adult and
parts of the vehicle. Also, do not put the
same seat belt around both your child
and yourself.
cNISSAN recommends that the booster
seat be installed in the rear seat. Ac-
cording to accident statistics, children
are safer when properly restrained in
the rear seat than in the front seat. If
you must install a booster seat in the
front seat, see “Booster seat installa-
tion” in this section.
cA booster seat must only be installed in
a seating position that has a
lap/shoulder belt. Failure to use a
three-point type seat belt with a
booster seat can result in a serious in-
jury in sudden stop or collision.
cImproper use or improper installation
of a booster seat can increase the risk
or severity of injury for both the child
and other occupants of the vehicle and
can lead to serious injury or death in an
accident.cDo not use towels, books, pillows or
other items in place of a booster seat.
Items such as these may move during
normal driving or a collision and result
in serious injury or death. Booster seats
are designed to be used with a
lap/shoulder belt. Booster seats are de-
signed to properly route the lap and
shoulder portions of the seat belt over
the strongest portions of a child’s body
to provide the maximum protection dur-
ing a collision.
cFollow all of the booster seat manufac-
turer’s instructions for installation and
use. When purchasing a booster seat,
be sure to select one which will fit your
child and vehicle. It may not be possible
to properly install some types of
booster seats in your vehicle.
cIf the booster seat and seat belt is not
used properly, the risk of a child being
injured in a collision or a sudden stop
greatly increases.
cAdjustable seatbacks should be posi-
tioned to fit the booster seat, but as
upright as possible.cAfter placing the child in the booster
seat and fastening the seat belt, make
sure the shoulder portion of the belt is
away from the child’s face and neck and
the lap portion of the belt does not
cross the abdomen.
cDo not put the shoulder belt behind the
child or under the child’s arm. If you
must install a booster seat in the front
seat, see “Booster seat installation”
later in this section.
cWhen your booster seat is not in use,
keep it secured with a seat belt to pre-
vent it from being thrown around in
case of a sudden stop or accident.
CAUTION
Remember that a booster seat left in a
closed vehicle can become very hot.
Check the seating surface and buckles
before placing your child in the booster
seat.
1-30Safety—Seats, seat belts and supplemental restraint system
ZREVIEW COPYÐ2008 Altima Hybrid Electric
(ahv)
Owners ManualÐUSA_English(nna)
05/31/07Ðdebbie
X
Page 60 of 351

3. The booster seat should be positioned on
the vehicle seat so that it is stable. If neces-
sary, adjust or remove the head restraint to
obtain the correct booster seat fit. See
“Head restraint adjustment” earlier in this
section. If the head restraint is removed,
store it in a secure place. Be sure to install
the head restraint when the booster seat is
removed. If the seating position does not
have an adjustable head restraint and it is
interfering with the proper booster seat fit,
try another seating position or a different
booster seat.4. Position the lap portion of the seat belt low
and snug on the child’s hips. Be sure to
follow the booster seat manufacturer’s in-
structions for adjusting the belt routing.
5. Pull the shoulder belt portion of the seat belt
toward the retractor to take up extra slack.
Be sure the shoulder belt is positioned
across the top, middle portion of the child’s
shoulder. Be sure to follow the booster seat
manufacturer’s instructions for adjusting the
belt routing.
6. Follow the warnings, cautions and instruc-
tions for properly fastening a seat belt
shown in the “Three-point seat belt with
retractor” earlier in this section.
Rear outboard position
LRS0452
Front passenger position
LRS0454
Safety—Seats, seat belts and supplemental restraint system1-33
ZREVIEW COPYÐ2008 Altima Hybrid Electric
(ahv)
Owners ManualÐUSA_English(nna)
05/31/07Ðdebbie
X
Page 71 of 351

restraints and booster seats be properly installed
in a rear seat. If this is not possible, the occupant
classification sensor is designed to operate as
described above to turn the front passenger air
bag OFF for specified child restraints as required
by the regulations. Failing to properly secure
child restraints and to use the Automatic Locking
Retractor mode (child restraint mode) may allow
the restraint to tip or move in an accident or
sudden stop. This can also result in the passen-
ger air bag inflating in a crash instead of being
OFF. See “Child restraints” earlier in this section
for proper use and installation.
If the front passenger seat is not occupied, the
passenger air bag is designed not to inflate in a
crash. However, heavy objects placed on the
seat could result in air bag inflation, because of
the object being detected by the occupant clas-
sification sensor. Other conditions could also
result in air bag inflation, such as if a child is
standing on the seat, or if two children are on the
seat, contrary to the instructions in this manual.
Always be sure that you and all vehicle occupants
are seated and restrained properly.
Using the passenger air bag status light, you can
monitor when the front passenger air bag is au-
tomatically turned OFF with the seat occupied.
The light will not illuminate when the front pas-
senger seat is unoccupied.If an adult occupant is in the seat but the passen-
ger air bag status light is illuminated (indicating
that the air bag is OFF) , it could be that the
person is a small adult, or is not sitting on the seat
properly.
If a child restraint must be used in the front seat,
the passenger air bag status light may or may not
be illuminated, depending on the size of the child
and the type of child restraint being used. If the air
bag status light is not illuminated (indicating that
the air bag might inflate in a crash) , it could be
that the child restraint or seat belt is not being
used properly. Make sure that the child restraint is
installed properly, the seat belt is used properly
and the occupant is positioned properly. If the air
bag status light is not illuminated, reposition the
occupant or child restraint in a rear seat.
If the passenger air bag status light will not illu-
minate even though you believe that the child
restraint, the seat belts and the occupant are
properly positioned, the system may be sensing
an unoccupied seat (in which case the air bag is
OFF) . Your NISSAN dealer can check that the
system is OFF by using a special tool. However,
until you have confirmed with your dealer that
your air bag is working properly, reposition the
occupant or child restraint in a rear seat.
The air bag system and passenger air bag status
light will take a few seconds to register a changein the passenger seat status. However, if the seat
becomes unoccupied, the air bag status light will
remain off.
If a malfunction occurs in the front passenger air
bag system, the supplemental air bag warning
light
, located in the meter and gauges area
in the center of the instrument panel, will blink.
Have the system checked by a NISSAN dealer.
Other supplemental front air bag precau-
tions
WARNING
cDo not place any objects on the steer-
ing wheel pad or on the instrument
panel. Also, do not place any objects
between any occupant and the steering
wheel or instrument panel. Such ob-
jects may become dangerous projec-
tiles and cause injury if the supplemen-
tal front air bag inflates.
1-44Safety—Seats, seat belts and supplemental restraint system
ZREVIEW COPYÐ2008 Altima Hybrid Electric
(ahv)
Owners ManualÐUSA_English(nna)
05/31/07Ðdebbie
X
Page 79 of 351
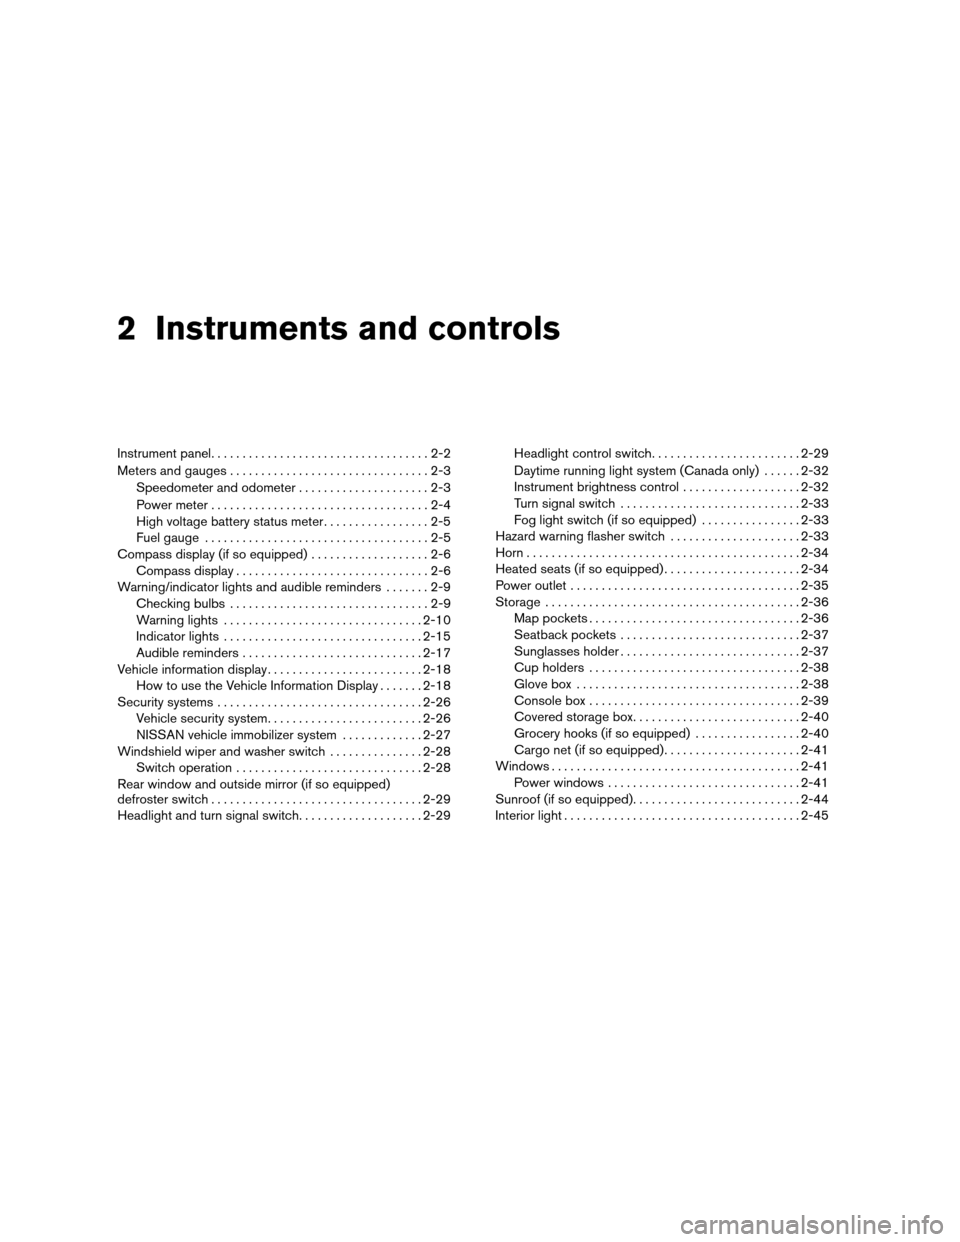
2 Instruments and controls
Instrument panel...................................2-2
Meters and gauges................................2-3
Speedometer and odometer.....................2-3
Power meter...................................2-4
High voltage battery status meter.................2-5
Fuel gauge....................................2-5
Compass display (if so equipped)...................2-6
Compass display...............................2-6
Warning/indicator lights and audible reminders.......2-9
Checking bulbs................................2-9
Warning lights................................2-10
Indicator lights................................2-15
Audible reminders.............................2-17
Vehicle information display.........................2-18
How to use the Vehicle Information Display.......2-18
Security systems.................................2-26
Vehicle security system.........................2-26
NISSAN vehicle immobilizer system.............2-27
Windshield wiper and washer switch...............2-28
Switch operation..............................2-28
Rear window and outside mirror (if so equipped)
defroster switch..................................2-29
Headlight and turn signal switch....................2-29Headlight control switch........................2-29
Daytime running light system (Canada only)......2-32
Instrument brightness control...................2-32
Turn signal switch.............................2-33
Fog light switch (if so equipped)................2-33
Hazard warning flasher switch.....................2-33
Horn............................................2-34
Heated seats (if so equipped)......................2-34
Power outlet.....................................2-35
Storage.........................................2-36
Map pockets..................................2-36
Seatback pockets.............................2-37
Sunglasses holder.............................2-37
Cup holders..................................2-38
Glove box....................................2-38
Console box..................................2-39
Covered storage box...........................2-40
Grocery hooks (if so equipped).................2-40
Cargo net (if so equipped)......................2-41
Windows........................................2-41
Power windows...............................2-41
Sunroof (if so equipped)...........................2-44
Interior light......................................2-45
ZREVIEW COPYÐ2008 Altima Hybrid Electric
(ahv)
Owners ManualÐUSA_English(nna)
05/31/07Ðdebbie
X