NISSAN ARMADA 2017 2.G Owners Manual
Manufacturer: NISSAN, Model Year: 2017, Model line: ARMADA, Model: NISSAN ARMADA 2017 2.GPages: 614, PDF Size: 2.87 MB
Page 111 of 614
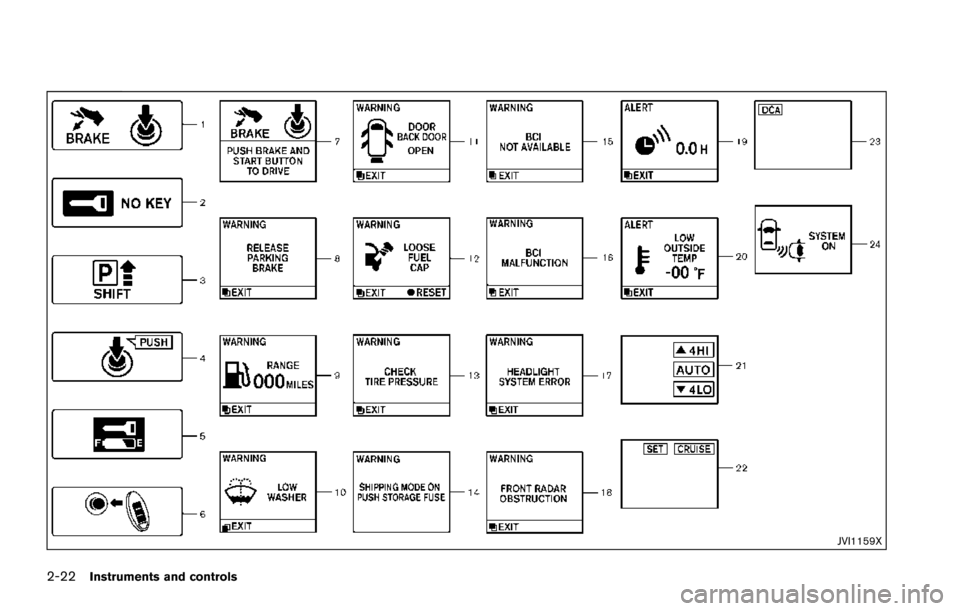
2-22Instruments and controls
JVI1159X
Page 112 of 614
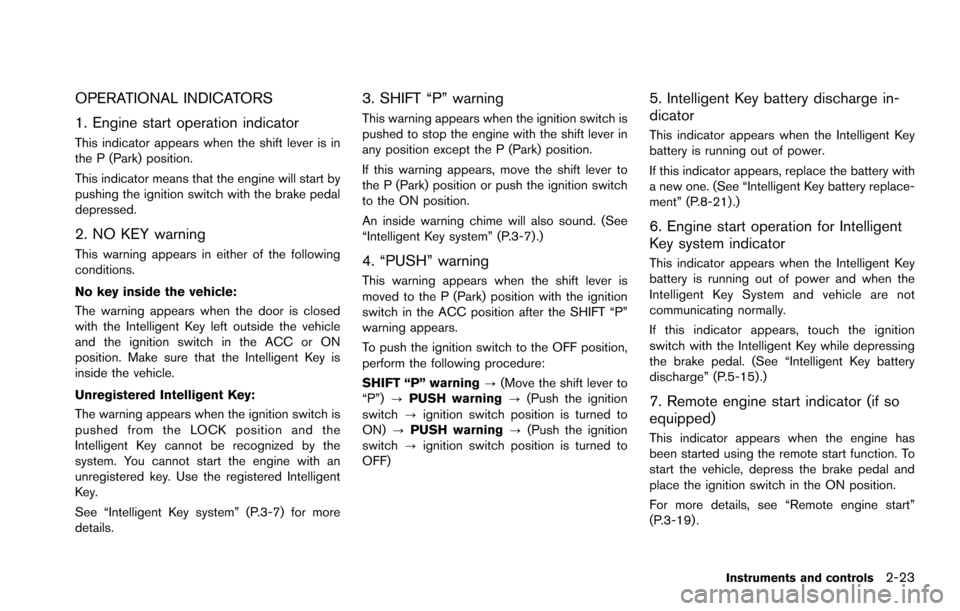
OPERATIONAL INDICATORS
1. Engine start operation indicator
This indicator appears when the shift lever is in
the P (Park) position.
This indicator means that the engine will start by
pushing the ignition switch with the brake pedal
depressed.
2. NO KEY warning
This warning appears in either of the following
conditions.
No key inside the vehicle:
The warning appears when the door is closed
with the Intelligent Key left outside the vehicle
and the ignition switch in the ACC or ON
position. Make sure that the Intelligent Key is
inside the vehicle.
Unregistered Intelligent Key:
The warning appears when the ignition switch is
pushed from the LOCK position and the
Intelligent Key cannot be recognized by the
system. You cannot start the engine with an
unregistered key. Use the registered Intelligent
Key.
See “Intelligent Key system” (P.3-7) for more
details.
3. SHIFT “P” warning
This warning appears when the ignition switch is
pushed to stop the engine with the shift lever in
any position except the P (Park) position.
If this warning appears, move the shift lever to
the P (Park) position or push the ignition switch
to the ON position.
An inside warning chime will also sound. (See
“Intelligent Key system” (P.3-7) .)
4. “PUSH” warning
This warning appears when the shift lever is
moved to the P (Park) position with the ignition
switch in the ACC position after the SHIFT “P”
warning appears.
To push the ignition switch to the OFF position,
perform the following procedure:
SHIFT “P” warning?(Move the shift lever to
“P”) ?PUSH warning ?(Push the ignition
switch ?ignition switch position is turned to
ON) ?PUSH warning ?(Push the ignition
switch ?ignition switch position is turned to
OFF)
5. Intelligent Key battery discharge in-
dicator
This indicator appears when the Intelligent Key
battery is running out of power.
If this indicator appears, replace the battery with
a new one. (See “Intelligent Key battery replace-
ment” (P.8-21) .)
6. Engine start operation for Intelligent
Key system indicator
This indicator appears when the Intelligent Key
battery is running out of power and when the
Intelligent Key System and vehicle are not
communicating normally.
If this indicator appears, touch the ignition
switch with the Intelligent Key while depressing
the brake pedal. (See “Intelligent Key battery
discharge” (P.5-15).)
7. Remote engine start indicator (if so
equipped)
This indicator appears when the engine has
been started using the remote start function. To
start the vehicle, depress the brake pedal and
place the ignition switch in the ON position.
For more details, see “Remote engine start”
(P.3-19) .
Instruments and controls2-23
Page 113 of 614
2-24Instruments and controls
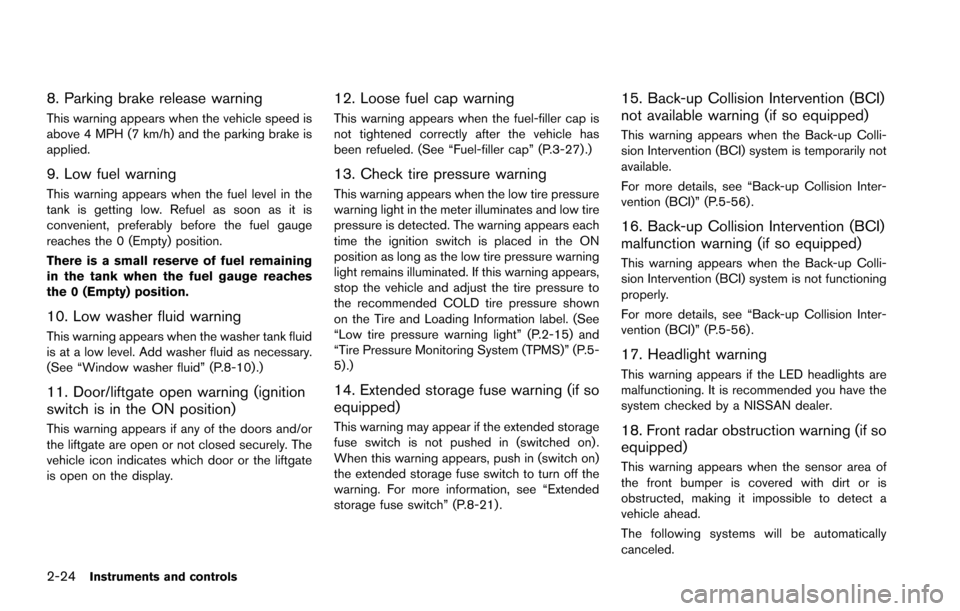
8. Parking brake release warning
This warning appears when the vehicle speed is
above 4 MPH (7 km/h) and the parking brake is
applied.
9. Low fuel warning
This warning appears when the fuel level in the
tank is getting low. Refuel as soon as it is
convenient, preferably before the fuel gauge
reaches the 0 (Empty) position.
There is a small reserve of fuel remaining
in the tank when the fuel gauge reaches
the 0 (Empty) position.
10. Low washer fluid warning
This warning appears when the washer tank fluid
is at a low level. Add washer fluid as necessary.
(See “Window washer fluid” (P.8-10).)
11. Door/liftgate open warning (ignition
switch is in the ON position)
This warning appears if any of the doors and/or
the liftgate are open or not closed securely. The
vehicle icon indicates which door or the liftgate
is open on the display.
12. Loose fuel cap warning
This warning appears when the fuel-filler cap is
not tightened correctly after the vehicle has
been refueled. (See “Fuel-filler cap” (P.3-27) .)
13. Check tire pressure warning
This warning appears when the low tire pressure
warning light in the meter illuminates and low tire
pressure is detected. The warning appears each
time the ignition switch is placed in the ON
position as long as the low tire pressure warning
light remains illuminated. If this warning appears,
stop the vehicle and adjust the tire pressure to
the recommended COLD tire pressure shown
on the Tire and Loading Information label. (See
“Low tire pressure warning light” (P.2-15) and
“Tire Pressure Monitoring System (TPMS)” (P.5-
5) .)
14. Extended storage fuse warning (if so
equipped)
This warning may appear if the extended storage
fuse switch is not pushed in (switched on) .
When this warning appears, push in (switch on)
the extended storage fuse switch to turn off the
warning. For more information, see “Extended
storage fuse switch” (P.8-21) .
15. Back-up Collision Intervention (BCI)
not available warning (if so equipped)
This warning appears when the Back-up Colli-
sion Intervention (BCI) system is temporarily not
available.
For more details, see “Back-up Collision Inter-
vention (BCI)” (P.5-56) .
16. Back-up Collision Intervention (BCI)
malfunction warning (if so equipped)
This warning appears when the Back-up Colli-
sion Intervention (BCI) system is not functioning
properly.
For more details, see “Back-up Collision Inter-
vention (BCI)” (P.5-56) .
17. Headlight warning
This warning appears if the LED headlights are
malfunctioning. It is recommended you have the
system checked by a NISSAN dealer.
18. Front radar obstruction warning (if so
equipped)
This warning appears when the sensor area of
the front bumper is covered with dirt or is
obstructed, making it impossible to detect a
vehicle ahead.
The following systems will be automatically
canceled.
Page 114 of 614
.Intelligent Cruise Control (ICC) system (if so
equipped)
. Distance Control Assist (DCA) system (if so
equipped)
. Forward Emergency Braking (FEB) system
(if so equipped)
. Predictive Forward Collision Warning
(PFCW) system (if so equipped)
For more details, see “Intelligent Cruise Control
(ICC)” (P.5-69) , “Distance Control Assist
(DCA)” (P.5-91), “Forward Emergency Braking
(FEB)” (P.5-105) or “Predictive Forward Colli-
sion Warning (PFCW)” (P.5-112) .
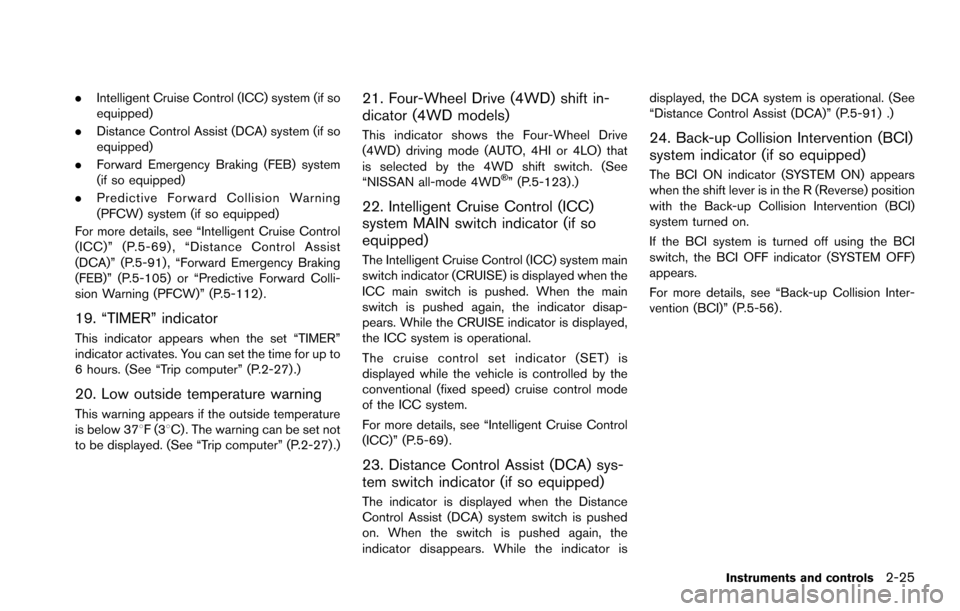
19. “TIMER” indicator
This indicator appears when the set “TIMER”
indicator activates. You can set the time for up to
6 hours. (See “Trip computer” (P.2-27) .)
20. Low outside temperature warning
This warning appears if the outside temperature
is below 378F(3 8C) . The warning can be set not
to be displayed. (See “Trip computer” (P.2-27) .)
21. Four-Wheel Drive (4WD) shift in-
dicator (4WD models)
This indicator shows the Four-Wheel Drive
(4WD) driving mode (AUTO, 4HI or 4LO) that
is selected by the 4WD shift switch. (See
“NISSAN all-mode 4WD
�Š” (P.5-123) .)
22. Intelligent Cruise Control (ICC)
system MAIN switch indicator (if so
equipped)
The Intelligent Cruise Control (ICC) system main
switch indicator (CRUISE) is displayed when the
ICC main switch is pushed. When the main
switch is pushed again, the indicator disap-
pears. While the CRUISE indicator is displayed,
the ICC system is operational.
The cruise control set indicator (SET) is
displayed while the vehicle is controlled by the
conventional (fixed speed) cruise control mode
of the ICC system.
For more details, see “Intelligent Cruise Control
(ICC)” (P.5-69) .
23. Distance Control Assist (DCA) sys-
tem switch indicator (if so equipped)
The indicator is displayed when the Distance
Control Assist (DCA) system switch is pushed
on. When the switch is pushed again, the
indicator disappears. While the indicator is displayed, the DCA system is operational. (See
“Distance Control Assist (DCA)” (P.5-91) .)
24. Back-up Collision Intervention (BCI)
system indicator (if so equipped)
The BCI ON indicator (SYSTEM ON) appears
when the shift lever is in the R (Reverse) position
with the Back-up Collision Intervention (BCI)
system turned on.
If the BCI system is turned off using the BCI
switch, the BCI OFF indicator (SYSTEM OFF)
appears.
For more details, see “Back-up Collision Inter-
vention (BCI)” (P.5-56) .
Instruments and controls2-25
Page 115 of 614
2-26Instruments and controls
SIC4325
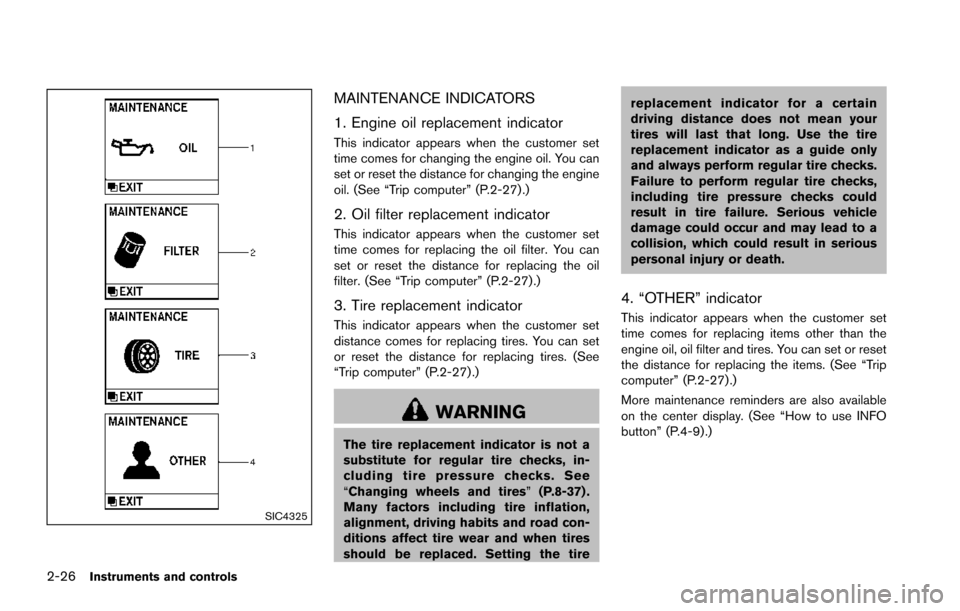
MAINTENANCE INDICATORS
1. Engine oil replacement indicator
This indicator appears when the customer set
time comes for changing the engine oil. You can
set or reset the distance for changing the engine
oil. (See “Trip computer” (P.2-27) .)
2. Oil filter replacement indicator
This indicator appears when the customer set
time comes for replacing the oil filter. You can
set or reset the distance for replacing the oil
filter. (See “Trip computer” (P.2-27).)
3. Tire replacement indicator
This indicator appears when the customer set
distance comes for replacing tires. You can set
or reset the distance for replacing tires. (See
“Trip computer” (P.2-27) .)
WARNING
The tire replacement indicator is not a
substitute for regular tire checks, in-
cluding tire pressure checks. See
“Changing wheels and tires”(P.8-37) .
Many factors including tire inflation,
alignment, driving habits and road con-
ditions affect tire wear and when tires
should be replaced. Setting the tire replacement indicator for a certain
driving distance does not mean your
tires will last that long. Use the tire
replacement indicator as a guide only
and always perform regular tire checks.
Failure to perform regular tire checks,
including tire pressure checks could
result in tire failure. Serious vehicle
damage could occur and may lead to a
collision, which could result in serious
personal injury or death.
4. “OTHER” indicator
This indicator appears when the customer set
time comes for replacing items other than the
engine oil, oil filter and tires. You can set or reset
the distance for replacing the items. (See “Trip
computer” (P.2-27).)
More maintenance reminders are also available
on the center display. (See “How to use INFO
button” (P.4-9).)
Page 116 of 614
SIC4494
SIC4420
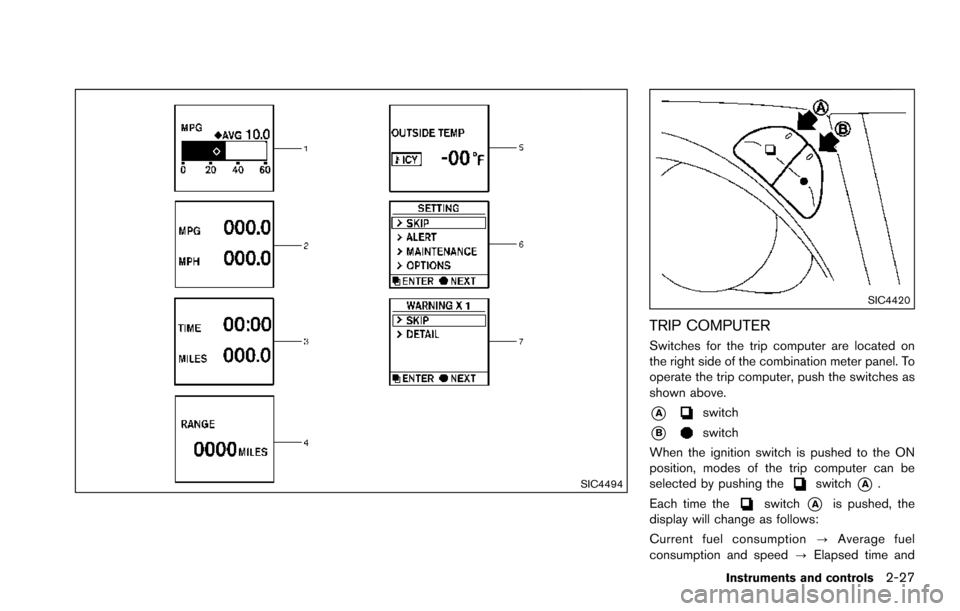
TRIP COMPUTER
Switches for the trip computer are located on
the right side of the combination meter panel. To
operate the trip computer, push the switches as
shown above.
*Aswitch
*Bswitch
When the ignition switch is pushed to the ON
position, modes of the trip computer can be
selected by pushing the
switch*A.
Each time the
switch*Ais pushed, the
display will change as follows:
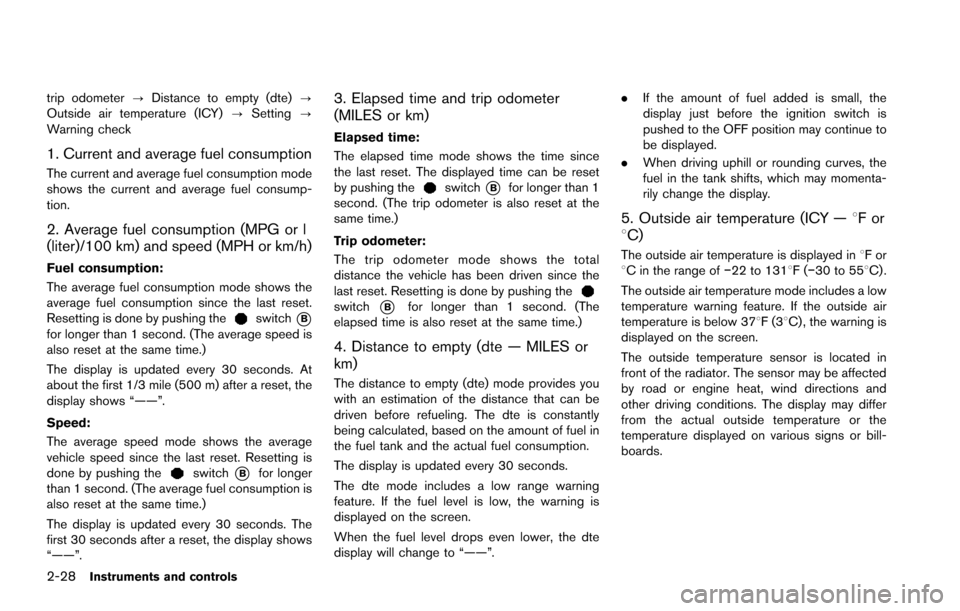
Current fuel consumption ?Average fuel
consumption and speed ?Elapsed time and
Instruments and controls2-27
Page 117 of 614
2-28Instruments and controls
trip odometer?Distance to empty (dte) ?
Outside air temperature (ICY) ?Setting ?
Warning check
1. Current and average fuel consumption
The current and average fuel consumption mode
shows the current and average fuel consump-
tion.
2. Average fuel consumption (MPG or l
(liter)/100 km) and speed (MPH or km/h)
Fuel consumption:
The average fuel consumption mode shows the
average fuel consumption since the last reset.
Resetting is done by pushing the
switch*Bfor longer than 1 second. (The average speed is
also reset at the same time.)
The display is updated every 30 seconds. At
about the first 1/3 mile (500 m) after a reset, the
display shows “——”.
Speed:
The average speed mode shows the average
vehicle speed since the last reset. Resetting is
done by pushing the
switch*Bfor longer
than 1 second. (The average fuel consumption is
also reset at the same time.)
The display is updated every 30 seconds. The
first 30 seconds after a reset, the display shows
“——”.
3. Elapsed time and trip odometer
(MILES or km)
Elapsed time:
The elapsed time mode shows the time since
the last reset. The displayed time can be reset
by pushing the
switch*Bfor longer than 1
second. (The trip odometer is also reset at the
same time.)
Trip odometer:
The trip odometer mode shows the total
distance the vehicle has been driven since the
last reset. Resetting is done by pushing the
switch*Bfor longer than 1 second. (The
elapsed time is also reset at the same time.)
4. Distance to empty (dte — MILES or
km)
The distance to empty (dte) mode provides you
with an estimation of the distance that can be
driven before refueling. The dte is constantly
being calculated, based on the amount of fuel in
the fuel tank and the actual fuel consumption.
The display is updated every 30 seconds.
The dte mode includes a low range warning
feature. If the fuel level is low, the warning is
displayed on the screen.
When the fuel level drops even lower, the dte
display will change to “——”. .
If the amount of fuel added is small, the
display just before the ignition switch is
pushed to the OFF position may continue to
be displayed.
. When driving uphill or rounding curves, the
fuel in the tank shifts, which may momenta-
rily change the display.
5. Outside air temperature (ICY — 8For
8C)
The outside air temperature is displayed in 8For
8C in the range of �í22 to 1318F(�í30 to 558C) .
The outside air temperature mode includes a low
temperature warning feature. If the outside air
temperature is below 378F(3 8C) , the warning is
displayed on the screen.
The outside temperature sensor is located in
front of the radiator. The sensor may be affected
by road or engine heat, wind directions and
other driving conditions. The display may differ
from the actual outside temperature or the
temperature displayed on various signs or bill-
boards.
Page 118 of 614
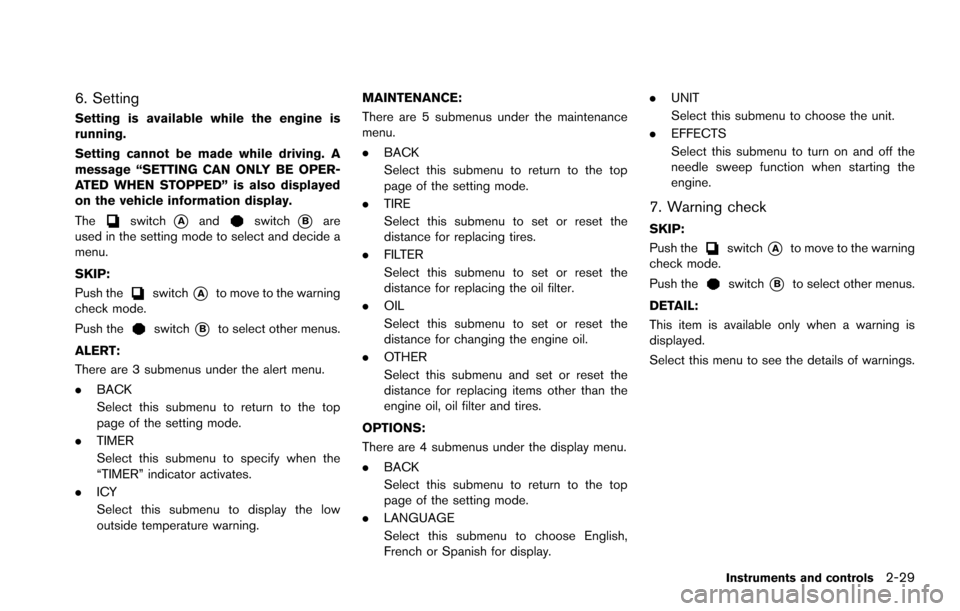
6. Setting
Setting is available while the engine is
running.
Setting cannot be made while driving. A
message “SETTING CAN ONLY BE OPER-
ATED WHEN STOPPED” is also displayed
on the vehicle information display.
The
switch*Aandswitch*Bare
used in the setting mode to select and decide a
menu.
SKIP:
Push the
switch*Ato move to the warning
check mode.
Push the
switch*Bto select other menus.
ALERT:
There are 3 submenus under the alert menu.
. BACK
Select this submenu to return to the top
page of the setting mode.
. TIMER
Select this submenu to specify when the
“TIMER” indicator activates.
. ICY
Select this submenu to display the low
outside temperature warning. MAINTENANCE:
There are 5 submenus under the maintenance
menu.
.
BACK
Select this submenu to return to the top
page of the setting mode.
. TIRE
Select this submenu to set or reset the
distance for replacing tires.
. FILTER
Select this submenu to set or reset the
distance for replacing the oil filter.
. OIL
Select this submenu to set or reset the
distance for changing the engine oil.
. OTHER
Select this submenu and set or reset the
distance for replacing items other than the
engine oil, oil filter and tires.
OPTIONS:
There are 4 submenus under the display menu.
. BACK
Select this submenu to return to the top
page of the setting mode.
. LANGUAGE
Select this submenu to choose English,
French or Spanish for display. .
UNIT
Select this submenu to choose the unit.
. EFFECTS
Select this submenu to turn on and off the
needle sweep function when starting the
engine.
7. Warning check
SKIP:
Push the
switch*Ato move to the warning
check mode.
Push the
switch*Bto select other menus.
DETAIL:
This item is available only when a warning is
displayed.
Select this menu to see the details of warnings.
Instruments and controls2-29
Page 119 of 614
2-30Instruments and controls
SIC2133
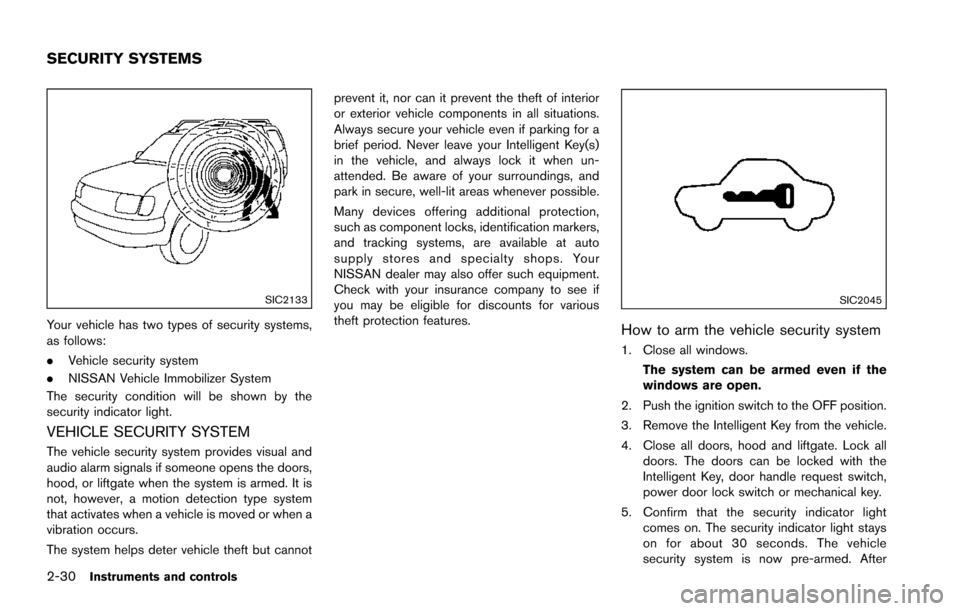
Your vehicle has two types of security systems,
as follows:
.Vehicle security system
. NISSAN Vehicle Immobilizer System
The security condition will be shown by the
security indicator light.
VEHICLE SECURITY SYSTEM
The vehicle security system provides visual and
audio alarm signals if someone opens the doors,
hood, or liftgate when the system is armed. It is
not, however, a motion detection type system
that activates when a vehicle is moved or when a
vibration occurs.
The system helps deter vehicle theft but cannot prevent it, nor can it prevent the theft of interior
or exterior vehicle components in all situations.
Always secure your vehicle even if parking for a
brief period. Never leave your Intelligent Key(s)
in the vehicle, and always lock it when un-
attended. Be aware of your surroundings, and
park in secure, well-lit areas whenever possible.
Many devices offering additional protection,
such as component locks, identification markers,
and tracking systems, are available at auto
supply stores and specialty shops. Your
NISSAN dealer may also offer such equipment.
Check with your insurance company to see if
you may be eligible for discounts for various
theft protection features.
SIC2045
How to arm the vehicle security system
1. Close all windows.
The system can be armed even if the
windows are open.
2. Push the ignition switch to the OFF position.
3. Remove the Intelligent Key from the vehicle.
4. Close all doors, hood and liftgate. Lock all doors. The doors can be locked with the
Intelligent Key, door handle request switch,
power door lock switch or mechanical key.
5. Confirm that the security indicator light comes on. The security indicator light stays
on for about 30 seconds. The vehicle
security system is now pre-armed. After
SECURITY SYSTEMS
Page 120 of 614
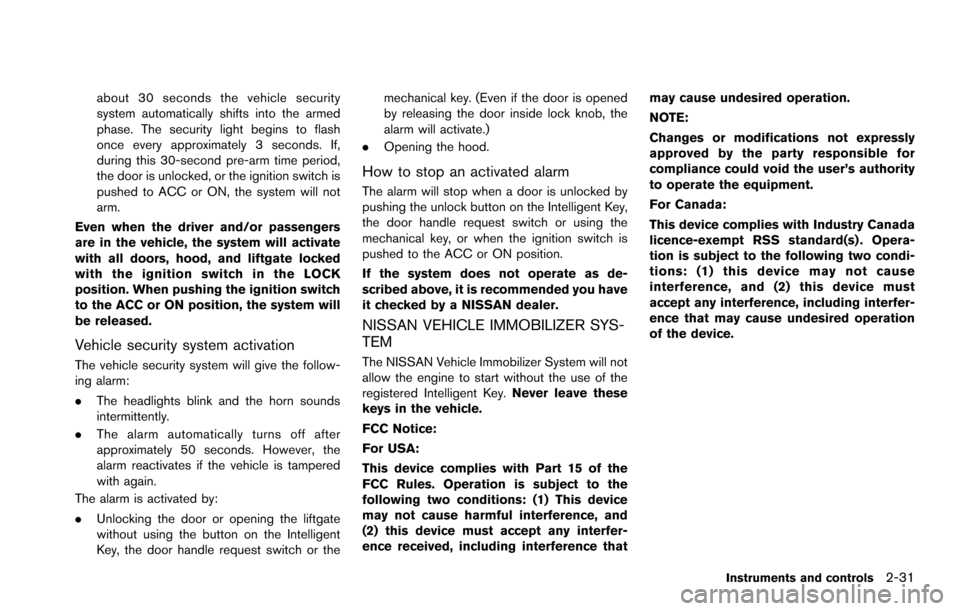
about 30 seconds the vehicle security
system automatically shifts into the armed
phase. The security light begins to flash
once every approximately 3 seconds. If,
during this 30-second pre-arm time period,
the door is unlocked, or the ignition switch is
pushed to ACC or ON, the system will not
arm.
Even when the driver and/or passengers
are in the vehicle, the system will activate
with all doors, hood, and liftgate locked
with the ignition switch in the LOCK
position. When pushing the ignition switch
to the ACC or ON position, the system will
be released.
Vehicle security system activation
The vehicle security system will give the follow-
ing alarm:
. The headlights blink and the horn sounds
intermittently.
. The alarm automatically turns off after
approximately 50 seconds. However, the
alarm reactivates if the vehicle is tampered
with again.
The alarm is activated by:
. Unlocking the door or opening the liftgate
without using the button on the Intelligent
Key, the door handle request switch or the mechanical key. (Even if the door is opened
by releasing the door inside lock knob, the
alarm will activate.)
. Opening the hood.
How to stop an activated alarm
The alarm will stop when a door is unlocked by
pushing the unlock button on the Intelligent Key,
the door handle request switch or using the
mechanical key, or when the ignition switch is
pushed to the ACC or ON position.
If the system does not operate as de-
scribed above, it is recommended you have
it checked by a NISSAN dealer.
NISSAN VEHICLE IMMOBILIZER SYS-
TEM
The NISSAN Vehicle Immobilizer System will not
allow the engine to start without the use of the
registered Intelligent Key. Never leave these
keys in the vehicle.
FCC Notice:
For USA:
This device complies with Part 15 of the
FCC Rules. Operation is subject to the
following two conditions: (1) This device
may not cause harmful interference, and
(2) this device must accept any interfer-
ence received, including interference that may cause undesired operation.
NOTE:
Changes or modifications not expressly
approved by the party responsible for
compliance could void the user’s authority
to operate the equipment.
For Canada:
This device complies with Industry Canada
licence-exempt RSS standard(s) . Opera-
tion is subject to the following two condi-
tions: (1) this device may not cause
interference, and (2) this device must
accept any interference, including interfer-
ence that may cause undesired operation
of the device.
Instruments and controls2-31