traction control NISSAN FRONTIER 2018 Owner´s Manual
[x] Cancel search | Manufacturer: NISSAN, Model Year: 2018, Model line: FRONTIER, Model: NISSAN FRONTIER 2018Pages: 502, PDF Size: 4.85 MB
Page 140 of 502
Overdrive OFF indicatorlight (if so equipped)
This light comes on when the overdrive
function is OFF.
The automatic transmission overdrive
function is controlled by the overdrive
switch.
For additional information, refer to “Driving
the vehicle” in the “Starting and driving” sec-
tion of this manual.
Security indicator light (ifso equipped)
This light blinks when the ignition switch is
in the OFF, LOCK or ACC position. This func-
tion indicates the security systems
equipped on the vehicle are operational.
For additional information, refer to “Security
systems” in this section.
Slip indicator light
This indicator will blink when the VDC sys-
tem is operating, thus alerting the driver to
the fact that the road surface is slippery
and the vehicle is nearing its traction limits.
You may feel or hear the system working;
this is normal. The light will blink for a few seconds af ter
the VDC system stops limiting wheel spin.
The
indicator light also comes on
when you place the ignition switch in the
ON position. The light will turn off af ter ap-
proximately 2 seconds if the system is op-
erational. If the light does not come on
have the system checked. It is recom-
mended that you visit a NISSAN dealer for
this service.
Transfer 4LO position
indicator light
(
model)
This light comes on when the 4WD shif t
switch is set in the 4LO position with the
ignition switch in the ON position.
The transfer case may be damaged if you
shif t the switch while driving.
Make sure the transfer 4LO position indica-
tor light turns on when you shif t the 4WD
shif t switch to 4LO.
The indicator light may blink while shif t-
ing from one drive mode to the other. The 4LO indicator light must stop blinking
and remain illuminated or turn off before
shif ting the transmission into gear. If the
shif t lever is shif ted from the N (Neutral)
position to any other gear when the 4LO
indicator light is blinking, the vehicle may
move unexpectedly.
When you shif t between 4H and 4LO, follow
the instructions below:
∙ For automatic transmission models, stop the vehicle and shif t the shif t lever
to the N (Neutral) position with the
brake pedal depressed, then depress
and turn the 4WD shif t switch to 4LO or
4H.
∙ For manual transmission models, stop the vehicle and shif t the shif t lever to
the N (Neutral) position with the clutch
pedal depressed, then depress and turn
the 4WD shif t switch to 4LO or 4H.
You cannot move the transfer 4WD shif t
switch between 4H and 4LO unless you
stop the vehicle and shif t the shif t lever to
the N position with the brake pedal (A/T
models) or clutch pedal (M/T models) de-
pressed.
Instruments and controls2-23
Page 141 of 502
Turn signal/hazardindicator lights
The appropriate light flashes when the turn
signal switch is activated.
Both lights flash when the hazard switch is
turned on.
Vehicle Dynamic Control(VDC) OFF indicator light
This indicator light comes on when the
VDC OFF switch is pushed to the OFF posi-
tion, the transfer case is in the 4LO position
(
model), or when the VDC system
is not functioning properly. This indicates
the VDC system is not operating.
Push the VDC OFF switch again or restart
the engine and the system will operate
normally. For additional information, refer
to “Vehicle Dynamic Control (VDC) system”
in the “Starting and driving” section of this
manual.
The VDC light also comes on when you turn
the ignition key to the ON position. The light
will turn off af ter about 2 seconds if the
system is operational. If the light stays on
or comes on along with the SLIP (
)
indicator light while you are driving, have the VDC system checked. It is recom-
mended that you visit a NISSAN dealer for
this service.
If the battery is removed or discharged, the
VDC system is disabled and the VDC indi-
cator light will not turn off af ter 2 seconds
when the ignition switch is turned to the
ON position. To reset the system, you must
perform the reset procedure. For addi-
tional information, refer to “Vehicle Dy-
namic Control (VDC) system” in the “Start-
ing and driving” section of this manual.
If the light does not go off af ter performing
the reset procedure, have the traction con-
trol system checked. It is recommended
that you visit a NISSAN dealer for this ser-
vice.
While the VDC system is operating, you
might feel slight vibration or hear the sys-
tem working when starting the vehicle or
accelerating, but this is normal.
The VDC system will be disabled and the
VDC light will illuminate when the elec-
tronic locking rear differential (E-lock) sys-
tem switch (if so equipped) is turned on
and the E-lock system is engaged. If the
E-lock system disengages or the switch is
turned off, the VDC system will be enabled
and the VDC light will turn off.
AUDIBLE REMINDERS
Brake pad wear warning
The disc brake pads have audible wear
warnings. When a disc brake pad requires
replacement, it makes a high pitched
scraping sound when the vehicle is in mo-
tion, whether or not the brake pedal is de-
pressed. Have the brakes checked as soon
as possible if the warning sound is heard.
Key reminder chime
A chime sounds if the driver’s door is
opened while the key is lef t in the ignition
switch. Remove the key and take it with you
when leaving the vehicle.
Light reminder chime
With the ignition switch placed in the OFF
position, a chime sounds when the driver’s
door is opened if the headlights or parking
lights are on.
Turn the headlight control switch off before
leaving the vehicle.
2-24Instruments and controls
Page 154 of 502
For additional information, refer to “Hill de-
scent control system ON indicator light” in
this section and “Hill descent control sys-
tem” in the “Starting and driving” section of
this manual.The E-Lock system can help provide added
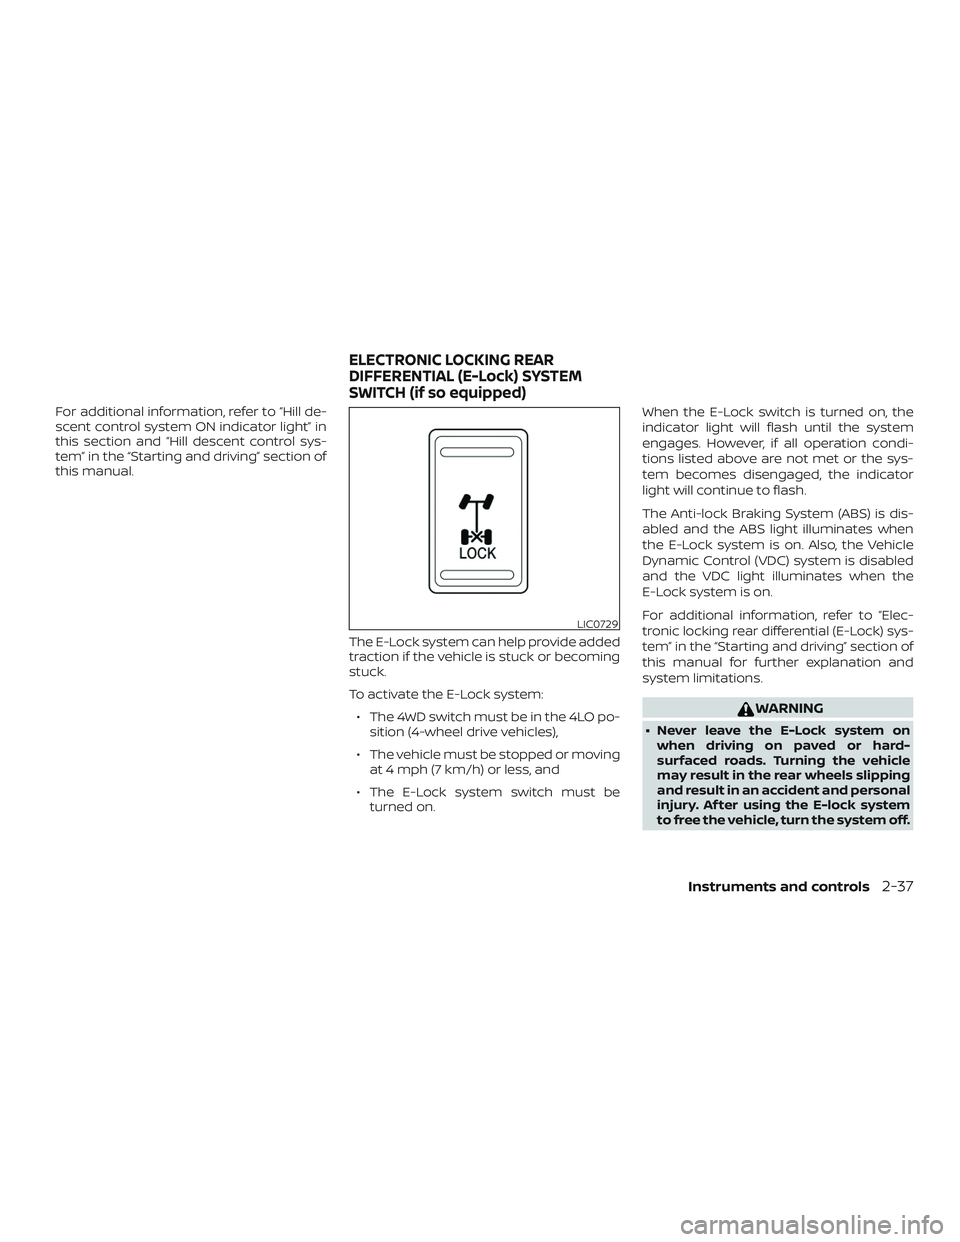
traction if the vehicle is stuck or becoming
stuck.
To activate the E-Lock system:∙ The 4WD switch must be in the 4LO po- sition (4-wheel drive vehicles),
∙ The vehicle must be stopped or moving at 4 mph (7 km/h) or less, and
∙ The E-Lock system switch must be turned on. When the E-Lock switch is turned on, the
indicator light will flash until the system
engages. However, if all operation condi-
tions listed above are not met or the sys-
tem becomes disengaged, the indicator
light will continue to flash.
The Anti-lock Braking System (ABS) is dis-
abled and the ABS light illuminates when
the E-Lock system is on. Also, the Vehicle
Dynamic Control (VDC) system is disabled
and the VDC light illuminates when the
E-Lock system is on.
For additional information, refer to “Elec-
tronic locking rear differential (E-Lock) sys-
tem” in the “Starting and driving” section of
this manual for further explanation and
system limitations.
WARNING
∙ Never leave the E-Lock system on
when driving on paved or hard-
surfaced roads. Turning the vehicle
may result in the rear wheels slipping
and result in an accident and personal
injury. Af ter using the E-lock system
to free the vehicle, turn the system off.
LIC0729
ELECTRONIC LOCKING REAR
DIFFERENTIAL (E-Lock) SYSTEM
SWITCH (if so equipped)
Instruments and controls2-37
Page 239 of 502

USB (Universal Serial Bus)
Connection Port
WARNING
Do not connect, disconnect, or operate
the USB device while driving. Doing so
can be a distraction. If distracted you
could lose control of your vehicle and
cause an accident or serious injury.
CAUTION
∙ Do not force the USB device into theUSB port. Inserting the USB device
tilted or up-side-down into the port
may damage the port. Make sure that
the USB device is connected correctly
into the USB port.
∙ Do not grab the USB port cover (if so equipped) when pulling the USB de-
vice out of the port. This could dam-
age the port and the cover.
∙ Do not leave the USB cable in a place where it can be pulled unintentionally.
Pulling the cable may damage the
port.
The vehicle is not equipped with a USB de-
vice. USB devices should be purchased
separately as necessary. This system cannot be used to format USB
memory devices. To format a USB device,
use a personal computer.
In some jurisdictions, the USB device for the
front seats plays only sound without im-
ages for regulatory reasons, even when the
vehicle is parked.
This system supports various USB
memory devices, USB hard drives and
iPod® players. Some USB devices may not
be supported by this system.
∙ Partitioned USB devices may not play correctly.
∙ Some characters used in other lan- guages (Chinese, Japanese, etc.) may
not appear properly in the display. Using
English language characters with a USB
device is recommended.
General notes for USB use ∙ For additional information, refer to your device manufacturer’s owner informa-
tion regarding the proper use and care
of the device. Notes for iPod® use
iPod® is a trademark of Apple Inc., regis-
tered in the U.S. and other countries.
∙ Improperly plugging in the iPod® may cause a check mark to be displayed on
and off (flickering). Always make sure
that the iPod® is connected properly.
∙ An iPod® nano (1st Generation) may re- main in fast forward or rewind mode if it
is connected during a seek operation. In
this case, please manually reset the
iPod®.
∙ An iPod® nano (2nd Generation) will continue to fast-forward or rewind if it is
disconnected during a seek operation.
∙ An incorrect song title may appear when the Play Mode is changed while
using an iPod® nano (2nd Generation).
∙ Audiobooks may not play in the same order as they appear on an iPod®.
∙ Large video files cause slow responses in an iPod®. The vehicle center display
may momentarily black out, but will
soon recover.
4-38Monitor, climate, audio, phone and voice recognition systems
Page 260 of 502
CD EJECT button
When the
CD EJECT button is pressed
with a compact disc loaded, the compact
disc will eject and the last source will be
played.
If the disc is not removed within 10 seconds,
the disc will reload.
Additional features
For additional information, refer to “iPod®
player operation with Navigation System”
in this section.
For additional information, refer to “USB
(Universal Serial Bus) Connection Port
(models with Navigation System)” in this
section.
For additional information, refer to
“Bluetooth® streaming audio with Naviga-
tion System” in this section.
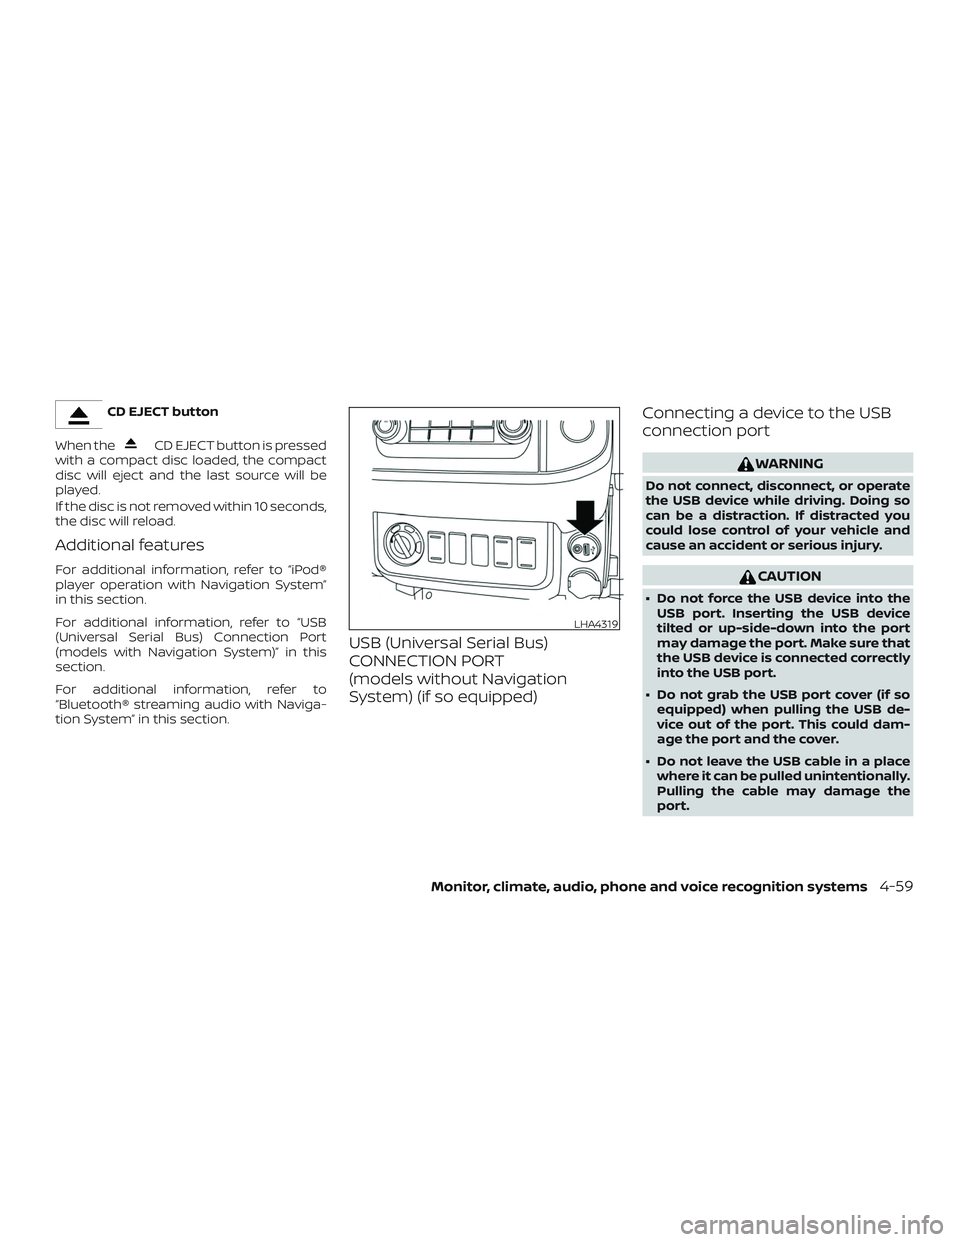
USB (Universal Serial Bus)
CONNECTION PORT
(models without Navigation
System) (if so equipped) Connecting a device to the USB
connection port
WARNING
Do not connect, disconnect, or operate
the USB device while driving. Doing so
can be a distraction. If distracted you
could lose control of your vehicle and
cause an accident or serious injury.
CAUTION
∙ Do not force the USB device into the
USB port. Inserting the USB device
tilted or up-side-down into the port
may damage the port. Make sure that
the USB device is connected correctly
into the USB port.
∙ Do not grab the USB port cover (if so equipped) when pulling the USB de-
vice out of the port. This could dam-
age the port and the cover.
∙ Do not leave the USB cable in a place where it can be pulled unintentionally.
Pulling the cable may damage the
port.
LHA4319
Monitor, climate, audio, phone and voice recognition systems4-59
Page 262 of 502
1 Track Repeat: the current track will be
repeated.
1 Folder Repeat: the current folder will be
repeated.
OFF: No repeat play pattern is applied. The
indicator on the display will turn off.
The current play pattern of the USB device
is displayed on the screen unless no pat-
tern is applied.
TUNE/FOLDER or TUNE/SCROLL knob
If there are multiple folders with audio files
on the USB device, turn the TUNE/FOLDER
or TUNE/SCROLL knob to change folders.
Turn the knob to the lef t to skip back a
folder. Turn the knob to the right to skip
ahead a folder. If there is only one folder of
audio files on the USB device, turning the
TUNE/FOLDER or TUNE/SCROLL knob in ei-
ther direction will return to the first track on
the USB device.
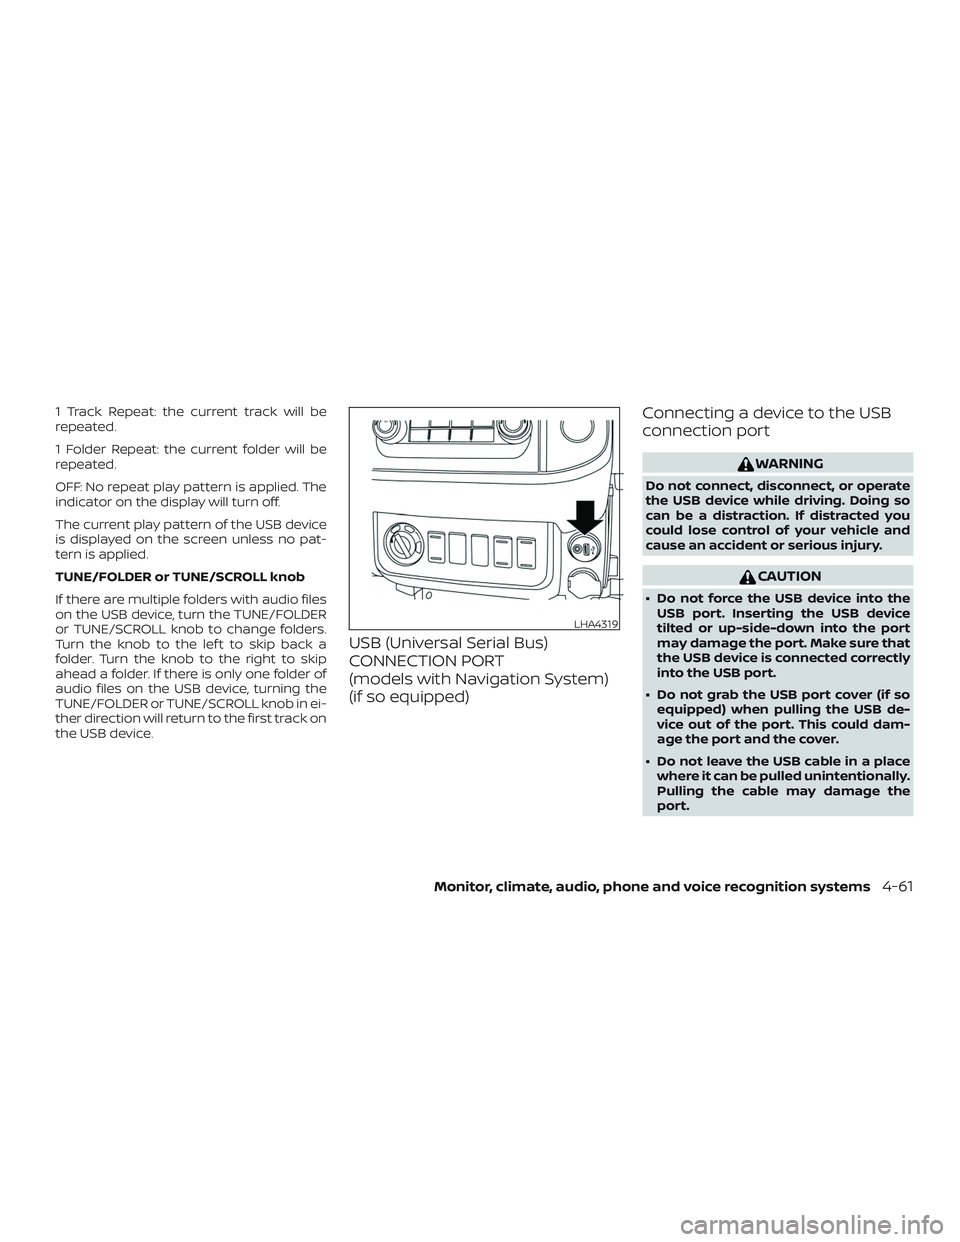
USB (Universal Serial Bus)
CONNECTION PORT
(models with Navigation System)
(if so equipped)Connecting a device to the USB
connection port
WARNING
Do not connect, disconnect, or operate
the USB device while driving. Doing so
can be a distraction. If distracted you
could lose control of your vehicle and
cause an accident or serious injury.
CAUTION
∙ Do not force the USB device into the
USB port. Inserting the USB device
tilted or up-side-down into the port
may damage the port. Make sure that
the USB device is connected correctly
into the USB port.
∙ Do not grab the USB port cover (if so equipped) when pulling the USB de-
vice out of the port. This could dam-
age the port and the cover.
∙ Do not leave the USB cable in a place where it can be pulled unintentionally.
Pulling the cable may damage the
port.
LHA4319
Monitor, climate, audio, phone and voice recognition systems4-61
Page 264 of 502
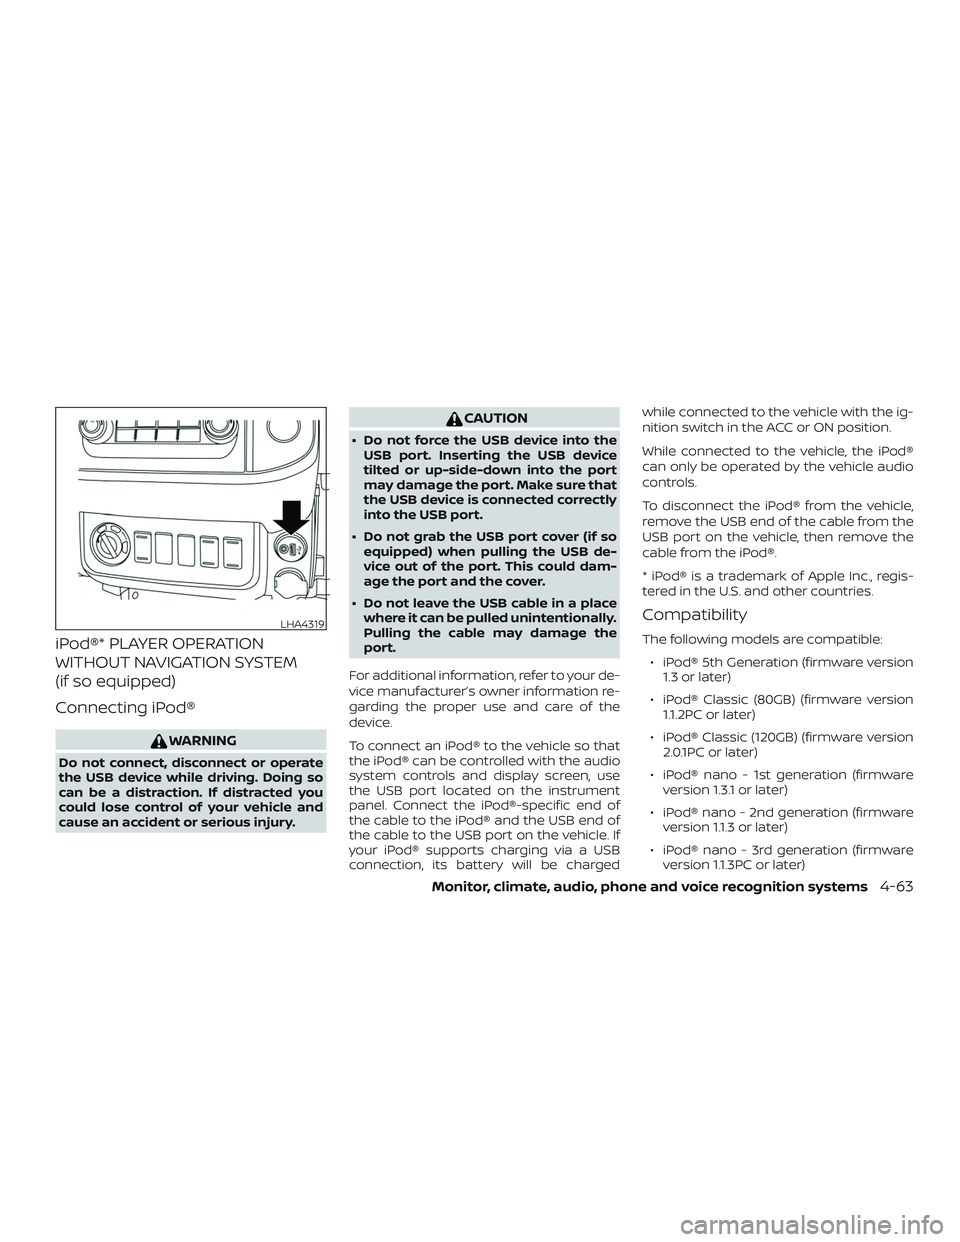
iPod®* PLAYER OPERATION
WITHOUT NAVIGATION SYSTEM
(if so equipped)
Connecting iPod®
WARNING
Do not connect, disconnect or operate
the USB device while driving. Doing so
can be a distraction. If distracted you
could lose control of your vehicle and
cause an accident or serious injury.
CAUTION
∙ Do not force the USB device into theUSB port. Inserting the USB device
tilted or up-side-down into the port
may damage the port. Make sure that
the USB device is connected correctly
into the USB port.
∙ Do not grab the USB port cover (if so equipped) when pulling the USB de-
vice out of the port. This could dam-
age the port and the cover.
∙ Do not leave the USB cable in a place where it can be pulled unintentionally.
Pulling the cable may damage the
port.
For additional information, refer to your de-
vice manufacturer’s owner information re-
garding the proper use and care of the
device.
To connect an iPod® to the vehicle so that
the iPod® can be controlled with the audio
system controls and display screen, use
the USB port located on the instrument
panel. Connect the iPod®-specific end of
the cable to the iPod® and the USB end of
the cable to the USB port on the vehicle. If
your iPod® supports charging via a USB
connection, its battery will be charged while connected to the vehicle with the ig-
nition switch in the ACC or ON position.
While connected to the vehicle, the iPod®
can only be operated by the vehicle audio
controls.
To disconnect the iPod® from the vehicle,
remove the USB end of the cable from the
USB port on the vehicle, then remove the
cable from the iPod®.
* iPod® is a trademark of Apple Inc., regis-
tered in the U.S. and other countries.
Compatibility
The following models are compatible:
∙ iPod® 5th Generation (firmware version 1.3 or later)
∙ iPod® Classic (80GB) (firmware version 1.1.2PC or later)
∙ iPod® Classic (120GB) (firmware version 2.0.1PC or later)
∙ iPod® nano - 1st generation (firmware version 1.3.1 or later)
∙ iPod® nano - 2nd generation (firmware version 1.1.3 or later)
∙ iPod® nano - 3rd generation (firmware version 1.1.3PC or later)
LHA4319
Monitor, climate, audio, phone and voice recognition systems4-63
Page 266 of 502
REPEAT (RPT)
When the RPT button is pressed while a
track is being played, the play pattern can
be changed as follows:
Repeat Off→1 Track Repeat →All Repeat →
Repeat Off
1 Track Repeat: the current track will be
repeated.
All Repeat: all songs in the current list are
repeated.
Repeat Off: no repeat play pattern is ap-
plied.
RANDOM (RDM)
When the RDM button is pressed while a
track is being played, the play pattern can
be changed as follows:
Shuffle Off →Track Shuffle →Album Shuffle
→ Shuffle Off
Track Shuffle: the tracks in the current list
will be played randomly.
Album Shuffle: the albums in the current list
will be played randomly.
Shuffle Off: no random play pattern is ap-
plied.BACK button
When the
BACK button is pressed, it
returns to the previous menu.
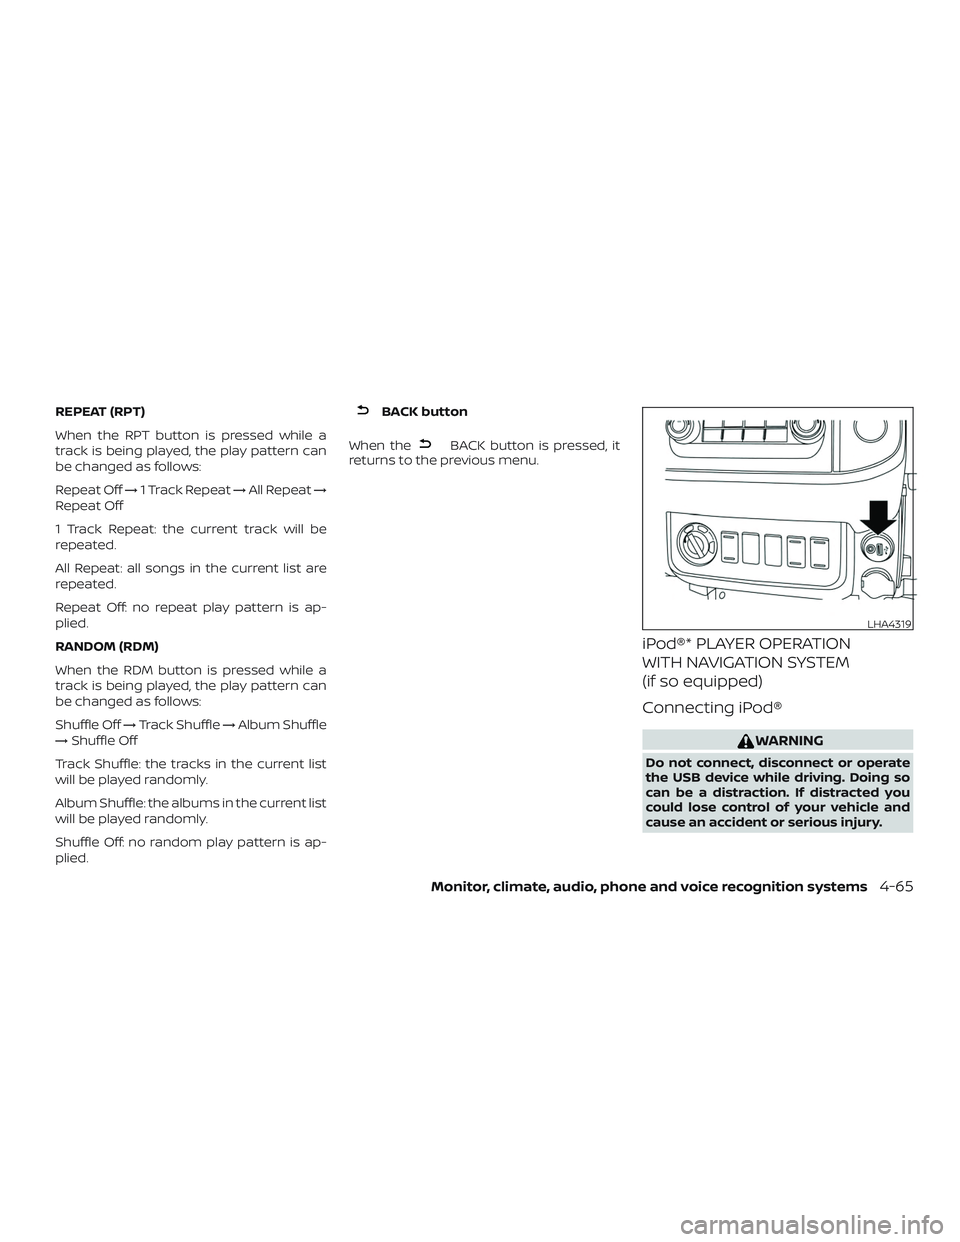
iPod®* PLAYER OPERATION
WITH NAVIGATION SYSTEM
(if so equipped)
Connecting iPod®
WARNING
Do not connect, disconnect or operate
the USB device while driving. Doing so
can be a distraction. If distracted you
could lose control of your vehicle and
cause an accident or serious injury.
LHA4319
Monitor, climate, audio, phone and voice recognition systems4-65
Page 275 of 502
CONNECT PHONE
To use this feature, a compatible smart-
phone must be connected via Bluetooth®
or USB to the vehicle. For additional infor-
mation, refer to “Bluetooth® Hands-Free
Phone System with Navigation System” in
this section.
NOTE:
Apple iPhones® REQUIRE the phone to be
plugged in via USB for NissanConnect®
Mobile Apps to function.
For Android phones, NissanConnect®
Mobile Apps REQUIRES the phone to be
paired via Bluetooth®.
APPLICATION DOWNLOAD
Once connected, the NissanConnect® App
will search your phone to determine which
compatible applications are currently in-
stalled. The user will then choose which
apps they want to bring into their vehicle
from the list of apps within the “Manage My
Apps” section of the NissanConnect® App
on their smartphone. The vehicle will then
download the in-vehicle interface for each
of these compatible applications. Once
downloaded, the user can access their se-
lected smartphone applications through
the vehicle touch-screen.For additional information, refer to
www.nissanusa.com/connect or
www.nissan.ca/en/connect or
www.nissan.ca/fr/connect regarding
application availability.
Apple Siri® Eyes Free personal assistant
can be accessed from the vehicle. Siri Eyes
Free can be accessed in Siri Eyes Free
mode to reduce user distraction. In this
mode, Siri Eyes Free is available for interac-
tion by voice control. Af ter connecting a
compatible Apple device by using
Bluetooth®, Siri Eyes Free can be activated
from the
TALK switch on the steering
wheel.
Siri® is a trademark of Apple Inc., registered
in the U.S. and other countries.
∙ Some Siri Eyes Free functions, such as displaying pictures or opening apps,
may not be available while driving.
∙ For getting best results, always update your device to the latest sof tware ver-
sion.
∙ Keep the interior of the vehicle as quiet as possible. Close the windows to elimi-
nate the surrounding noises (traffic
noises, vibration sounds, etc.), which
may prevent the system from recogniz-
ing the voice commands correctly.
∙ For functions that can be used in Siri Eyes Free, please refer to the Apple
website.
SIRI® EYES FREE
4-74Monitor, climate, audio, phone and voice recognition systems
Page 336 of 502
The transfer case 4WD shif t switch is used
to select either 2WD or 4WD depending on
the driving conditions. There are three
types of drive modes available, 2WD, 4H and
4LO.
The 4WD shif t switch electronically controls
the transfer case operation. Rotate the
switch to move between each mode, 2WD,
4H and 4LO.
To change into or out of 4LO, the vehicle
MUST be stationary, shif t the shif t lever
to N (Neutral), and for A/T vehicles de-
press the brake pedal or for M/T vehicles
depress the clutch pedal. The switch
must be depressed and turned when
changing into or out of 4LO.
WARNING
∙ When parking, apply the parkingbrake before stopping the engine and
make sure that the 4WD shif t indica-
tor light is on and the ATP warning
light goes off. Otherwise, the vehicle
could unexpectedly move even if the
A/T is in the P (Park) position. ∙ The transfer 4LO position indicator
light must stop blinking and remain
illuminated or turn off before shif ting
the transmission into gear. If the shif t
lever is shif ted from the N (Neutral)
position to any other gear when the
transfer 4LO position indicator light is
blinking, the vehicle may move
unexpectedly.
CAUTION
∙ Never shif t the 4WD shif t switch be-tween 4LO and 4H while driving.
∙ The 4H position provides greater trac- tion. Avoid excessive speed, as it will
cause increased fuel consumption
and higher oil temperatures, and
could damage drivetrain compo-
nents. Speeds over 62 mph
(100 km/h) in 4H is not recommended.
∙ The 4LO position provides maximum power and traction. Avoid raising ve-
hicle speed excessively, as the maxi-
mum speed is approximately 31 mph
(50 km/h). ∙ When driving straight, shif t the 4WD
shif t switch to the 2WD or 4H position.
Do not move the 4WD shif t switch
when making a turn or reversing.
∙ Do not shif t the 4WD shif t switch (be- tween 2WD and 4H) while driving on
steep downhill grades. Use the engine
brake and low A/T gears 2 (Second
gear) or 1 (Low gear), or M/T (1st gear
or 2nd gear) for engine braking.
∙ Do not operate the 4WD shif t switch (between 2WD and 4H) with the rear
wheels spinning.
∙ Do not drive on dry hard surface roads in the 4H or 4LO position. Driving on
dry hard surfaces in 4H or 4LO may
cause unnecessary noise and tire
wear. NISSAN recommends driving in
the 2WD position under these
conditions.
∙ The 4WD transfer case may not be shif ted between 4H and 4LO at low
ambient temperatures and the trans-
fer 4LO position indicator light may
blink even when the 4WD shif t switch
is shif ted. Af ter driving for a while you
can change the 4WD transfer case be-
tween 4H and 4LO.
Starting and driving5-29