clock setting NISSAN LEAF 2017 1.G Quick Reference Guide
[x] Cancel search | Manufacturer: NISSAN, Model Year: 2017, Model line: LEAF, Model: NISSAN LEAF 2017 1.GPages: 40, PDF Size: 2.03 MB
Page 15 of 40

13
CLOCK SET/ADJUSTMENT
VEHICLE INFORMATION DISPLAY
To adjust the instrument panel clock (for vehicles not equipped with Navigation)
1, use the Settings menu 2 in the vehicle
information display.
The Settings menu 2 is accessed by
pressing the
button
3 on the lef t side
of the instrument panel.
Press the button
4 to cycle through the
various Settings modes.
This clock is link ed to the GPS (if so equipped)
through the center display clock.
• Without an
y adjustments, the correct time
will be displayed based on the vehicle’s
current location.
• Ther
e are also controls in the center display
to compensate for Daylight Savings Time.
NAVIGATION DISPLAY (if so equipped)
To adjust the time and the appearance of the clock on the display:
1.
Pr
ess the
MENU button on the control panel.
2.
Touch the
“Settings” key on the Launch Bar.
3.
Touch the “Clock” key.
The following settings can be adjusted:
•
On-screen Clock: The clock in the upper
right corner of the display can be turned ON
or OFF.
•
Clock Format (24h): The clock can be set to
12 hours or 24 hours.
•
Offset (hour): The time can be adjusted by
increasing or decreasing per hour.
•
Offset (min): The time can be adjusted by increasing or decreasing per minute.
•
Daylight Savings Time: The application of Daylight Savings Time can be turned
ON or OFF.
•
Time Zone: Adjust the time zone. Choose a time zone from the available list.
1
2
43
To view detailed instructional videos regarding these and other features, please go to www.nissanownersinfo.mobi.
Page 16 of 40

14
AUDIO DISPLAY
Press the ENTER/SET TING button and turn
the TUNE/SCROLL knob until “Clock”
appears on the display.
Press the ENTER/SET TING button to
select “Clock”.
Turn the TUNE/SCR OLL knob to select
“Set Time”.
Press the ENTER/SET TING button.
Turn the TUNE/SCR OLL knob to adjust the hours.
Press the ENTER/SET TING button.
Turn the TUNE/SCROLL knob to adjust the minutes.
Press the ENTER/SETTING button.
Press the BACK button to finish.
Please see your Owner’s Manual for important safety information, system limitations, and additional
operating and feature information.
For more information, refer to the “Instruments and controls (section 2)” and “Display screen, heater,
air conditioner, audio and phone systems (section 4)” of your Owner’s Manual and the “Getting started
(section 1)” of your Navigation System Owner’s Manual.
ESSENTIAL INFORMATION
To view detailed instructional videos regarding these and other features, please go to www.nissanownersinfo.mobi.
Page 27 of 40

25
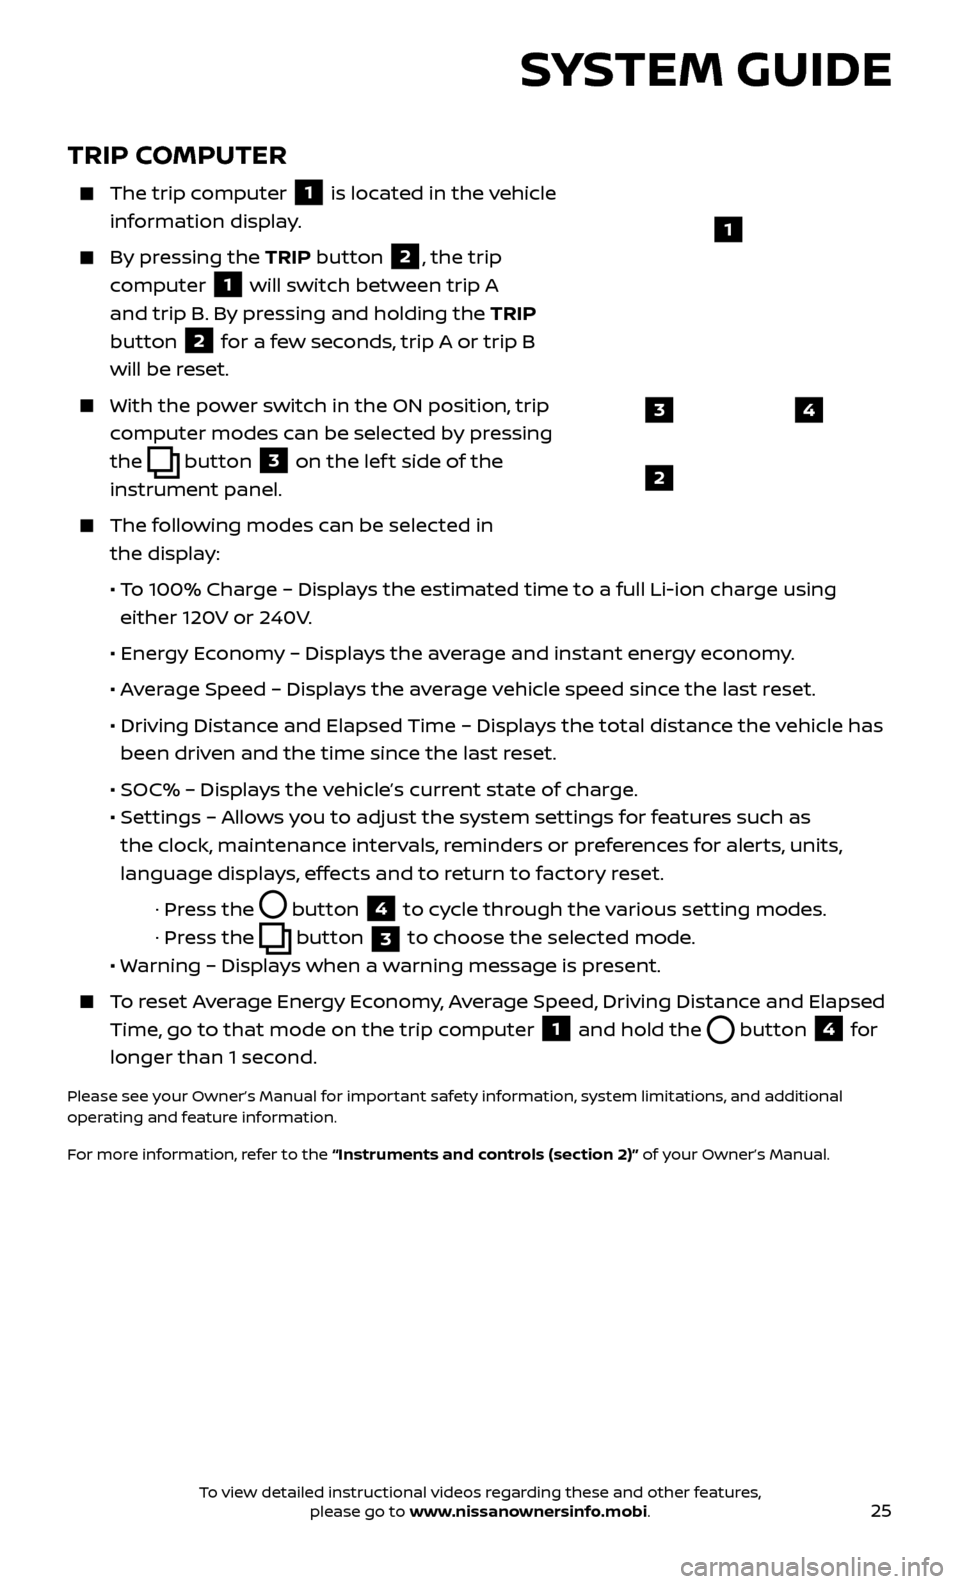
TRIP COMPUTER
The trip computer
1 is located in the vehicle
information display.
By pressing the TRIP button 2, the trip
computer
1 will switch between trip A
and trip B. By pressing and holding the TRIP
button
2 for a few seconds, trip A or trip B
will be reset.
With the po wer switch in the ON position, trip
computer modes can be selected by pressing
the
button 3 on the lef t side of the
instrument panel.
The following modes can be selected in the display:
• T
o 100% Charge – Displays the estimated time to a full Li-ion charge using
either 120V or 240V.
•
Ener
gy Economy – Displays the average and instant energy economy.
•
A
verage Speed – Displays the average vehicle speed since the last reset.
•
Driving Distanc
e and Elapsed Time – Displays the total distance the vehicle has
been driven and the time since the last reset.
• SOC% – Displa
ys the vehicle’s current state of charge.
•
Set
tings – Allows you to adjust the system settings for features such as
the clock, maintenance intervals, reminders or preferences for alerts, units,
language displays, effects and to return to factory reset.
· Pr
ess the
button
4 to cycle through the various setting modes.
· Pr
ess the
button
3 to choose the selected mode.
• W
arning – Displays when a warning message is present.
To reset Average Energy Economy, Average Speed, Driving Distance and Elapsed
Time, go to that mode on the trip computer
1 and hold the button 4 for
longer than 1 second.
Please see your Owner’s Manual for important safety information, system limitations, and additional
operating and feature information.
For more information, refer to the “Instruments and controls (section 2)” of your Owner’s Manual.
43
2
1
SYSTEM GUIDE
To view detailed instructional videos regarding these and other features, please go to www.nissanownersinfo.mobi.