steering NISSAN MAXIMA 2008 A34 / 6.G 06IT Navigation Manual
[x] Cancel search | Manufacturer: NISSAN, Model Year: 2008, Model line: MAXIMA, Model: NISSAN MAXIMA 2008 A34 / 6.GPages: 217, PDF Size: 6.62 MB
Page 6 of 217
Black plate (4,1)
2 Getting started
Model "NAV2-N" EDITED: 2007/ 3/ 8
Control buttons and functions............................... 2-2
Control panel................................................ 2-2
Multi-function controller................................... 2-3
Steering switch.............................................. 2-3
Start-up screen................................................. 2-4
Navigation system status screen............................ 2-5
Functions disabled while driving............................ 2-6
Menu screen and how to operate........................... 2-7
Menu screens and their purposes...................... 2-7
Using controls to adjust values, levels, etc............ 2-8
List screen................................................... 2-9
Touch panel operation.......................................2-10
Example of touch panel operation....................2-10
Map menu screen............................................2-11
Current location map screen...........................2-11
Scrolled location map screen..........................2-12Storing your home location/address......................2-12
How to store your home................................2-12
Setting a destination.........................................2-14
Searching for a destination.............................2-14
Starting route guidance.................................2-16
Deleting a route...........................................2-16
Operating maps...............................................2-17
How to view map screen...............................2-17
Setting the voice guidance.................................2-18
Turning voice guidance on/off.........................2-18
Adjusting voice guidance volume.....................2-19
How to input letters and numbers........................2-20
Character (letter and number) input screen........2-20
Phone number input screen............................2-21
NISSAN voice recognition..................................2-22
Confirming voice commands...........................2-22
Before starting.............................................2-23
Voice command examples..............................2-24
Page 8 of 217
Black plate (11,1)
Model "NAV2-N" EDITED: 2007/ 3/ 9
&11
Push to switch to the zoom mode to change
the map scale.
INFO:
If
setting in a settings screen, this manual will
explicitly include a step for this procedure.
Otherwise, pushing
the previous screen.
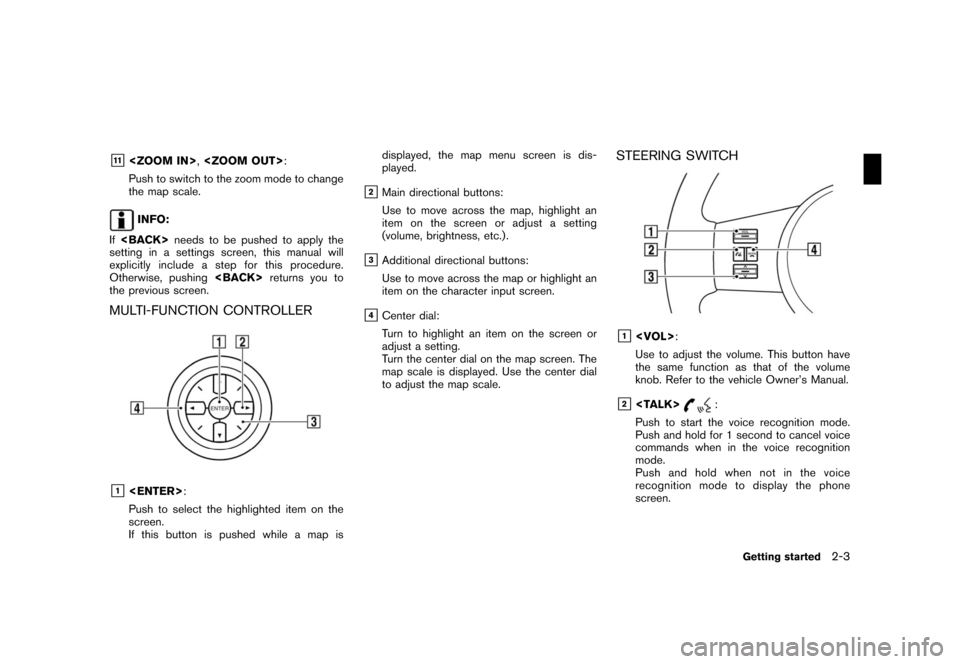
MULTI-FUNCTION CONTROLLER
&1
Push to select the highlighted item on the
screen.
If this button is pushed while a map isdisplayed, the map menu screen is dis-
played.
&2Main directional buttons:
Use to move across the map, highlight an
item on the screen or adjust a setting
(volume, brightness, etc.) .
&3Additional directional buttons:
Use to move across the map or highlight an
item on the character input screen.
&4Center dial:
Turn to highlight an item on the screen or
adjust a setting.
Turn the center dial on the map screen. The
map scale is displayed. Use the center dial
to adjust the map scale.
STEERING SWITCH
&1
Use to adjust the volume. This button have
the same function as that of the volume
knob. Refer to the vehicle Owner’s Manual.
&2
Push to start the voice recognition mode.
Push and hold for 1 second to cancel voice
commands when in the voice recognition
mode.
Push and hold when not in the voice
recognition mode to display the phone
screen.
Getting started2-3
Page 25 of 217
Black plate (28,1)
Model "NAV2-N" EDITED: 2007/ 3/ 9
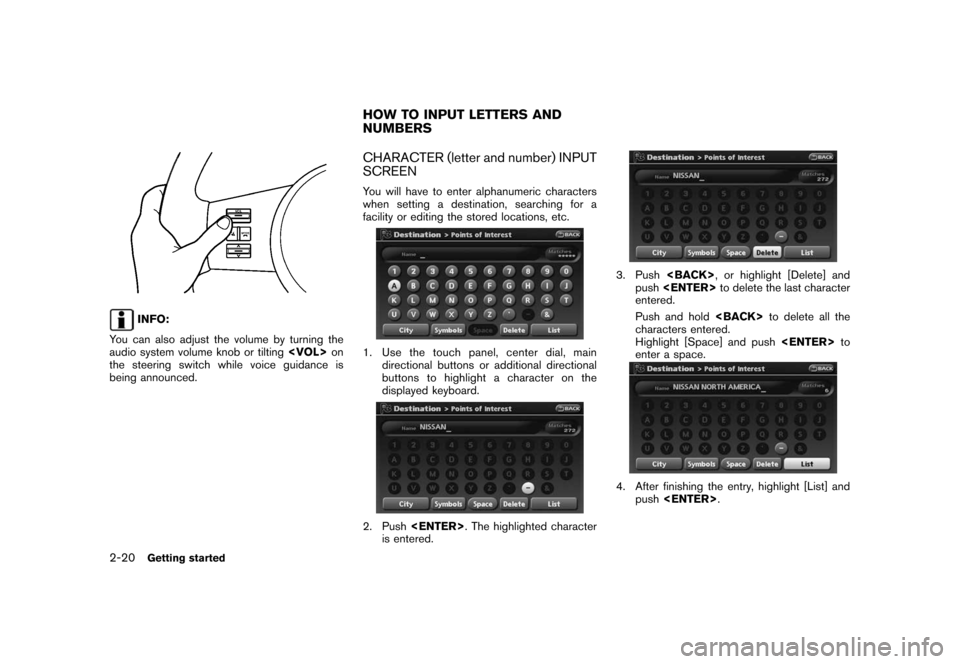
INFO:
You can also adjust the volume by turning the
audio system volume knob or tilting
the steering switch while voice guidance is
being announced.
CHARACTER (letter and number) INPUT
SCREEN
You will have to enter alphanumeric characters
when setting a destination, searching for a
facility or editing the stored locations, etc.
1. Use the touch panel, center dial, main
directional buttons or additional directional
buttons to highlight a character on the
displayed keyboard.
2. Push
is entered.
3. Push
push
entered.
Push and hold
characters entered.
Highlight [Space] and push
enter a space.
4. After finishing the entry, highlight [List] and
push
HOW TO INPUT LETTERS AND
NUMBERS
2-20Getting started
Page 29 of 217
Black plate (32,1)
Model "NAV2-N" EDITED: 2007/ 3/ 9
.Wait until the tone sounds before speaking a
command. Otherwise, the command will not
be recognized properly.
.Speak in a natural conversational voice
without pausing between words.
.If the air conditioner is set to “Auto”, the fan
speed is automatically lowered so that your
commands can be recognized more easily.
VOICE COMMAND EXAMPLES
To use the voice recognition function, speaking
one command is sometimes sufficient, but at
other times it is necessary to speak two or more
commands.
As examples, some additional basic operations
by voice commands are described here.
Example 1: Switching the map to the
Plan View mode
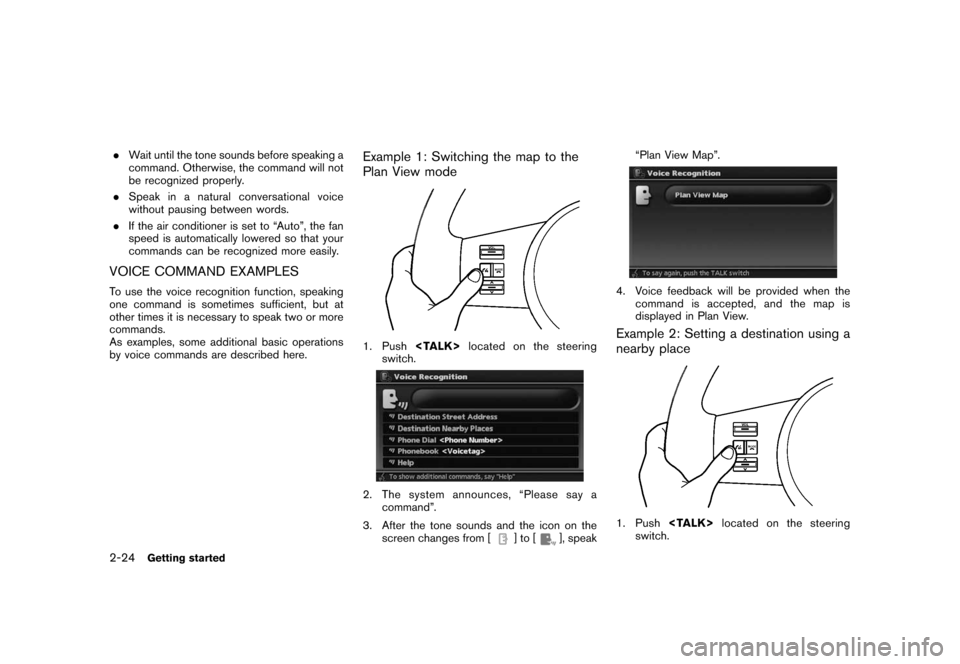
1. Push
switch.
2. The system announces, “Please say a
command”.
3. After the tone sounds and the icon on the
screen changes from [
]to[], speak“Plan View Map”.
4. Voice feedback will be provided when the
command is accepted, and the map is
displayed in Plan View.
Example 2: Setting a destination using a
nearby place
1. Push
switch.
2-24Getting started
Page 30 of 217
![NISSAN MAXIMA 2008 A34 / 6.G 06IT Navigation Manual Black plate (33,1)
Model "NAV2-N" EDITED: 2007/ 3/ 9
2. The system announces, “Please say a
command”.
3. After the tone sounds and the icon on the
screen changes from [
]to[], speak
“Destination NISSAN MAXIMA 2008 A34 / 6.G 06IT Navigation Manual Black plate (33,1)
Model "NAV2-N" EDITED: 2007/ 3/ 9
2. The system announces, “Please say a
command”.
3. After the tone sounds and the icon on the
screen changes from [
]to[], speak
“Destination](/img/5/795/w960_795-29.png)
Black plate (33,1)
Model "NAV2-N" EDITED: 2007/ 3/ 9
2. The system announces, “Please say a
command”.
3. After the tone sounds and the icon on the
screen changes from [
]to[], speak
“Destination nearby places”.
4. Voice feedback will be provided when the
command is accepted, and the list of POI
categories appears.
5. After the tone sounds and the icon on the
screen changes again, speak “Three”.
6. If a route is already set, choose “Along
Route” or “Nearby”.
7. After the tone sounds and the icon on the
screen changes again, speak “Along Route”.
8. Voice feedback will be provided when the
command is accepted, and the list of Points
of Interest in the category specified in the
previous step appears.
9. After the tone sounds and the icon on the
screen changes again, speak “Three”.
10. Voice feedback will be provided when the
command is accepted, and the system
starts calculating a route to the selected
facility.
Example 3: Setting a destination by a
street address
1. Push
switch.
Getting started2-25
Page 37 of 217
Black plate (40,1)
Model "NAV2-N" EDITED: 2007/ 3/ 9
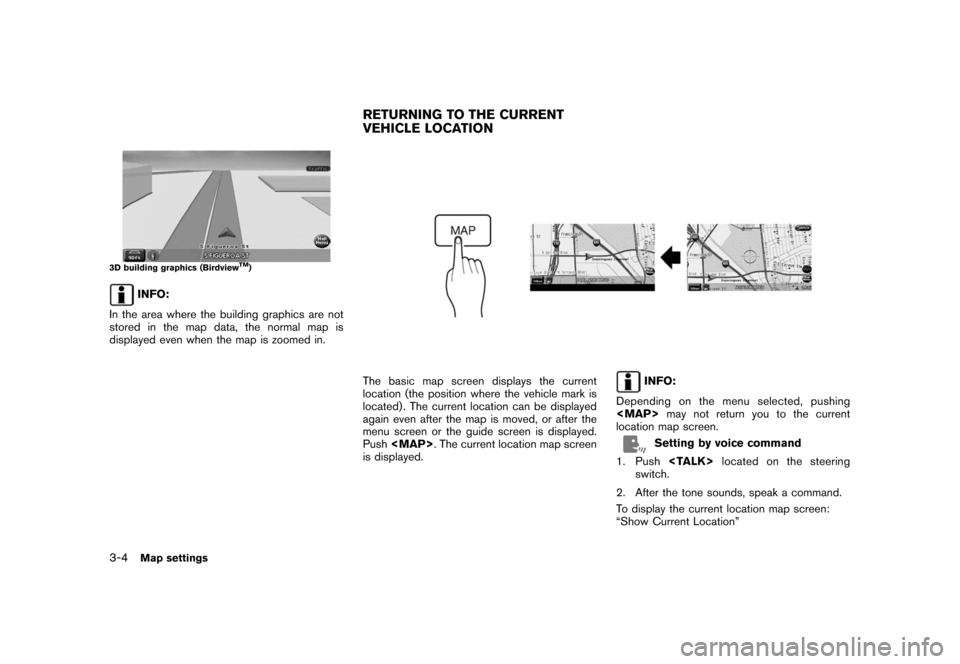
3D building graphics (BirdviewTM)
INFO:
In the area where the building graphics are not
stored in the map data, the normal map is
displayed even when the map is zoomed in.
The basic map screen displays the current
location (the position where the vehicle mark is
located) . The current location can be displayed
again even after the map is moved, or after the
menu screen or the guide screen is displayed.
Push
Page 44 of 217
![NISSAN MAXIMA 2008 A34 / 6.G 06IT Navigation Manual Black plate (47,1)
Model "NAV2-N" EDITED: 2007/ 3/ 9
INFO:
Free zoom:
Once the Free Zoom is set in the setting screen,
the scale can be changed in smaller steps when
you push and hold [ZOOM IN] or [ZO NISSAN MAXIMA 2008 A34 / 6.G 06IT Navigation Manual Black plate (47,1)
Model "NAV2-N" EDITED: 2007/ 3/ 9
INFO:
Free zoom:
Once the Free Zoom is set in the setting screen,
the scale can be changed in smaller steps when
you push and hold [ZOOM IN] or [ZO](/img/5/795/w960_795-43.png)
Black plate (47,1)
Model "NAV2-N" EDITED: 2007/ 3/ 9
INFO:
Free zoom:
Once the Free Zoom is set in the setting screen,
the scale can be changed in smaller steps when
you push and hold [ZOOM IN] or [ZOOM OUT]
than when you briefly push the button.
If you briefly push the button, the operation
returns to normal.
Setting by voice command
1. Push
switch.
2. After the tone sounds, speak a command.
To change the map scale:
“Zoom In”
“Zoom Out”
“<
1, 2, 5, 8, 32, 400> mile Scale”
“<1/8, 1/4, 1/2> mile Scale”
“<150, 300> feet Scale”
“<75, 150> feet Building Scale”
MAP SCALE
The following scales are available depending on
the map view.
.In Plan View:
Widest (1/51,200,000) to the most detailed
(1/2,500)
.In Birdview
TM:
Widest (1/20,480,000) to the most detailed(viewpoint height at 1/3,000)
Scale level of the Plan View display
Map scale Actual distance
Normal Map1:51.2 million400 miles
(640 km)
1:5.12 million 32 miles (64 km)
1:1.28 million 8 miles (16 km)
1:800,000 5 miles (10 km)
1:320,000 2 miles (4 km)
1:160,000 1 mile (2 km)
1:80,000 1/2 mile (1 km)
1:40,000 1/4 mile (500 m)
1:20,000 1/8 mile (200 m)
1:10,000 300 ft (100 m)
1:5,000 150 ft (50 m)
Building
footprint
graphics1:5,000 150 ft (50 m)
1:2,50075 ft (25 m)
Example: The most detailed level
Example: The widest level
Map settings3-11
Page 47 of 217
![NISSAN MAXIMA 2008 A34 / 6.G 06IT Navigation Manual Black plate (50,1)
Model "NAV2-N" EDITED: 2007/ 3/ 9
Other settings
You can also set the map view using the
following procedure.
1) Push<SETTING>.
2) Highlight [Navigation] and push<ENTER>.
3) Highlig NISSAN MAXIMA 2008 A34 / 6.G 06IT Navigation Manual Black plate (50,1)
Model "NAV2-N" EDITED: 2007/ 3/ 9
Other settings
You can also set the map view using the
following procedure.
1) Push<SETTING>.
2) Highlight [Navigation] and push<ENTER>.
3) Highlig](/img/5/795/w960_795-46.png)
Black plate (50,1)
Model "NAV2-N" EDITED: 2007/ 3/ 9
Other settings
You can also set the map view using the
following procedure.
1) Push
2) Highlight [Navigation] and push
3) Highlight [Map Settings] and push
Setting by voice command
1. Push
switch.
2. After the tone sounds, speak a command.
.To display a map in Plan View:
“Planview map”.To display a map in Birdview
TM:
“Birdview map”
.To display a split map in Plan View:
“Planview Split Map”
.To display a split map in Birdview
TM:
“Birdview Split Map”
SETTINGS OF HEADING/LONG
RANGE MAP VIEW
You can change the map direction (orientation)
in Plan View or change the position of the
vehicle icon to view a wider area in the traveling
direction.
These settings are available only in the Plan
View or Split (Plan View) mode.
1. Push
map screen is displayed.
2. Highlight [Map Settings] and push
3. Highlight [Settings] and push
3-14Map settings
Page 49 of 217
![NISSAN MAXIMA 2008 A34 / 6.G 06IT Navigation Manual Black plate (52,1)
Model "NAV2-N" EDITED: 2007/ 3/ 9
Other settings
You can also set the orientation of the map using
the following procedure.
1) Push<SETTING>.
2) Highlight [Navigation] and push<ENTE NISSAN MAXIMA 2008 A34 / 6.G 06IT Navigation Manual Black plate (52,1)
Model "NAV2-N" EDITED: 2007/ 3/ 9
Other settings
You can also set the orientation of the map using
the following procedure.
1) Push<SETTING>.
2) Highlight [Navigation] and push<ENTE](/img/5/795/w960_795-48.png)
Black plate (52,1)
Model "NAV2-N" EDITED: 2007/ 3/ 9
Other settings
You can also set the orientation of the map using
the following procedure.
1) Push
2) Highlight [Navigation] and push
3) Highlight [Map Settings] and push
4) Highlight [Settings] and push
INFO:
Touching the icon on the map can also change
the direction of the map.
Setting by voice command
1. Push
switch.
2. After the tone sounds, speak a command.
To charge the map direction:
“North Up”
“Heading Up”
CHANGING THE BirdviewTMANGLE
This changes the BirdviewTMangle.
This setting is available only in the BirdviewTMor
Split (BirdviewTM) mode.
1. Push
map screen is displayed.
2. Highlight [Map settings] and push
3-16Map settings
Page 53 of 217
Black plate (56,1)
Model "NAV2-N" EDITED: 2007/ 3/ 9
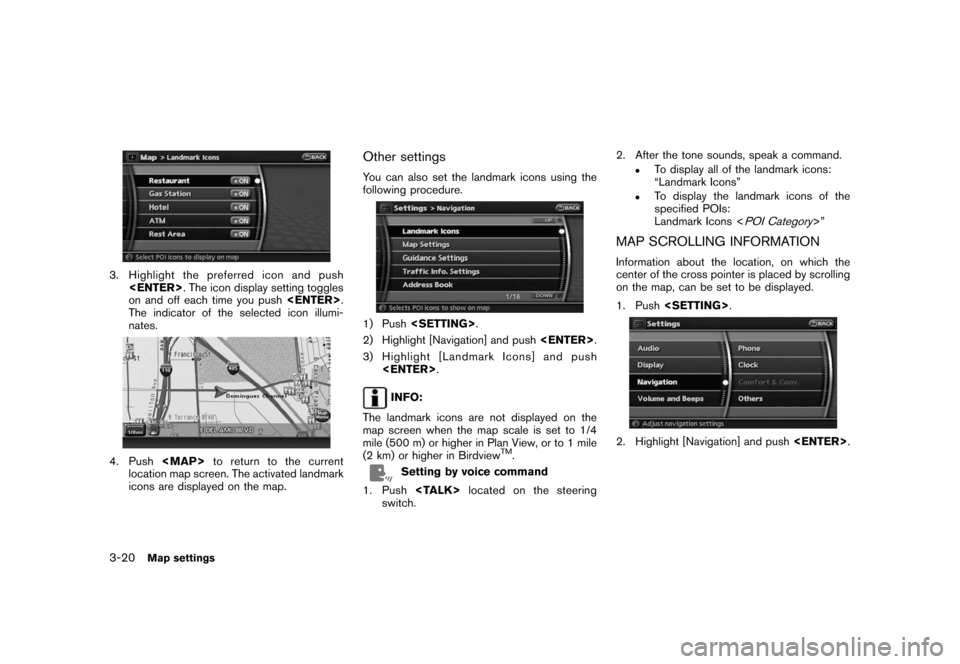
3. Highlight the preferred icon and push
on and off each time you push
The indicator of the selected icon illumi-
nates.
4. Push
location map screen. The activated landmark
icons are displayed on the map.
Other settings
You can also set the landmark icons using the
following procedure.
1) Push
2) Highlight [Navigation] and push
3) Highlight [Landmark Icons] and push
INFO:
The landmark icons are not displayed on the
map screen when the map scale is set to 1/4
mile (500 m) or higher in Plan View, or to 1 mile
(2 km) or higher in Birdview
TM.
Setting by voice command
1. Push
switch.2. After the tone sounds, speak a command.
.To display all of the landmark icons:
“Landmark Icons”
.To display the landmark icons of the
specified POIs:
Landmark Icons <
POI Category>”
MAP SCROLLING INFORMATION
Information about the location, on which the
center of the cross pointer is placed by scrolling
on the map, can be set to be displayed.
1. Push
2. Highlight [Navigation] and push
3-20Map settings