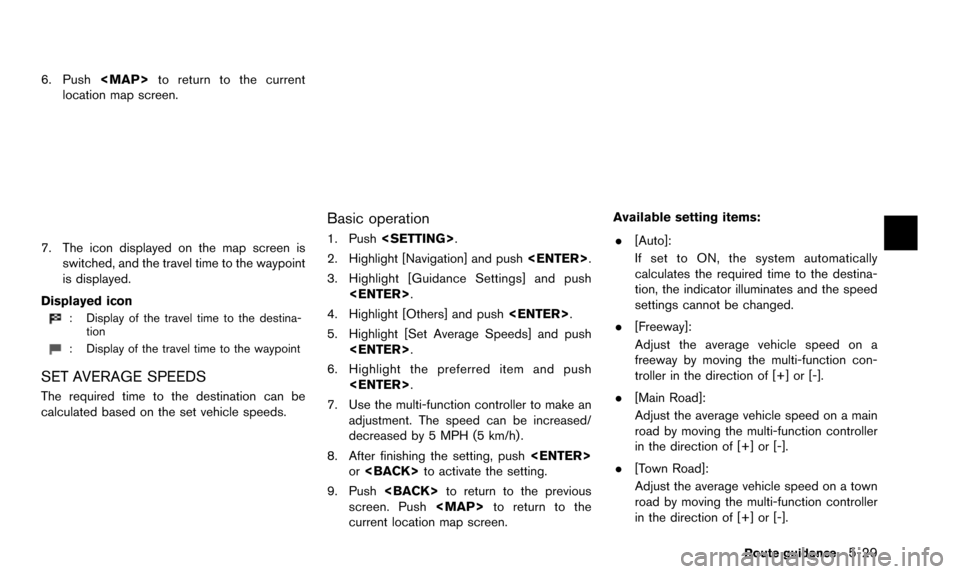
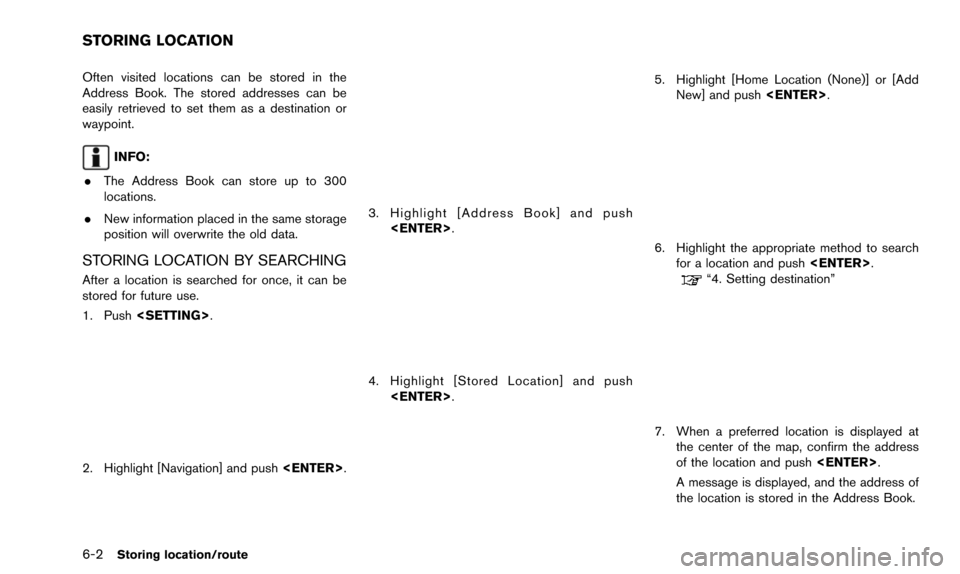
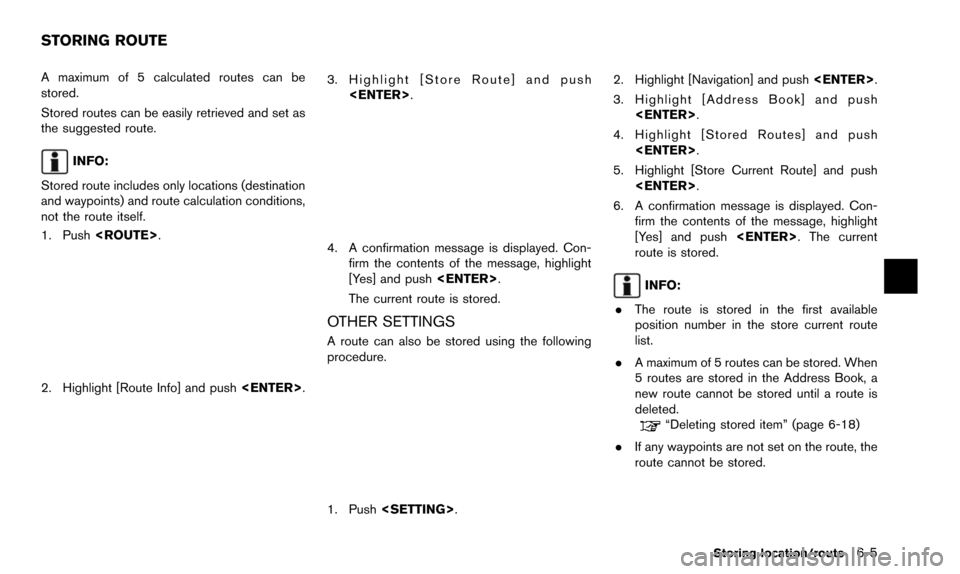
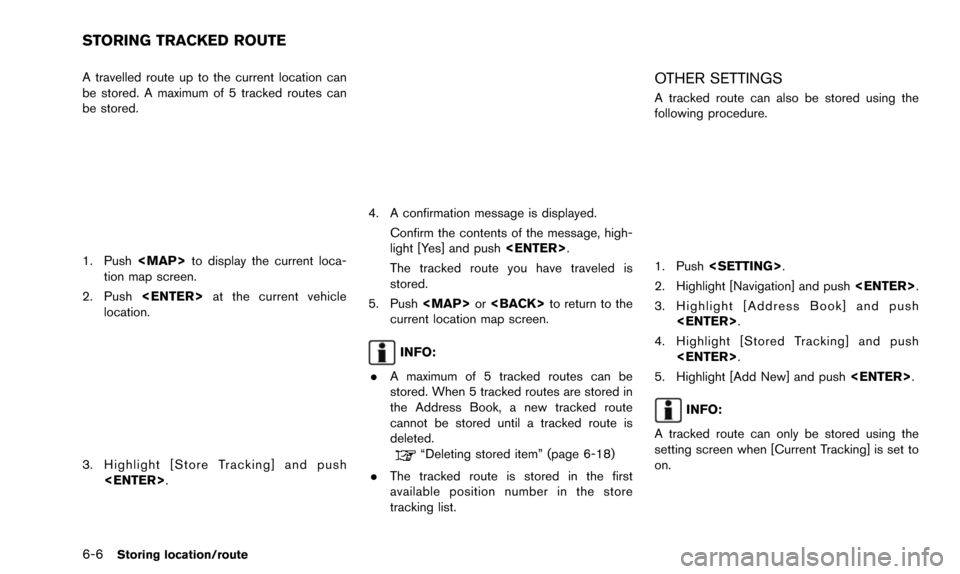
navigation NISSAN PATHFINDER 2016 R52 / 4.G 08IT Navigation Manual
[x] Cancel search | Manufacturer: NISSAN, Model Year: 2016, Model line: PATHFINDER, Model: NISSAN PATHFINDER 2016 R52 / 4.GPages: 241, PDF Size: 4.34 MB
Page 74 of 241
![NISSAN PATHFINDER 2016 R52 / 4.G 08IT Navigation Manual 4-12Setting destination
3. Highlight the preferred location from the listand push <ENTER>.
INFO:
Selecting [Sort] displays a list of various sort
functions. To use the sort functions, stored
locations NISSAN PATHFINDER 2016 R52 / 4.G 08IT Navigation Manual 4-12Setting destination
3. Highlight the preferred location from the listand push <ENTER>.
INFO:
Selecting [Sort] displays a list of various sort
functions. To use the sort functions, stored
locations](/img/5/457/w960_457-73.png)
4-12Setting destination
3. Highlight the preferred location from the listand push
INFO:
Selecting [Sort] displays a list of various sort
functions. To use the sort functions, stored
locations must be set in advance.
“Storing location” (page 6-2)
INFO:
*1Sort by Number:
The Address Book entries are displayed
in ascending numerical order.
*2Sort by Name:
The Address Book entries are displayed
in alphabetic order.
*3Sort by Icon:
By selecting a particular icon, a list that
contains only the Address Book entries associated with that icon is displayed.
*4Sort by Group:
By selecting a particular group (family,
friends, leisure, etc.) , the selected group
is displayed at the top of the list.
4. The entire route is shown on the map.
Highlight [Start] after confirming the location
of the displayed destination, and push
to the selected location and starts calculat-
ing a route.
INFO:
Even after setting a destination, the location of
the destination can be adjusted, the route can
be stored, etc.
“Procedures after setting destination”
(page 5-2)
Voice command
1. Push
wheel switch.
2. After the tone sounds, speak a command.
To set the destination from the Address Book:
“Navigation” “Address Book” (Standard mode)
“Address book” (Alternate command mode)
SETTING PREVIOUS DESTINATION
A previously set destination can be set again as
the destination to which the system calculates a
route. Up to 300 previous destinations will be
automatically stored.
If the number of previous destinations exceeds
300, the oldest one will be replaced by the new
one.
1. Push
2. Highlight [Previous Destinations] and push
Page 75 of 241
![NISSAN PATHFINDER 2016 R52 / 4.G 08IT Navigation Manual 3. Highlight the preferred destination from thelist and push <ENTER>.
INFO:
By highlighting [By Date], the list can be
sorted in chronological order. By highlight-
ing [By Name], it can be sorted in a NISSAN PATHFINDER 2016 R52 / 4.G 08IT Navigation Manual 3. Highlight the preferred destination from thelist and push <ENTER>.
INFO:
By highlighting [By Date], the list can be
sorted in chronological order. By highlight-
ing [By Name], it can be sorted in a](/img/5/457/w960_457-74.png)
3. Highlight the preferred destination from thelist and push
INFO:
By highlighting [By Date], the list can be
sorted in chronological order. By highlight-
ing [By Name], it can be sorted in alphabe-
tical order.
4. The entire route is shown on the map. Highlight [Start] after confirming the location
of the displayed destination, and push
ing a route.
INFO:
Even after setting a destination, the location of
the destination can be adjusted, the route can
be stored, etc.
“Procedures after setting destination”
(page 5-2)
Voice command
1. Push
wheel switch.
2. After the tone sounds, speak a command.
To display the Previous Destinations list:
“Navigation” “Previous Destinations” (Standard
mode)
“Previous Destinations” (Alternate command
mode)
SETTING PREVIOUS START POINT
The start point of the previous route guidance
can be set as the destination to which the
system calculates a route.
1. Push
2. Highlight [Next Page] and push
3. Highlight [Previous Start Point] and push
Setting destination4-13
Page 91 of 241
![NISSAN PATHFINDER 2016 R52 / 4.G 08IT Navigation Manual After setting the route, select [Start] to begin
route guidance.
Throughout route guidance, the system navi-
gates through the guide points using visual and
voice guidance.
CAUTION
.The navigation sys NISSAN PATHFINDER 2016 R52 / 4.G 08IT Navigation Manual After setting the route, select [Start] to begin
route guidance.
Throughout route guidance, the system navi-
gates through the guide points using visual and
voice guidance.
CAUTION
.The navigation sys](/img/5/457/w960_457-90.png)
After setting the route, select [Start] to begin
route guidance.
Throughout route guidance, the system navi-
gates through the guide points using visual and
voice guidance.
CAUTION
.The navigation system’s visual and
voice guidance is for reference pur-
poses only. The contents of the
guidance may be inappropriate de-
pending on the situation.
. When driving along the suggested
route, follow all traffic regulations
(e.g., one-way traffic) .
“Route guidance” (page 10-9)
VOICE GUIDANCE DURING ROUTE
GUIDANCE
When approaching a guide point (intersection or
corner) , destination, etc. during route guidance,
voice guidance announces the remaining dis-
tance and/or turning direction. Push
to repeat voice guidance.
Example of voice guidance
*1“In about one quarter mile (400 meters) ,
right (left) turn.”
“Right (left) turn ahead.”
*2“In about one quarter mile (400 meters)
freeway entrance on your right onto (road
number and direction) .”
“Freeway entrance on your right onto (road
number and direction) .”
*3“In about one mile (1.6 kilometers) , exit on
your right.”
“Exit on your right.”
*4“You have arrived at your destination. End-
ing route guidance.”
GUIDANCE SCREENS AND PREVIEW
MODE
Route guidance displays map screens and
various information according to the situation.
Route guidance5-7
ABOUT ROUTE GUIDANCE
Page 110 of 241
![NISSAN PATHFINDER 2016 R52 / 4.G 08IT Navigation Manual 5-26Route guidance
— [Use Real Time Traffic Information] isturned on. Various guidance information can be set to be
played during route guidance and activate or
deactivate route and/or voice guidanc NISSAN PATHFINDER 2016 R52 / 4.G 08IT Navigation Manual 5-26Route guidance
— [Use Real Time Traffic Information] isturned on. Various guidance information can be set to be
played during route guidance and activate or
deactivate route and/or voice guidanc](/img/5/457/w960_457-109.png)
5-26Route guidance
— [Use Real Time Traffic Information] isturned on. Various guidance information can be set to be
played during route guidance and activate or
deactivate route and/or voice guidance.
BASIC OPERATION
1. Push
2. Highlight [Navigation] and push
3. Highlight [Guidance Settings] and push
4. Highlight the preferred item and push
5. Push
screen. Push
Page 111 of 241
![NISSAN PATHFINDER 2016 R52 / 4.G 08IT Navigation Manual .[Guidance Display Settings]:
Activates or deactivates small turn arrow
display on the map.
“Displaying small turn arrow on map”
(page 5-28)
. [Estimated Time]:
Switches the display of estimated t NISSAN PATHFINDER 2016 R52 / 4.G 08IT Navigation Manual .[Guidance Display Settings]:
Activates or deactivates small turn arrow
display on the map.
“Displaying small turn arrow on map”
(page 5-28)
. [Estimated Time]:
Switches the display of estimated t](/img/5/457/w960_457-110.png)
.[Guidance Display Settings]:
Activates or deactivates small turn arrow
display on the map.
“Displaying small turn arrow on map”
(page 5-28)
. [Estimated Time]:
Switches the display of estimated travel time
to the destination or waypoint that is
displayed on the map screen.
“Switching estimated arrival time dis-
play” (page 5-28)
. [Others]:
— [Set Average Speeds]: Set an average vehicle speed for each
type of road, which is reflected in the
calculation of the required time to the
destination.
“Set average speeds” (page 5-29)
— [Auto Reroute]: If the vehicle deviates from the sug-
gested route, the system automatically
recalculates a route.
“Setting Auto Reroute” (page 5-21)
SETTING VOICE GUIDANCE AT IN-
TERSECTIONS
1. Push
2. Highlight [Navigation] and push
3. Highlight [Guidance Settings] and push
4. Highlight [Voice Guidance Settings] and push
5. Highlight [Intersection Guidance Settings]
and push
6. Highlight the preferred item and push
Available setting items
.[Voice Announcements]:
Sets how many times the voice guidance is
announced before the vehicle reaches an
intersection.
1. Highlight [Voice Announcements] and push
2. Highlight the preferred item and push
.[Full]:
The system announces three kinds of
voice guidance: “Turning Point”, “1
Guide” and “2 Guide”.
.[Concise]:The system announces two kinds of
voice guidance: “Turning Point” and “1
Guide”.
Route guidance5-27
Page 112 of 241
![NISSAN PATHFINDER 2016 R52 / 4.G 08IT Navigation Manual 5-28Route guidance
.[Turning Point]:
Turns on the sound that chimes when a
maneuver is supposed to be occurring.
DISPLAYING SMALL TURN ARROW
ON MAP
The guidance screen displayed when the vehicle
passe NISSAN PATHFINDER 2016 R52 / 4.G 08IT Navigation Manual 5-28Route guidance
.[Turning Point]:
Turns on the sound that chimes when a
maneuver is supposed to be occurring.
DISPLAYING SMALL TURN ARROW
ON MAP
The guidance screen displayed when the vehicle
passe](/img/5/457/w960_457-111.png)
5-28Route guidance
.[Turning Point]:
Turns on the sound that chimes when a
maneuver is supposed to be occurring.
DISPLAYING SMALL TURN ARROW
ON MAP
The guidance screen displayed when the vehicle
passes through an intersection can be changed.
1. Push
2. Highlight [Navigation] and push
3. Highlight [Guidance Settings] and push
4. Highlight [Guidance Display Settings] and push
5. Highlight [Small Turn Arrow on Map] and
push
Small Turn Arrow on the Map (simplified turn
indicator) displayed in the upper left corner
of the map screen. The indicator illuminates
if the Small Turn Arrow on the Map is
displayed.
SWITCHING ESTIMATED ARRIVAL
TIME DISPLAY
The display of the travel time on the map screen
can be switched between the travel time to the
destination and the travel time to the waypoint.
Example: Switching the display to the travel time
to the waypoint
1. Push
2. Highlight [Navigation] and push
3. Highlight [Guidance Settings] and push
4. Highlight [Estimated Time] and push
5. Highlight [Waypoint] and push
The indicator for the selected condition
illuminates.
Page 113 of 241

6. Push
Page 116 of 241

6-2Storing location/route
Often visited locations can be stored in the
Address Book. The stored addresses can be
easily retrieved to set them as a destination or
waypoint.
INFO:
. The Address Book can store up to 300
locations.
. New information placed in the same storage
position will overwrite the old data.
STORING LOCATION BY SEARCHING
After a location is searched for once, it can be
stored for future use.
1. Push
2. Highlight [Navigation] and push
3. Highlight [Address Book] and push
4. Highlight [Stored Location] and push
5. Highlight [Home Location (None)] or [AddNew] and push
6. Highlight the appropriate method to search
for a location and push
“4. Setting destination”
7. When a preferred location is displayed at
the center of the map, confirm the address
of the location and push
A message is displayed, and the address of
the location is stored in the Address Book.
STORING LOCATION
Page 119 of 241

A maximum of 5 calculated routes can be
stored.
Stored routes can be easily retrieved and set as
the suggested route.
INFO:
Stored route includes only locations (destination
and waypoints) and route calculation conditions,
not the route itself.
1. Push
2. Highlight [Route Info] and push
3. Highlight [Store Route] and push
4. A confirmation message is displayed. Con-firm the contents of the message, highlight
[Yes] and push
The current route is stored.
OTHER SETTINGS
A route can also be stored using the following
procedure.
1. Push
3. Highlight [Address Book] and push
4. Highlight [Stored Routes] and push
5. Highlight [Store Current Route] and push
6. A confirmation message is displayed. Con- firm the contents of the message, highlight
[Yes] and push
route is stored.
INFO:
. The route is stored in the first available
position number in the store current route
list.
. A maximum of 5 routes can be stored. When
5 routes are stored in the Address Book, a
new route cannot be stored until a route is
deleted.
“Deleting stored item” (page 6-18)
. If any waypoints are not set on the route, the
route cannot be stored.
Storing location/route6-5
STORING ROUTE
Page 120 of 241

6-6Storing location/route
A travelled route up to the current location can
be stored. A maximum of 5 tracked routes can
be stored.
1. Push
tion map screen.
2. Push
location.
3. Highlight [Store Tracking] and push
4. A confirmation message is displayed.
Confirm the contents of the message, high-
light [Yes] and push
The tracked route you have traveled is
stored.
5. Push
current location map screen.
INFO:
. A maximum of 5 tracked routes can be
stored. When 5 tracked routes are stored in
the Address Book, a new tracked route
cannot be stored until a tracked route is
deleted.
“Deleting stored item” (page 6-18)
. The tracked route is stored in the first
available position number in the store
tracking list.
OTHER SETTINGS
A tracked route can also be stored using the
following procedure.
1. Push
2. Highlight [Navigation] and push
3. Highlight [Address Book] and push
4. Highlight [Stored Tracking] and push
5. Highlight [Add New] and push
INFO:
A tracked route can only be stored using the
setting screen when [Current Tracking] is set to
on.
STORING TRACKED ROUTE