Tire NISSAN ROGUE SELECT 2014 2.G Quick Reference Guide
[x] Cancel search | Manufacturer: NISSAN, Model Year: 2014, Model line: ROGUE SELECT, Model: NISSAN ROGUE SELECT 2014 2.GPages: 20, PDF Size: 1.1 MB
Page 2 of 20

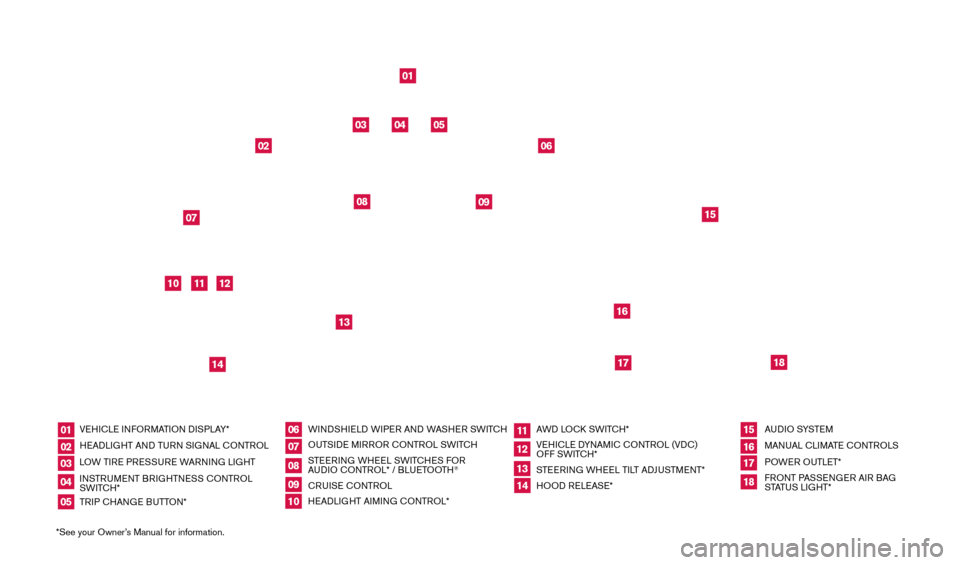
*See your Owner’s Manual for information.VEHICLE INFORMATION d
I
SPLAY*
HEA d
LI
GHT AN
d
TURN SIGNAL CONTROL
LOW TIRE PRESSURE WARNING LIGHT
INSTRUMENT BRIGHTNESS CONTROL
SWITCH*
TRIP CHANGE BUTTON* WIN d
S
HIEL
d W
IPER AN d
W
ASHER SWITCH
OUTSI
d
E MIRROR CONTROL SWITCH
STEERING WHEEL SWITCHES FOR
AU
dI
O CONTROL* / BLUETOOTH
®
CRUISE CONTROL
HEA
d
LI
GHT AIMING CONTROL* AW
d LOC
k
SWITCH*
VEHICLE d
YNAM
IC CONTROL (V d
C)
OFF
SWITCH*
STEERING WHEEL TILT A
dJU
STMENT*
HOO
d
RELEASE*AU
dI
O SYSTE M
MANUAL CLIMATE CONTROLS
POWER OUTLET*
FRONT PASSENGER AIR BAG
STATUS LIGHT*
01
0610
14
02
07
11
15
03
08
12
16
04
09
13
1718
05
01
10
03
0711
15
04
12
16
05
06
18
17
02
08
09
14
13
1512586_14_RogueSelect_QRG_111313.indd 411/13/13 9:04 AM
Page 5 of 20

3
esse ntial i n for mation
Tire PreSSu re Mo Ni Tor iN G SYST eM (TPM S)
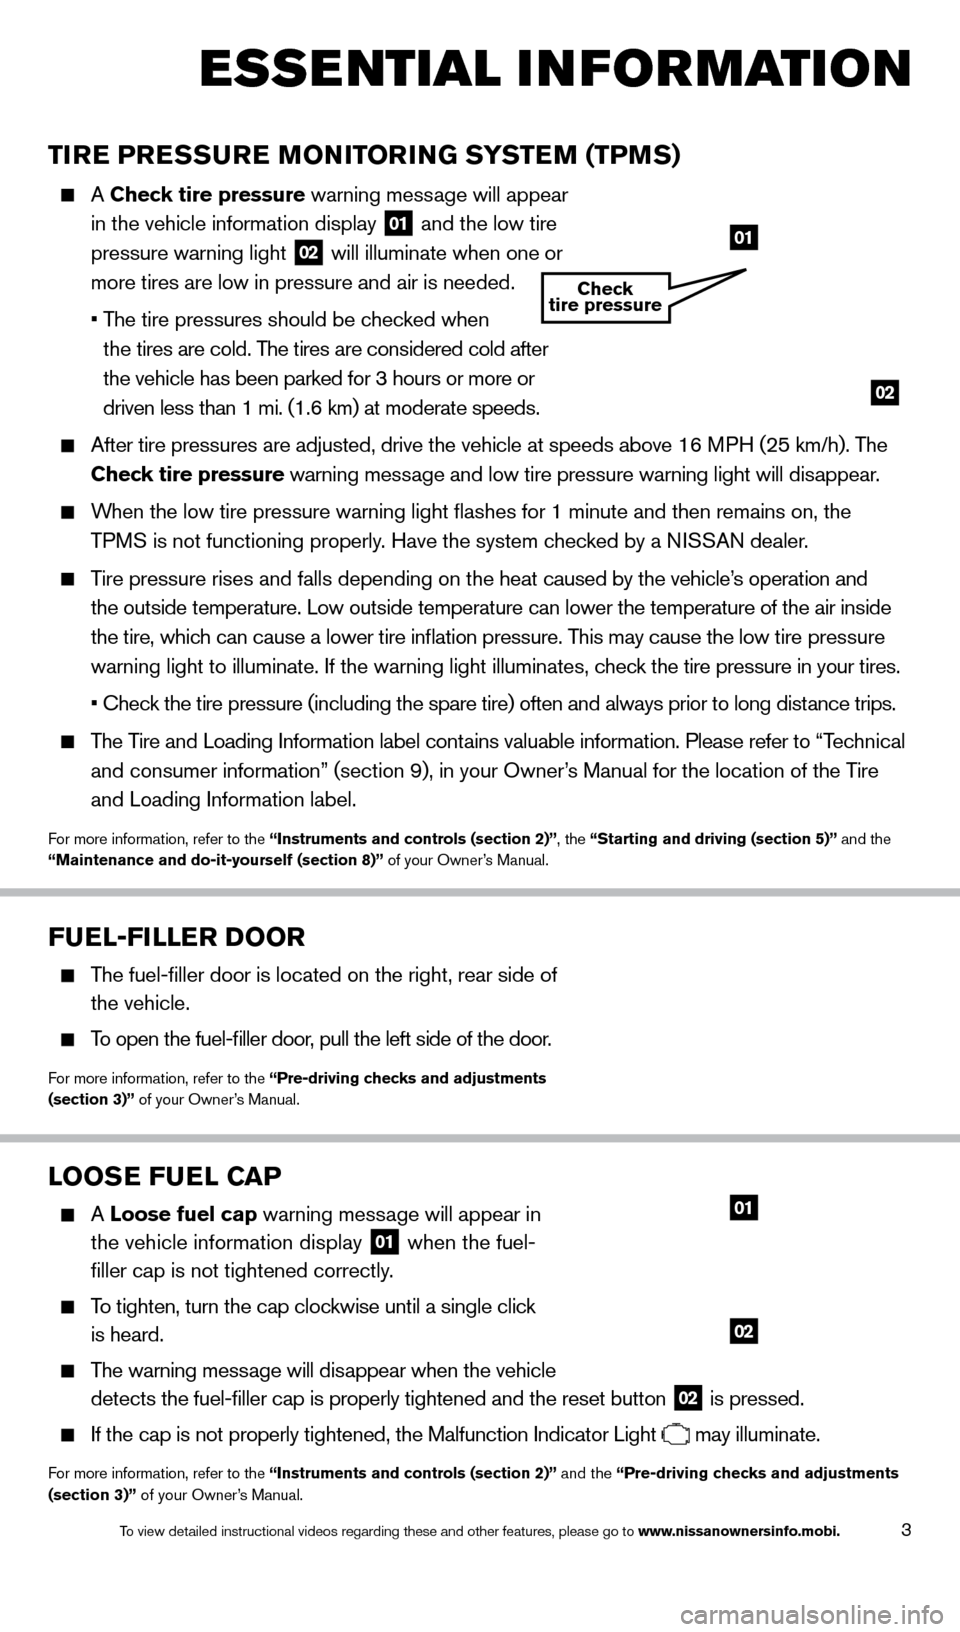
A Check tire pressure warning message will
appear
in the vehicle information display
01 and the low tire
pressure warning light 02 will illuminate when one or
more tires are low in pressure and air is needed.
•
T
he
tire
pressures
should be checked when
t
he tires are cold. The tires are considered cold after
the vehicle has been parked for 3 hours or more or
driven less than 1 mi. (1.6 km) at moderate speeds.
After tire pressures are adjusted, drive the vehicle at speeds above 16 \
M PH (25 km/h). The
C heck tire pressure warning message and low tire pressure warning light will disappear.
When the low tire pressure warning light flashes for 1 minute and then \
remains on, the
TPMS is not functioning properly. Have the system checked by a NISSAN dealer.
Tire pressure rises and falls depending on the heat caused by the vehicle’s operation and the outside temperature. Low outside temperature can lower the temperatu\
re of the air inside
the tire, which can cause a lower tire inflation pressure. This may cause the low tire pressure
warning light to illuminate. If the warning light illuminates, check the tire pressure in your tires.
•
Check the tire pressure (including the spare tire) often and always prior to long distance trips.
The Tire and Loading Information label contains valuable information. Please refer to “Technical and consumer information” (section 9), in your Owner’s Manual for the location of the Tire
and Loading Information label.
For more information, refer to the “instruments and controls (section 2)”, the “Starting and driving (section 5)” and the
“Maintenance and do-it-yourself (section 8)” of your Owner’s Manual.
looSe F uel Ca P
A loose fuel cap warning message will appear in
the vehicle information display
01 when the fuel-
filler cap is not tightened correctly.
To tighten, turn the cap clockwise until a single click
is heard.
The warning message will disappear when the vehicle detects the fuel-filler cap is properly tightened and the reset button\
02 is pressed.
If the cap is not properly tightened, the Malfunction Indicator Light may illuminate.
For more information, refer to the “instruments and controls (section 2)” and the “Pre-driving checks and adjustments
(section 3)” of your Owner’s Manual.
02
01
02
01
Check
tire pressure
Fuel-Filler Door
The fuel-filler door is located on the right, rear side of
the vehicle.
To open the fuel-filler door, pull the left side of the door.
For more information, refer to the “Pre-driving checks and adjustments
(section 3)” of your Owner’s Manual.
1512586_14_RogueSelect_QRG_111313.indd 311/13/13 9:04 AM
To view detailed instructional videos regarding these and other features, please go\
to www.nissanownersinfo.mobi.
Page 16 of 20

14
system guide
To cancel a voice recognition session, say “Exit” or press and hold the button.
To decrease or increase the volume of the voice prompts, push the volume \
control switches or
on the steering wheel or turn the VOL/ON•OFF control knob on the audio system
while the system is responding.
Voice commands can be used to operate various Bluetooth® System features, using the
NISSAN Voice Recognition System. See your Owner’s Manual for detailed information.
If the voice recognition system does not recognize your voice commands, \
train the system
using the Speaker Adaptation Mode.
For more detailed information and instructions, refer to your cellular phone’s Owner’s Manual and visit www.nissanusa.com/bluetooth.
CONNECTING PROCE
d
URE
The vehicle must be stationary when connecting the phone.
1.
Press the
button on the steering wheel. The system announces the available commands.
2.
S
ay: “Connect phone”. The system acknowledges the command and announces the next set
of available commands.
3.
S
ay: “Add phone”. The system acknowledges the command and asks you to initiate connecting
from the phone handset.
4.
Initiate connecting from the phone:
•
T
he
connecting procedure varies according to each cellular phone model.
F
or detailed connecting instructions and compatible phones, please visit
www.nissanusa.com/bluetooth.
•
W
hen
prompted for a Passkey code, enter “1234” from the handset. (The Passkey code is
assigned by N
ISSAN and cannot be changed.)
5.
S
ay a name for the phone when the system asks you to provide one. You can give the phone
a name of your choice.
PHONEBOO
k
SE
TUP
depending on your cellular phone, the system may automatically download y\
our cellular
phone’ s entire phonebook to the vehicle’s Bluetooth® system.
If the phonebook does not download automatically , 40 entries can be individually downloaded.
To manually download entries:
1.
Push the button on the steering wheel.
2.
After the tone, s ay “Phonebook”.
3.
After the next tone, s
ay “Transfer Entry”. The system acknowledges the command and
asks you to initiate the transfer from the phone handset. The new contact phone number
will be transferred from the cellular phone to the vehicle.
The transfer procedure varies according to each cellular phone. See your cellular phone’s
Owner’s Manual for details. You can also visit www.nissanusa.com/bluetooth for
instructions on transferring phone numbers from NISSAN - recommended cellular phones.
4.
T
he system repeats the number and prompts you for the next command. When you have
finished entering numbers or transferring an entry, choose “Store”.
5.
T
he system confirms the name, location and number.
1512586_14_RogueSelect_QRG_111313.indd 1411/13/13 9:04 AM
To view detailed instructional videos regarding these and other features, please go\
to www.nissanownersinfo.mobi.