headlights NISSAN SENTRA 2003 B15 / 5.G Owners Manual
[x] Cancel search | Manufacturer: NISSAN, Model Year: 2003, Model line: SENTRA, Model: NISSAN SENTRA 2003 B15 / 5.GPages: 224, PDF Size: 3.12 MB
Page 54 of 224
After a few driving trips, thelamp should
turn off if no other potential emission control
system malfunction exists.
Operation
The malfunction indicator lamp will come on in
one of two ways:
cMalfunction indicator lamp on steady — An
emission control system malfunction has been
detected. Check the fuel filler cap. If the fuel
filler cap is loose or missing, tighten or install
the cap and continue to drive the vehicle.
The
lamp should turn off after a few
driving trips. If thelamp does not turn off
after a few driving trips, have the vehicle in-
spected by a NISSAN dealer. You do not need
to have your vehicle towed to the dealer.
cMalfunction indicator lamp blinking — An en-
gine misfire has been detected which may
damage the emission control system. To re-
duce or avoid emission control system dam-
age:
– do not drive at speeds above 45 MPH
(72 km/h) .
– avoid hard acceleration or deceleration.
– avoid steep uphill grades.
– if possible, reduce the amount of cargo
being hauled or towed.
The malfunction indicator lamp may stop blinking
and come on steady. Have the vehicle inspected by
a NISSAN dealer. You do not need to have your
vehicle towed to the dealer.
CAUTION
Continued vehicle operation without hav-
ing the emission control system checked
and repaired as necessary could lead to
poor driveability, reduced fuel economy,
and possible damage to the emission con-
trol system.
Overdrive off indicator light
(automatic transmission mod-
els only)
This light comes on when the overdrive function
is OFF.
The automatic transmission overdrive function is
controlled by the overdrive switch.
Turn signal/hazard indicator
lights
The appropriate light flashes when the turn signal
switch is activated.
Both lights flash when the hazard switch is turned
on.
AUDIBLE REMINDERS
Brake pad wear warning
The disc brake pads have audible wear warnings.
When a brake pad requires replacement, it
makes a high pitched scraping sound when the
vehicle is in motion, whether or not the brake
pedal is depressed. Have the brakes checked as
soon as possible if the warning sound is heard.
Key reminder chime
A chime sounds if the driver’s door is opened
while the key is left in the ignition switch. Remove
the key and take it with you when leaving the
vehicle.
Light reminder chime
With the ignition switch in the OFF position, a
chime sounds when the driver’s door is opened if
the headlights or parking lights are on.
Turn the headlight control switch off before leav-
ing the vehicle.
2-10Instruments and controls
ZREVIEW COPY:Ð2003 Sentra(b15)
Owners Manual(owners)ÐUSA English(nna)
12/10/02Ðdebbie
X
Page 57 of 224

How to arm the vehicle security sys-
tem
1. Close all windows.(The system can be
armed even if the windows are open.)
2. Remove the key from the ignition switch.3. Close the hood, trunk lid and all doors. Lock
all doors. The doors can be locked with the
key or with the keyfob.
Keyfob operation:
cPush the LOCK button on the keyfob. All
doors lock. The hazard lights flash twice
and the horn beeps once to indicate all
doors are locked.
cWhen the LOCK button is pushed with all
doors locked, the hazard lights flash twice
and the horn beeps once as a reminder
that the doors are already locked.
The horn may or may not beep once.
Refer to “Silencing the horn beep fea-
ture” later in this section.
cConfirm that the SECURITY indicator light
comes on. The SECURITY light stays on for
about 30 seconds. The vehicle security sys-
tem is now pre-armed. After about 30 seconds
the vehicle security system automatically shifts
into the armed phase. The SECURITY light
begins to flash once every 3 seconds. If, dur-
ing the 30-second pre-arm time period, the
door is unlocked by the key or the keyfob, or
the ignition key is turned to ACC or ON, the
system will not arm.
c
If the key is turned slowly when locking
the door, the system may not arm. Further-more, if the key is turned excessively to
the unlock position, the system may be
disarmed when the key is removed. If the
indicator light fails to glow for 30 seconds,
unlock the door once and lock it again.
cEven when the driver and/or passengers
are in the vehicle, the system will arm
with all doors, hood and trunk lid closed
and locked with the ignition key in the
OFF position.
Vehicle security system activation
The vehicle security system will give the following
alarm:
cThe headlights blink and the horn sounds in-
termittently.
cThe alarm automatically turns off after about
50 seconds. However, the alarm reactivates if
the vehicle is tampered with again. The alarm
can be shut off by unlocking a door or trunk lid
with the key, or by pressing the UNLOCK
button on the keyfob.
The alarm is activated by:
copening the door or trunk lid without using the
key or keyfob (even if the door is unlocked by
releasing the door inside lock switch) or open-
ing the trunk lid by operating the opener lever.
copen the hood.
LIC0053
Instruments and controls2-13
ZREVIEW COPY:Ð2003 Sentra(b15)
Owners Manual(owners)ÐUSA English(nna)
12/10/02Ðdebbie
X
Page 61 of 224

HEADLIGHT CONTROL SWITCH
Lighting
s1When turning the switch to theposi-
tion, the front parking, tail, license plate and
instrument panel lights come on.
s2When turning the switch to theposi-
tion, the headlights come on and all the other
lights remain on.
Headlight beam select
s1To select the high beam function, push the
lever forward. The high beam lights come on
and the
light illuminates.
s2Pull the lever back to select the low beam.
s3Pulling and releasing the lever flashes the
headlight high beams on and off.
Turn signal switch
Turn signal
s1Move the lever up or down to signal the
turning direction. When the turn is com-
pleted, the turn signals cancel automatically.
Lane change signal
s2To signal a lane change, move the lever up or
down to the point where the indicator light
begins to flash, but the lever does not latch.
Type B
WIC0243WIC0244WIC0245
Instruments and controls2-17
ZREVIEW COPY:Ð2003 Sentra(b15)
Owners Manual(owners)ÐUSA English(nna)
12/10/02Ðdebbie
X
Page 62 of 224
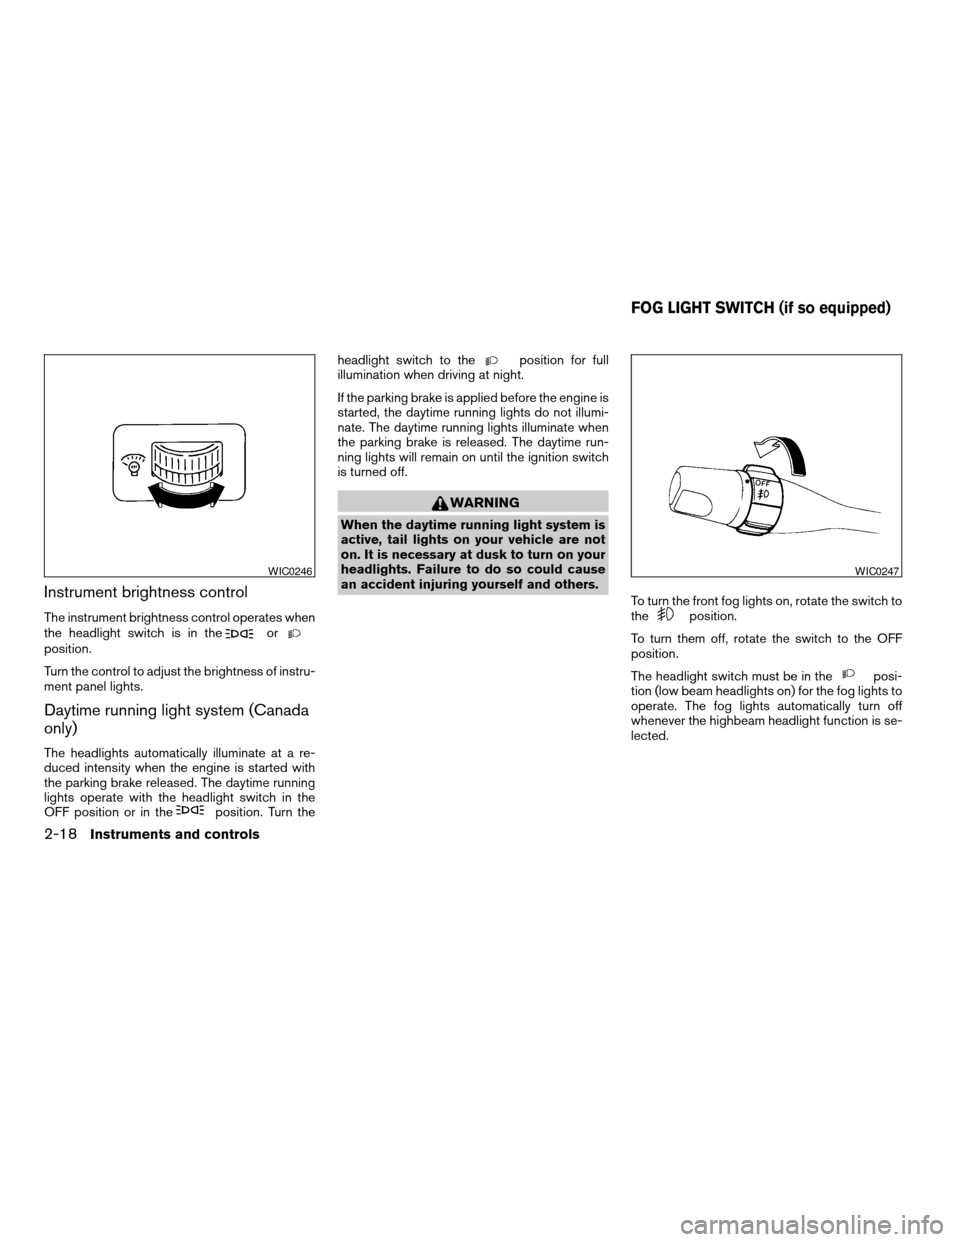
Instrument brightness control
The instrument brightness control operates when
the headlight switch is in theorposition.
Turn the control to adjust the brightness of instru-
ment panel lights.
Daytime running light system (Canada
only)
The headlights automatically illuminate at a re-
duced intensity when the engine is started with
the parking brake released. The daytime running
lights operate with the headlight switch in the
OFF position or in the
position. Turn theheadlight switch to the
position for full
illumination when driving at night.
If the parking brake is applied before the engine is
started, the daytime running lights do not illumi-
nate. The daytime running lights illuminate when
the parking brake is released. The daytime run-
ning lights will remain on until the ignition switch
is turned off.
WARNING
When the daytime running light system is
active, tail lights on your vehicle are not
on. It is necessary at dusk to turn on your
headlights. Failure to do so could cause
an accident injuring yourself and others.
To turn the front fog lights on, rotate the switch to
the
position.
To turn them off, rotate the switch to the OFF
position.
The headlight switch must be in the
posi-
tion (low beam headlights on) for the fog lights to
operate. The fog lights automatically turn off
whenever the highbeam headlight function is se-
lected.
WIC0246WIC0247
FOG LIGHT SWITCH (if so equipped)
2-18Instruments and controls
ZREVIEW COPY:Ð2003 Sentra(b15)
Owners Manual(owners)ÐUSA English(nna)
12/10/02Ðdebbie
X
Page 64 of 224
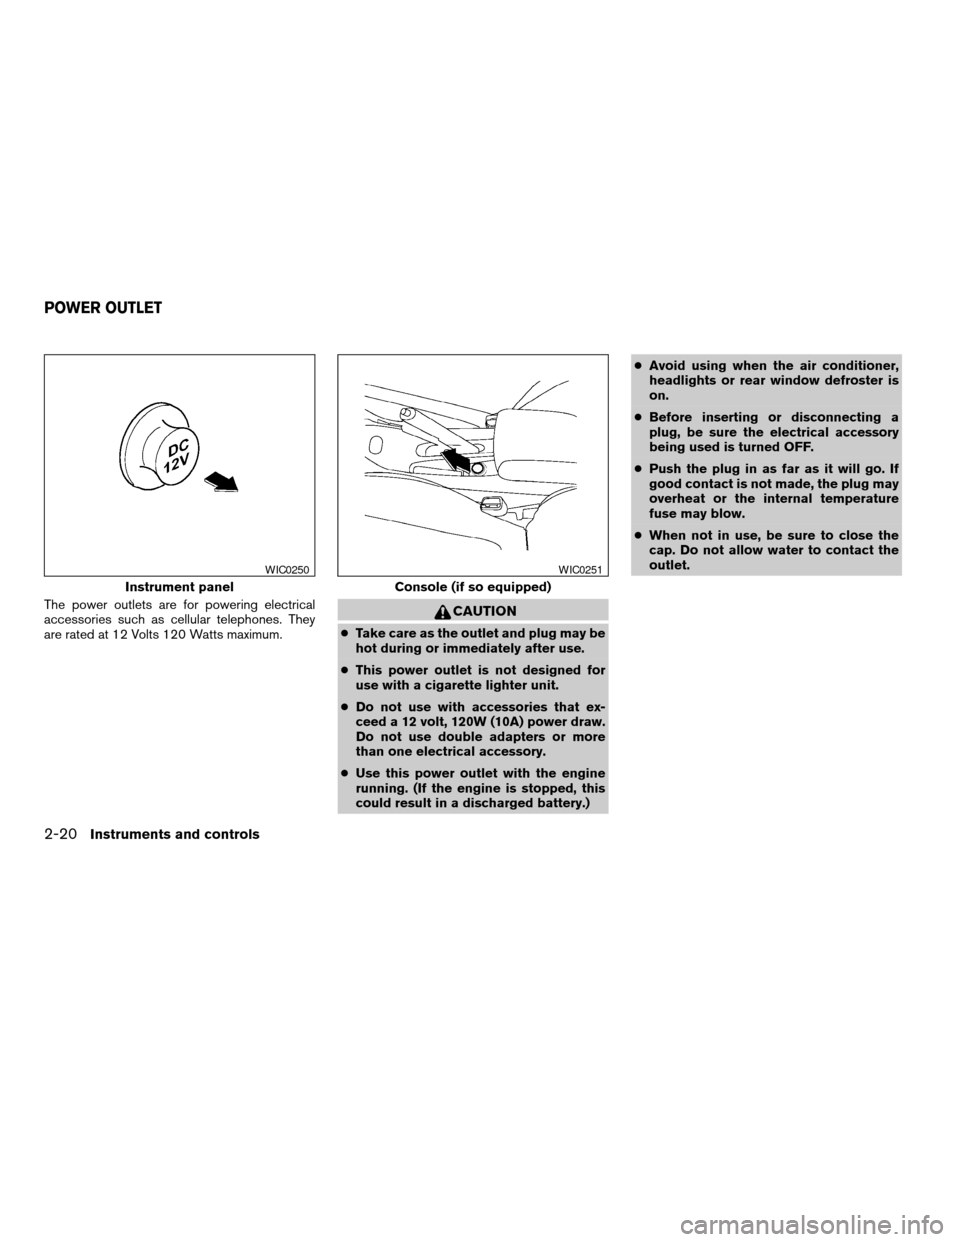
The power outlets are for powering electrical
accessories such as cellular telephones. They
are rated at 12 Volts 120 Watts maximum.CAUTION
cTake care as the outlet and plug may be
hot during or immediately after use.
cThis power outlet is not designed for
use with a cigarette lighter unit.
cDo not use with accessories that ex-
ceed a 12 volt, 120W (10A) power draw.
Do not use double adapters or more
than one electrical accessory.
cUse this power outlet with the engine
running. (If the engine is stopped, this
could result in a discharged battery.)cAvoid using when the air conditioner,
headlights or rear window defroster is
on.
cBefore inserting or disconnecting a
plug, be sure the electrical accessory
being used is turned OFF.
cPush the plug in as far as it will go. If
good contact is not made, the plug may
overheat or the internal temperature
fuse may blow.
cWhen not in use, be sure to close the
cap. Do not allow water to contact the
outlet.
Instrument panel
WIC0250
Console (if so equipped)
WIC0251
POWER OUTLET
2-20Instruments and controls
ZREVIEW COPY:Ð2003 Sentra(b15)
Owners Manual(owners)ÐUSA English(nna)
12/10/02Ðdebbie
X
Page 79 of 224

Release the trunk lid
Push the TRUNK button on the keyfob for longer
than 0.5 second. The trunk release button on the
keyfob will not operate when the ignition switch is
in the ON position.
The trunk lid opens.
The trunk lid will not open with the trunk lid
release cancel switch turned to OFF. It can
be opened only with the key. See “Trunk
lid” later in this section for cancel switch
information.
Using the panic alarm
If you are near your vehicle and feel threatened,
you may activate the panic alarm to call attention
by pushing and holding the PANIC button on the
keyfob forlonger than 0.8 second.
The panic alarm and headlights will stay on for 25
seconds.
The panic alarm stops when:
cit has run for 25 seconds, or
cthe LOCK, UNLOCK, or the PANIC button is
pushed on the keyfob.
Silencing the horn beep feature
If desired, the horn beep feature can be deacti-
vated using the keyfob.
To deactivate:Press and hold the LOCK and
UNLOCK buttonsfor at least 3 seconds.
The hazard lights will flash three times to confirm
that the horn beep feature has been deactivated.
To activate:Press and hold the LOCK and UN-
LOCK buttonsfor at least 3 seconds once more.
The hazard lights will flash once and the horn will
sound once to confirm that the horn beep feature
has been reactivated.
Deactivating the horn beep feature does not si-
lence the horn if the alarm is triggered.
WPD0113WPD0114WPD0115
Pre-driving checks and adjustments3-7
ZREVIEW COPY:Ð2003 Sentra(b15)
Owners Manual(owners)ÐUSA English(nna)
12/10/02Ðdebbie
X
Page 86 of 224
CAUTION
Do not store the sun visor before returning
it to its original position.
VANITY MIRROR (if so equipped)
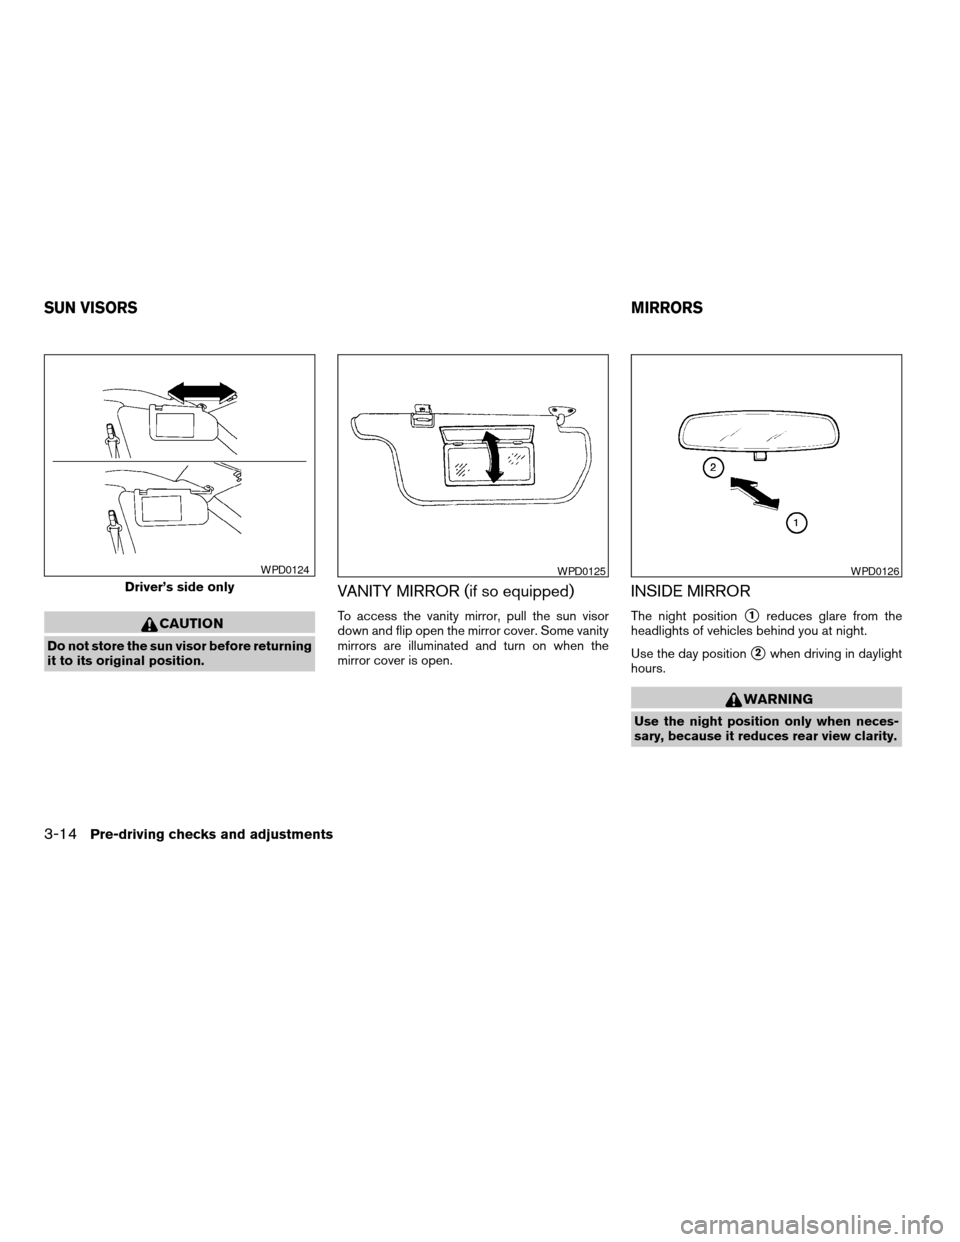
To access the vanity mirror, pull the sun visor
down and flip open the mirror cover. Some vanity
mirrors are illuminated and turn on when the
mirror cover is open.
INSIDE MIRROR
The night positions1reduces glare from the
headlights of vehicles behind you at night.
Use the day position
s2when driving in daylight
hours.
WARNING
Use the night position only when neces-
sary, because it reduces rear view clarity.
Driver’s side only
WPD0124WPD0125WPD0126
SUN VISORSMIRRORS
3-14Pre-driving checks and adjustments
ZREVIEW COPY:Ð2003 Sentra(b15)
Owners Manual(owners)ÐUSA English(nna)
12/10/02Ðdebbie
X
Page 149 of 224

8 Maintenance and do-it-yourself
Maintenance requirements..........................8-2
General maintenance..............................8-2
Explanation of general maintenance items.........8-2
Maintenance precautions...........................8-5
Engine compartment check locations................8-7
Engine cooling system.............................8-9
Checking engine coolant level...................8-9
Changing engine coolant.......................8-10
Engine oil........................................8-12
Checking engine oil level.......................8-12
Changing engine oil...........................8-13
Changing engine oil filter.......................8-14
Automatic transmission fluid.......................8-15
Temperature conditions for checking.............8-16
Power steering fluid...............................8-18
Brake and clutch fluid.............................8-18
Brake fluid....................................8-19
Clutch fluid...................................8-19
Window washer fluid.............................8-20
Window washer fluid reservoir..................8-20
Battery..........................................8-20
Jump starting.................................8-22
Drive belts.......................................8-22
Spark plugs......................................8-23Replacing spark plugs.........................8-23
Air cleaner.......................................8-24
In-cabin Microfilter (if so equipped)..............8-25
Windshield wiper blades..........................8-28
Cleaning.....................................8-28
Replacing....................................8-28
Parking brake and brake pedal.....................8-29
Checking parking brake........................8-29
Checking brake pedal..........................8-29
Brake booster.................................8-30
Fuses...........................................8-31
Engine compartment...........................8-31
Passenger compartment.......................8-32
Keyfob battery replacement........................8-33
Lights...........................................8-34
Headlights....................................8-34
Fog lights (if so equipped)......................8-35
Exterior and interior lights.......................8-36
Wheels and tires.................................8-39
Tire pressure..................................8-39
Types of tires..................................8-40
Tire chains....................................8-41
Changing wheels and tires.....................8-42
ZREVIEW COPY:Ð2003 Sentra(b15)
Owners Manual(owners)ÐUSA English(nna)
12/20/02Ðcathy
X
Page 151 of 224

Wheel nuts*When checking the tires, make
sure no wheel nuts are missing, and check for any
loose wheel nuts. Tighten if necessary.
Tire rotation*Tires should be rotated every
7,500 miles (12,000 km) .
Wheel alignment and balanceIf the vehicle
should pull to either side while driving on a
straight and level road, or if you detect uneven or
abnormal tire wear, there may be a need for wheel
alignment.
If the steering wheel or seat vibrates at normal
highway speeds, wheel balancing may be
needed.
cFor additional information regarding tires, refer
to “Important Tire Safety Information” (US) or
“Tire Safety Information” (Canada) in the War-
ranty Information Booklet .
WindshieldClean the windshield on a regular
basis. Check the windshield at least every six
months for cracks or other damage. Have a dam-
aged windshield repaired by a qualified repair
facility.
Windshield wiper blades*Check for cracks or
wear if they do not wipe properly.
Doors and hoodCheck that the doors and
hood operate properly. Also ensure that all
latches lock securely. Lubricate hinges, latches,latch pins, rollers and links as necessary. Make
sure that the secondary latch keeps the hood
from opening when the primary latch is released.
When driving in areas using road salt or other
corrosive materials, check lubrication frequently.
Lights*Clean the headlights on a regular basis.
Make sure that the headlights, stop lights, tail
lights, turn signal lights, and other lights are all
operating properly and installed securely. Also
check headlight aim.
Inside the vehicle
The maintenance items listed here should be
checked on a regular basis, such as when per-
forming periodic maintenance, cleaning the ve-
hicle, etc.
Warning lights and chimesMake sure all
warning lights and chimes are operating properly.
Windshield wiper and washer*Check that
the wipers and washer operate properly and that
the wipers do not streak.
Windshield defrosterCheck that the air
comes out of the defroster outlets properly and in
sufficient quantity when operating the heater or
air conditioner.
Steering wheelCheck for changes in the steer-
ing system, such as excessive freeplay, hard
steering or strange noises.SeatsCheck seat position controls such as seat
adjusters, seatback recliner, etc. to ensure they
operate smoothly and all latches lock securely in
every position. Check that the head restraints
move up and down smoothly and the locks (if so
equipped) hold securely in all latched positions.
Seat beltsCheck that all parts of the seat belt
system (for example, buckles, anchors, adjusters
and retractors) operate properly and smoothly,
and are installed securely. Check the belt web-
bing for cuts, fraying, wear or damage.
Accelerator pedalCheck the pedal for smooth
operation and make sure the pedal does not bind
or require uneven effort. Keep the floor mat away
from the pedal.
Clutch pedal*Make sure the pedal operates
smoothly and check that it has the proper free
travel.
BrakesCheck that the brakes do not pull the
vehicle to one side when applied.
Brake pedal and booster*Check the pedal for
smooth operation and make sure it has the proper
distance under it when depressed fully. Check
the brake booster function. Be certain to keep the
floor mat away from the pedal.
Maintenance and do-it-yourself8-3
ZREVIEW COPY:Ð2003 Sentra(b15)
Owners Manual(owners)ÐUSA English(nna)
12/20/02Ðcathy
X
Page 182 of 224
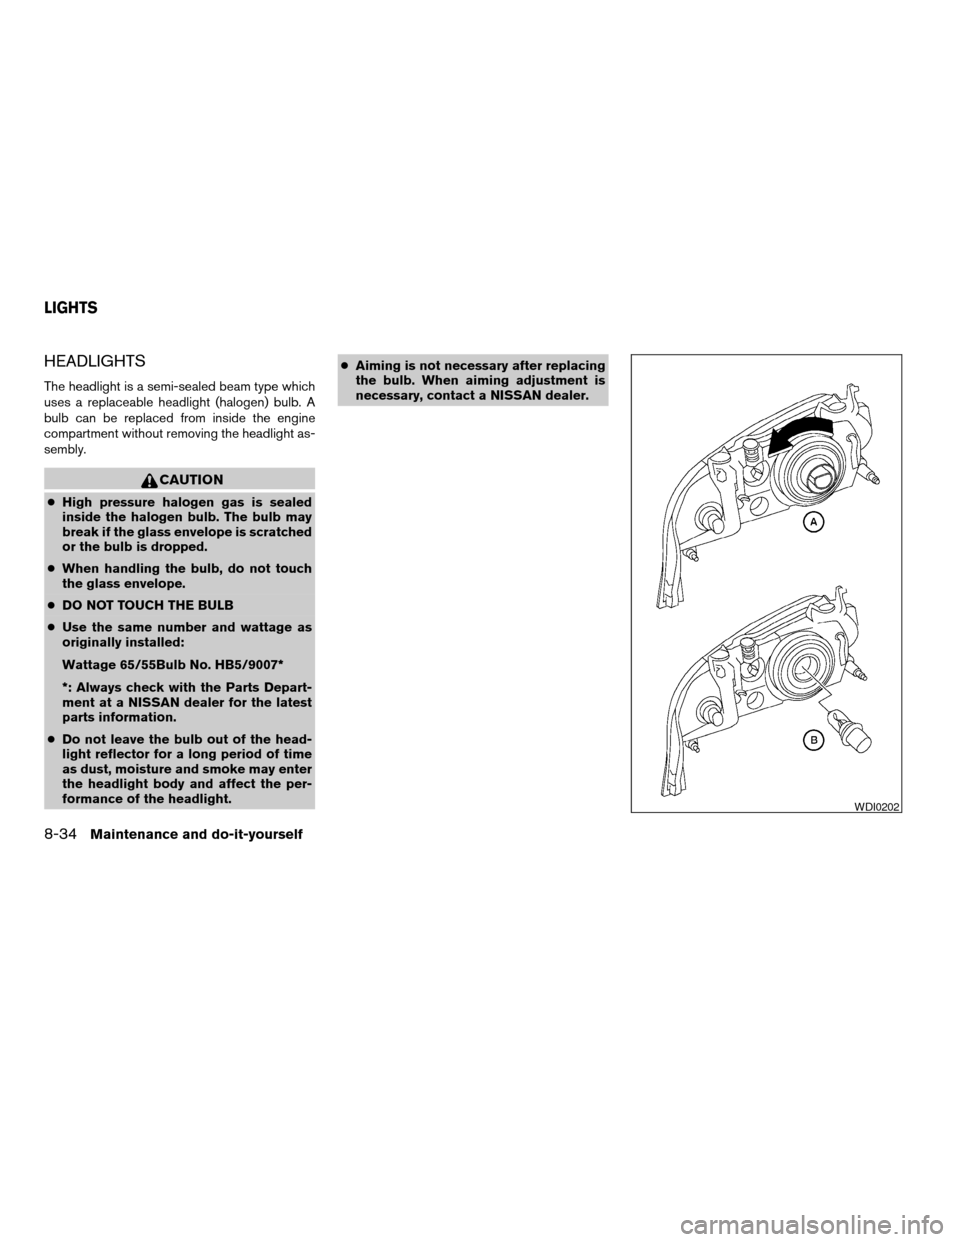
HEADLIGHTS
The headlight is a semi-sealed beam type which
uses a replaceable headlight (halogen) bulb. A
bulb can be replaced from inside the engine
compartment without removing the headlight as-
sembly.
CAUTION
cHigh pressure halogen gas is sealed
inside the halogen bulb. The bulb may
break if the glass envelope is scratched
or the bulb is dropped.
cWhen handling the bulb, do not touch
the glass envelope.
cDO NOT TOUCH THE BULB
cUse the same number and wattage as
originally installed:
Wattage 65/55Bulb No. HB5/9007*
*: Always check with the Parts Depart-
ment at a NISSAN dealer for the latest
parts information.
cDo not leave the bulb out of the head-
light reflector for a long period of time
as dust, moisture and smoke may enter
the headlight body and affect the per-
formance of the headlight.cAiming is not necessary after replacing
the bulb. When aiming adjustment is
necessary, contact a NISSAN dealer.
WDI0202
LIGHTS
8-34Maintenance and do-it-yourself
ZREVIEW COPY:Ð2003 Sentra(b15)
Owners Manual(owners)ÐUSA English(nna)
12/20/02Ðcathy
X