engine control system NISSAN TIIDA 2011 Service Manual PDF
[x] Cancel search | Manufacturer: NISSAN, Model Year: 2011, Model line: TIIDA, Model: NISSAN TIIDA 2011Pages: 3787, PDF Size: 78.35 MB
Page 1027 of 3787

PRECAUTIONSCO-27
< SERVICE INFORMATION > [MR18DE]
C
D
E
F
G H
I
J
K L
M A
CO
NP
O
SERVICE INFORMATION
PRECAUTIONS
Precaution for Supplemental
Restraint System (SRS) "AIR BAG" and "SEAT BELT
PRE-TENSIONER"
INFOID:0000000006405461
The Supplemental Restraint System such as “AIR BAG” and “SEAT BELT PRE-TENSIONER”, used along
with a front seat belt, helps to reduce the risk or severi ty of injury to the driver and front passenger for certain
types of collision. This system includes seat belt switch inputs and dual stage front air bag modules. The SRS
system uses the seat belt switches to determine the front air bag deployment, and may only deploy one front
air bag, depending on the severity of a collision and w hether the front occupants are belted or unbelted.
Information necessary to service the system safely is included in the SRS and SB section of this Service Man-
ual.
WARNING:
• To avoid rendering the SRS inoper ative, which could increase the risk of personal injury or death in
the event of a collision which would result in air bag inflation, all maintenance must be performed by
an authorized NISSAN/INFINITI dealer.
• Improper maintenance, including in correct removal and installation of the SRS can lead to personal
injury caused by unintentional act ivation of the system. For removal of Spiral Cable and Air Bag
Module, see the SRS section.
• Do not use electrical test equipm ent on any circuit related to the SRS unless instructed to in this
Service Manual. SRS wiring harnesses can be identi fied by yellow and/or orange harnesses or har-
ness connectors.
PRECAUTIONS WHEN USING POWER TOOLS (AIR OR ELECTRIC) AND HAMMERS
WARNING:
• When working near the Airbag Diagnosis Sensor Un it or other Airbag System sensors with the Igni-
tion ON or engine running, DO NOT use air or el ectric power tools or strike near the sensor(s) with a
hammer. Heavy vibration could activate the sensor( s) and deploy the air bag(s), possibly causing
serious injury.
• When using air or electric power tools or hammers, always switch the Ignition OFF, disconnect the battery, and wait at least 3 minutes before performing any service.
Precaution Necessary for Steering Wheel Rotation After Battery Disconnect
INFOID:0000000005930800
NOTE:
• This Procedure is applied only to models with Intelligent Key system and NATS (NISSAN ANTI-THEFT SYS-
TEM).
• Remove and install all control units after disconnecti ng both battery cables with the ignition knob in the
″ LOCK ″ position.
• Always use CONSULT-III to perform self-diagnosis as a part of each function inspection after finishing work.
If DTC is detected, perform trouble diagnosis according to self-diagnostic results.
For models equipped with the Intelligent Key system and NATS , an electrically controlled steering lock mech-
anism is adopted on the key cylinder.
For this reason, if the battery is disconnected or if the battery is discharged, the steering wheel will lock and
steering wheel rotation will become impossible.
If steering wheel rotation is required when battery power is interrupted, follow the procedure below before
starting the repair operation.
OPERATION PROCEDURE
1. Connect both battery cables. NOTE:
Supply power using jumper cables if battery is discharged.
2. Use the Intelligent Key or mechanical key to turn the ignition switch to the ″ACC ″ position. At this time, the
steering lock will be released.
3. Disconnect both battery cables. The steering lock will remain released and the steering wheel can be
rotated.
4. Perform the necessary repair operation.
Revision: May 2010 2011 Versa
Page 1037 of 3787

ENGINE COOLANTCO-37
< SERVICE INFORMATION > [MR18DE]
C
D
E
F
G H
I
J
K L
M A
CO
NP
O
REFILLING ENGINE COOLANT
1. Install the radiator drain plug. Install the reservoir
tank and cylinder block drain plug, if removed for a total
system drain or for engine removal or repair.
• The radiator must be completely empty of coolant and water.
• Apply sealant to the threads of the cylinder blo ck drain plugs. Use Genuine High Performance
Thread Sealant or equivalent. Refer to GI-42, "
Recommended Chemical Product and Sealant".
2. If disconnected, reattach the upper radiator hose at the engine side.
3. Set the vehicle heater controls to the full HOT and heat er ON position. Turn the vehicle ignition ON with
the engine OFF as necessary to activate the heater mode.
4. Install the Tool by installing the radiator cap adapter onto the radiator neck opening. Then attach the gauge body assembly
with the refill tube and the venturi assembly to the radiator cap
adapter.
5. Insert the refill hose into the coolant mixture container that is placed at floor level. Make sure the ball valve is in the closed
position.
•Use Genuine NISSAN Long Life Anti-freeze coolant or
equivalent, mixed with distil led water or demineralized
water.
Refer to MA-15, "
Anti-freeze Coolant Mixture Ratio".
6. Install an air hose to the venturi assembly, the air pressure must be within specification.
CAUTION:
The compressed air supply must be equipped with an air dryer.
7. The vacuum gauge will begin to rise and there will be an audible hissing noise. During this process open the ball valve on the refill hose slightly. Coolant will be visible rising in the refill hose. Once the refill hose is
full of coolant, close the ball valve. Th is will purge any air trapped in the refill hose.
8. Continue to draw the vacuum until the gauge reaches 28 inches of vacuum. The gauge may not reach 28 inches in high altitude
locations, use the vacuum specifications based on the altitude
above sea level.
9. When the vacuum gauge has reached the specified amount, disconnect the air hose and wait 20 seconds
to see if the system loses any vacuum. If the vacuum level drops, perform any necessary repairs to the
system and repeat steps 6 - 8 to br ing the vacuum to the specified amount. Recheck for any leaks.
Radiator drain plug : Refer to
CO-40, "
Component".
Cylinder block drain plug : 9.8 N·m (1.0 kg-m, 87 in-lb)
Tool number : KV991J0070 (J-45695)
Engine coolant capacity
(with reservoir tank) : Refer to
MA-14, "
Fluids
and Lubricants".
Compressed air
supply pressure : 549 - 824 kPa (5.6 - 8.4 kg/cm
2,
80 - 119 psi)
LLIA0058E
Altitude above sea level Vacuum gauge reading
0 - 100 m (328 ft) : 28 inches of vacuum
300 m (984 ft) : 27 inches of vacuum
500 m (1,641 ft) : 26 inches of vacuum
1,000 m (3,281 ft) : 24 - 25 inches of vacuum
LLIA0057E
Revision: May 2010 2011 Versa
Page 1054 of 3787

CO-54
< SERVICE INFORMATION >[MR18DE]
WATER OUTLET AND WATER CONTROL VALVE
• Warm up engine thoroughly to make sure there is no leakage of fuel, exhaust gas, or any oils/fluids including
engine oil and engine coolant.
• Bleed air from passages in lines and hoses, such as in cooling system.
• After cooling down engine, again check oil/fluid levels including engine oil and engine coolant. Refill to spec-
ified level, if necessary.
• Summary of the inspection items:
*Power steering fluid, brake fluid, etc. Item
Before starting engine Engine runningAfter engine stopped
Engine coolant LevelLeakage Level
Engine oil LevelLeakage Level
Transmission/
transaxle fluid A/T and CVT Models
LeakageLevel/Leakage Leakage
M/T Models Level/Leakage LeakageLevel/Leakage
Other oils and fluids* LevelLeakage Level
Fuel LeakageLeakage Leakage
Exhaust gas —Leakage —
Revision: May 2010 2011 Versa
Page 1056 of 3787
CVT-1
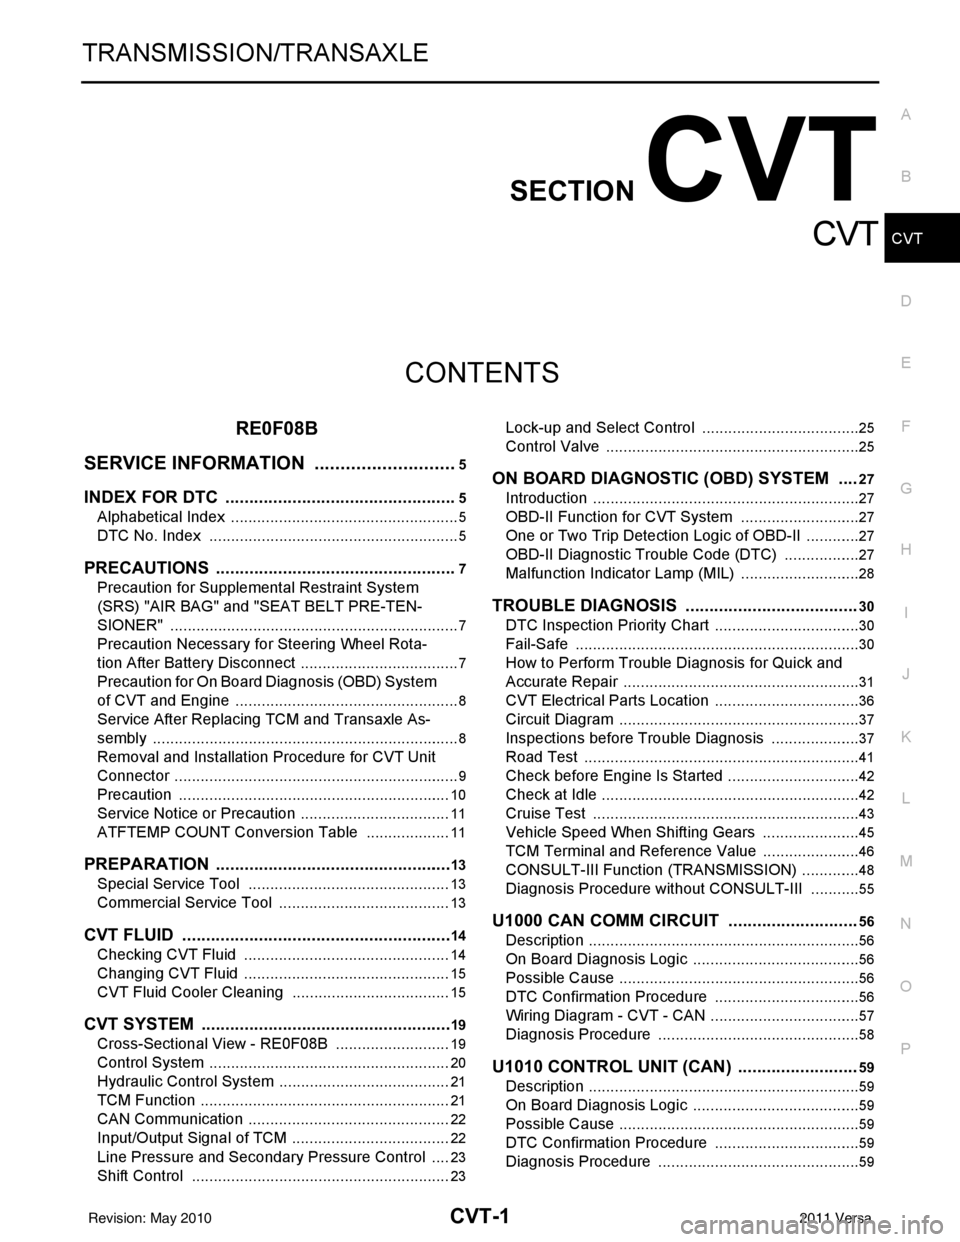
TRANSMISSION/TRANSAXLE
DE
F
G H
I
J
K L
M
SECTION CVT
A
B
CVT
N
O P
CONTENTS
CVT
RE0F08B
SERVICE INFORMATION .. ..........................
5
INDEX FOR DTC ............................................ .....5
Alphabetical Index ............................................... ......5
DTC No. Index ..........................................................5
PRECAUTIONS ...................................................7
Precaution for Supplemental Restraint System
(SRS) "AIR BAG" and "SEAT BELT PRE-TEN-
SIONER" ............................................................. ......
7
Precaution Necessary for Steering Wheel Rota-
tion After Battery Disconnect ............................... ......
7
Precaution for On Board Diagnosis (OBD) System
of CVT and Engine ....................................................
8
Service After Replacing TCM and Transaxle As-
sembly .......................................................................
8
Removal and Installation Procedure for CVT Unit
Connector ............................................................ ......
9
Precaution ...............................................................10
Service Notice or Precaution ...................................11
ATFTEMP COUNT Conversion Table ....................11
PREPARATION .............................................. ....13
Special Service Tool ........................................... ....13
Commercial Service Tool ........................................13
CVT FLUID .........................................................14
Checking CVT Fluid ............................................ ....14
Changing CVT Fluid ................................................15
CVT Fluid Cooler Cleaning .....................................15
CVT SYSTEM ................................................. ....19
Cross-Sectional View - RE0F08B ....................... ....19
Control System .................................................... ....20
Hydraulic Control System ........................................21
TCM Function ...................................................... ....21
CAN Communication ...............................................22
Input/Output Signal of TCM .....................................22
Line Pressure and Secondary Pressure Control .....23
Shift Control ............................................................23
Lock-up and Select Control .....................................25
Control Valve ....................................................... ....25
ON BOARD DIAGNOSTIC (OBD) SYSTEM ....27
Introduction ..............................................................27
OBD-II Function for CVT System ............................27
One or Two Trip Detection Logic of OBD-II .............27
OBD-II Diagnostic Trouble Code (DTC) ..................27
Malfunction Indicator Lamp (MIL) ............................28
TROUBLE DIAGNOSIS ....................................30
DTC Inspection Priority Chart ..................................30
Fail-Safe ..................................................................30
How to Perform Trouble Diagnosis for Quick and
Accurate Repair .......................................................
31
CVT Electrical Parts Location ..................................36
Circuit Diagram ........................................................37
Inspections before Trouble Diagnosis .....................37
Road Test ................................................................41
Check before Engine Is Started ...............................42
Check at Idle ............................................................42
Cruise Test ..............................................................43
Vehicle Speed When Shifting Gears .......................45
TCM Terminal and Reference Value .......................46
CONSULT-III Function (TRANSMISSION) .......... ....48
Diagnosis Procedure without CONSULT-III ............55
U1000 CAN COMM CIRCUIT ...........................56
Description ........................................................... ....56
On Board Diagnosis Logic .......................................56
Possible Cause ........................................................56
DTC Confirmation Procedure ..................................56
Wiring Diagram - CVT - CAN ...................................57
Diagnosis Procedure ...............................................58
U1010 CONTROL UNIT (CAN) .........................59
Description ...............................................................59
On Board Diagnosis Logic .......................................59
Possible Cause ........................................................59
DTC Confirmation Procedure ..................................59
Diagnosis Procedure ...............................................59
Revision: May 2010 2011 Versa
Page 1059 of 3787
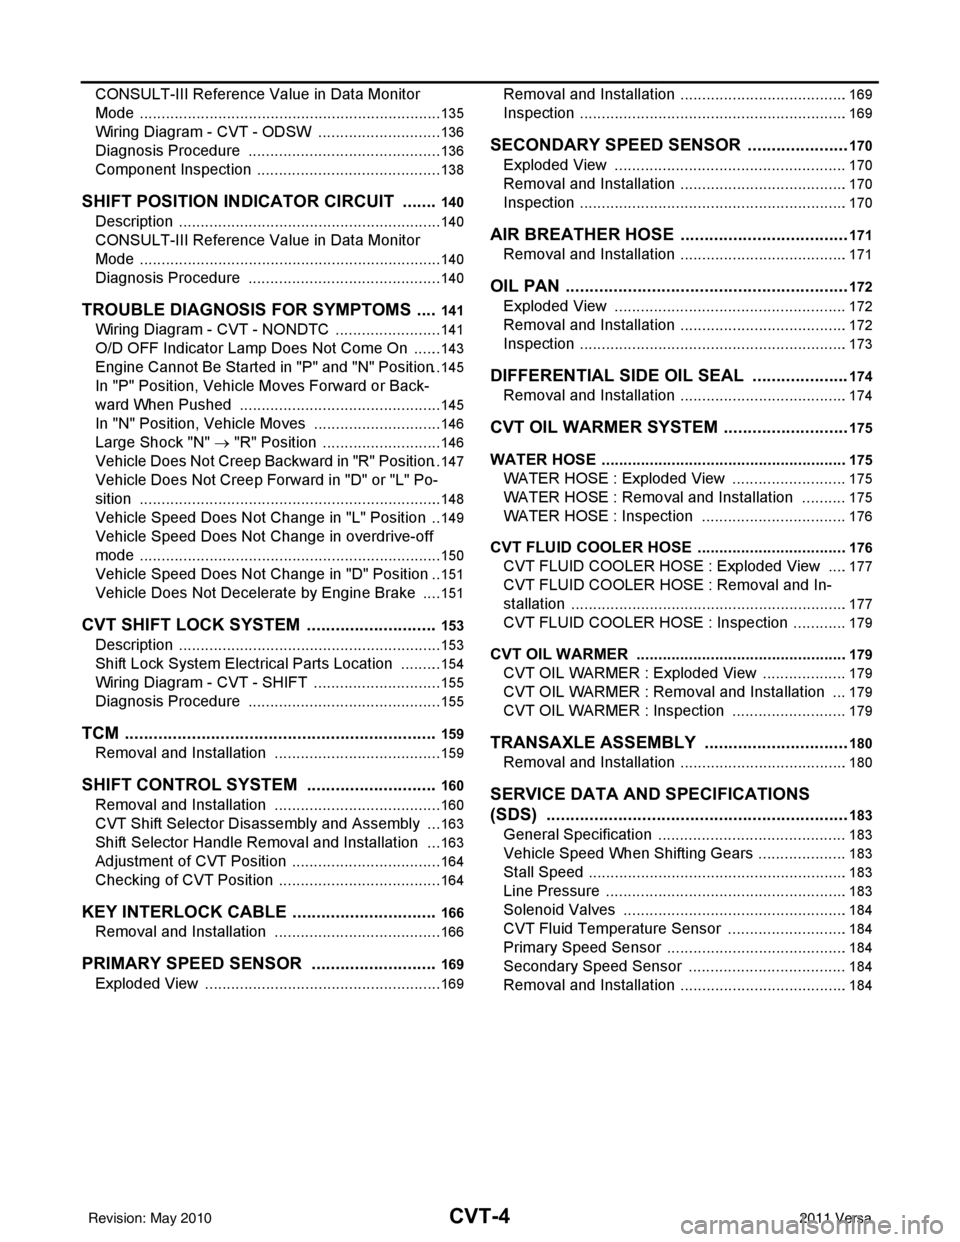
CVT-4
CONSULT-III Reference Value in Data Monitor
Mode .................................................................... ..
135
Wiring Diagram - CVT - ODSW .............................136
Diagnosis Procedure .............................................136
Component Inspection ...........................................138
SHIFT POSITION INDICATOR CIRCUIT ........140
Description ........................................................... ..140
CONSULT-III Reference Value in Data Monitor
Mode .................................................................... ..
140
Diagnosis Procedure .............................................140
TROUBLE DIAGNOSIS FOR SYMPTOMS .....141
Wiring Diagram - CVT - NONDTC ....................... ..141
O/D OFF Indicator Lamp Does Not Come On .......143
Engine Cannot Be Started in "P" and "N" Position ..145
In "P" Position, Vehicle Moves Forward or Back-
ward When Pushed ...............................................
145
In "N" Position, Vehicle Moves ............................ ..146
Large Shock "N" → "R" Position .......................... ..146
Vehicle Does Not Creep Backward in "R" Position ..147
Vehicle Does Not Creep Forward in "D" or "L" Po-
sition ......................................................................
148
Vehicle Speed Does Not Change in "L" Position ...149
Vehicle Speed Does Not Change in overdrive-off
mode ......................................................................
150
Vehicle Speed Does Not Change in "D" Position ..151
Vehicle Does Not Decelerate by Engine Brake .....151
CVT SHIFT LOCK SYSTEM ........................... .153
Description ........................................................... ..153
Shift Lock System Electrical Parts Location ..........154
Wiring Diagram - CVT - SHIFT ..............................155
Diagnosis Procedure .............................................155
TCM ..................................................................159
Removal and Installation ..................................... ..159
SHIFT CONTROL SYSTEM ............................160
Removal and Installation ..................................... ..160
CVT Shift Selector Disassembly and Assembly ....163
Shift Selector Handle Removal and Installation ....163
Adjustment of CVT Position ................................. ..164
Checking of CVT Position ......................................164
KEY INTERLOCK CABLE ...............................166
Removal and Installation ..................................... ..166
PRIMARY SPEED SENSOR ...........................169
Exploded View ..................................................... ..169
Removal and Installation .......................................169
Inspection ............................................................. .169
SECONDARY SPEED SENSOR ......................170
Exploded View ..................................................... .170
Removal and Installation .......................................170
Inspection ............................................................. .170
AIR BREATHER HOSE ....................................171
Removal and Installation .......................................171
OIL PAN .......................................................... ..172
Exploded View ..................................................... .172
Removal and Installation .......................................172
Inspection ............................................................. .173
DIFFERENTIAL SIDE OIL SEAL .....................174
Removal and Installation .......................................174
CVT OIL WARMER SYSTEM ......................... ..175
WATER HOSE ........................................................ .175
WATER HOSE : Exploded View ...........................175
WATER HOSE : Removal and Installation ...........175
WATER HOSE : Inspection ..................................176
CVT FLUID COOLER HOSE .................................. .176
CVT FLUID COOLER HOSE : Exploded View .....177
CVT FLUID COOLER HOSE : Removal and In-
stallation ................................................................
177
CVT FLUID COOLER HOSE : Inspection .............179
CVT OIL WARMER ................................................ .179
CVT OIL WARMER : Exploded View ....................179
CVT OIL WARMER : Removal and Installation ....179
CVT OIL WARMER : Inspection .......................... .179
TRANSAXLE ASSEMBLY ...............................180
Removal and Installation .......................................180
SERVICE DATA AND SPECIFICATIONS
(SDS) .............................................................. ..
183
General Specification ........................................... .183
Vehicle Speed When Shifting Gears .....................183
Stall Speed ............................................................183
Line Pressure ........................................................183
Solenoid Valves ....................................................184
CVT Fluid Temperature Sensor ............................184
Primary Speed Sensor ..........................................184
Secondary Speed Sensor .................................... .184
Removal and Installation .......................................184
Revision: May 2010 2011 Versa
Page 1062 of 3787

PRECAUTIONSCVT-7
< SERVICE INFORMATION > [RE0F08B]
D
E
F
G H
I
J
K L
M A
B
CVT
N
O P
PRECAUTIONS
Precaution for Supplemental Restraint System (SRS) "AIR BAG" and "SEAT BELT
PRE-TENSIONER"
INFOID:0000000006414971
The Supplemental Restraint System such as “AIR BAG” and “SEAT BELT PRE-TENSIONER”, used along
with a front seat belt, helps to reduce the risk or severi ty of injury to the driver and front passenger for certain
types of collision. This system includes seat belt switch inputs and dual stage front air bag modules. The SRS
system uses the seat belt switches to determine the front air bag deployment, and may only deploy one front
air bag, depending on the severity of a collision and w hether the front occupants are belted or unbelted.
Information necessary to service the system safely is included in the SRS and SB section of this Service Man-
ual.
WARNING:
• To avoid rendering the SRS inoper ative, which could increase the risk of personal injury or death in
the event of a collision which would result in air bag inflation, all maintenance must be performed by
an authorized NISSAN/INFINITI dealer.
• Improper maintenance, including in correct removal and installation of the SRS can lead to personal
injury caused by unintentional act ivation of the system. For removal of Spiral Cable and Air Bag
Module, see the SRS section.
• Do not use electrical test equipm ent on any circuit related to the SRS unless instructed to in this
Service Manual. SRS wiring harnesses can be identi fied by yellow and/or orange harnesses or har-
ness connectors.
PRECAUTIONS WHEN USING POWER TOOLS (AIR OR ELECTRIC) AND HAMMERS
WARNING:
• When working near the Airbag Diagnosis Sensor Un it or other Airbag System sensors with the Igni-
tion ON or engine running, DO NOT use air or el ectric power tools or strike near the sensor(s) with a
hammer. Heavy vibration could activate the sensor( s) and deploy the air bag(s), possibly causing
serious injury.
• When using air or electric power tools or hammers, always switch the Ignition OFF, disconnect the battery, and wait at least 3 minutes before performing any service.
Precaution Necessary for Steering Wheel Rotation After Battery Disconnect
INFOID:0000000005928721
NOTE:
• This Procedure is applied only to models with Intelligent Key system and NVIS /IVIS (NISSAN/INFINITI
VEHICLE IMMOBILIZER SYSTEM - NATS).
• Remove and install all control units after disconnecti ng both battery cables with the ignition knob in the
″ LOCK ″ position.
• Always use CONSULT-III to perform self-diagnosis as a part of each function inspection after finishing work.
If DTC is detected, perform trouble diagnosis according to self-diagnostic results.
For models equipped with the Intelligent Key system and NVIS/IVIS, an electrically controlled steering lock
mechanism is adopted on the key cylinder.
For this reason, if the battery is disconnected or if the battery is discharged, the steering wheel will lock and
steering wheel rotation will become impossible.
If steering wheel rotation is required when battery power is interrupted, follow the procedure below before
starting the repair operation.
OPERATION PROCEDURE
1. Connect both battery cables. NOTE:
Supply power using jumper cables if battery is discharged.
2. Use the Intelligent Key or mechanical key to turn the ignition switch to the ″ACC ″ position. At this time, the
steering lock will be released.
3. Disconnect both battery cables. The steering lock will remain released and the steering wheel can be
rotated.
4. Perform the necessary repair operation.
5. When the repair work is completed, return the ignition switch to the ″LOCK ″ position before connecting
the battery cables. (At this time, the steering lock mechanism will engage.)
Revision: May 2010 2011 Versa
Page 1063 of 3787

CVT-8
< SERVICE INFORMATION >[RE0F08B]
PRECAUTIONS
6. Perform a self-diagnosis check of a
ll control units using CONSULT-III.
Precaution for On Board Diagnosis (OBD) System of CVT and EngineINFOID:0000000005928722
The ECM has an on board diagnostic system. It will light up the malfunction indicator lamp (MIL) to warn the
driver of a malfunction causing emission deterioration.
CAUTION:
• Be sure to turn the ignition switch OFF and disconnect the battery cable from the negative terminal
before any repair or inspection work. The open/sho rt circuit of related switches, sensors, solenoid
valves, etc. will cause the MIL to light up.
• Be sure to connect and lock the connectors secure ly after work. A loose (unlocked) connector will
cause the MIL to light up due to an open circuit. (Be sure the connector is free from water, grease,
dirt, bent terminals, etc.)
• Be sure to route and secure th e harnesses properly after work. Interference of the harness with a
bracket, etc. may cause the MIL to light up due to a short circuit.
• Be sure to connect rubber tubes properly afte r work. A misconnected or disconnected rubber tube
may cause the MIL to light up due to a malfunction of the EVAP system or fuel injection system, etc.
• Be sure to erase the unnecessary malfunction informa tion (repairs completed) from the TCM and
ECM before returning the vehicle to the customer.
Service After Replacing TCM and Transaxle AssemblyINFOID:0000000005928723
SERVICE AFTER REPLACING TCM AND TRANSAXLE ASSEMBLY
Perform the applicable service according to the following table when replacing TCM or transaxle assembly.
CAUTION:
• Never start the engine unti l the service is completed.
• “DTC P1701” may be indicated soon after replaci ng TCM or transaxle assembly (after erasing the
memory in the pattern B). Restart the self-diagnos is after erasing the self-diagnosis result using
CONSULT-III. Check that no error is detected.
NOTE:
Old unit means that the unit has been already used for another vehicle.
PATTERN A
1. Shift the selector lever to “P” position after replacing TCM.
2. Turn ignition switch ON.
3. Check that the shift position indicator in the combination meter turns ON (It indicates approximately 1 or 2 seconds after turning ignition switch ON.)
• Check the following items if shift position indicator does not turn ON. Repair or replace accordingly as
necessary.
- The harness between TCM and ROM ASSY in tr ansaxle assembly is open or shorted.
- Terminals disconnected, loose, or bent from connector housing.
PATTERN B
1. Turn ignition switch ON after replacing each part.
2. Connect the vehicle with CONSULT-III.
3. Start engine.
CAUTION:
Never start driving.
4. Select “Data monitor” in “TRANSMISSION”.
5. Warm up transaxle assembly until “ATFTEMP COUNT” indicates 47 [approximately 20° C (68°F)] or more,
and then turn ignition switch OFF.
TCM Transaxle assembly Service pattern
Replaced with new unit Not replaced the unit “PATTERN A”
Not replaced the unit Replaced with new or old unit
“PATTERN B”
Replaced with old unit Not replaced the unit
Replaced with new or old unit
Replaced with new unit Replaced with new or old unit “PATTERN C”
Revision: May 2010 2011 Versa
Page 1076 of 3787

CVT SYSTEMCVT-21
< SERVICE INFORMATION > [RE0F08B]
D
E
F
G H
I
J
K L
M A
B
CVT
N
O P
Hydraulic Control SystemINFOID:0000000005928735
TCM FunctionINFOID:0000000005928736
The function of the TCM is to:
• Receive input signals sent from various switches and sensors.
• Determine required line pressure, shifting point, and lock-up operation.
• Send required output signals to the step motor and the respective solenoids.
CONTROL SYSTEM OUTLINE
The CVT senses vehicle operating conditions through various sensors. It always controls the optimum shift
position and reduces shifting and lock-up shocks.
AWDIA0768GB
SENSORS (or SIGNAL)
⇒TCM
⇒ACTUATORS
Transmission range switch
Accelerator pedal position signal
Closed throttle position signal
Engine speed signal
CVT fluid temperature sensor
Vehicle speed signal
Overdrive control signal
Stop lamp switch signal
Primary speed sensor
Secondary speed sensor
Secondary pressure sensor Shift control
Line pressure control
Primary pressure control
Secondary pressure control
Lock-up control
Engine brake control
Vehicle speed control
Fail-safe control
Self-diagnosis
CONSULT-III co
mmunication
line
Duet-EA control
CAN system
On board diagnosis Step motor
Torque converter clutch solenoid
valve
Lock-up select solenoid valve
Line pressure solenoid valve
Secondary pressure solenoid
valve
Shift position indicator
O/D OFF indicator lamp
Starter relay
Revision: May 2010
2011 Versa
Page 1077 of 3787

CVT-22
< SERVICE INFORMATION >[RE0F08B]
CVT SYSTEM
CONTROL SYSTEM DIAGRAM
CAN CommunicationINFOID:0000000005928737
SYSTEM DESCRIPTION
CAN (Controller Area Network) is a serial communication line for real time application. It is an on-vehicle mul-
tiplex communication line with high data communication s
peed and excellent error detection ability. Many elec-
tronic control units are equipped onto a vehicle, and each control unit shares information and links with other
control units during operation (not independent). In CA N communication, control units are connected with 2
communication lines (CAN-H line, CAN-L line) allowing a high rate of information transmission with less wiring.
Each control unit transmits/receives data but selectively reads required data only. For details, refer to LAN-7,
"System Description".
Input/Output Signal of TCMINFOID:0000000005928738
AWDIA0769GB
Control itemFluid
pressure control Select con-
trol Shift control Lock-up
control CAN com-
munication control Fail-safe
function (*3)
Input T
ra n sm is sio n r ang e s wit c h XXXXXX
Accelerator pedal position signal
(*1)XXXXXX
Closed throttle position signal
(*1)X XXX
Engine speed signal
(*1)XX XXX
CVT fluid temperature sensor XX XX X
Stop lamp switch signal
(*1)X XXX
Overdrive control signal
(*1)XX
Primary speed sensor X XXXX
Secondary speed sensor XXXXXX
Secondary pressure sensor XX X
T C M pow er s upp ly v olt a ge s ig n al XXXXXX
Revision: May 2010 2011 Versa
Page 1078 of 3787

CVT SYSTEMCVT-23
< SERVICE INFORMATION > [RE0F08B]
D
E
F
G H
I
J
K L
M A
B
CVT
N
O P
*1: Input by CAN communications.
*2: Output by CAN communications.
*3: If these input and output signals are different, the TCM triggers the fail-safe function.
Line Pressure and Secondary Pressure ControlINFOID:0000000005928739
• When an input torque signal equivalent to the engine drive force is sent from the ECM to the TCM, the TCM
controls the line pressure solenoid valve and secondary pressure solenoid valve.
• This line pressure solenoid controls the pressure regulat or valve as the signal pressure and adjusts the pres-
sure of the operating oil discharged from the oil pump to the line pressure most appropriate to the driving
state. Secondary pressure is cont rolled by decreasing line pressure.
NORMAL CONTROL
Optimize the line pressure and secondary pressure, dependi ng on driving conditions, on the basis of the throt-
tle position, the engine speed, the primary pulley (input ) revolution speed, the secondary pulley (output) revo-
lution speed, the brake signal, the transmission range switch signal, the lock-up signal, the voltage, the target
gear ratio, the fluid temperat ure, and the fluid pressure.
FEEDBACK CONTROL
When controlling the normal fluid pressure or the sele cted fluid pressure, the secondary pressure can be set
more accurately by using the fluid pressure sensor to detect the secondary pressure and controlling the feed-
back.
Shift ControlINFOID:0000000005928740
In order to select the gear ratio which can obtain the dr iving force in accordance with driver's intention and the
vehicle condition, TCM monitors the driving conditions, such as the vehicle speed and the throttle position and
selects the optimum gear ratio, and determines the gear change steps to the gear ratio. Then send the com-
Out-
putSte p mo tor
XX
TCC solenoid valve XXX
Lock-up select solenoid valve XXX
Line pressure solenoid valve XXX X
Secondary pressure solenoid valve XX X
O/D OFF indicator signal
(*2)XX
Control item
Fluid
pressure
control Select con-
trol Shift control
Lock-up
control CAN com-
munication
control Fail-safe
function
(*3)
SCIA1846E
Revision: May 2010 2011 Versa