phone NISSAN TITAN 2007 1.G Owners Manual
[x] Cancel search | Manufacturer: NISSAN, Model Year: 2007, Model line: TITAN, Model: NISSAN TITAN 2007 1.GPages: 368, PDF Size: 5.91 MB
Page 4 of 368

NISSAN CARES...
Both NISSAN and your NISSAN dealer are dedicated to serving all your automotive needs. Your satisfaction with your vehicle and your NISSAN dealer are
our primary concerns. Your NISSAN dealer is always available to assist you with all your automobile sales and service needs.
However, if there is something that your NISSAN
dealer cannot assist you with or you would like to
provide NISSAN directly with comments or
questions, please contact the NISSAN Con-
sumer Affairs Department using our toll-free
number:
For U.S. customers
1-800-NISSAN-1
(1-800-647-7261)
For Canadian customers
1-800-387-0122The Consumer Affairs Department will ask for the
following information:
– Your name, address, and telephone number
– Vehicle identification number (attached to the
top of the instrument panel on the driver’s
side)
– Date of purchase
– Current odometer reading
– Your NISSAN dealer’s name
– Your comments or questions
ORYou can write to NISSAN with the information at:
For U.S. customers
Nissan North America, Inc.
Consumer Affairs Department
P.O. Box 685003
Franklin, TN 37068-5003
For Canadian customers
Nissan Canada Inc.
5290 Orbitor Drive
Mississauga, Ontario L4W 4Z5
We appreciate your interest in NISSAN and thank you for buying a quality NISSAN vehicle.
NISSAN CUSTOMER CARE PROGRAM
ZREVIEW COPYÐ2007 Titan(tzw)
Owners ManualÐUSA_English(nna)
07/09/06Ðtbrooks
X
Page 113 of 368
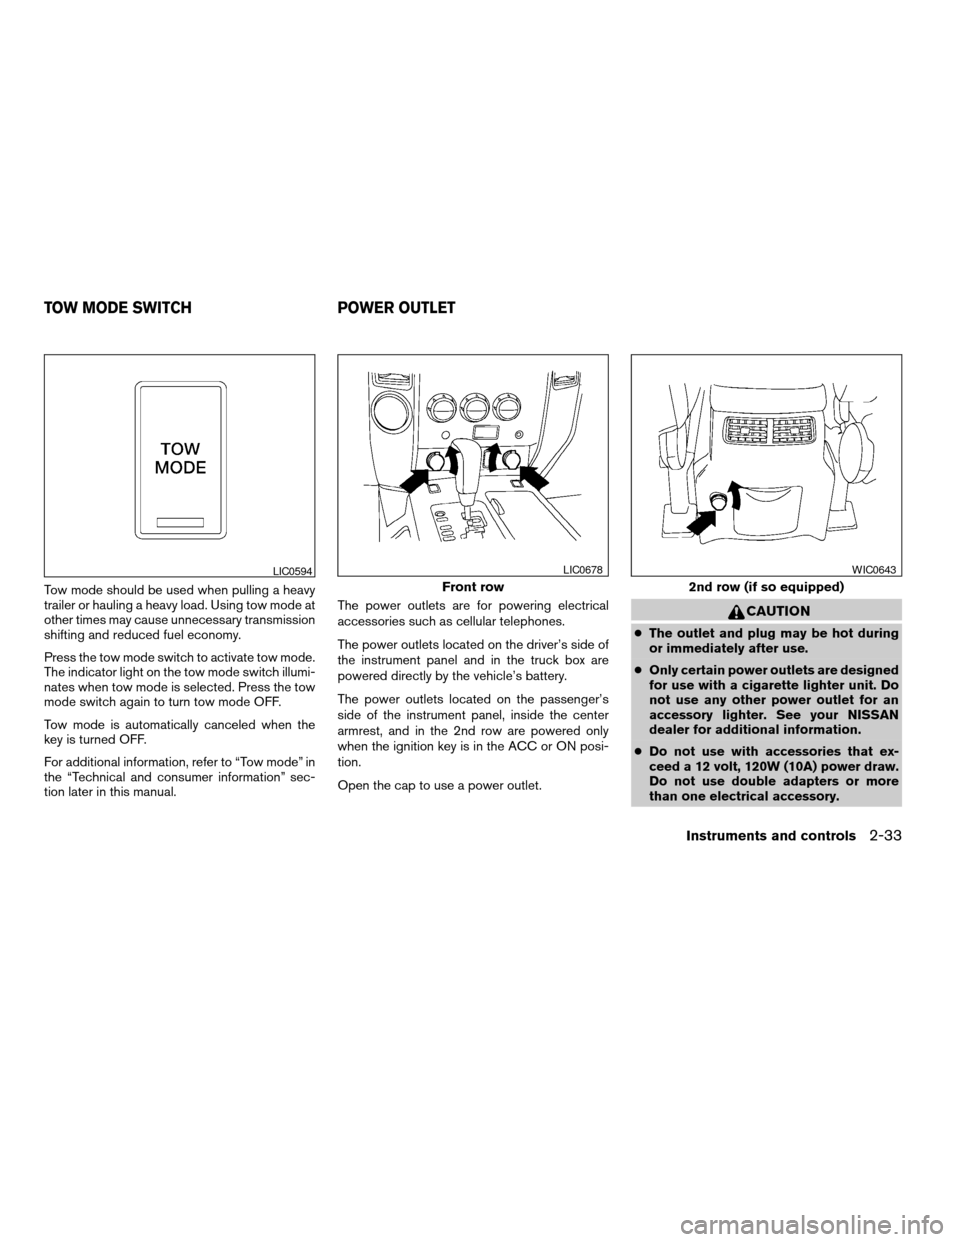
Tow mode should be used when pulling a heavy
trailer or hauling a heavy load. Using tow mode at
other times may cause unnecessary transmission
shifting and reduced fuel economy.
Press the tow mode switch to activate tow mode.
The indicator light on the tow mode switch illumi-
nates when tow mode is selected. Press the tow
mode switch again to turn tow mode OFF.
Tow mode is automatically canceled when the
key is turned OFF.
For additional information, refer to “Tow mode” in
the “Technical and consumer information” sec-
tion later in this manual.The power outlets are for powering electrical
accessories such as cellular telephones.
The power outlets located on the driver’s side of
the instrument panel and in the truck box are
powered directly by the vehicle’s battery.
The power outlets located on the passenger’s
side of the instrument panel, inside the center
armrest, and in the 2nd row are powered only
when the ignition key is in the ACC or ON posi-
tion.
Open the cap to use a power outlet.
CAUTION
cThe outlet and plug may be hot during
or immediately after use.
cOnly certain power outlets are designed
for use with a cigarette lighter unit. Do
not use any other power outlet for an
accessory lighter. See your NISSAN
dealer for additional information.
cDo not use with accessories that ex-
ceed a 12 volt, 120W (10A) power draw.
Do not use double adapters or more
than one electrical accessory.
LIC0594
Front row
LIC0678
2nd row (if so equipped)
WIC0643
TOW MODE SWITCH POWER OUTLET
Instruments and controls2-33
ZREVIEW COPYÐ2007 Titan(tzw)
Owners ManualÐUSA_English(nna)
07/09/06Ðtbrooks
X
Page 115 of 368
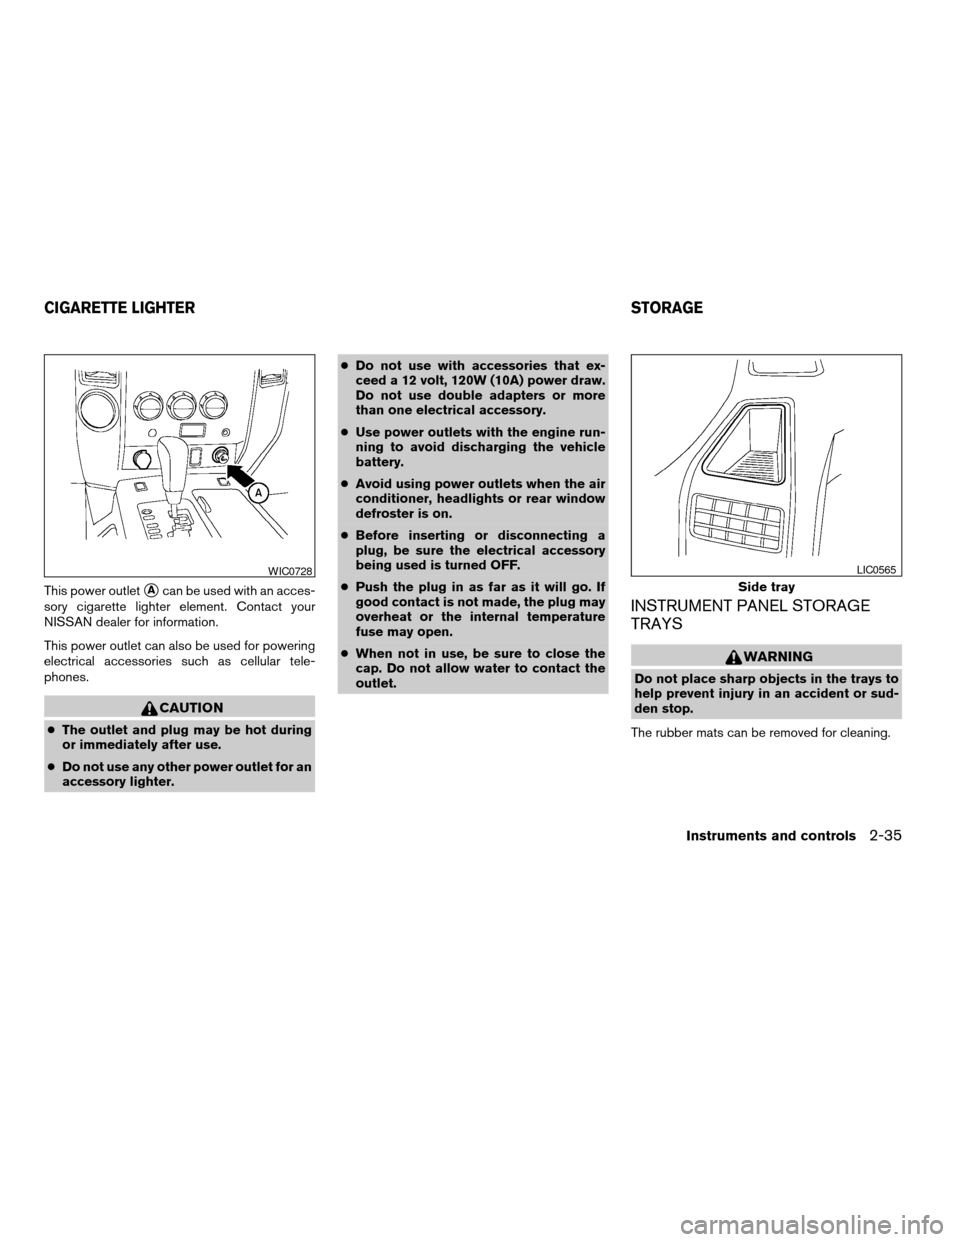
This power outletsAcan be used with an acces-
sory cigarette lighter element. Contact your
NISSAN dealer for information.
This power outlet can also be used for powering
electrical accessories such as cellular tele-
phones.
CAUTION
cThe outlet and plug may be hot during
or immediately after use.
cDo not use any other power outlet for an
accessory lighter.cDo not use with accessories that ex-
ceed a 12 volt, 120W (10A) power draw.
Do not use double adapters or more
than one electrical accessory.
cUse power outlets with the engine run-
ning to avoid discharging the vehicle
battery.
cAvoid using power outlets when the air
conditioner, headlights or rear window
defroster is on.
cBefore inserting or disconnecting a
plug, be sure the electrical accessory
being used is turned OFF.
cPush the plug in as far as it will go. If
good contact is not made, the plug may
overheat or the internal temperature
fuse may open.
cWhen not in use, be sure to close the
cap. Do not allow water to contact the
outlet.
INSTRUMENT PANEL STORAGE
TRAYS
WARNING
Do not place sharp objects in the trays to
help prevent injury in an accident or sud-
den stop.
The rubber mats can be removed for cleaning.
WIC0728
Side tray
LIC0565
CIGARETTE LIGHTER STORAGE
Instruments and controls2-35
ZREVIEW COPYÐ2007 Titan(tzw)
Owners ManualÐUSA_English(nna)
07/09/06Ðtbrooks
X
Page 134 of 368

PROGRAMMING TROUBLE-
DIAGNOSIS
If the HomeLinkTdoes not quickly learn the hand-
held transmitter information:
creplace the hand-held transmitter batteries
with new batteries.
cposition the hand-held transmitter with its
battery area facing away from the
HomeLinkTsurface.
cpress and hold both the HomeLinkTand
hand-held transmitter buttons without inter-
ruption.
cposition the hand-held transmitter1-3
inches (26 - 76 mm) away from the
HomeLinkTsurface. Hold the transmitter in
that position for up to 15 seconds. If
HomeLinkTis not programmed within that
time, try holding the transmitter in another
position – keeping the indicator light in view
at all times.
If you continue to have programming difficulties,
please contact the NISSAN Consumer Affairs
Department. The phone numbers are located in
the Foreword of this manual.
CLEARING THE PROGRAMMED
INFORMATION
Individual buttons cannot be cleared. However,
to clear all programming, press and hold the two
outside buttons and release when the indicator
light begins to flash (approximately 20 seconds) .
REPROGRAMMING A SINGLE
HOMELINKTBUTTON
To reprogram a HomeLinkTUniversal Transceiver
button, complete the following.
1. Press and hold the desired HomeLinkTbut-
ton.Do notrelease the button until step 4
has been completed.
2. When the indicator light begins to flash
slowly (after 20 seconds) , position the
hand-held transmitter1-3inches (26 - 76
mm) away from the HomeLinkTsurface.
3. Press and hold the hand-held transmitter
button.
4.
The HomeLinkTindicator light will flash, first
slowly and then rapidly. When the indicator light
begins to flash rapidly, release both buttons.
The HomeLinkTUniversal Transceiver button has
now been reprogrammed. The new device can be
activated by pushing the HomeLinkTbutton that
was just programmed. This procedure will not af-
fect any other programmed HomeLinkTbuttons.
IF YOUR VEHICLE IS STOLEN
If your vehicle is stolen, you should change the
codes of any non-rolling code device that has
been programmed into HomeLinkT. Consult the
Owner’s Manual of each device or call the manu-
facturer or dealer of those devices for additional
information.
When your vehicle is recovered, you will
need to reprogram the HomeLinkTUniver-
sal Transceiver with your new transmitter
information.
FCC Notice:
This device complies with FCC rules part
15. Operation is subject to the following
two conditions: (1) This device may not
cause harmful interference and (2) This de-
vice must accept any interference that may
be received, including interference that
may cause undesired operation.
This transmitter has been tested and com-
plies with FCC and DOC/MDC rules.
Changes or modifications not expressly ap-
proved by the party responsible for compli-
ance could void the user’s authority to op-
erate the equipment.
DOC: ISTC 1763K1313
FCC I.D. CV2V67690
2-54Instruments and controls
ZREVIEW COPYÐ2007 Titan(tzw)
Owners ManualÐUSA_English(nna)
07/09/06Ðtbrooks
X
Page 159 of 368

4 Display screen, heater, air conditioner
and audio systems
Control panel buttons (if so equipped)...............4-2
How to use the joystick and ENTER button........4-3
How to use the BACK button....................4-3
Setting up the start-up screen...................4-3
How to use the TRIP button.....................4-3
How to use the SETTING button.................4-7
button..................................4-13
Ventilators.......................................4-14
Heater and air conditioner (manual).................4-14
Controls......................................4-15
Heater operation..............................4-16
Air conditioner operation.......................4-17
Air flow charts.................................4-18
Heater and air conditioner (automatic)
(if so equipped)..................................4-22
Automatic operation...........................4-22
Manual operation..............................4-23
Operating tips.................................4-23
Servicing air conditioner...........................4-24
Audio system....................................4-24
Radio........................................4-24
FM radio reception............................4-25AM radio reception............................4-25
Satellite radio reception (if so equipped).........4-25
Audio operation precautions....................4-26
FM/AM radio with compact disc (CD) player
(if so equipped)...............................4-30
FM/AM/SAT radio with compact disc (CD)
changer (Type A, B, C and D)
(if so equipped)...............................4-37
CD care and cleaning..........................4-44
Steering wheel switch for audio control
(if so equipped)...............................4-45
Rear audio controls (if so equipped).............4-46
Antenna......................................4-47
NISSAN mobile entertainment system (MES)
(if so equipped)..................................4-47
Digital video disc (DVD) player controls..........4-48
Remote control................................4-49
Flip-down screen..............................4-49
Playing a digital video disc (DVD)...............4-51
Care and maintenance.........................4-54
How to handle the DVD........................4-54
Car phone or CB radio............................4-57
ZREVIEW COPYÐ2007 Titan(tzw)
Owners ManualÐUSA_English(nna)
07/09/06Ðtbrooks
X
Page 182 of 368
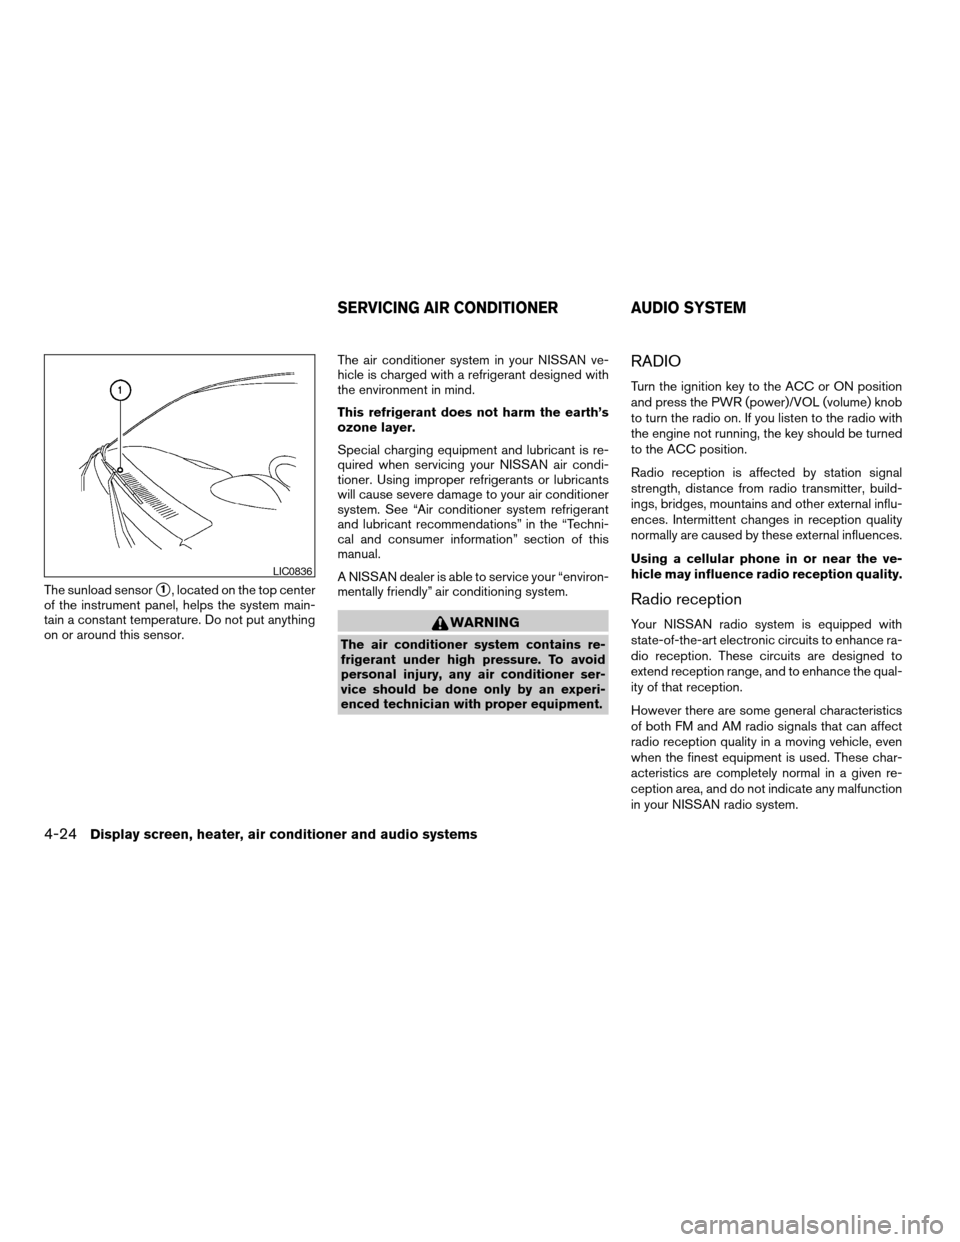
The sunload sensors1, located on the top center
of the instrument panel, helps the system main-
tain a constant temperature. Do not put anything
on or around this sensor.The air conditioner system in your NISSAN ve-
hicle is charged with a refrigerant designed with
the environment in mind.
This refrigerant does not harm the earth’s
ozone layer.
Special charging equipment and lubricant is re-
quired when servicing your NISSAN air condi-
tioner. Using improper refrigerants or lubricants
will cause severe damage to your air conditioner
system. See “Air conditioner system refrigerant
and lubricant recommendations” in the “Techni-
cal and consumer information” section of this
manual.
A NISSAN dealer is able to service your “environ-
mentally friendly” air conditioning system.
WARNING
The air conditioner system contains re-
frigerant under high pressure. To avoid
personal injury, any air conditioner ser-
vice should be done only by an experi-
enced technician with proper equipment.
RADIO
Turn the ignition key to the ACC or ON position
and press the PWR (power)/VOL (volume) knob
to turn the radio on. If you listen to the radio with
the engine not running, the key should be turned
to the ACC position.
Radio reception is affected by station signal
strength, distance from radio transmitter, build-
ings, bridges, mountains and other external influ-
ences. Intermittent changes in reception quality
normally are caused by these external influences.
Using a cellular phone in or near the ve-
hicle may influence radio reception quality.
Radio reception
Your NISSAN radio system is equipped with
state-of-the-art electronic circuits to enhance ra-
dio reception. These circuits are designed to
extend reception range, and to enhance the qual-
ity of that reception.
However there are some general characteristics
of both FM and AM radio signals that can affect
radio reception quality in a moving vehicle, even
when the finest equipment is used. These char-
acteristics are completely normal in a given re-
ception area, and do not indicate any malfunction
in your NISSAN radio system.
LIC0836
SERVICING AIR CONDITIONER AUDIO SYSTEM
4-24Display screen, heater, air conditioner and audio systems
ZREVIEW COPYÐ2007 Titan(tzw)
Owners ManualÐUSA_English(nna)
07/09/06Ðtbrooks
X
Page 201 of 368

SCAN/RPT button (Type A, B and D only):
When the SCAN/RPT play button is pressed
while the compact disc is played, the play pattern
can be changed as follows:
ALL DISC RPT!1 DISC RPT!1 TRACK RPT
!ALL DISC RDM!1 DISC RDM!ALL DISC
RPT
ALL DISC RPT: All discs loaded will be repeated.
1 DISC RPT: The disc that is currently playing will
be repeated.
1 TRACK RPT: The track that is currently playing
will be repeated
ALL DISC RDM: Tracks from all discs will be
played randomly
1 DISC RDM: Tracks from the disc that is cur-
rently playing will be played randomly
RPT RDM button (Type C only):
When the RPT RDM play button is pressed while
the compact disc is played, the play pattern can
be changed as follows:
ALL DISC RPT!1 DISC RPT!1 TRACK RPT
!ALL DISC RDM!1 DISC RDM!ALL DISC
RPTALL DISC RPT: All discs loaded will be repeated.
1 DISC RPT: The disc that is currently playing will
be repeated.
1 TRACK RPT: The track that is currently playing
will be repeated
ALL DISC RDM: Tracks from all discs will be
played randomly
1 DISC RDM: Tracks from the disc that is cur-
rently playing will be played randomly
REAR ON·OFF (if so equipped):
Pressing the REAR ON·OFF button for less than
1.5 seconds turns the rear seat audio controller
on. REAR CONT ON will display. Pressing it
again will turn the rear seat audio controller off.
REAR CONT OFF will display. If the vehicle is not
equipped with a rear seat audio controller, the
display will show “REAR AV N/A”.
(SPEAKER CONTROL) button
(Type A and D only):
Press the
button to turn the rear speakers
off and headphones on. Press thebutton
again to turn rear seat speakers back on and
headphones off.
CD EJECT:
Current/Selected disc:
cPress the
button, then press the slot
number (1 – 6) for the desired disc. The
compact disc will be ejected. If no slot num-
ber (1 – 6) is pressed, the current loaded
disc will be ejected. Also, if the ejected disc
is not removed within 15 seconds, the disc
will reload.
All discs:
cPress and hold the
button for more
than 1.5 seconds. The compact discs will be
ejected one by one. If a disc is not removed
within 15 seconds, or the
button is
pressed again during the eject sequence,
the entire disc eject sequence will be can-
celed.
When this button is pressed while the compact
disc is being played, the compact disc will eject
and the last source will be played.
CD IN indicator:
The slot numbers (1 – 6) will illuminate if CDs
have been loaded into the changer in CD mode
only.
Display screen, heater, air conditioner and audio systems4-43
ZREVIEW COPYÐ2007 Titan(tzw)
Owners ManualÐUSA_English(nna)
07/09/06Ðtbrooks
X
Page 204 of 368

1. VOL (volume) control button
2. MODE select button
3.
speaker control button
4. NEXT button
5. SEEK button
6. Headphone jacks7. Infrared headphone transmitter lens*
*Red transmitters will be visible when
infrared headphones are on.
REAR AUDIO CONTROLS (if so
equipped)
Press the REAR ON·OFF button on the front
radio control panel to turn the rear controls on.
Push the button again to turn rear controls off.
The headphones symbol illuminates on the front
display when the rear audio controls are on. Two
headphone jacks are provided so two rear seat
passengers may listen to the audio system pri-
vately.
The rear volume controls can only increase the
volume to the level at which the front radio volume
control is set.
One or two infrared headphones are included if
the vehicle is equipped with the DVD entertain-
ment system. Most portable radio headphones
work with the rear audio controls.
For vehicles equipped with the FM/AM/SAT radio
with compact disc player, if the rear passengers
turn off the rear speakers and are using head-
phones they may choose to listen to a different
media than the front passengers. The rear pas-
sengers can listen to the radio along with the
front passengers or they can listen to a CD or
SAT radio (if so equipped) .
LHA0322
4-46Display screen, heater, air conditioner and audio systems
ZREVIEW COPYÐ2007 Titan(tzw)
Owners ManualÐUSA_English(nna)
07/09/06Ðtbrooks
X
Page 205 of 368
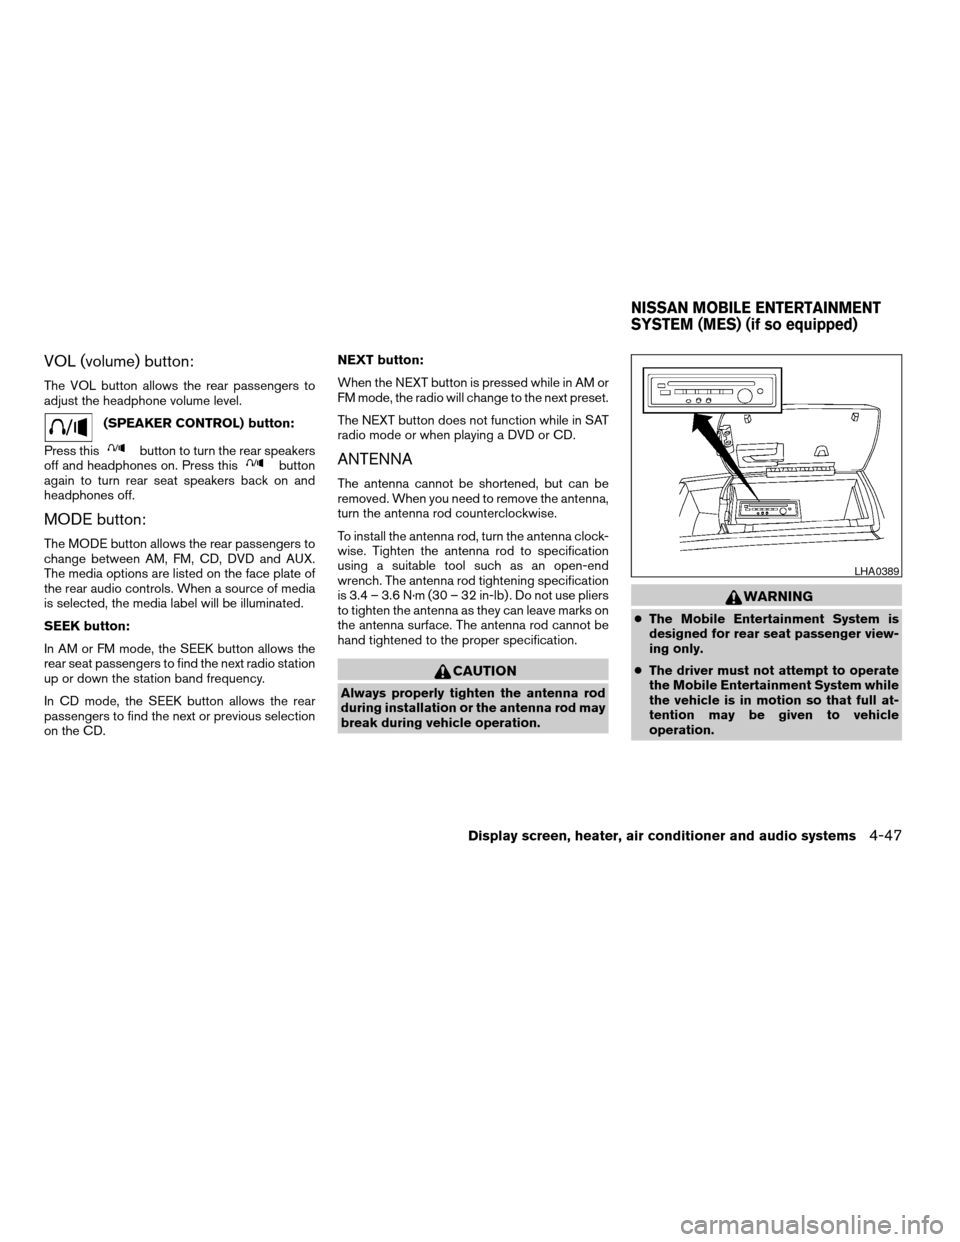
VOL (volume) button:
The VOL button allows the rear passengers to
adjust the headphone volume level.
(SPEAKER CONTROL) button:
Press this
button to turn the rear speakers
off and headphones on. Press thisbutton
again to turn rear seat speakers back on and
headphones off.
MODE button:
The MODE button allows the rear passengers to
change between AM, FM, CD, DVD and AUX.
The media options are listed on the face plate of
the rear audio controls. When a source of media
is selected, the media label will be illuminated.
SEEK button:
In AM or FM mode, the SEEK button allows the
rear seat passengers to find the next radio station
up or down the station band frequency.
In CD mode, the SEEK button allows the rear
passengers to find the next or previous selection
on the CD.NEXT button:
When the NEXT button is pressed while in AM or
FM mode, the radio will change to the next preset.
The NEXT button does not function while in SAT
radio mode or when playing a DVD or CD.
ANTENNA
The antenna cannot be shortened, but can be
removed. When you need to remove the antenna,
turn the antenna rod counterclockwise.
To install the antenna rod, turn the antenna clock-
wise. Tighten the antenna rod to specification
using a suitable tool such as an open-end
wrench. The antenna rod tightening specification
is 3.4 – 3.6 N·m (30 – 32 in-lb) . Do not use pliers
to tighten the antenna as they can leave marks on
the antenna surface. The antenna rod cannot be
hand tightened to the proper specification.
CAUTION
Always properly tighten the antenna rod
during installation or the antenna rod may
break during vehicle operation.
WARNING
cThe Mobile Entertainment System is
designed for rear seat passenger view-
ing only.
cThe driver must not attempt to operate
the Mobile Entertainment System while
the vehicle is in motion so that full at-
tention may be given to vehicle
operation.
LHA0389
NISSAN MOBILE ENTERTAINMENT
SYSTEM (MES) (if so equipped)
Display screen, heater, air conditioner and audio systems4-47
ZREVIEW COPYÐ2007 Titan(tzw)
Owners ManualÐUSA_English(nna)
07/09/06Ðtbrooks
X
Page 208 of 368
cThe screen rotates down to view and up
into the housing to store when not in
use. Ensure that the screen is latched
securely into the housing when stored.
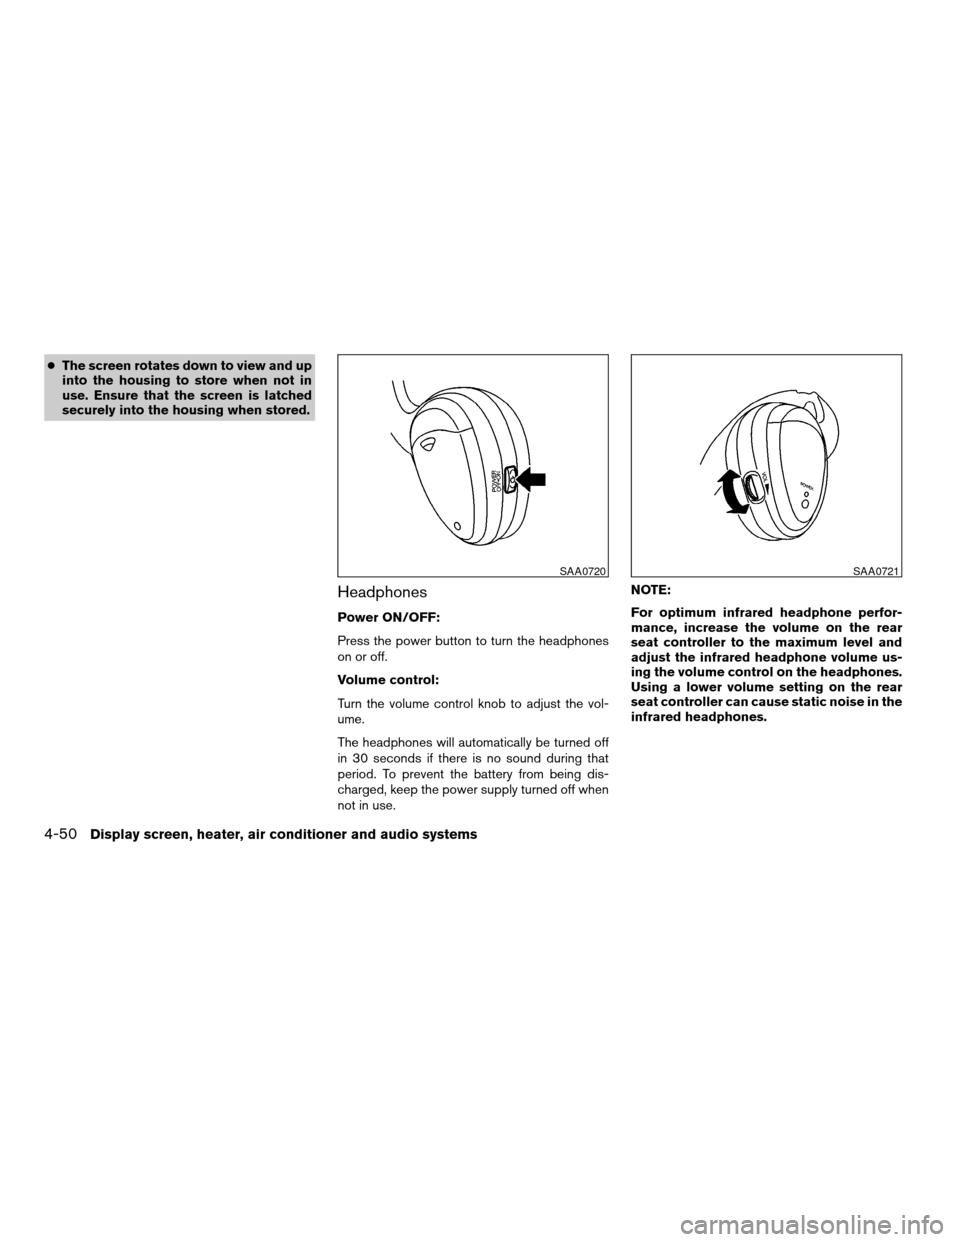
Headphones
Power ON/OFF:
Press the power button to turn the headphones
on or off.
Volume control:
Turn the volume control knob to adjust the vol-
ume.
The headphones will automatically be turned off
in 30 seconds if there is no sound during that
period. To prevent the battery from being dis-
charged, keep the power supply turned off when
not in use.NOTE:
For optimum infrared headphone perfor-
mance, increase the volume on the rear
seat controller to the maximum level and
adjust the infrared headphone volume us-
ing the volume control on the headphones.
Using a lower volume setting on the rear
seat controller can cause static noise in the
infrared headphones.
SAA0720SAA0721
4-50Display screen, heater, air conditioner and audio systems
ZREVIEW COPYÐ2007 Titan(tzw)
Owners ManualÐUSA_English(nna)
07/09/06Ðtbrooks
X