tow Oldsmobile Achieva 1998 s User Guide
[x] Cancel search | Manufacturer: OLDSMOBILE, Model Year: 1998, Model line: Achieva, Model: Oldsmobile Achieva 1998Pages: 356, PDF Size: 18.04 MB
Page 85 of 356
AUTOMATIC OVERDRIVE (@): If your automatic
transaxle has AUTOMATIC OVERDRIVE
(@), this
position is for normal driving. If you need more power
for passing, and you’re:
Going less than 35 mph (56 km/h), push your
accelerator pedal about halfway down.
0 Going about 35 mph (56 km/h) or more, push the
accelerator all the way down. You’ll shift down to
the next gear and have more power.
THIRD (3): This position is also used for normal
driving, however, it offers more power and lower fuel
economy than AUTOMATIC OVERDRIVE
(@). Here
are some times you might choose THIRD
(3) instead of
AUTOMATIC OVERDRIVE ((9):
0 When driving on hilly, winding roads.
0 When towing a trailer, so there is less shifting
When going down a steep hill.
between gears.
NOTICE:
This NOTICE applies only
if you have an
automatic overdrive transaxle.
If your vehicle is
so equipped and if it seems to start up rather
slowly, or if it seems not to shift gears as you go
faster, something may be wrong with a transaxle
system sensor.
If you drive very far that way,
your vehicle can be damaged. So, if this happens,
have your vehicle serviced right away. Until then,
you can use SECOND
(2) when you are driving
less than
35 mph (56 kmh) and AUTOMATIC
OVERDRIVE
(0) for higher speeds.
Page 87 of 356
Parking Brake
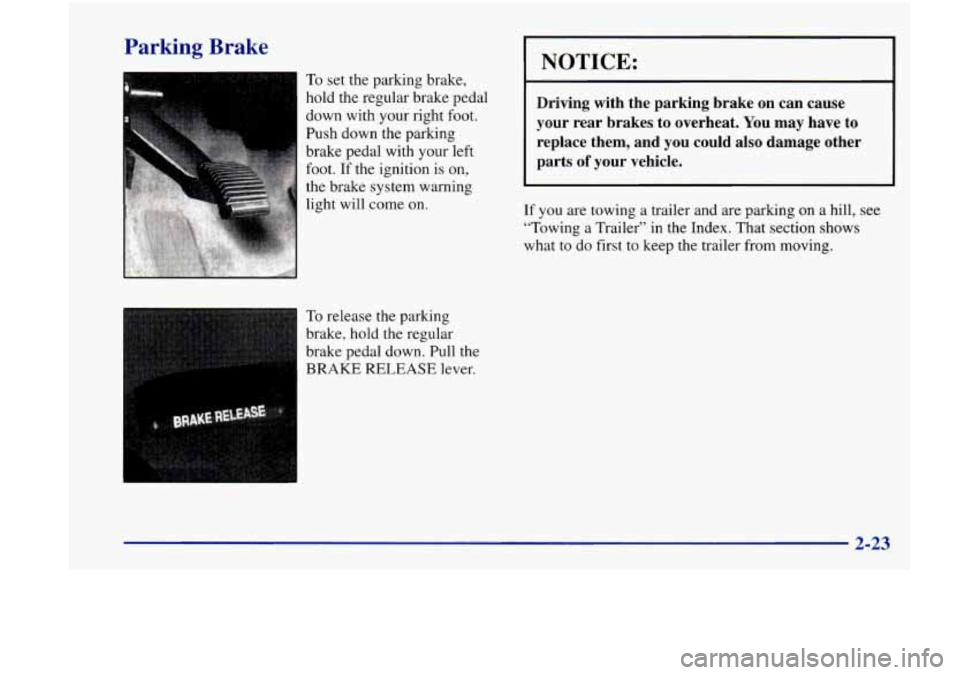
To set the parking brake,
hold the regular brake pedal
down with your right
foot.
Push down the parking
brake pedal with your left
foot. If the ignition is on,
the brake system warning
light will come on.
To release
the parking
brake, hold the regular
brake pedal down. Pull the
BRAKE RELEASE lever.
NOTICE:
Driving with the parking brake on can cause
your rear brakes to overheat.
You may have to
replace them, and you could also damage other
parts
of your vehicle.
If you are towing a trailer and are parking on a hill, see
“Towing a Trailer” in the Index. That section shows
what to do first
to keep the trailer from moving.
2-23
Page 88 of 356
Shifting Into PARK (P)
A CAUTION:
It can be dangerous to get out of your vehicle if
the shift lever is not fully in PARK (P) with the
parking brake
firmly set. Your vehicle can roll. If
you have left the engine running, the vehicle can
move suddenly. You or others could be injured.
To be sure your vehicle won’t move, even when
you’re on fairly level ground, use the steps that
follow.
If you’re pulling a trailer, see “Towing a
Trailer” in the Index.
1. Hold the brake pedal down with your right foot and
set the parking brake.
I
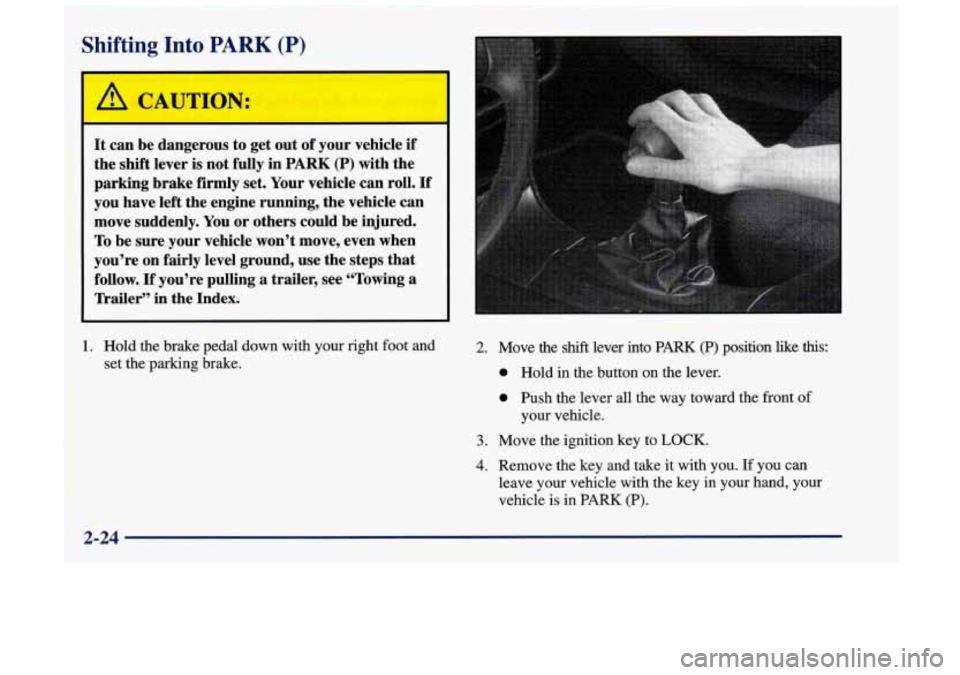
2. Move the shift lever into PARK (P) position like this:
a Hold in the button on the lever.
a Push the lever all the way toward the front of
your vehicle.
3. Move the ignition key to LOCK.
4. Remove the key and take it with you. If you can
leave your vehicle with the key in your hand, your
vehicle is in PARK (P).
2-24
Page 92 of 356

I A CAUTION:
I Windows
It can be dangerous to get out of your vehicle if
the shift lever is not fully in PARK (P) with the
parking brake firmly set. Your vehicle can roll.
Don’t leave your vehicle when the engine
is
running unless you have to. If you’ve left the
engine running, tlieVehiele can move suddenly.
You or others could be injured.
To be sure your
vehicle won’t move, even when you’re on fairly
level ground, always set your parking brake and
move the shift lever to
PARK (P).
Follow the proper steps to be sure your vehicle won’t
move. See “Shifting Into
PARK (P)” in the Index.
If you are parking on a hill and
if you’re pulling a
trailer, also see “Towing a Trailer”
in the Index.
Manual Windows
On a vehicle with manual windows, use the window
crank
to open and close each window.
Power Windows (If Equipped)
Switches on the driver’s
armrest control each
of the
windows when the ignition
is on. In addition, each
passenger door has a switch
for its own window.
2-28
Page 95 of 356
If the arrows don’t go on at all when you signal a
turn, check the fuse (see “Fuses and Circuit Breakers”
in the Index) or contact your Oldsmobile retailer
service department).
Turn Signal On Chime
A warning chime signal will come on if you have left
your turn signal
on for more than 3/4 mile (1 km).
Headlamp HighLow Beam
To change the headlamps
from low beam to high or
high to low, pull the turn
signal lever all the way
toward you. Then release it.
When the high beams are on, a light on the instrument
panel also will be on.
The headlamp high/low beam indicator may flash if the
Daytime Running Lamps
(DRL) system is experiencing
a problem or if a headlamp is malfunctioning.
Windshield Wipers
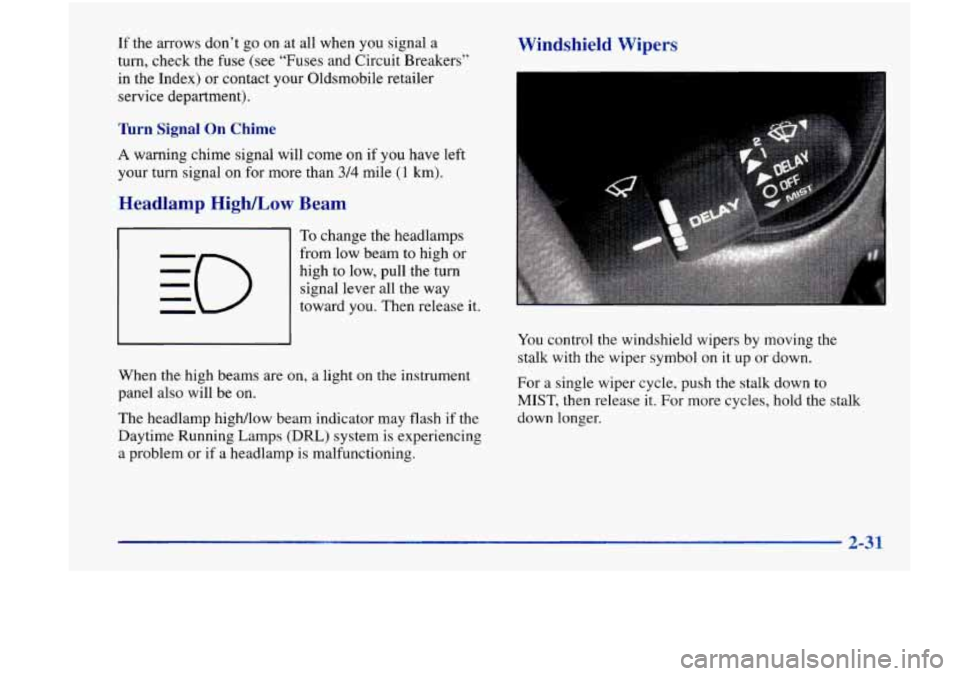
You control the windshield wipers by moving the
stalk with the wiper symbol on it up or down,
For a single wiper cycle, push the stalk down to
MIST, then release it. For more cycles, hold the stalk
down longer.
2-31
Page 96 of 356
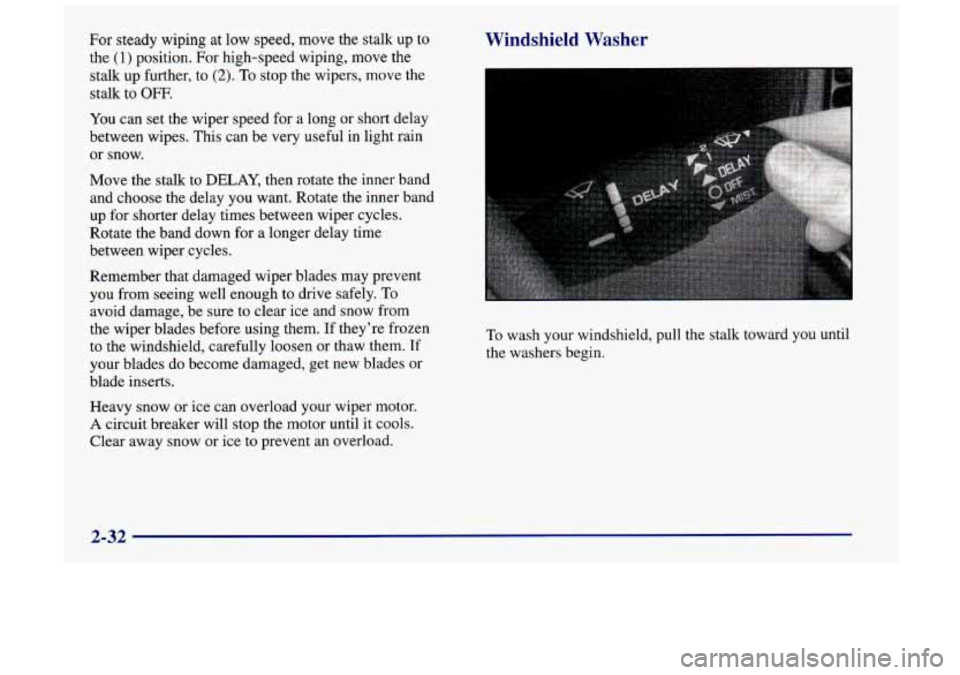
For steady wiping at low speed, move the stalk up to
the
(1) position. For high-speed wiping, move the
stalk up further, to
(2). To stop the wipers, move the
stalk to
OFF.
Windshield Washer
’
You can set the wiper speed for a long or short delay
between wipes. This can be very useful in light rain
or snow.
Nlove the stalk to
DELAY, then rotate the inner band
and choose the delay you want. Rotate the inner band
up for shorter delay times between wiper cycles.
Rotate the band down for a longer delay time
between wiper cycles.
Remember that damaged wiper blades may prevent
you from seeing well enough to drive safely.
To
avoid damage, be sure to clear ice and snow from
the wiper blades before using them.
If they’re frozen
to the windshield, carefully loosen or thaw them.
If
your blades do become damaged, get new blades or
blade inserts.
Heavy snow or ice can overload your wiper motor.
A circuit breaker will stop the motor until it cools.
Clear away snow or ice to prevent an overload.
To wash your windshield, pull the stalk toward you until
the washers begin.
2-32
Page 106 of 356
Mirrors
Inside Daymight Rearview Mirror
To reduce glare from lights behind you, move the lever
toward
you to the night position.
Power Remote Control Mirror
(If Equipped)
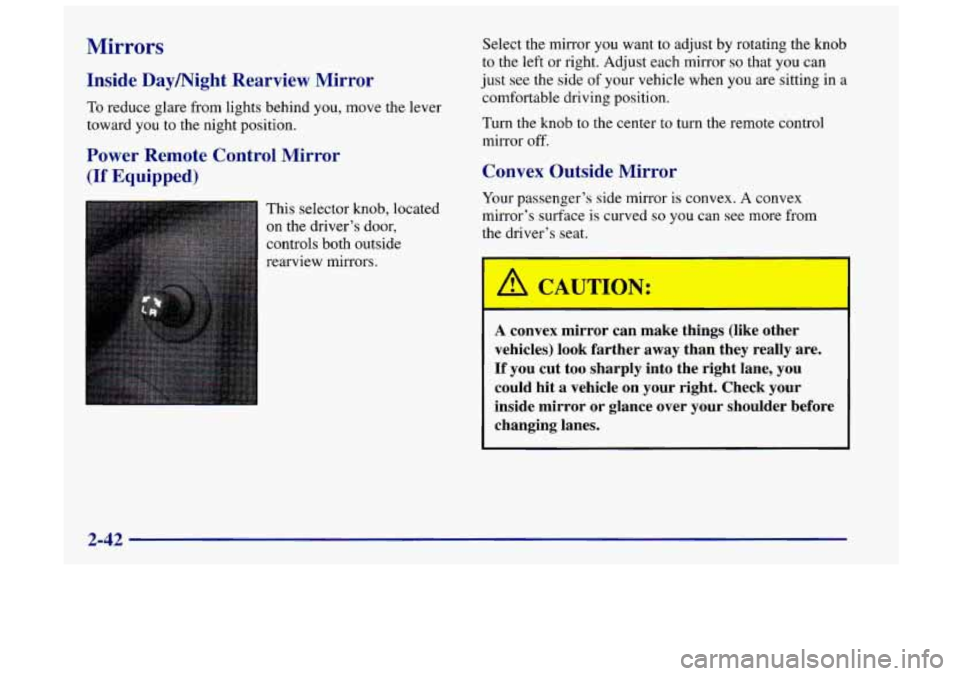
This selector knob, located
on the driver’s door,
controls both outside
rearview mirrors. Select
the mirror
you want to adjust by rotating the knob
to the left or right. Adjust each mirror
so that you can
just see the side
of your vehicle when you are sitting in a
comfortable driving position.
Turn
the knob to the center to turn the remote control
mirror off.
Convex Outside Mirror
Your passenger’s side mirror is convex. A convex
mirror’s surface
is curved so you can see more from
the driver’s seat.
% CAUTION:
‘--l
I
A convex mirror can make things (like other
vehicles) look farther away than they really are.
If you cut
too sharply into the right lane, you
could hit a vehicle on your right. Check your
inside mirror or glance over your shoulder before changing lanes.
2-42
Page 107 of 356

Storage Compartments
Glove Box
Use one of the vehicle’s keys to lock and unlock
the glove box.
To open, pull the glove box handle
toward you.
Center Console Storage Area
The armrest opens into a storage area for cassette tapes,
gloves, etc.
To open it, lift up on driver’s side front portion
of the armrest. A tissue holder is located under
the lid
of the armrest. There is also an accessory power
outlet located in the front storage armrest.
To use the
accessory power outlet, see “Accessory Power Outlet”
later in this section.
Center Console Cupholder
The console provides space for holding a cup or soft
drink. To access the cupholder, pull the lid forward.
Sunglasses Storage
Place your sunglasses in the open area located above
you in the overhead console, or front compartment in
the center console.
Rear Seat Cupholder
The rear seat cupholder is located on the back of the
center console. To access the rear seat cupholder, pull
the door down.
2-43
Page 116 of 356
If it stays on, or comes on while you are driving, you
may have a problem with the electrical charging system.
It could indicate that you have a loose generator drive
belt or another electrical problem. Have it checked
right away. Driving while this light is on could drain
your battery.
If you must drive a short distance with the light on, be
certain to turn
off all your accessories, such as the radio
and
air conditioner.
This light should come on briefly when you turn the
ignition key to
RUN. If it doesn’t come on then, have it
fixed so it will be ready to warn you if there’s a problem.
If the light comes
on while you are driving, pull off the
road and stop carefully. You may notice that the pedal is
harder to push. Or, the pedal may go closer to the floor.
It may take longer
to stop. If the light is still on, have the
vehicle towed for service. (See “Towing Your Vehicle”
in the Index.)
Brake System Warning Light
Your vehicle’s hydraulic brake system is divided into
two parts. If one part isn’t working, the other part can
still
work and stop you. For good braking, though, you
need both parts working well.
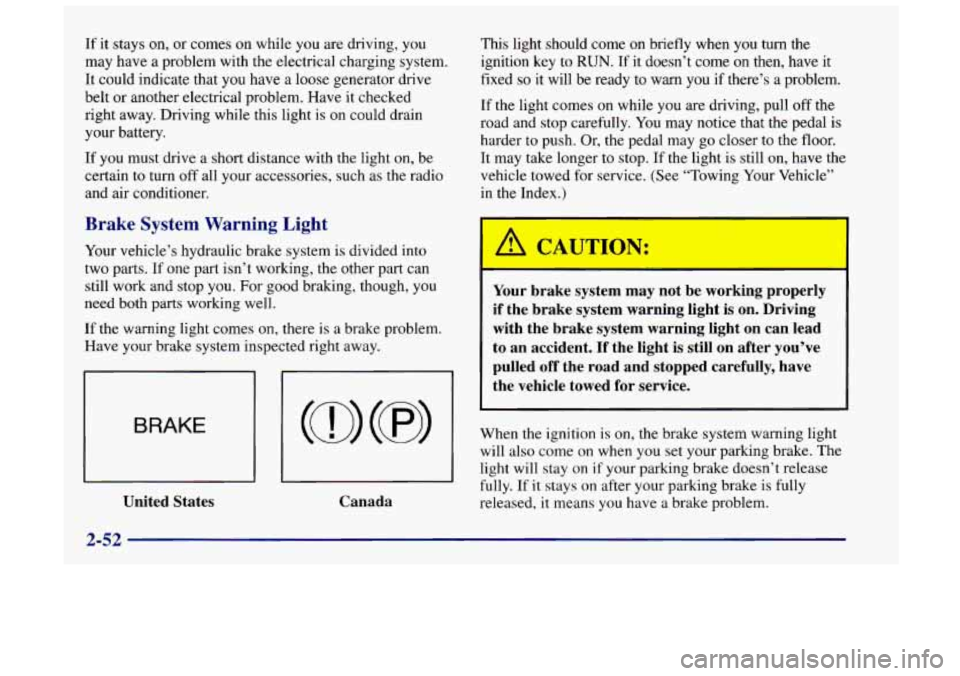
If the warning light comes on, there is a brake problem.
Have your brake system inspected right away.
BRAKE
I I I I
United States Canada Your brake system may not be working properly
if the brake system warning light is on. Driving
with the brake system warning light on can lead
to an accident. If the light is still on after you’ve
pulled off the road and stopped carefully, have
the vehicle towed for service.
When the ignition is on, the brake system warning light
will also come on when
you set your parking brake. The
light will stay on
if your parking brake doesn’t release
fully. If it stays on after your parking brake is fully
released,
it means you have a brake problem.
2-52
Page 120 of 356
This light should come on, as a check to show you it is
working, when the ignition is
on and the engine is not
running. If the light doesn’t
come on, have it repaired.
This light will also come on during a malfunction in
one
of two ways:
Light Flashing -- A misfire condition has been
detected.
A misfire increases vehicle emissions
and may damage the emission control system on
your vehicle. Retailer
or qualified service center
diagnosis and service may
be required.
Light On Steady -- An emission control system
malfunction has been detected on your vehicle.
Retailer or qualified service center diagnosis and
service may be required.
If the Light Is Flashing
The following may prevent more serious damage
to your vehicle:
Reducing vehicle speed.
0 Avoiding hard accelerations.
Avoiding steep uphill grades.
0 If you are towing a trailer, reduce the amount of
cargo being hauled as soon as it is possible. If
the light stops flashing and remains on steady, see
“If the Light
Is On Steady’’ following.
If the light continues to flash, when it
is safe to do so,
stop the vehicle. Find a safe place to park your vehicle.
Turn the key
off, wait at least 10 seconds and restart the
engine. If the light remains on steady, see “If the Light
Is On Steady” following. If the light is still flashing,
follow the previous steps, and drive the vehicle to your
retailer or qualified service center for service.
If the Light Is On Steady
You may be able to correct the emission system
malfunction by considering the following:
Did you recently put fuel into your vehicle?
If
so, reinstall the fuel cap, making sure to fully install
the cap. The diagnostic system can determine
if the
fuel cap has been left off or improperly installed. A
loose or missing fuel cap will allow
fuel to evaporate
into the atmosphere. A few driving trips with the cap
properly installed should turn the light off.
Did you just drive through a deep puddle of water?
If
so, your electrical system may be wet. The condition
will usually be corrected when the electrical system
dries out. A few driving trips should turn the light off.
2-56